

Are you tired of dealing with dirty, rusted grill grates? Grilling is a favorite pastime for many people, but maintaining the cleanliness and integrity of your grill can be a challenge.
Grill grates are essential to any barbecue setup, but they can easily rust if not properly maintained. Rust not only diminishes the grates’ lifespan but can also impart an unpleasant taste to food. Fortunately, there are effective strategies to prevent rust and keep your grill grates in optimal condition.

By understanding the common causes of rust and implementing regular cleaning, seasoning, and storage practices, you can ensure that your grill remains ready for use, delivering delicious meals with every cookout. Let’s dive into the details and learn how to keep grill grates from rusting.
Why Do Grill Grates Rust?
Grill grates are typically cast iron, stainless steel, or porcelain-coated steel. These materials are prone to rust when exposed to moisture and oxygen over time. Factors that contribute to rust include:
- Exposure to rain or humidity
- Leaving grill grates uncleaned after use
- Using abrasive cleaning tools
- Not seasoning the grates regularly
These causes can result in rust formation on the surface of the grates, affecting their performance and appearance.
What Will You Need?
Before we get into the methods for preventing rust, we must gather all the necessary tools and materials. Some of the things you’ll need include:
- Mild dish soap
- Warm water
- Soft-bristled brush or sponge
- Non-abrasive scrub pad
- Cooking oil (vegetable, canola, or grapeseed)
Once you have these items, you’re ready to start maintaining your grill grates.
10 Easy Steps on How to Keep Grill Grates From Rusting
Step 1. Clean After Every Use:
Remaining your grill grates immediately after use is one of the most effective methods to prevent rust. Begin by allowing the grates to cool sufficiently to handle them safely while still warm. This warmth helps to loosen any food particles and grease, making them easier to remove. Use a soft-bristled brush or sponge with warm, soapy water to gently scrub the grates. Avoid using metal brushes or abrasive pads,
which can damage the surface and lead to rust. Once cleaned, rinse the grates thoroughly with water to remove any soap residue. This simple cleaning routine ensures no remnants are left behind to promote corrosion, setting the stage for the next step in maintaining rust-free grill grates. Ensure the grates are completely dry after washing, as residual water can accelerate rust formation.
Step 2. Season the Grates Regularly:
Seasoning your grill grates adds a protective layer that helps to prevent rust and enhance flavor. To season, start by thoroughly drying the grates after cleaning. Once dry, apply a thin layer of cooking oil, such as vegetable, canola, or grapeseed oil, using a paper towel or clean cloth. Ensure the entire surface of each grate is coated, especially the edges, where rust tends to start. After applying the oil, preheat your grill to a high temperature for 15-20 minutes. This process allows the oil to bind to the surface of the grates, creating a non-stick barrier that protects against moisture and rust. Regular seasoning, ideally after each cleaning cycle, can significantly extend the life of your grill grates.
Step 3. Cover Your Grill Between Uses:
Investing in a high-quality grill cover is a vital step in preventing rust. When your grill is not in use, cover it to protect it from rain, snow, and humidity. Choose a waterproof cover that fits snugly over your grill to ensure it offers maximum protection from the elements. This simple measure can effectively reduce exposure to moisture, one of the primary culprits of rust formation. Additionally, a cover can keep dirt and debris from settling on your grill, further easing the cleaning process. Incorporating this step into your routine helps maintain the pristine condition of your grill and grates, ensuring they are ready for your next cooking session.
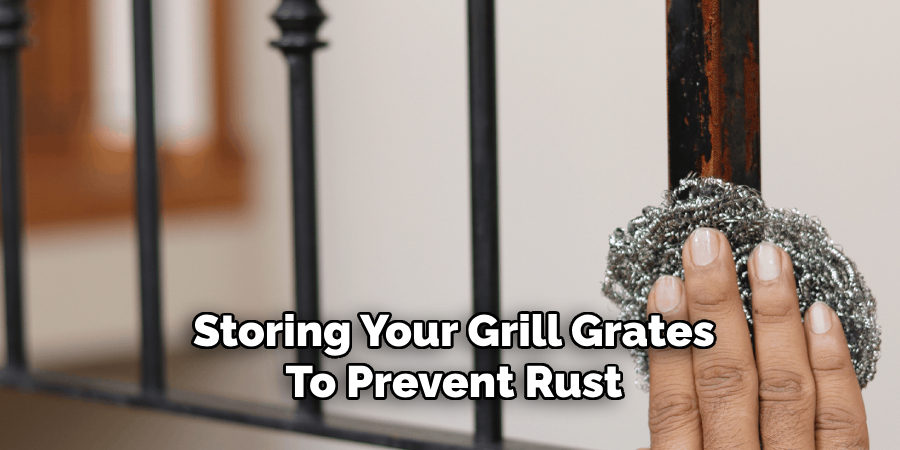
Step 4. Store Grates in a Dry Place During the Off-Season:
When grilling season comes to a close, storing your grill grates properly is essential to prevent rust. First, ensure that the grates are thoroughly cleaned and seasoned before storing. Find a dry place such as a garage, shed, or indoors, if possible, to keep the grates safe from moisture and humidity. Avoid placing them directly on concrete, as it can retain moisture, leading to rust. Consider using a plastic bag or container to keep them sealed and protected. This extra step of storing grates in a moisture-free environment can significantly prolong their lifespan, ensuring they remain in excellent condition for the next grilling season.
Step 5. Use High-Quality Grill Grates:
Opting for high-quality grill grates can make a noticeable difference in preventing rust. Grates made from durable materials such as porcelain-coated cast iron or heavy-duty stainless steel are more resistant to rust than cheaper alternatives. Stainless steel grates, in particular, are less prone to corrosion due to their chromium content, which enhances their resistance to rusting and staining. Investing in premium grates may require a higher initial cost, but the long-term benefits of reduced maintenance and enhanced grilling performance make it a worthwhile consideration. By choosing high-quality grill grates, you’re improving the durability of your grilling setup and ensuring better cooking results with every use.
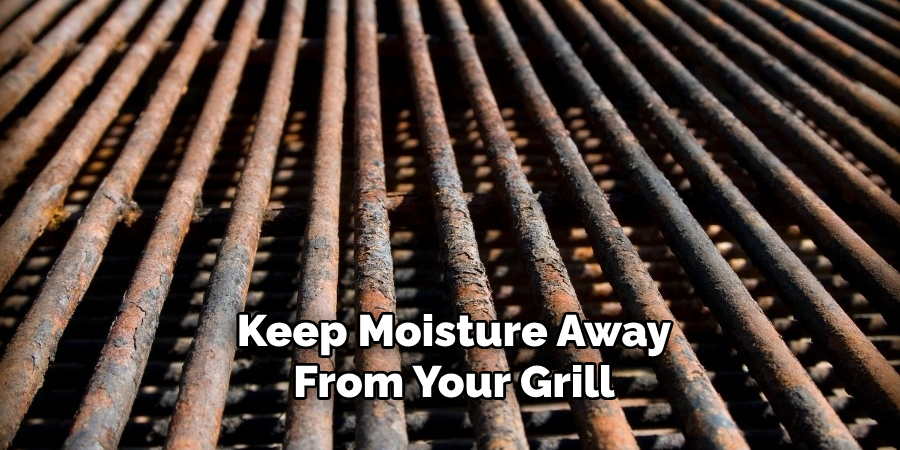
Step 6. Keep Moisture Away from Your Grill:
Moisture is the enemy when it comes to preventing rust on grill grates. Apart from covering and storing your grill and grates, it’s essential to ensure that any area around your grill is also dry. Place your grill in a sheltered location, such as under a patio cover or awning, to shield it from unexpected downpours. After cleaning, always double-check that your grill and grates are completely dry before covering them. Accumulated moisture not only promotes rust but can also compromise the quality and functionality of your grill. By proactively managing moisture levels, you ensure your grill remains in top condition, ready to produce delicious meals whenever you wish.
Step 7. Use a Grill Mat or Cooking Spray:
Utilizing a grill mat or cooking spray can provide additional protection for your grill grates against rust. A grill mat acts as a barrier between the food and the grates, preventing grease and food particles from directly contacting the grates. This minimizes rust formation and reduces the cleaning effort required after each use. Alternatively, applying a non-stick cooking spray to the grates before grilling can help create a protective coat that shields against moisture. Both options are practical solutions for keeping your grill grates in optimal condition, extending their longevity while enhancing the grilling experience.
Step 8. Perform Regular Inspections:
Conducting regular inspections is essential to ensure that your grill grates remain rust-free and function properly. At least once a month, or more frequently if you grill often, examine each grate closely for any signs of rust or damage. Look for discoloration, pitting, or flaking, which can indicate the beginning stages of rust. Early detection allows for prompt intervention, such as cleaning or re-seasoning, which can prevent further deterioration. If any severe rust or damage is found, consider replacing the grates to maintain optimal grilling performance.
Step 9. Use Rust Removers if Necessary:
If you notice rust starting to form on your grill grates despite your best efforts, using a rust remover can be an effective solution. Choose a safe product for cooking surfaces, and follow the manufacturer’s instructions carefully. Generally, you must apply the rust remover to the affected area and allow it to sit for some time before scrubbing it off with a grill brush or sponge. After removing the rust, rinse the grates thoroughly with water and re-season them to restore their protective coating. Rust removers should be a last resort, but they can extend the lifespan of your grates when necessary.
Step 10. Practice Proper Storage:
Besides caring for your grill grates, properly storing the entire grill can prevent rust and extend its lifespan. At the end of the rilling season or during extended periods of inactivity, clean your grill thoroughly and cover it securely to protect it from the elements. Store smaller grills in a shed or garage to minimize exposure to moisture and fluctuating temperatures. Even if your grill remains outdoors, elevate it off the ground to avoid contact with damp surfaces. These storage practices and regular maintenance will ensure that your grill stays in excellent condition, ready for many more years of enjoyable cooking experiences.
Following these steps, you can effectively prevent rust on your grill grates and extend their lifespan.
Conclusion
Maintaining grill grates in pristine condition requires a commitment to regular care and preventive measures.
Ensuring that your grill grates are cleaned, seasoned, and stored correctly minimizes the risks of rust formation. Investing in high-quality materials, such as porcelain-coated cast iron or stainless steel, provides long-term resistance to corrosion. Proactively keeping moisture away from your grill and using protective items like grill mats or cooking spray add extra layers of defense. Regular inspections and swift interventions when rust appears can significantly extend the life of your grates. Finally, proper storage practices for both the grates and the grill ensure longevity and consistent performance.
Hopefully, the article on how to keep grill grates from rusting has provided you with valuable insights and practical tips for maintaining your grilling setup. So go ahead, grab your favorite meats, vegetables, and seasoning – and let the grilling adventures begin! Happy grilling!
you can also check it out Clean a Cast Iron Grill Pan
Edmund Sumlin is a skilled author for Metal Fixes, bringing 6 years of expertise in crafting a wide range of metal fixtures. With a strong background in metalwork, Edmund’s knowledge spans various types of fixtures, from decorative pieces to functional hardware, blending precision with creativity. His passion for metalworking and design has made him a trusted resource in the industry.
Professional Focus:
- Expert in Metal Fixtures : Edmund aesthetic specializes in creating durable and innovative metal fixtures, offering both appeal and functionality. His work reflects a deep understanding of metalworking techniques and materials.
- Sustainability Advocate : He is dedicated to using sustainable practices, ensuring that every fixture is crafted with eco-friendly methods while maintaining high-quality standards.
In his writing for Metal Fixes, Edmund provides valuable insights into the latest trends, techniques, and practical advice for those passionate about metal fixtures, whether they are professionals or DIY enthusiasts. His focus on combining artistry with engineering helps others discover the true potential of metal in design.