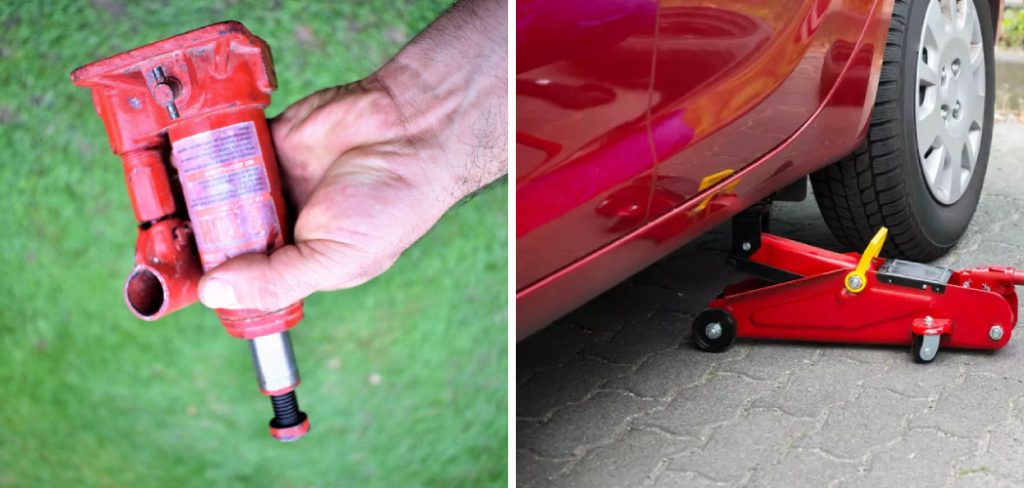
Are you tired of lifting heavy objects manually? A hydraulic jack might just be the solution for you. This powerful tool allows you to lift and lower heavy loads with ease. In this guide, we will discuss how to make a hydraulic jack go down, step by step.

Hydraulic jacks are essential tools for effortlessly lifting heavy loads, but knowing how to safely and effectively lower them is equally important. Properly lowering a hydraulic jack ensures not only the longevity of the equipment but also the safety of the user and the surrounding environment.
Whether you’re a seasoned mechanic or a DIY enthusiast, understanding the correct procedure to make a hydraulic jack go down can prevent accidents and equipment damage.
This guide will provide you with step-by-step instructions and essential tips to safely lower your hydraulic jack, ensuring a smooth and controlled descent every time.
What Will You Need?
Before diving into the steps, let’s ensure you have all the necessary tools and equipment to safely lower your hydraulic jack. Here’s a list of things you’ll need:
- A hydraulic jack
- Jack stands
- Gloves for hand protection
- Safety goggles
- Wooden blocks or chocks to prevent rolling or slipping of the load
10 Easy Steps on How to Make a Hydraulic Jack Go Down
Step 1: Prepare the Work Area
The first step in making a hydraulic jack go down is to prepare the work area. Make sure there are no obstacles or debris that could interfere with the lowering process. If working on an incline, ensure that the vehicle’s wheels or load are safely chocked to prevent it from rolling.

Step 2: Position Your Jack Stands
Position your jack stands under the load-bearing points of the object you want to lower. This could be under the vehicle’s frame, axle, or suspension components. Be sure to use appropriate jack stand placement and weight rating for your particular vehicle or load.
Step 3: Put on Protective Gear
Safety should always be your top priority when working with hydraulic jacks. Before you proceed, make sure to put on your protective gear. This includes gloves to protect your hands from sharp edges, heat, and the potential for hydraulic fluid exposure.
Safety goggles are essential to shield your eyes from any debris or accidental fluid spray. Wearing the appropriate protective gear will minimize the risk of injury and ensure a safer working environment.
Step 4: Check the Hydraulic Jack
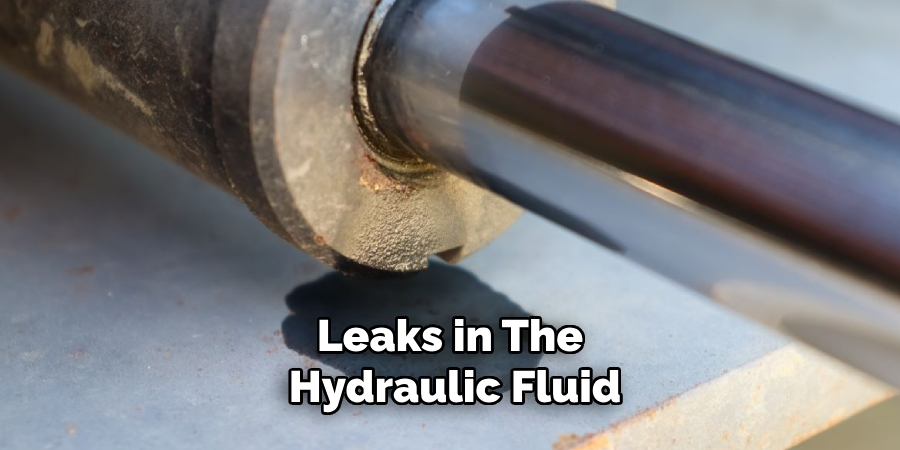
Before lowering the jack, inspect it for any visible signs of wear or damage. Look for leaks in the hydraulic fluid, cracks in the metal, or any other irregularities. Make sure that the release valve is functioning correctly and not stuck.

A thorough inspection ensures the equipment is in good working condition, preventing any unexpected malfunctions during the lowering process.
Step 5: Slowly Open the Release Valve
The release valve is a crucial component for controlling the descent of the hydraulic jack. To begin lowering the jack, slowly turn the release valve counterclockwise.
It’s essential to open the valve gradually to allow the fluid to flow back into the reservoir slowly, ensuring a controlled descent. Opening the valve too quickly can cause the load to drop suddenly, which might lead to accidents or equipment damage.
Step 6: Monitor the Descent
As you open the release valve, keep a close eye on the load as it begins to descend. Make sure it is lowering evenly and steadily. Immediately stop and assess the situation if you notice any tilting or shifting.
Uneven lowering can indicate an imbalance, which could be dangerous. Correcting any issues promptly will help maintain a smooth and safe lowering process.
Step 7: Ensure Jack Stands are Secure
As the load comes down, it will begin to transfer weight onto the jack stands. Ensure that the stands are stable and securely positioned under the load-bearing points.
If you need to make any adjustments, do so cautiously and gradually. Confirming that the jack stands are secure ensures that the load will be safely supported once the jack is fully lowered.
Step 8: Continue Lowering Until Load is Fully Supported
Continue to turn the release valve slowly until the hydraulic jack is fully lowered and the load is entirely supported by the jack stands. Double-check that the load is stable and resting correctly on the stands.
This step is critical for ensuring that the load remains secure and does not shift or collapse.
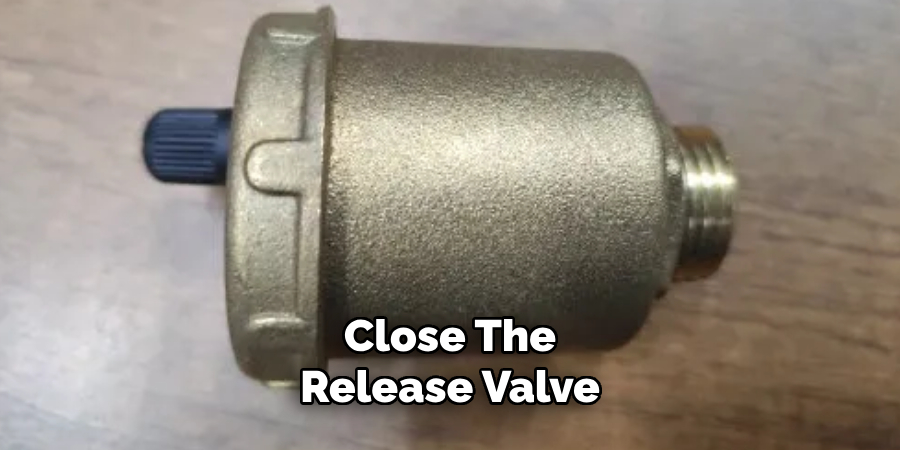
Step 9: Close the Release Valve
Once the load is fully supported by the jack stands, it’s important to close the release valve on the hydraulic jack. This will prevent any further lowering of the jack and help maintain the stability of the load.

Turn the release valve clockwise until it is firmly closed. This action ensures that the hydraulic fluid remains in the reservoir and the jack is secure, non-operational. Closing the release valve at this stage is a crucial step to locking the jack in place and ensuring the safety of everyone involved.
Step 10: Remove the Hydraulic Jack
Finally, carefully remove the hydraulic jack from under the load. Ensure that the jack stands are holding the load securely before completely removing the jack. This step concludes the process, allowing you to move on to your next task safely and efficiently.
By following these steps, you can ensure that your hydraulic jack operation is safe, controlled, and effective, minimizing risks and protecting both yourself and your equipment.
5 Additional Tips and Tricks
- Check the Release Valve: Ensure that the release valve is fully open. Sometimes, debris or rust can block the valve, preventing it from fully opening. Cleaning or replacing the valve may resolve this issue.
- Verify the Piston Rod: Examine the piston rod for any signs of damage, such as bends or cracks. A damaged piston rod can prevent the jack from lowering smoothly. If you find any damage, the rod may need to be repaired or replaced.
- Lubricate Moving Parts: Proper lubrication is essential for the smooth operation of the hydraulic jack. Apply a suitable lubricant to all moving parts, including the arm, hinges, and piston rod, to reduce friction and ensure fluid movement.
- Remove Air from the System: Air trapped in the hydraulic system can cause the jack to become unresponsive. To bleed the system, open the release valve and pump the jack handle several times. Close the valve and test the jack’s operation. Repeat the process until the jack lowers smoothly.
- Keep the Jack Clean and Dry: Regularly cleaning and drying the jack after use can prevent dust, dirt, or moisture from building up and affecting its performance. Keeping the oil reservoir free of contaminants is especially essential to ensure proper functioning.

With proper maintenance, your hydraulic jack can provide reliable and efficient lifting for years to come.
5 Things You Should Avoid
- Ignoring Weight Limits: Never exceed the weight capacity specified by the manufacturer. Overloading the jack can cause it to malfunction or fail, potentially leading to dangerous situations.
- Using the Jack on Uneven Surfaces: Always ensure that the jack is placed on a flat, stable surface. Using the jack on uneven or sloped surfaces can cause instability, making it difficult to lower safely.
- Forgetting to Secure the Load: Before attempting to lower the jack, make sure the load is secure and balanced. An unbalanced load can shift unexpectedly, causing the jack to tilt and become difficult to control.
- Operating with Low Hydraulic Fluid: Running the jack with insufficient hydraulic fluid can affect its performance and make it challenging to lower. Regularly check and refill the hydraulic fluid to the recommended level.
- Using Damaged Components: Ensure that all jack parts are in good working condition. Avoid using the jack if any components, such as the release valve or piston rod, are damaged. Operating with faulty parts can hinder the lowering process and pose safety risks.
By being mindful of these potential issues, you can help ensure the safe and efficient operation of your hydraulic jack.
What are the Causes of Hydraulic Jack Malfunction?
- Overloading: As mentioned above, exceeding the weight limit can cause the jack to malfunction.
- Air in the System: Air trapped in the hydraulic system can cause issues with lowering and overall operation.
- Damaged Components: Using damaged parts or components can affect the jack’s performance and lead to malfunctions.
- Low Hydraulic Fluid: Running the jack with insufficient fluid causes it to operate inefficiently and may impact its ability to lower smoothly.
- Improper Use or Maintenance: Not following proper usage guidelines or neglecting regular maintenance can cause jack functionality problems.
By understanding these potential causes, you can take precautions to prevent hydraulic jack malfunctions and ensure safe operation.
Conclusion
In conclusion, using a hydraulic jack requires proper knowledge of its functions and safe handling techniques.
By following the steps outlined in this guide on how to make a hydraulic jack go down, you can safely lower heavy loads with your hydraulic jack.
Remember to always prioritize safety by checking equipment and components before use and avoiding risky behaviors that may compromise the jack’s operation. With proper care and maintenance, your hydraulic jack will continue to provide efficient lifting for your projects.
So, remember these tips when using a hydraulic jack in the future. Happy lifting!
You can check it out to Fix a Bent Radiator Support
Edmund Sumlin is a skilled author for Metal Fixes, bringing 6 years of expertise in crafting a wide range of metal fixtures. With a strong background in metalwork, Edmund’s knowledge spans various types of fixtures, from decorative pieces to functional hardware, blending precision with creativity. His passion for metalworking and design has made him a trusted resource in the industry.
Professional Focus:
- Expert in Metal Fixtures : Edmund aesthetic specializes in creating durable and innovative metal fixtures, offering both appeal and functionality. His work reflects a deep understanding of metalworking techniques and materials.
- Sustainability Advocate : He is dedicated to using sustainable practices, ensuring that every fixture is crafted with eco-friendly methods while maintaining high-quality standards.
In his writing for Metal Fixes, Edmund provides valuable insights into the latest trends, techniques, and practical advice for those passionate about metal fixtures, whether they are professionals or DIY enthusiasts. His focus on combining artistry with engineering helps others discover the true potential of metal in design.


