The allure of wood finishes has captivated homeowners for generations, combining natural beauty with warmth and sophistication. Many desire the aesthetic of wood in various elements of their home design, including doors. However, installing genuine wooden doors can be costly and require high maintenance, especially in areas exposed to the elements. This is where faux wood finishes come into play, offering a cost-effective, durable, and low-maintenance alternative.
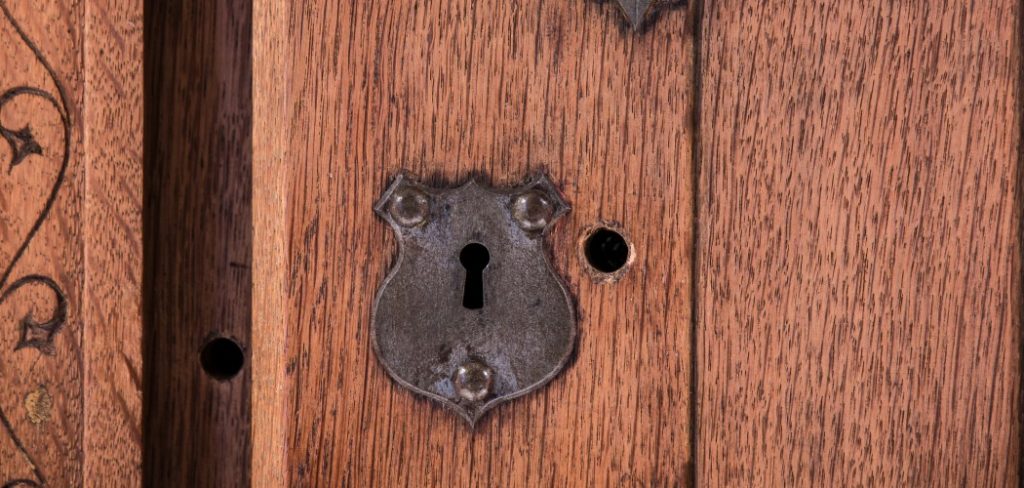
By learning how to make a metal door look like wood, homeowners can achieve the timeless appearance of wood without the drawbacks. This article aims to provide a comprehensive, step-by-step guide for transforming the appearance of a metal door to resemble that of wood, making it accessible even to those with limited DIY experience. Whether you’re aiming to enhance curb appeal or personalize your interior, this approach offers a practical and beautiful solution.
Tools and Materials Needed
Essential Tools
Gathering the right tools is essential to achieve a realistic faux wood finish on your metal door. Start with painter’s tape to protect areas you don’t want to paint. You’ll need various paint brushes for detail work and a foam roller to ensure smooth, even application on larger surfaces. A clean cloth is necessary for wiping surfaces before painting and for cleanup. The sandpaper will help roughen the metal to improve paint adhesion. Lastly, stirring sticks are crucial for mixing paint and ensuring consistent color and texture throughout the project.
Materials
Equally important are the materials you’ll need to transform your metal door into a wood-like masterpiece. Begin with a primer specifically designed for metal surfaces to prevent rust and create a strong foundation for your paint. Select a base coat paint in a shade that will complement your desired wood finish. Next, choose either a gel stain or a faux wood grain kit to mimic the appearance of natural wood textures. A clear sealant is necessary to protect the finish from wear and the elements. Consider adding wood grain tools to your toolkit for added realism in creating grain patterns.
Preparing the Metal Door for Painting
Cleaning the Door
The first crucial step is thoroughly cleaning the metal door to achieve a flawless faux wood finish. Use a mild soap and water solution to gently wash away any surface dirt, grease, or dust. Make sure to cover the entire door surface, paying extra attention to any grooves or edges. After cleaning, rinse the door with clean water to remove any soap residue, then dry it completely with a clean cloth to prevent water spots or moisture, which could interfere with the paint and primer applications.

Sanding and Priming
Once the door is clean and dry, proceed with light sanding to create a surface conducive to paint adhesion. Use fine-grit sandpaper in even strokes, covering the entire door to scuff up the existing finish just enough for the paint to grip. After sanding, wipe away any dust with a clean, dry cloth. The next step is applying a high-quality metal-specific primer. This step is essential not only for paint adhesion but also for rust prevention. Make sure to apply the primer evenly across the entire surface and allow it to dry thoroughly before moving on to the next step in the faux wood finishing process.
How to Make a Metal Door Look Like Wood: Applying the Base Coat
Choosing the Right Color for a Wood-Like Finish
The appropriate base coat color is crucial for achieving a realistic faux wood finish. Consider the wood tone you desire as the final look, as this will inform your color selection. Light brown or tan shades work well for a pine wood effect, providing a soft, warm undertone. If aiming for a richer, more sophisticated finish like walnut, opt for a darker brown base coat. Deeper shades can highlight the wood grain details, giving the door a luxurious feel. Popular color choices include shades resembling oak, cherry, and mahogany, each offering distinct character and warmth. Ensuring the base color complements your chosen wood tone will enhance the depth and realism of your finished project.
Applying the Base Coat
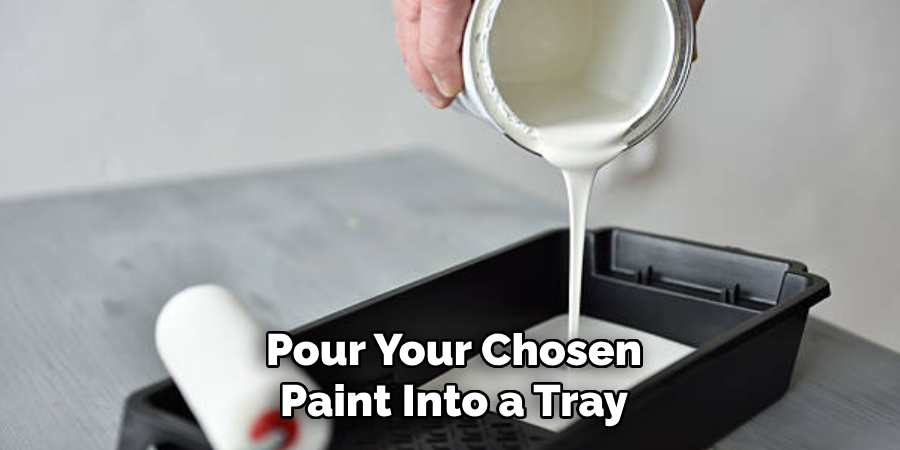
To apply the base coat, pour your chosen paint into a tray and load your foam roller evenly. Starting at the top of the door, apply the paint in long, smooth strokes to ensure even coverage across the entire surface. Be attentive to any drips or uneven areas, going over them gently with the roller. Cover all sections, including edges and corners, as even and complete uniformity is key to a natural look. Allow the base coat to dry thoroughly, following the manufacturer’s instructions, before proceeding to the next steps. Complete drying is essential for optimal adhesion of subsequent layers and achieving the desired faux wood texture.
How to Make a Metal Door Look Like Wood: Creating the Wood Grain Effect
Applying the Gel Stain or Wood Grain Paint
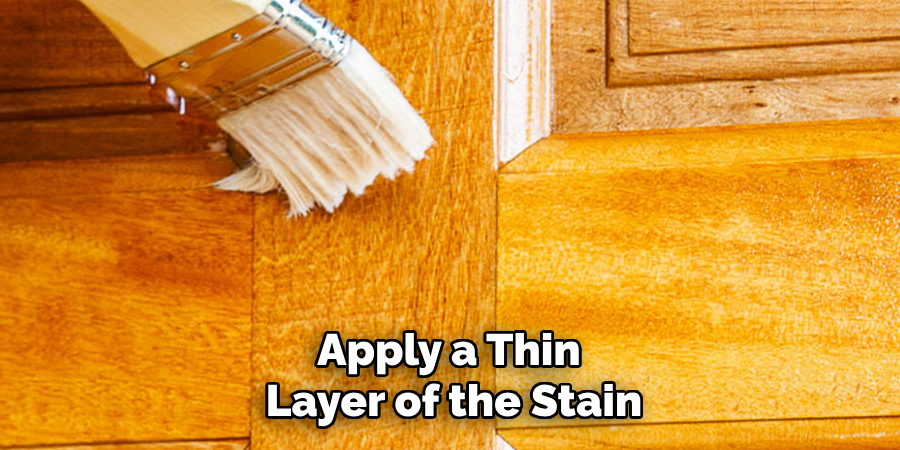
Applying a gel stain or wood grain paint is essential to achieve the authentic look of wood grain on your metal door. These products are specifically designed to mimic natural wood’s unique textures and color variations. Begin by pouring a small amount of gel stain into a tray.
Using either a brush or a roller, apply a thin layer of the stain over the base coat, working on small sections at a time for better control. Smooth and even application is crucial; aim for long, consistent strokes, avoiding any build-up that could lead to an uneven appearance. It’s important to apply the gel stain lightly to maintain a natural look and allow the base coat to subtly shine through, enhancing the wood effect.
Using Wood Graining Tools or Brushes
Wood graining tools and stiff brushes are indispensable for creating realistic wood-like patterns in the gel stain. To use these tools, start at the top of your door and pull them down in long, steady strokes, moving from one edge to the other. Adjust the angle and pressure as needed to replicate the unique variations and imperfections typical of natural wood grain. These tools can simulate a range of patterns, from the straight, clean lines of pine to the swirling, complex grains of oak or walnut. Practice on a spare piece of metal or cardboard for best results until you achieve the desired look.
Adding Variations in Grain Patterns
For an authentic wood look, it’s important to incorporate variations in grain patterns, such as knots and changes in grain direction. Use a combination of strokes and dragging techniques to create these details. For knots, apply a swirling motion with the stiff brush or wood graining tool to mimic a circular grain pattern. Experiment with different angles and pressures to produce varied grain textures throughout the door. These variations will add depth and character to your faux wood finish, making it nearly indistinguishable from genuine wood. Remember that less can often be more, so aim for subtle differences that enhance the natural appearance without overwhelming the overall effect.
Adding a Second Coat and Finishing Touches
Applying Additional Layers
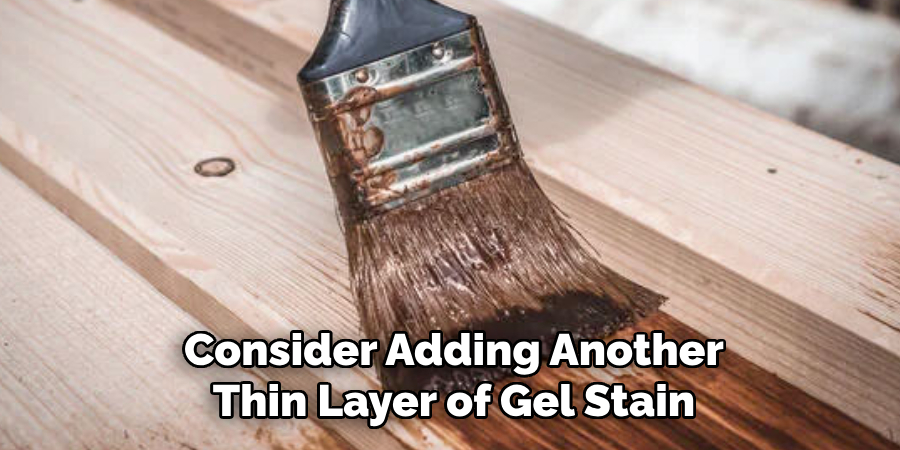
To further enhance your faux wood finish’s color depth and texture, consider adding another thin layer of gel stain. Apply this additional coat in the same manner as the first, using long, consistent strokes to maintain a uniform appearance. Be cautious not to over-apply the stain, as this can obscure the intricate wood grain patterns you’ve created. It’s crucial to let each coat dry fully before adding another, following the manufacturer’s drying time recommendations to avoid smudging or blending of colors. This patience will ensure a seamless and professional-looking finish.
Blending and Final Touches
After applying the second coat, inspect the surface for any areas that might appear uneven or too heavy. Use a clean, dry brush to gently soften these areas, blending them into the rest of the surface for a more natural look. This technique can also help refine the grain lines, creating a texture that resembles real wood. Pay special attention to any edges or transition areas, ensuring they blend smoothly with adjacent sections. Achieving realistic texture involves subtle adjustments, so aim for slight changes that enhance the overall finish without altering the fundamental grain pattern.
Sealing the Faux Wood Finish
Importance of Sealing the Painted Surface
Applying a clear protective sealant is essential to safeguarding your faux wood finish. A sealant helps to preserve the painted wood grain effect from environmental elements such as moisture, UV rays, and temperature fluctuations. This protective layer prevents peeling, fading, and wear, ensuring your metal door maintains its realistic wood-like appearance for a longer period. Choose a sealant specifically formulated to withstand harsh weather conditions and provide optimal durability in outdoor settings.
Applying the Sealant
To apply the sealant, stir the product thoroughly to ensure an even consistency. Using a clean, high-quality brush or roller, carefully coat the entire surface of the door with the sealant, focusing on an even application to prevent streaks. Follow the manufacturer’s instructions for drying times, and consider applying multiple coats, allowing each coat to dry completely before adding the next, to enhance the durability and longevity of the faux wood finish.
Maintaining the Faux Wood Finish
Regular Cleaning
To keep your faux wood finish looking fresh, gently clean the door regularly with a damp cloth. Avoid using abrasive cleaners or scrubbing tools that may damage the delicate finish. Periodic dusting and spot cleaning are essential to maintain the door’s appearance, ensuring that dirt and grime do not accumulate on the surface. A little bit of regular care goes a long way in preserving the beauty of your faux wood finish.
Touch-Up Tips
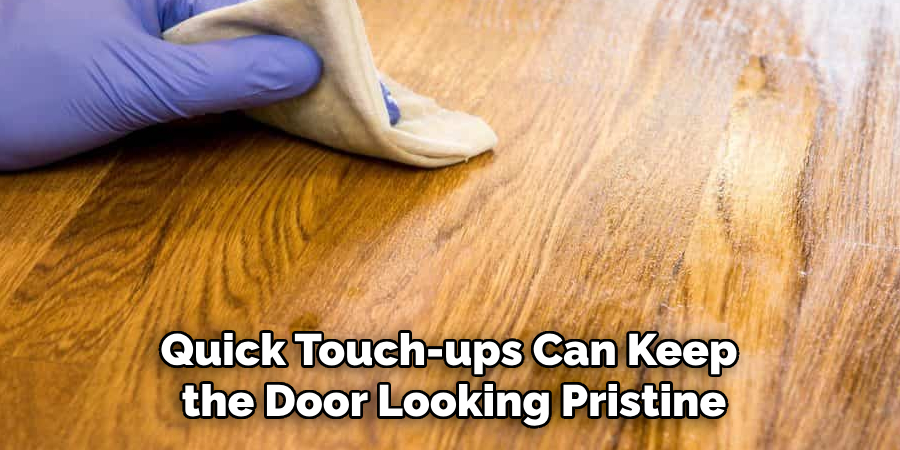
Quick touch-ups can keep the door looking pristine for minor scratches or chips in the finish. Use any leftover gel stain or paint to address these imperfections, applying with a small brush for precision. Ensure your touch-ups blend seamlessly into the surrounding areas to maintain a consistent appearance. Keeping a small amount of gel stain or paint on hand ensures you can easily handle any necessary repairs over time.
Conclusion
Transforming a metal door to look like wood involves careful steps, each contributing to the final aesthetic. From thorough prep work and the meticulous application of gel stain to the intricate use of wood graining tools, every phase is essential. Take your time with each step to achieve a realistic, durable finish. Applying protective sealants and regular maintenance further ensures the longevity of the faux wood appearance. Mastering how to make a metal door look like wood enhances its beauty and elevates your space with the warmth and elegance that wood provides.
Edmund Sumlin is a skilled author for Metal Fixes, bringing 6 years of expertise in crafting a wide range of metal fixtures. With a strong background in metalwork, Edmund’s knowledge spans various types of fixtures, from decorative pieces to functional hardware, blending precision with creativity. His passion for metalworking and design has made him a trusted resource in the industry.
Professional Focus:
- Expert in Metal Fixtures : Edmund aesthetic specializes in creating durable and innovative metal fixtures, offering both appeal and functionality. His work reflects a deep understanding of metalworking techniques and materials.
- Sustainability Advocate : He is dedicated to using sustainable practices, ensuring that every fixture is crafted with eco-friendly methods while maintaining high-quality standards.
In his writing for Metal Fixes, Edmund provides valuable insights into the latest trends, techniques, and practical advice for those passionate about metal fixtures, whether they are professionals or DIY enthusiasts. His focus on combining artistry with engineering helps others discover the true potential of metal in design.


