

When it comes to maintaining a clean and efficient paddock, a paddock blade can be an invaluable tool.
Designed to effortlessly collect manure and debris, paddock blades help ensure your paddock remains tidy and healthy for your animals. Whether you’re managing a large equestrian facility or a small hobby farm, constructing your own paddock blade can be a cost-effective solution tailored to your specific needs.
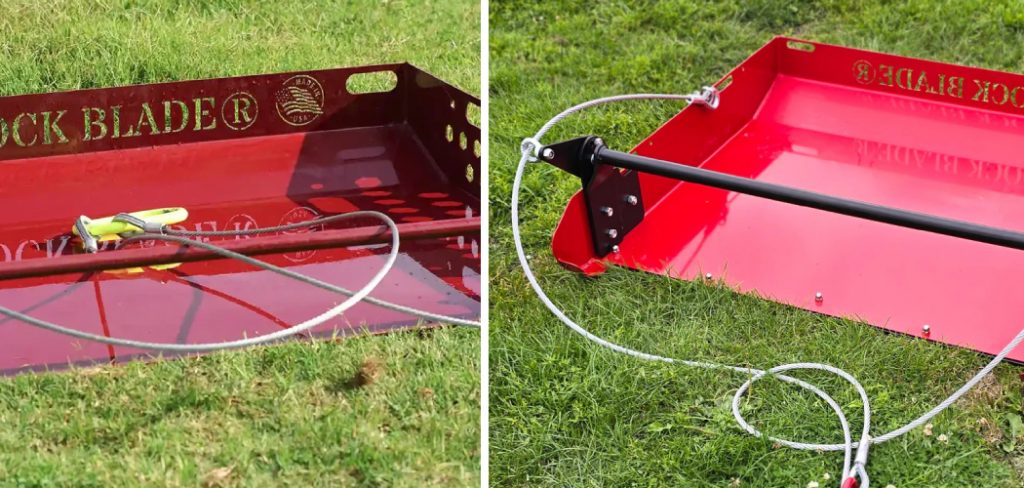
This guide on how to make a paddock blade will walk you through the steps necessary to build a durable and functional paddock blade, utilizing readily available materials and straightforward techniques.
Why Make Your Own Paddock Blade?
Before we dive into the step-by-step instructions for constructing a paddock blade, it’s important to understand why making your own can be beneficial. First and foremost, by building your own paddock blade, you have control over the materials used and the overall quality of the final product. This allows you to customize the blade according to your specific needs and preferences.
Additionally, making your own paddock blade can save you money compared to purchasing a pre-made one from a store or online retailer. With some basic tools and materials, you can create a reliable paddock blade at a fraction of the cost.
Lastly, constructing your own paddock blade can be a fun and rewarding project, especially for those who enjoy DIY projects. It allows you to put your skills and creativity to the test while also providing a useful tool for your farm.
Materials You Will Need
Before you begin building your paddock blade, it’s important to gather all the necessary materials. Some common supplies you will need include:
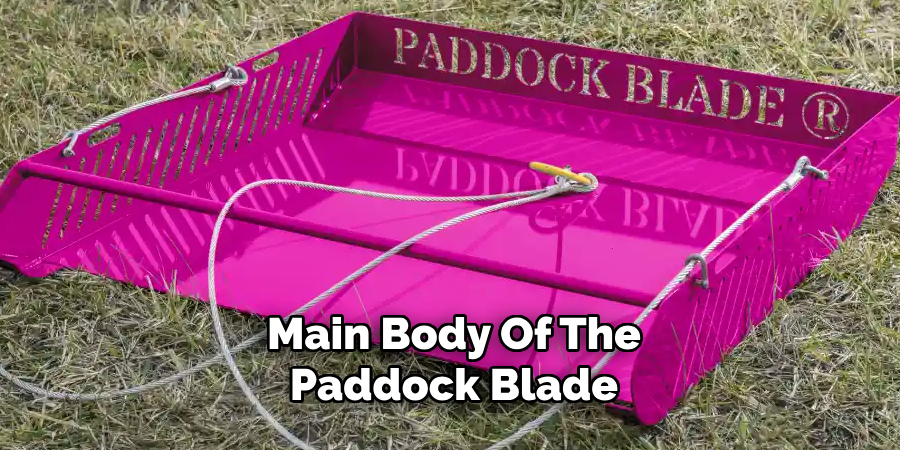
Steel or Aluminum Sheet Metal
This will serve as the main body of the paddock blade. The size and thickness of the sheet metal should be based on the dimensions of your paddock and the type of debris you will be collecting. Thicker and larger sheets will be more durable but may also require more effort to maneuver.
Metal Tubing
This will be used to handle the paddock blade. The length and diameter of the tubing should be based on your height and preference for handling the tool. Thicker tubing will provide more stability but may also add extra weight.
Welding Equipment
Depending on your level of skill and access to equipment, you can either use a MIG or TIG welder to attach the metal tubing to the sheet metal. If you are not comfortable with welding, you can also use heavy-duty bolts and nuts to secure the two pieces together.
Angle Grinder
This tool will be necessary for cutting and shaping the sheet metal according to your desired design. It can also be used to smooth out any rough edges or welds.
Protective Gear
When working with metal and welding, it’s important to wear protective gear such as gloves, eye protection, and a welding helmet to ensure your safety.
8 Step-by-step Methods on How to Make a Paddock Blade
Method 1: Preparing the Materials
- Start by measuring and cutting the sheet metal to your desired length and width. This will depend on the size of your paddock and the amount of debris you need to collect.
- Next, cut a piece of metal tubing to your desired length for the handle. Make sure it is long enough for you to comfortably hold and maneuver while using the paddock blade.
- Use the angle grinder to smooth out any rough edges or sharp corners on both the sheet metal and tubing.
Method 2: Shaping the Sheet Metal
- Use an angle grinder or other cutting tool to shape the sheet metal into a triangular or rectangular design with one pointed end and two flat sides.
- The pointed end should be sharp enough to easily penetrate through manure and debris, while the flat sides should be wide enough to collect a large amount.
- Once the shape is cut, use the angle grinder to smooth out any rough edges and ensure the blade is evenly shaped.
Method 3: Welding or Bolting the Handle
- If using a welder, carefully attach one end of the metal tubing to the pointed end of the sheet metal, making sure it is securely fastened.
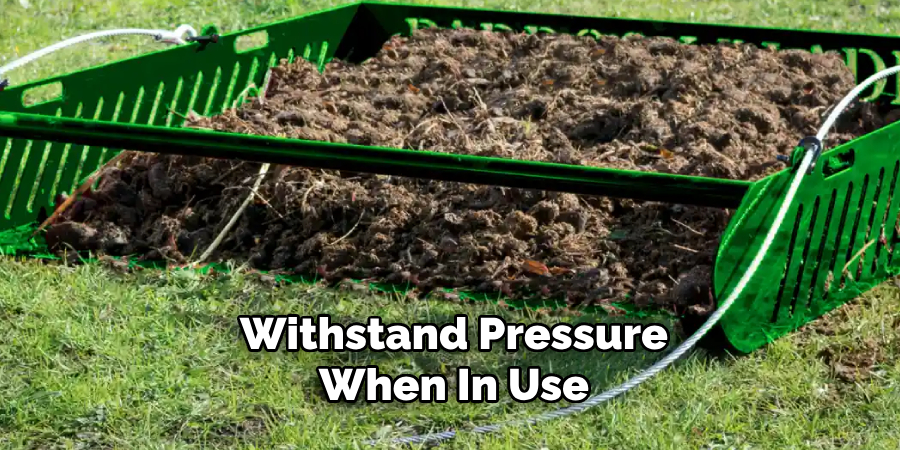
- If not comfortable with welding, drill holes on either side of the sheet metal and bolt one end of the handle onto each side.
- Test for sturdiness by gently pulling on the handle to ensure it can withstand pressure when in use.
Method 4: Adding Reinforcements
- To increase the durability of your paddock blade, consider adding additional pieces of sheet metal on either side or along the handle for reinforcement.
- This can be done using a welder or by drilling holes and bolting the reinforcements in place.
- Make sure the reinforcements are securely attached and will not interfere with the functionality of the blade.
Method 5: Creating a Tilt Mechanism (Optional)
- If you want to add more functionality to your paddock blade, you can create a tilt mechanism that allows you to adjust the angle of the blade while in use.
- This can be done by attaching a hinge at the base of the handle and attaching another piece of metal tubing that acts as a lever for tilting.
- Make sure the mechanism is securely attached and can withstand pressure while in use.
Method 6: Finishing Touches
- Use the angle grinder to smooth out any rough edges or welds on the blade and handle.
- You can also paint the blade with a rust-resistant paint to protect it from corrosion over time.
- Allow the paint to dry completely before using your paddock blade.
Method 7: Testing and Adjusting
- Once your paddock blade is complete, take it for a test run in your paddock to see how it performs.
- If necessary, make any adjustments such as reinforcing weak areas or adjusting the tilt mechanism for better functionality.
- Continue testing and adjusting until you are satisfied with the performance of your paddock blade.
Method 8: Maintenance and Care
- To ensure the longevity of your paddock blade, make sure to clean it after each use, especially if it comes in contact with manure.
- Store it in a dry place to prevent rusting and inspect it for any damage or wear before each use.
- If necessary, make repairs or replacements to maintain the functionality of your paddock blade.
Following these steps on how to make a paddock blade, you can create a reliable and cost-effective paddock blade that will make cleaning your paddock easier and more efficient. Remember to always prioritize safety when working with metal and welding equipment, and have fun building your own custom tool for your farm!

Additional Tips
Choose the Right Materials:
When selecting the type of metal for your paddock blade, consider factors such as climate and the type of debris you’ll encounter. Stainless steel can be a great option for its rust-resistant properties.
Practice Proper Welding Techniques:
If using a welder, make sure to practice proper welding techniques and safety precautions to ensure the integrity of your paddock blade.
Personalize Your Design:
Don’t be afraid to add your own personal touch to the design of your paddock blade. You can add patterns or decorations to the metal or even paint it in your preferred color.
Consider Maintenance and Repair:
Design your paddock blade with ease of maintenance and repair in mind. This will save you time and resources in the long run if any repairs or replacements are needed.
Share Your Creation:
Once you have successfully built your paddock blade, don’t hesitate to share your creation with others. You may inspire someone else to make their own or even improve upon your design. Overall, the key to making a reliable and effective paddock blade is careful planning, proper tools and techniques, and attention to detail. With these steps and tips in mind, you can create a customized tool that will make maintaining your paddock easier and more efficient. Happy building!
Frequently Asked Questions
Q: Can I Use a Different Material for the Blade Instead of Sheet Metal?
A: Yes, you can use other sturdy materials such as aluminum or plastic for the blade. The key is to ensure the material is strong enough to withstand pressure and sharp enough to penetrate through debris.
Q: Do I Need Welding Equipment?
A: No, you can also use bolts and nuts to attach the handle to the blade. However, welding creates a sturdier connection between the two pieces. The choice of equipment will depend on your level of skill and access to tools.
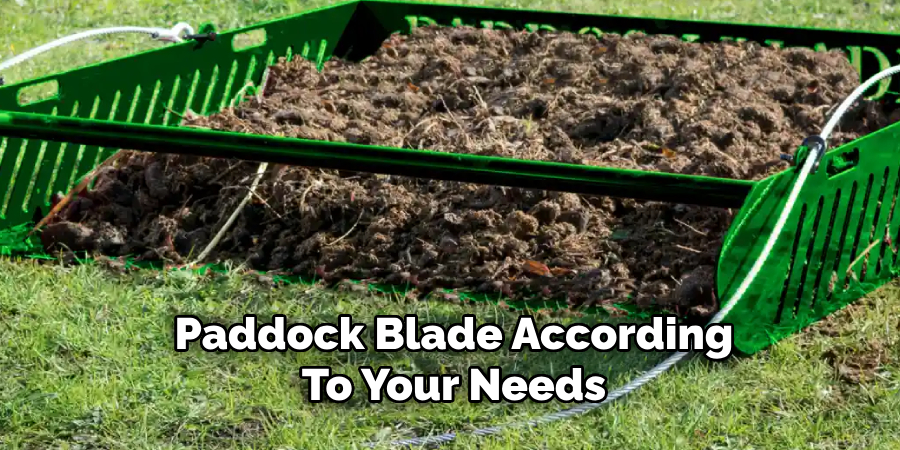
Q: Can I Adjust the Size of the Blade?
A: Yes, you can customize the dimensions of your paddock blade according to your needs. Just make sure to consider the weight and stability of the tool when making adjustments. The recommended size is typically between 2-3 feet in length and 1-2 feet in width.
Q: Do I Need a Professional Welder for this Project?
A: It is not necessary, but it may be helpful if you are not experienced with welding. However, if you feel comfortable and have the necessary equipment, you can weld the paddock blade yourself. Always prioritize safety when working with welding equipment.
Q: How Often Should I Maintain my Paddock Blade?
A: It is recommended to clean and inspect your paddock blade after each use, and make any necessary repairs or replacements as needed. This will ensure its longevity and effectiveness in keeping your paddock clean.
Conclusion
Building your own paddock blade offers a sense of accomplishment and provides a customized tool that meets your specific needs.
By following the detailed methods on how to make a paddock blade outlined, you can create a durable and effective device for maintaining a clean paddock. Not only does this project offer an opportunity to engage in a hands-on craft, but it also enhances your ability to manage debris and improve the overall health of your paddock area.
Remember to regularly maintain your paddock blade for optimal performance and to ensure its longevity. With proper care, this homemade tool can serve you well for years to come, making your farming tasks more efficient and manageable.
you can also check it out Measure Sheet Metal Thickness
Edmund Sumlin is a skilled author for Metal Fixes, bringing 6 years of expertise in crafting a wide range of metal fixtures. With a strong background in metalwork, Edmund’s knowledge spans various types of fixtures, from decorative pieces to functional hardware, blending precision with creativity. His passion for metalworking and design has made him a trusted resource in the industry.
Professional Focus:
- Expert in Metal Fixtures : Edmund aesthetic specializes in creating durable and innovative metal fixtures, offering both appeal and functionality. His work reflects a deep understanding of metalworking techniques and materials.
- Sustainability Advocate : He is dedicated to using sustainable practices, ensuring that every fixture is crafted with eco-friendly methods while maintaining high-quality standards.
In his writing for Metal Fixes, Edmund provides valuable insights into the latest trends, techniques, and practical advice for those passionate about metal fixtures, whether they are professionals or DIY enthusiasts. His focus on combining artistry with engineering helps others discover the true potential of metal in design.