

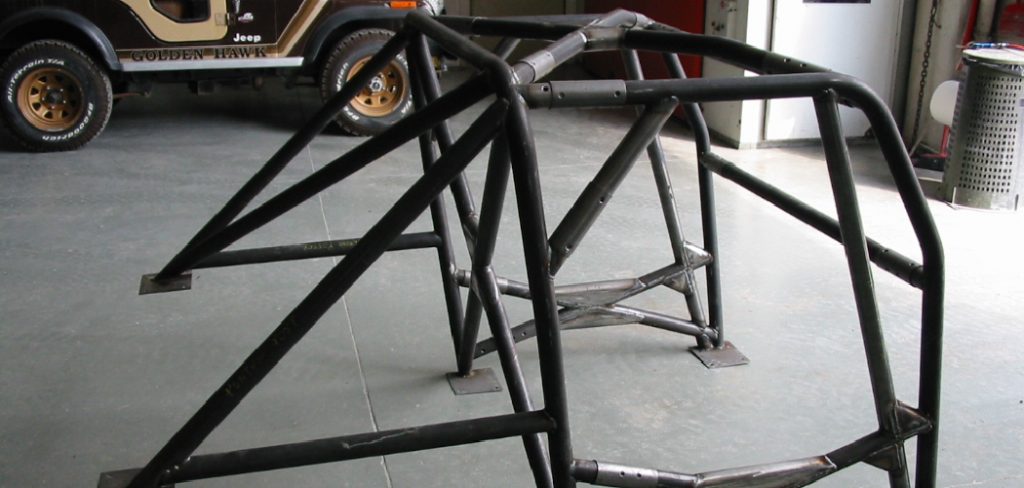
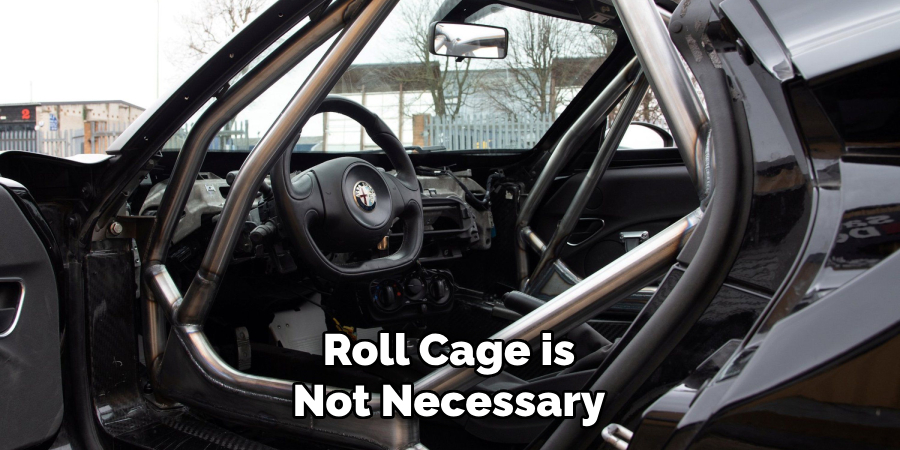
When it comes to building a high-performance race car or off-road vehicle, one of the most important safety features is a roll cage. A roll cage is a specially designed structure that surrounds the driver and passengers, providing protection in the event of a rollover or collision.
In this guide on how to make a roll cage, we will walk you through the process of making your own custom roll cage for your vehicle. You will learn about the materials and tools needed, as well as the steps involved in building a roll cage that meets safety standards and fits your specific vehicle.
What is a Roll Cage?
A roll cage is essentially a series of bars that are welded together to form a protective frame around the driver and passengers. The main purpose of a roll cage is to protect the occupants of the vehicle in case of an accident or rollover. It also helps to strengthen the chassis of the vehicle, providing more rigidity and stability during high-speed cornering and off-road conditions.
Materials and Tools Needed
Before you begin building your own roll cage, it is important to gather all the necessary materials and tools. Here is a list of items that you will need:
- Metal Tubing (Dom or Erw Steel)
- Tube Bender
- Welding Equipment (Mig or Tig Welder)
- Grinder
- Measuring Tape
- Notcher Tool
- Safety Gear (Gloves, Helmet, Goggles)
11 Step-by-step Guidelines on How to Make a Roll Cage
Step 1: Take Measurements
The first step in building a roll cage is to take accurate measurements of your vehicle’s interior. This will determine the length and angles of the tubing needed for your custom roll cage. You can use a measuring tape to measure the width and length of your vehicle’s interior, as well as the distance from the roof to the floor. But for more precise measurements, you can use a laser measuring tool.
Step 2: Design Your Roll Cage
Using your measurements, you can now design you roll cage using a computer-aided design (CAD) software or simply drawing it on paper.

This will help you visualize the final product and make any necessary adjustments before starting the actual construction. The design should include all the main bars and their angles, as well as any additional support bars. It is important to remember that the roll cage should be symmetrical on both sides of the vehicle.
Step 3: Choose Your Tubing
The most commonly used materials for building a roll cage are DOM (Drawn Over Mandrel) or ERW (Electric Resistance Welded) steel tubing. Both are strong and durable, but DOM is known for its superior strength and consistency in wall thickness. The thickness of the tubing will depend on the weight of your vehicle and intended use. For race cars or off-road vehicles, 1-3/4 inch DOM tubing with a 0.120 inch wall thickness is recommended.
Step 4: Bend the Tubing
Using a tube bender, you can now bend the tubing to fit your design. It is important to follow the angles and measurements accurately to ensure a proper fit. You may need to make multiple bends on one piece of tubing, so it is recommended to use a mandrel bender for more precise bends. You can also use a notcher tool to create accurate joints where two pieces of tubing will be welded together.
Step 5: Cut Notches for Joints
To connect the different sections of tubing, you will need to cut notches where they will meet. This is where a notcher tool comes in handy. The notches should match the diameter and angle of the tubing for a snug fit. It is important to note that there are different types of notchers available, so make sure you choose one that suits your tubing size and angle. It is also recommended to practice scrap tubing before making notches on your actual roll cage pieces.
Step 6: Weld the Pieces Together
Once you have all the pieces of tubing bent and notched, it is time to start welding. It is important to use a high-quality welder for strong and consistent welds. The key is to make sure all joints are properly aligned before welding. You can use clamps or tack welds to hold the pieces in place and make adjustments if needed. It is also important to grind down any excess welds for a smooth finish.
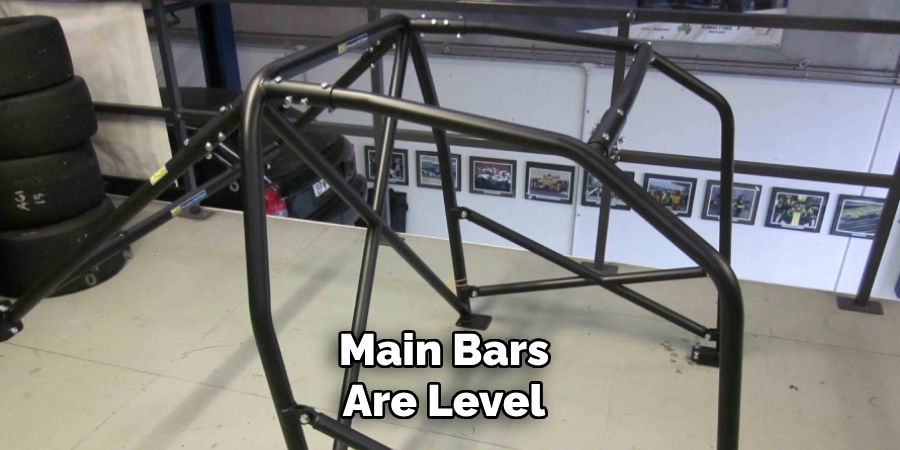
Step 7: Install Main Bars
The first bars to be installed are the main hoops, which run from the front to the rear of the vehicle. These should be mounted as close to the roof of your vehicle as possible, without interfering with any other components. It is important to make sure the main bars are level and parallel on both sides of the vehicle. You can use a straight edge or laser level to ensure accuracy.
Step 8: Add Support Bars
Once the main hoops are installed, you can now add support bars from the front to the rear of the vehicle, connecting them to the main hoops. These will help to strengthen and stabilize the roll cage. The number and placement of these bars will depend on your design and vehicle type. It is important to follow the specifications set by race-sanctioning bodies if you plan to compete in events.
Step 9: Create Door Bars
If your vehicle has doors, you will need to add door bars for additional protection. These should be installed on both sides of the vehicle, connecting the main hoops and support bars. The door bars should be angled to provide maximum protection for the occupants in case of a side impact. But they should not interfere with the opening and closing of the doors. The door bars should also be symmetrical on both sides of the vehicle.
Step 10: Finish Welding and Grind Down Excess
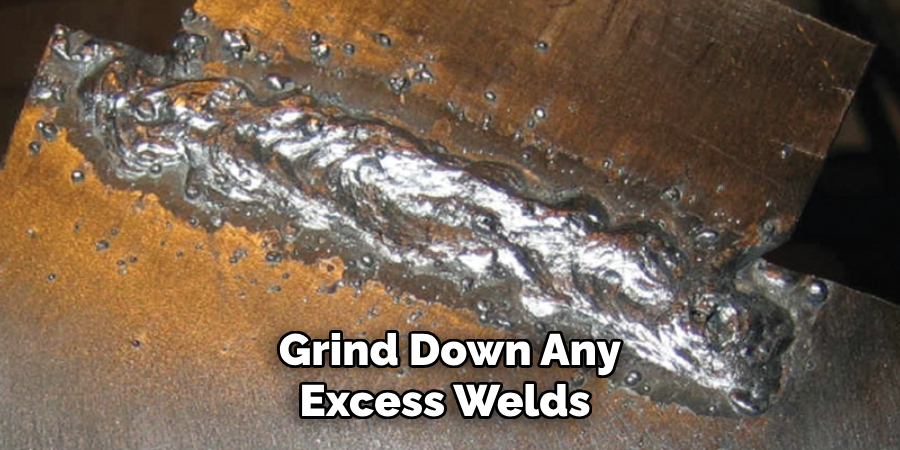
Once all the bars are installed, you can finish welding any remaining joints and grind down any excess welds for a smooth finish. It is important to make sure all joints are strong and secure. It is also recommended to have a professional inspect the welds for any potential weaknesses. But if you are confident in your welding skills, performing destructive testing on a spare piece of tubing can give you peace of mind.
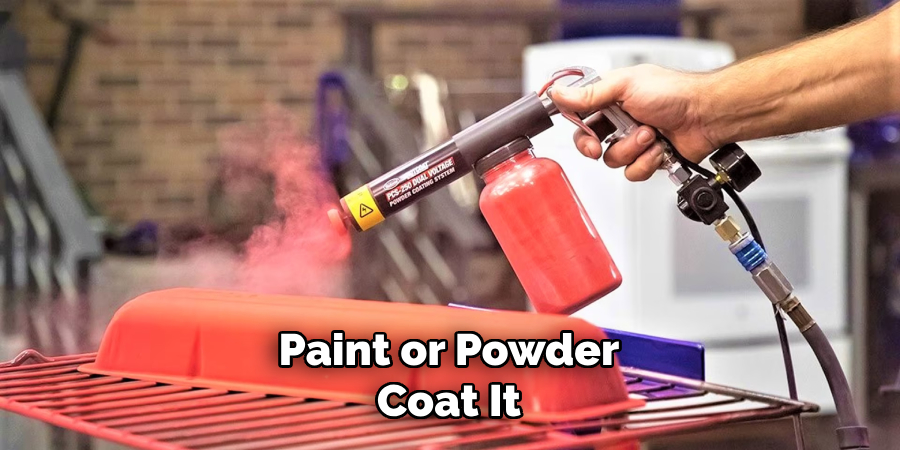
Step 11: Paint or Powder Coat
To prevent the roll cage from rusting, it is important to paint or powder coat it. You can choose a color that matches your vehicle’s exterior or go for a more durable coating like a black powder coat. This will not only protect the roll cage but also give it a professional and polished look. The paint should also have a heat resistance of at least 500 degrees Fahrenheit, as the roll cage will be exposed to high temperatures in case of an accident.
Do You Need to Take Professionals Help?
Constructing a roll cage requires precise measurements, advanced tools, and welding skills. It also needs to meet safety standards set by race-sanctioning bodies if you plan to compete in events. Therefore, it is recommended to seek help from professionals who have experience in building roll cages. They can ensure the process is done correctly and safely. Additionally, they may have access to specialized tools and equipment that can make the construction process easier and more efficient.
However, if you have the necessary skills and resources, building a roll cage on your own can be a rewarding experience. Just make sure to thoroughly research and follow all safety guidelines. Remember, safety should always be the top priority when constructing a roll cage for any vehicle. With careful planning and attention to detail, you can have a strong and reliable roll cage that will protect you in case of an accident. So don’t compromise on safety and always take the necessary precautions when building or installing a roll cage.
How Much Could It Cost?
The cost of building a roll cage can vary depending on factors such as the type of tubing, tools needed, and professional help. On average, it can cost anywhere from $500 to $2000. However, if you choose to have a professional build and install your roll cage, it can cost significantly more. It is important to keep in mind that investing in a high-quality roll cage is a small price to pay for the added safety it provides. So make sure to budget accordingly and never compromise on quality when it comes to your safety on the track.
Overall, building a roll cage can be a challenging but essential task for any vehicle used in motorsports. With proper planning, research, and attention to detail, you can have a strong and reliable roll cage that will give you the confidence to push your vehicle to its limits. Remember, safety should always be a top priority when it comes to racing, and a well-built roll cage is crucial in ensuring the safety of both the vehicle and its occupants.
Additional Tips
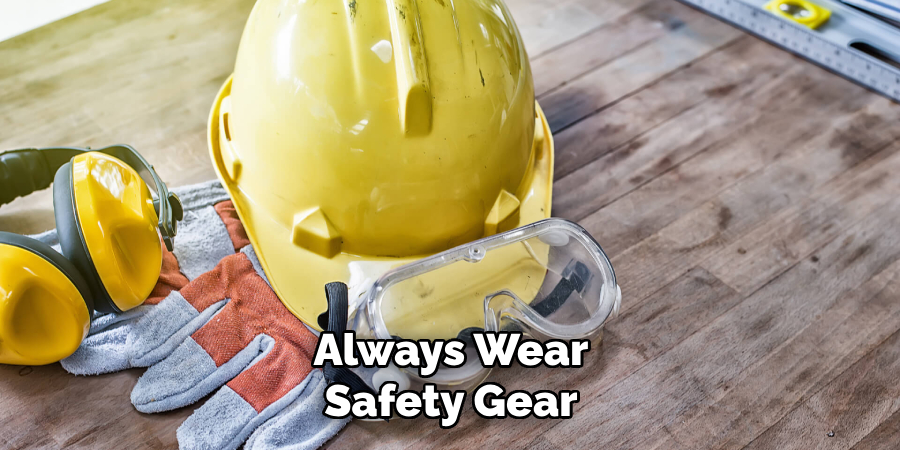
- Always Wear Safety Gear When Working on Your Roll Cage, Including Gloves, Safety Glasses, and a Welding Mask.
- It is Recommended to Have a Professional Inspect Your Roll Cage Before Using It in Any Competitions or High-speed Events.
- Practice Proper Weld Techniques and Always Double Check Measurements and Angles Before Welding.
- Make Sure the Roll Cage Does Not Interfere With Any Other Components of Your Vehicle, Such as the Seat Belts or Dashboard.
- Regularly Inspect and Maintain Your Roll Cage for Any Signs of Wear or Damage. By following These Steps and Tips, You Can Build a Strong and Reliable Roll Cage That Will Provide Essential Protection in Case of an Accident. Remember to Always Prioritize Safety When Working on Any Vehicle Modifications. Happy Building!
Frequently Asked Questions
Q1: Do I Need a Roll Cage for My Vehicle?
A1: It is not required by law to have a roll cage in your vehicle, but it can provide essential protection in case of an accident. If you plan on participating in high-speed events or racing, a roll cage may be mandatorily required by race-sanctioning bodies. It is always better to be safe than sorry.
Q2: Can I Build a Roll Cage Myself?
A2: While it is possible to build a roll cage yourself, it is recommended to have professional help or at least supervision. Welding and working with metal can be dangerous if not done properly. It is important to follow safety precautions and use high-quality materials.
Q3: How Much Does It Cost to Build a Roll Cage?
A3: The cost of building a roll cage will depend on the size and complexity of your vehicle, as well as the materials and tools you use. It can range from a few hundred dollars to thousands of dollars. It is important to research and plan carefully before starting the project to avoid any unexpected costs.
Q4: Is a Roll Cage Necessary for Street Driving?
A4: A roll cage is not necessary for everyday street driving. However, it can provide additional protection and peace of mind in case of an accident. It is important to consider the size and design of your vehicle when deciding if a roll cage is necessary for street use.
Conclusion
Building a custom roll cage for your vehicle may seem like a daunting task, but with the right tools and guidelines, it can be a rewarding experience. Remember to always prioritize safety and precision when measuring, bending, notching, and welding your roll cage. And don’t forget to have a professional inspect the final product before hitting the road or track.
With a well-designed and properly constructed roll cage, you can enjoy added protection and peace of mind during extreme driving situations. So whether you’re building for racing purposes or simply for added safety on off-road adventures, a roll cage is an essential component that should not be overlooked. So go ahead and start designing your own custom roll cage today! Thanks for reading this article on how to make a roll cage.
Edmund Sumlin is a skilled author for Metal Fixes, bringing 6 years of expertise in crafting a wide range of metal fixtures. With a strong background in metalwork, Edmund’s knowledge spans various types of fixtures, from decorative pieces to functional hardware, blending precision with creativity. His passion for metalworking and design has made him a trusted resource in the industry.
Professional Focus:
- Expert in Metal Fixtures : Edmund aesthetic specializes in creating durable and innovative metal fixtures, offering both appeal and functionality. His work reflects a deep understanding of metalworking techniques and materials.
- Sustainability Advocate : He is dedicated to using sustainable practices, ensuring that every fixture is crafted with eco-friendly methods while maintaining high-quality standards.
In his writing for Metal Fixes, Edmund provides valuable insights into the latest trends, techniques, and practical advice for those passionate about metal fixtures, whether they are professionals or DIY enthusiasts. His focus on combining artistry with engineering helps others discover the true potential of metal in design.