

When it comes to equipping your kitchen, a sturdy metal stand for your oven can be an invaluable addition. Not only does it provide a stable base to support your oven, but it also offers extra storage space for your cooking essentials. Crafting a metal stand might seem like a daunting task, but with the right tools, materials, and guidance, it can be a straightforward and rewarding project.
This guide on how to make metal stand for oven will walk you through the steps needed to design and build a functional and durable metal stand tailored to your specific needs.
Benefits of a Metal Stand for Oven
Before we dive into the steps of making a metal stand, let’s first understand why having one is beneficial. Here are some advantages of having a metal stand for your oven:
Stability:
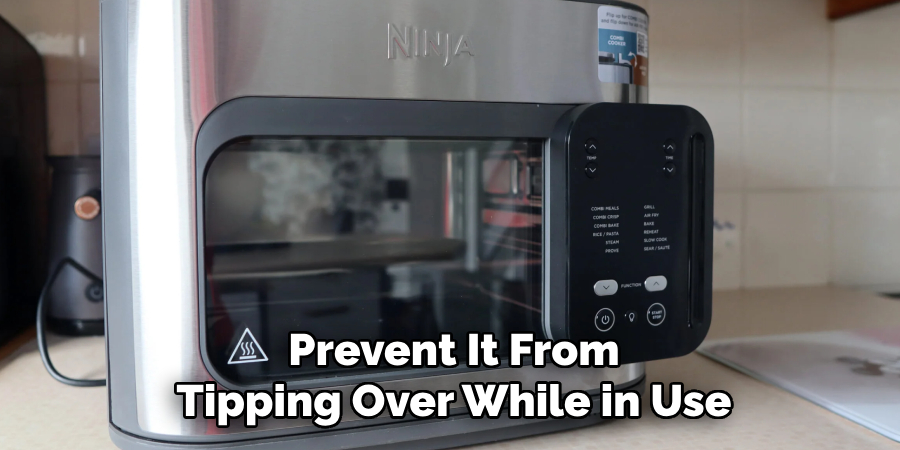
A metal stand provides a sturdy and secure base for your oven, preventing it from tipping over or wobbling while in use. This stability is crucial for safety reasons and also ensures even heating of your food.
Space-saving:
By having a metal stand, you can utilize the space beneath your oven for storage purposes. You can store pots, pans, baking sheets, and other cooking essentials conveniently within reach.
Customization:
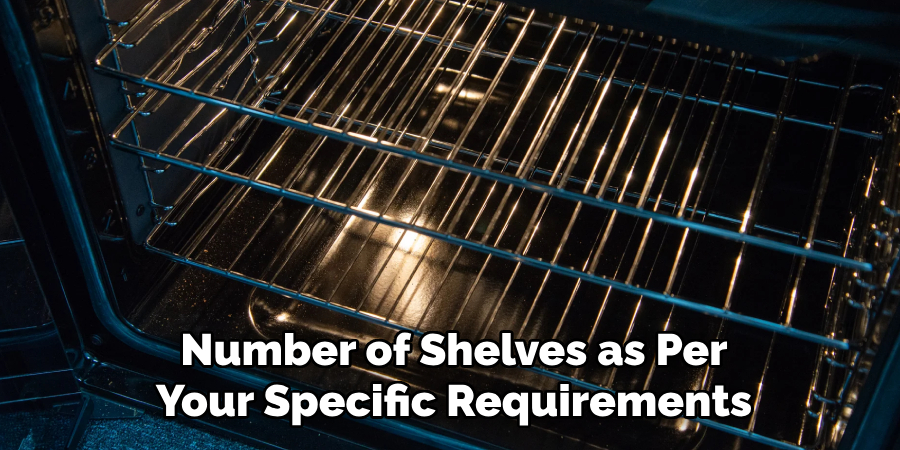
When making your own metal stand, you have the freedom to design it according to your preferences and needs. You can adjust the height, width, and number of shelves as per your specific requirements.
Now that you know the benefits let’s see how to make a metal stand for an oven step by step.
Materials Required
- Metal Pipes (Galvanized Steel or Stainless Steel)
- Metal Sheets (for Shelves)
- Measuring Tape
- Marker
- Saw
- Drill and Drill Bits
- Screws
- Screwdriver
- Leveler
9 Step-by-step Guidelines on How to Make Metal Stand for Oven
Step 1: Measure the Oven Dimensions
The first step in building your metal stand is to measure the dimensions of your oven accurately. Use a measuring tape to determine the oven’s width, depth, and height. Make sure to include any protruding parts, such as handles or control panels, in your measurements.
These dimensions will help you design a stand that fits your oven perfectly and provides proper support. Write down these measurements and double-check them to ensure accuracy before moving on to the next step.
Step 2: Determine the Materials Required
With the oven dimensions in hand, the next step is to determine the exact materials needed for your metal stand. Start by calculating the length and size of the metal pipes required to create the frame. Ensure the pipes are thick enough to support the weight of the oven and any additional items you plan to store on the stand. Choose durable materials such as galvanized steel or stainless steel, as these are resistant to rust and wear.

Metal sheets should be selected based on the level of weight they will need to support the shelves. Opt for sheets that are sturdy and easy to attach to the frame. Additionally, gather tools such as a drill, screws, and a saw, ensuring they are compatible with the materials you’ve chosen. Writing down a detailed list of materials will help streamline the assembly process and ensure that you have everything you need before you begin construction.
Step 3: Cut the Metal Pipes
Using a saw, cut the metal pipes according to the measurements you took in Step 1. It’s important to be precise while cutting to ensure all pipes are of equal length and can fit together easily during assembly. Remember to wear protective gear such as gloves and goggles while handling sharp tools.
It’s also a good idea to label the pipes according to their designated position in the frame, as this will make assembly easier later on.
Step 4: Drill Holes for the Shelves
With the metal pipes cut to size, the next step is to drill holes where the shelves will be attached. Mark the positions for the holes on each pipe using a marker, ensuring that the markings are at the same height on all four vertical pipes to maintain level shelves. The number of holes will depend on how many shelves you plan to add to the stand. Use a drill with an appropriate drill bit to create clean and precise holes at the marked locations.
Double-check the alignment of the holes before drilling to avoid any discrepancies that may cause instability. Ensure that the holes are slightly larger than the screws or bolts you will use to attach the shelves, allowing for a secure fit during assembly. By taking your time and drilling carefully, you can set a strong foundation for your stand’s shelving.
Step 5: Attach the Shelves
Once all holes are drilled, it’s time to attach the shelves. Place the metal sheets on top of the horizontal pipes and use screws or bolts to secure them in place. Ensure that each shelf is level and evenly spaced before tightening the screws.
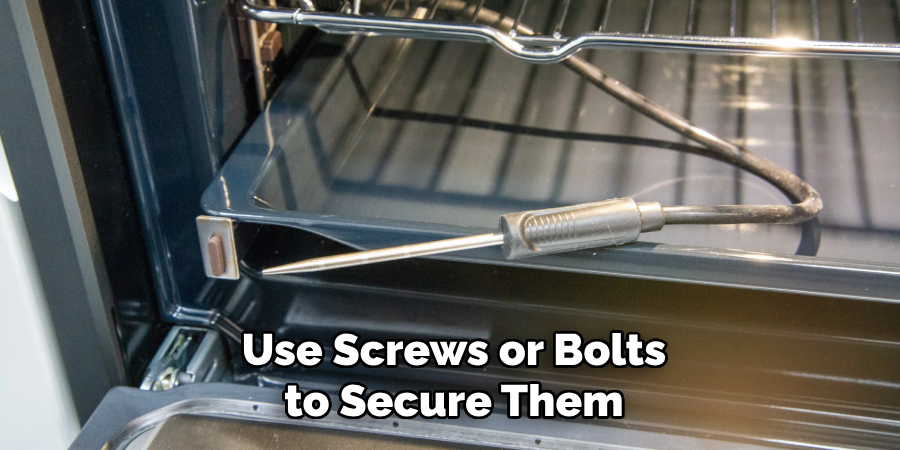
You can also add additional reinforcement by adding a screw or bolt at each corner for added stability. Repeat this step for each shelf until you have completed the stand’s frame.
Step 6: Join the Pipes
Take two vertical pipes and one horizontal pipe and join them together using connectors or screws at one end. Repeat this process with the remaining pipes until you have three sides of your stand assembled.
Next, connect the three sides together using additional pipes or connectors to create a sturdy frame. Make sure all joints are securely fastened and use a leveler to ensure the stand is straight and balanced.
Step 7: Attach the Frame to the Shelves
Place the completed frame on top of the shelves, aligning it with the holes drilled earlier. Use screws or bolts to secure the frame to each shelf at every joint for added stability. Double-check that all connections are secure before moving on to the next step.
But wait! Before you put your oven on the stand, there’s one more crucial step to ensure safety and stability.
Step 8: Secure the Stand to the Wall (Optional)
To prevent any accidents or wobbling, it is recommended that the stand be secured to a nearby wall. Use screws or bolts to attach metal brackets from the back of the stand to the wall at every corner. This will further stabilize the stand and prevent it from tipping over while in use.
If your stand is placed near a power outlet, remember to leave enough space between the wall and the stand for easy access.
Step 9: Place Your Oven on the Stand
With your metal stand complete and secured, it’s time to place your oven on top. Carefully lift the oven and place it on the stand, ensuring that all four corners are properly supported by the shelves. Check again for stability before using your newly built metal stand.
Congratulations! You have successfully built a sturdy and customized metal stand for your oven. Now, you can enjoy cooking without having to bend down or struggle with limited counter space. Additionally, you can use the extra shelves to store kitchen items such as pots, pans, and baking sheets. With proper maintenance on how to make metal stand for your oven, your metal stand will provide reliable support for your oven for years to come. Happy cooking!
Do You Need to Use Professionals?
Building a metal stand for your oven can be a rewarding DIY project, but it might not be suitable for everyone. If you lack the necessary tools, skills, or confidence to carry out the outlined steps, hiring professionals could be a wise decision. Professional metalworkers or carpenters have the expertise and equipment to construct a sturdy, customized stand tailored to your exact specifications. They can ensure that the stand adheres to safety standards and provides a high-quality finish that may be difficult to achieve on your own.
Additionally, if time is a constraint or if you’re uncertain about handling sharp tools and heavy materials, relying on a professional can save you time and effort while eliminating the risk of errors. While this option might come with added costs, it offers peace of mind, knowing the project will be completed efficiently and safely. Evaluate your resources, skills, and comfort level before deciding whether to tackle the project yourself or bring in a professional.
Frequently Asked Questions
Q1: Can I Use Other Materials Besides Metal for the Stand?
A1: Answer: While metal is a durable and sturdy option, you can also use wood or plastic pipes to create a similar stand. However, make sure the materials you choose are strong enough to support the weight of your oven and any additional items stored on the shelves.
Q2: Is It Necessary to Secure the Stand to a Wall?
A2: Answer: Securing the stand to a wall is not mandatory, but it is recommended for added stability and safety. If you choose not to secure it, make sure the stand is on a level surface and all connections are tightly secured.
Q3: Can I Customize My Metal Stand Further?
A3: Answer: Yes, you can add additional features such as hooks or racks for hanging utensils or towels. You can also paint or decorate the stand according to your personal style and kitchen decor. Remember to use non-toxic paints if you plan on using the stand for cooking or baking purposes.
Q4: How Do I Clean and Maintain My Metal Stand?
A4: Answer: Regularly wipe down the stand with a damp cloth, and avoid using harsh chemicals that may damage the metal finish. If any parts become loose, tighten them immediately to prevent further damage. With proper care, your metal stand can last for many years without needing replacement.
Conclusion
Building your own metal stand for your oven is not only a cost-effective solution but also a rewarding DIY project that enhances your kitchen’s functionality. By carefully following the steps on how to make metal stand for oven outlined in this guide, you can create a stand that is both sturdy and customized to your needs. Whether you choose to secure it to the wall or add personal touches, the possibilities for customization are endless.
Proper maintenance will ensure your stand remains reliable and durable for years, making it a valuable addition to your kitchen setup. Take pride in your handiwork and enjoy the convenience and organization your new metal stand brings to your cooking experience!
Edmund Sumlin is a skilled author for Metal Fixes, bringing 6 years of expertise in crafting a wide range of metal fixtures. With a strong background in metalwork, Edmund’s knowledge spans various types of fixtures, from decorative pieces to functional hardware, blending precision with creativity. His passion for metalworking and design has made him a trusted resource in the industry.
Professional Focus:
- Expert in Metal Fixtures : Edmund aesthetic specializes in creating durable and innovative metal fixtures, offering both appeal and functionality. His work reflects a deep understanding of metalworking techniques and materials.
- Sustainability Advocate : He is dedicated to using sustainable practices, ensuring that every fixture is crafted with eco-friendly methods while maintaining high-quality standards.
In his writing for Metal Fixes, Edmund provides valuable insights into the latest trends, techniques, and practical advice for those passionate about metal fixtures, whether they are professionals or DIY enthusiasts. His focus on combining artistry with engineering helps others discover the true potential of metal in design.