

Creating a silver knife holder is a practical and stylish way to organize your kitchen while adding a touch of elegance to your decor. This guide on how to make silver knife holder will walk you through the steps needed to craft a durable and visually appealing knife holder using silver materials.
Whether you’re looking to complement a modern kitchen aesthetic or simply enjoy DIY projects, this process is simple and rewarding. With the right tools and a bit of creativity, you can design a knife holder tailored to your style and needs.
Why Make a Silver Knife Holder?
The benefits of making a silver knife holder go beyond just organization and design. Here are some reasons to consider creating your own silver knife holder:
Cost-effective:
Making your own silver knife holder can be more cost-effective than purchasing one from a store. You can use simple and affordable materials to create a one-of-a-kind holder that adds value to your kitchen.
Personalized:
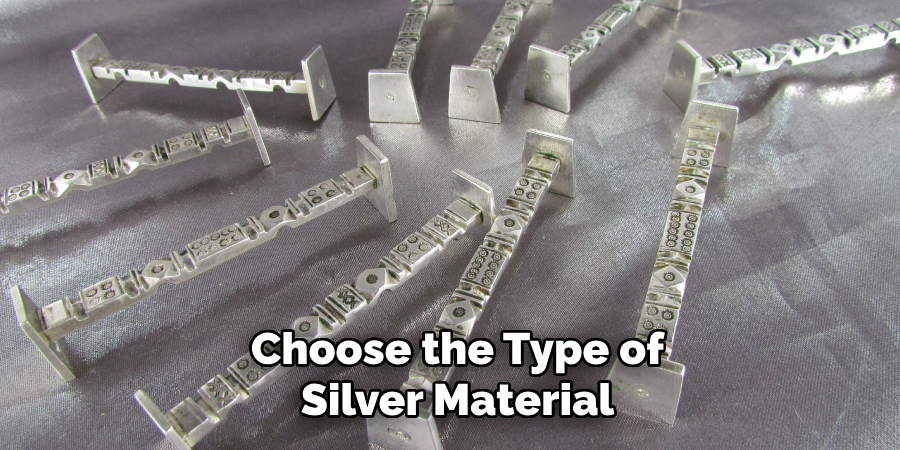
By making your own silver knife holder, you can customize it to match your personal style and fit in with the rest of your kitchen decor. You can choose the type of silver material, design, and size that best suits your needs.
Durable:
Silver is a strong and durable material that will ensure your knife holder lasts for a long time. With proper care, it can withstand everyday use without rusting or corroding.
Materials Needed
To make a silver knife holder, you will need the following materials:
- Silver Wire or Sheet
- Pliers
- Wire Cutter
- Ruler
- Marker or Pen
- Soldering Iron and Solder (if Using Wire)
8 Step-by-step Guides on How to Make Silver Knife Holder
Step 1: Measure the Length and Width
Using your ruler, measure the dimensions of the knife holder you want to create. Consider the number of knives you plan to store and ensure the length and width accommodate them comfortably.
Mark these measurements on the silver wire or sheet with a marker or pen to serve as a guide. This step is crucial for ensuring that your final product is both functional and tailored to your requirements.
Step 2: Cut the Silver Material
Using the wire cutter or appropriate cutting tool, carefully cut the silver wire or sheet according to the measurements marked in Step 1. Ensure your cuts are precise to maintain the structure and symmetry of the knife holder. If you are using a silver sheet, you may need to use a metal shear or heavy-duty scissors designed for cutting metal.
Always exercise caution and wear protective gloves during this step to avoid any injuries from sharp edges. Once cut, set the pieces aside for the next step.
Step 3: Bend the Silver Pieces
With the cut silver pieces prepared, use pliers to carefully bend the material into the desired shape for your knife holder. If you are creating slots for individual knives, bend the pieces to form U-shaped or L-shaped sections that can securely hold the blades. For a more open design, you can bend the silver into a frame or rack-like shape.
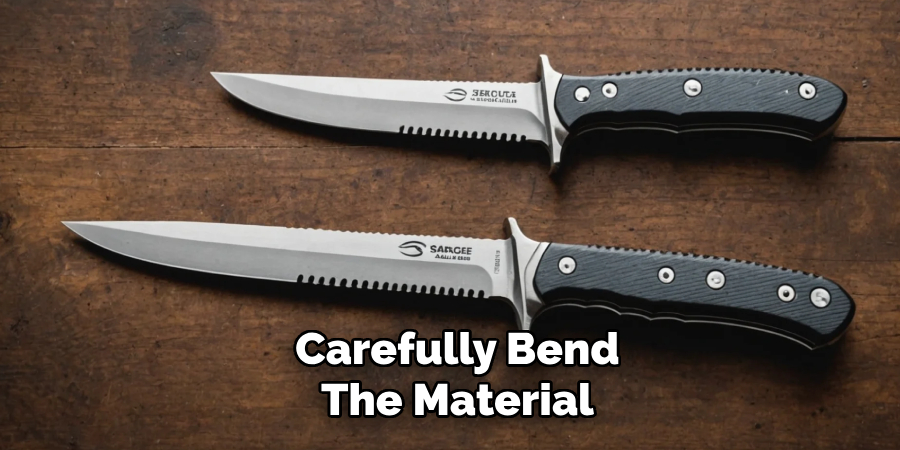
Work slowly and apply consistent pressure to avoid damaging or snapping the material. Using a ruler or guide can help maintain symmetry and ensure the bends are uniform. If the silver is particularly stiff, consider gently heating it with a blowtorch or heat gun to make it more malleable. Once all the pieces are shaped properly, check that they align well before moving on to the next step.
Step 4: Solder the Pieces (Optional)
If you are using silver wire to create your knife holder, you may need to solder the pieces together for added strength and stability. This step is not necessary if you are using a silver sheet or prefer a more open design with visible gaps between the pieces.
To solder, use a soldering iron to heat up the end of each piece and apply a small amount of solder at the joint where they will connect. Hold the two pieces together until they cool down and bond. Repeat this process for all joints until your silver frame or rack is fully assembled.
Step 5: Clean Up Any Rough Edges
After cutting and bending the silver pieces, you may notice sharp edges or rough spots that can scratch or cause injury. Use a metal file or sandpaper to smooth out any of these imperfections.
Alternatively, you can also use a polishing cloth to buff away any sharp areas and give your knife holder a shiny finish. This step is not necessary but can add an extra touch of refinement to your final product.
Step 6: Add Finishing Touches (Optional)
At this point, your silver knife holder should be fully assembled and functional. However, if you want to further personalize it or enhance its look, you can add some finishing touches such as decorative beads, gems, or engravings. These can be attached using a hot glue gun, adhesive, or by soldering them onto the silver surface.
But keep in mind that this step is optional and should not interfere with the functionality of your knife holder.
Step 7: Test and Adjust
Before placing your knives in the holder, do a final test to ensure that they are stable and able to hold the weight of the blades without tipping over or bending. If you notice any weak spots or instability, make adjustments as needed before proceeding to the final step.
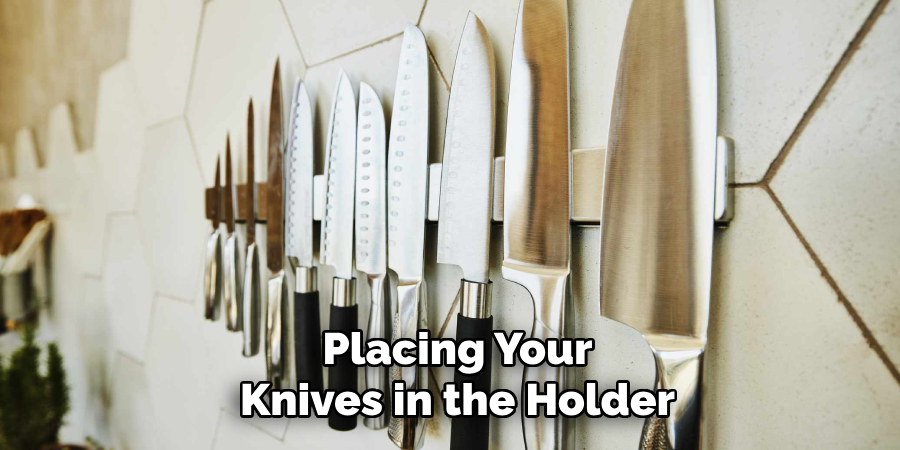
You can reinforce the holder with additional solder or by using a thicker gauge of silver wire or sheet.
Step 8: Enjoy Your New Knife Holder!
Congratulations, you have successfully created your own silver knife holder! Place it in your kitchen and arrange your knives inside for a beautiful and functional addition to your cooking space.
Following these steps on how to make silver knife holder, you can easily make a silver knife holder that is personalized, durable, and cost-effective. Proper care will not only keep your knives organized but also make them a stunning piece of kitchen decor. So why settle for a store-bought holder when you can create one that is uniquely yours? Give it a try and impress yourself with your DIY skills! Happy crafting!
How Much Could It Cost?
The cost of making a silver knife holder can vary depending on the materials and tools you choose to use. For example, purchasing silver wire or sheets may cost anywhere from $20 to $100, depending on the size, thickness, and quality of the material. Basic tools like pliers, wire cutters, and metal rulers are often affordable and may range from $10 to $30 if you don’t already own them.
If you need a soldering iron and solder, these can cost around $20 to $50 for a beginner set. Optional additions, such as decorative elements like beads or engraving tools, could add another $5 to $20 to your expenses. Overall, a DIY silver knife holder can cost as little as $50 if you already have some tools or as much as $150 if you need to purchase everything new.
While the initial cost may seem high, the end product is a long-lasting, personalized item that will elevate your kitchen’s style and organization. Plus, compared to purchasing a high-end silver knife holder from a store, making your own can still save you money while offering a rewarding crafting experience.
Frequently Asked Questions
Q: Can I Use Other Types of Metal Instead of Silver?
A: Yes, you can use different types of metal such as copper or brass, to create a similar knife holder. However, keep in mind that these metals may require different tools and techniques for cutting and shaping. Additionally, they may not have the same durability and shine as silver.
Q: Do I Need to Have Prior Craft or Metalworking Experience?
A: While prior experience can be helpful, it is not necessary for this project. As long as you exercise caution and carefully follow the steps and safety tips provided, anyone can create a beautiful silver knife holder.
Q: Can I Make Different Shapes and Designs with Silver?
A: Yes, you can use your creativity to make different shapes and designs with silver based on your preferences and needs. Just remember to work slowly and carefully when cutting and bending the metal to avoid any accidents or mistakes. You can also experiment with different techniques such as hammering, etching, or embossing to add texture and visual interest to your holder.
Q: How Can I Care for My Silver Knife Holder?
A: To maintain the shine and quality of your silver knife holder, it is important to clean it regularly with a mild detergent and soft cloth. Avoid using harsh chemicals or abrasive materials that can scratch or tarnish the silver surface.
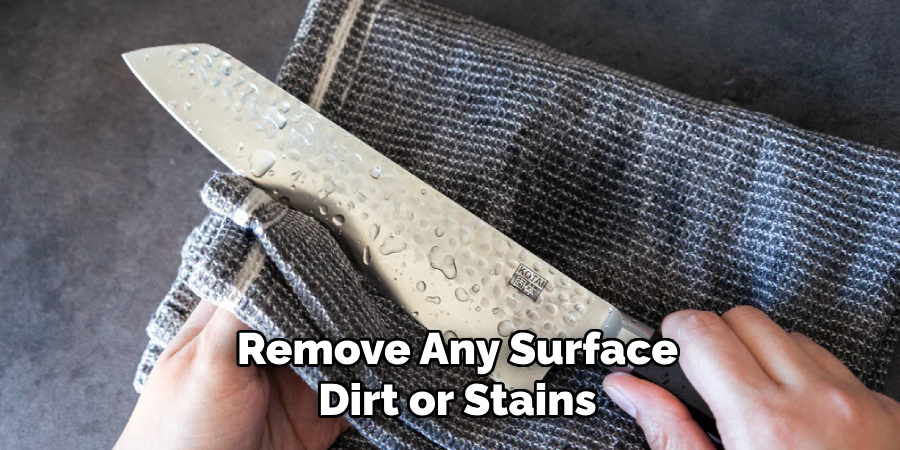
You can also use a silver polish specifically designed for this type of metal to restore its shine and remove any surface dirt or stains. When not in use, store your knife holder in a dry place to prevent moisture and humidity from causing corrosion. With proper care, your silver knife holder can last for many years to come. Keep it looking beautiful and functional by giving it some TLC every now and then.
Conclusion
Making a silver knife holder is not only a fun DIY project but also a practical way to organize and display your knives. By following these simple steps on how to make silver knife holder, you can create a unique and durable silver knife holder that adds value to your kitchen.
So gather the materials, unleash your creativity, and enjoy the satisfaction of making something from scratch!
Edmund Sumlin is a skilled author for Metal Fixes, bringing 6 years of expertise in crafting a wide range of metal fixtures. With a strong background in metalwork, Edmund’s knowledge spans various types of fixtures, from decorative pieces to functional hardware, blending precision with creativity. His passion for metalworking and design has made him a trusted resource in the industry.
Professional Focus:
- Expert in Metal Fixtures : Edmund aesthetic specializes in creating durable and innovative metal fixtures, offering both appeal and functionality. His work reflects a deep understanding of metalworking techniques and materials.
- Sustainability Advocate : He is dedicated to using sustainable practices, ensuring that every fixture is crafted with eco-friendly methods while maintaining high-quality standards.
In his writing for Metal Fixes, Edmund provides valuable insights into the latest trends, techniques, and practical advice for those passionate about metal fixtures, whether they are professionals or DIY enthusiasts. His focus on combining artistry with engineering helps others discover the true potential of metal in design.