

Branding irons have a rich history, tracing back to ancient times when they were used to mark livestock. Over the centuries, they have evolved beyond their agricultural roots and found a place in modern craftsmanship. Today, branding irons are widely used in woodworking and leather crafting to add a personalized touch to handmade products. These tools are also popular for embellishing and personalizing gifts or creating one-of-a-kind designs on various materials.

The allure of custom branding irons lies in their ability to transform ordinary items into unique expressions of identity or artistry, making them highly appealing to DIY enthusiasts, small business owners, and hobbyists alike. This article aims to serve as a comprehensive, step-by-step guide on how to make your own branding iron, providing you with the know-how to craft a personalized tool that reflects your unique style or brand.
Materials and Tools Needed
Essential Materials
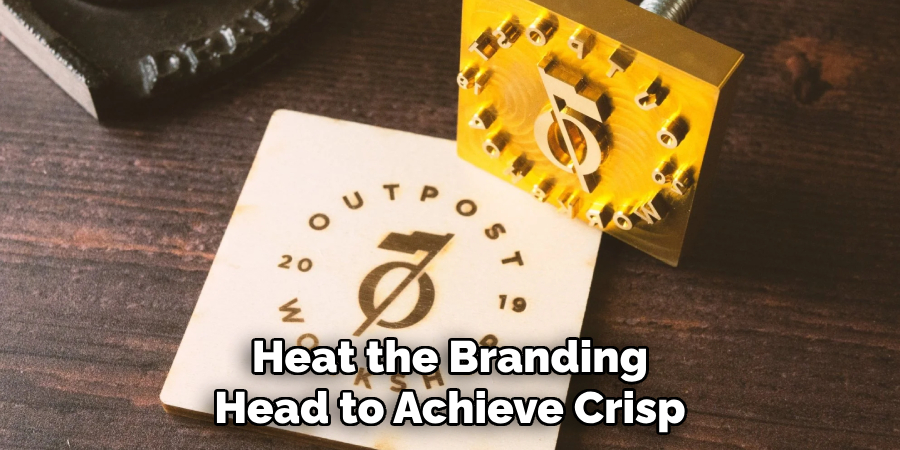
Creating your own branding iron requires specific materials to ensure durability and effectiveness. First, you’ll need a steel or brass rod to craft the branding head. These metals are ideal due to their excellent heat retention and ability to withstand repeated use. For the handle, options include a steel rod or a wooden dowel, which must be sturdy enough for consistent handling. Lastly, you’ll need a reliable heat source; whether you choose a torch, stove, or a soldering iron attachment, ensure it can consistently heat the branding head to achieve crisp, clear impressions on your chosen mediums.
Required Tools
Several tools are necessary to craft and assemble your custom branding iron. A drill is essential for creating precise holes for attaching parts. Engraving or rotary tools are required to etch your design onto the metal. A metal file will help smooth out any rough edges, ensuring ca lean application.
Clamps are necessary for securing materials tightly during crafting, while heat-resistant gloves will protect your hands when working with hot elements. For more intricate designs, optional tools such as a laser engraver, CNC machine, or 3D printer can provide additional precision and detail, greatly enhancing the finished branding iron’s artistry and utility.
Designing Your Branding Iron
Creating the Branding Design
Designing your branding iron involves crafting a clear and simple logo, initials, or pattern that effectively communicates your desired effect on the materials you plan to brand. Focus on simplicity and clarity to ensure the design transfers cleanly to various surfaces. Utilize computer software like Illustrator or Canva to create precise digital designs, allowing for easy adjustments and refinements. Alternatively, you can sketch your ideas by hand to bring a personal touch. Remember, intricate designs may require more advanced crafting techniques but can result in truly distinctive branding irons.
Converting the Design to a Physical Template
Once your design is finalized, it’s time to convert it into a physical template for crafting the branding head. You can print the design and then trace it onto the metal surface using transfer paper. This method works well for ensuring accuracy and clear lines. Alternatively, stencils or direct engraving can be used to transfer more complex patterns onto metal. If technology is available, 3D printing your design onto the branding head is also an option, allowing more precision and detail, particularly for intricate logos or specialized fonts. The method you choose will depend on your available tools and design complexity.
How to Make Your Own Branding Iron: Shaping the Branding Head
Engraving the Design Manually
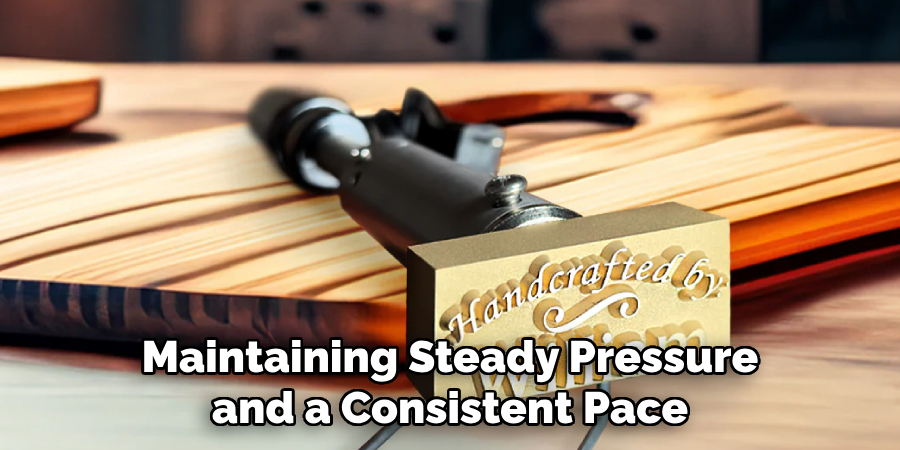
Manually engrave the design onto the branding head, beginning by securing the metal rod or plate in a vice or strong clamp to prevent movement during engraving. Use appropriate engraving tools such as small chisels or a rotary tool, and follow your outlined design closely. Maintaining steady pressure and a consistent pace is crucial to achieve clean, precise lines and avoid unnecessary imperfections.
After completing the initial engraving, refine your work by smoothing out the edges with a metal file. This step ensures the engraved design will transfer clearly and accurately onto various surfaces without leaving any rough or jagged edges. For even better results, keep your engraver steady and ensure the tool remains perpendicular to the metal for consistent depth and detail.
Using Advanced Methods for Complex Designs
For more intricate and complex designs, leveraging advanced technologies like CNC machines or laser engravers can greatly enhance the precision and detail of your branding head. CNC machines have computer-guided cutting tools that follow digital patterns, allowing for precise engraving of complex shapes and patterns. Alternatively, a laser engraver burns the design directly onto the metal, providing exceptional accuracy and the ability to produce fine details that are challenging to achieve manually.
Another option is to use 3D printing to craft the branding head, which is particularly useful for creating three-dimensional designs and elaborate logos. Employ heat-resistant materials like durable plastics or metals when 3D printing to ensure the branding head withstands the high temperatures necessary for effective branding. These advanced methods allow for superior intricacy and provide a professional edge to your custom branding iron, broadening your personalized tool’s potential designs and applications.
How to Make Your Own Branding Iron: Assembling the Branding Iron
Attaching the Branding Head to the Handle
To attach the branding head to the handle, begin by drilling a hole in the end of your handle material. Select a drill bit that matches the diameter of your branding head’s connecting piece to ensure a snug fit. Position the branding head at the drilled hole and secure it using screws, ensuring they are tightened adequately to prevent wobbling. Alternatively, you can use a high-quality epoxy adhesive specifically designed for metal to secure the branding head firmly. Such adhesives provide strong, heat-resistant bonding, ensuring longevity and stability. Allow ample time for the adhesive to cure fully before using your branding iron.
Ensuring Stability and Safety
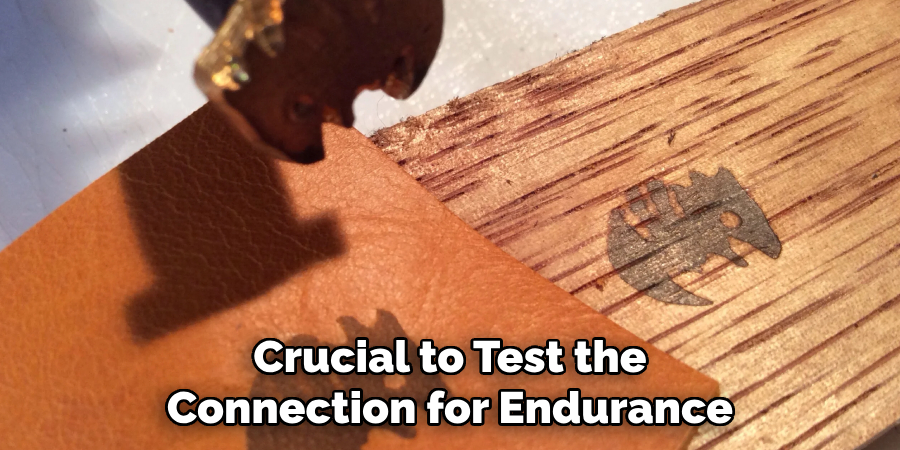
After attaching the branding head, it’s crucial to test the connection for endurance by gently applying pressure in various directions. Confirm that the head remains steady and exhibits no signs of looseness. For enhanced safety and comfort, consider wrapping the handle with an insulating material such as heat-resistant rubber or silicone grips to minimize heat transfer during use. This insulation will protect your hands and reduce the risk of burns from prolonged exposure to heat. Regularly inspect the attachment to ensure ongoing stability and safety, particularly following extensive use of the branding iron.
Testing and Using Your Branding Iron
Preparing the Branding Iron for Use
To ensure even heating of your branding iron, place it on a heat source that provides consistent heat distribution, such as a stovetop or propane torch. Rotate the branding iron periodically to avoid hot spots and ensure uniform temperature throughout the branding head. Test the temperature by pressing the branding head onto a scrap piece of the intended material; this will help gauge the readiness of the iron without risking damage to your main project. Keep a fire-resistant surface nearby to safely rest the branding iron between tests. Ensuring these precautions will lead to accurate and satisfactory branding results.
Tips for Branding on Different Surfaces
It’s crucial to adjust heat and pressure when branding materials like wood, leather, and plastic. Apply consistent pressure and moderate heat to the wood to achieve a clear burn without scorching. Leather requires less heat, so test on scraps to avoid deep burns that could damage the surface. Plastic is sensitive to heat, demanding a delicate balance and light pressure to prevent melting. Common mistakes, such as overheating or applying uneven pressure, can lead to blotchy or indistinct results. Regular testing and adjustments will help maintain quality and precision across various surfaces.
Caring for and Maintaining Your Branding Iron
Cleaning After Use
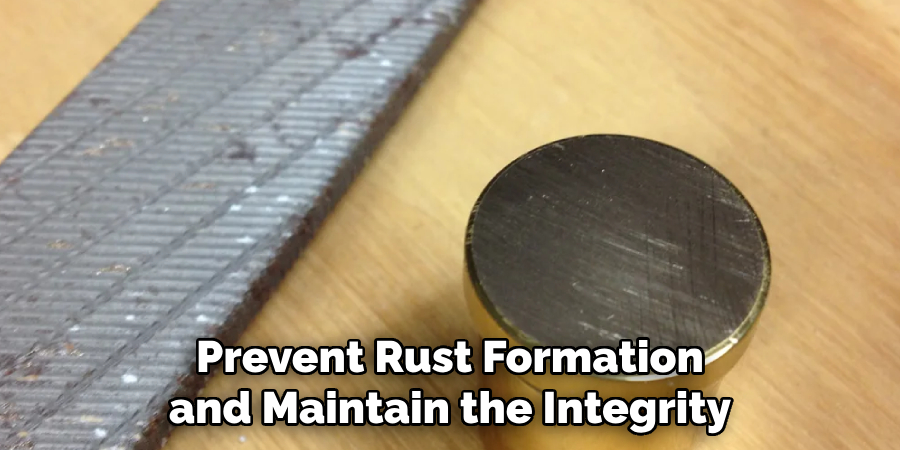
Proper cleaning of your branding iron after each use is essential to maintain its effectiveness and longevity. Using a wire brush, gently scrub the branding head to remove any residue or buildup that may have accumulated during branding. Avoid using harsh chemicals, as they can damage the engraving and affect the quality of future brandings. Instead, opt for mild soap and warm water if additional cleaning is necessary. Ensuring the branding head is thoroughly dried after cleaning will prevent rust formation and maintain the integrity of the metal.
Storing Your Branding Iron
To extend the lifespan of your branding iron, proper storage is crucial. Store the branding iron in a dry environment to prevent rust or wear. Consider using protective cases that shield the branding head and handle, preventing accidental knocks or exposure to moisture. Alternatively, a well-secured hanging rack can provide easy access while keeping the tool safe. Should you opt for a hanging solution, ensure the branded head is not in contact with other surfaces to avoid damage. Regular checks for rust or wear will ensure your branding iron remains in optimal condition for countless projects.
Benefits and Applications of DIY Branding Irons
Cost Savings and Customization
Creating your own branding iron offers substantial cost savings compared to purchasing custom-made tools. By using accessible materials and processes, you can significantly reduce expenses while achieving exceptional results. Additionally, crafting your own tool provides the flexibility to update designs or produce multiple branding heads tailored for various uses. This adaptability allows you to effortlessly modify or expand your branding capabilities as your needs evolve, ensuring your designs remain fresh and versatile.
Real-World Uses
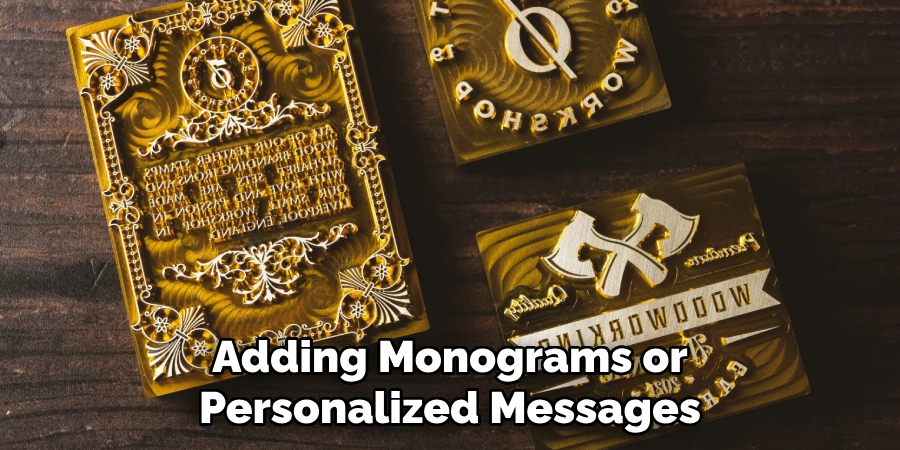
DIY branding irons offer immense potential across diverse applications. Enthusiasts can brand handmade crafts and projects for a professional finish, enhancing marketability and personal craftsmanship. Artisans can employ branding irons to mark tools and equipment, ensuring easy identification and deterring theft. Moreover, the personalized nature of DIY branding makes it ideal for creating unique, custom gifts for friends and family, offering a heartfelt touch to everyday items by adding monograms or personalized messages.
Conclusion
In creating a custom branding iron, we’ve covered essential steps, from designing and assembling the components to mastering its use across various materials. By understanding “how to make your own branding iron,” you can enjoy both cost savings and creative freedom. Experimenting with different designs and materials personalizes your projects and pushes traditional craftsmanship’s boundaries. Ultimately, the satisfaction gained from crafting a unique branding tool reinforces the value of hands-on making and innovation. Embrace the challenge and relish in the uniqueness of crafting your own branding solution.
Edmund Sumlin is a skilled author for Metal Fixes, bringing 6 years of expertise in crafting a wide range of metal fixtures. With a strong background in metalwork, Edmund’s knowledge spans various types of fixtures, from decorative pieces to functional hardware, blending precision with creativity. His passion for metalworking and design has made him a trusted resource in the industry.
Professional Focus:
- Expert in Metal Fixtures : Edmund aesthetic specializes in creating durable and innovative metal fixtures, offering both appeal and functionality. His work reflects a deep understanding of metalworking techniques and materials.
- Sustainability Advocate : He is dedicated to using sustainable practices, ensuring that every fixture is crafted with eco-friendly methods while maintaining high-quality standards.
In his writing for Metal Fixes, Edmund provides valuable insights into the latest trends, techniques, and practical advice for those passionate about metal fixtures, whether they are professionals or DIY enthusiasts. His focus on combining artistry with engineering helps others discover the true potential of metal in design.