Galvanized metal is a versatile material widely used in various applications, including fences, gutters, and industrial structures, due to its superior rust protection afforded by a zinc coating. Despite its durability and corrosion resistance, painting galvanized metal presents a unique challenge primarily because of this zinc coating, making achieving long-lasting paint adhesion difficult.
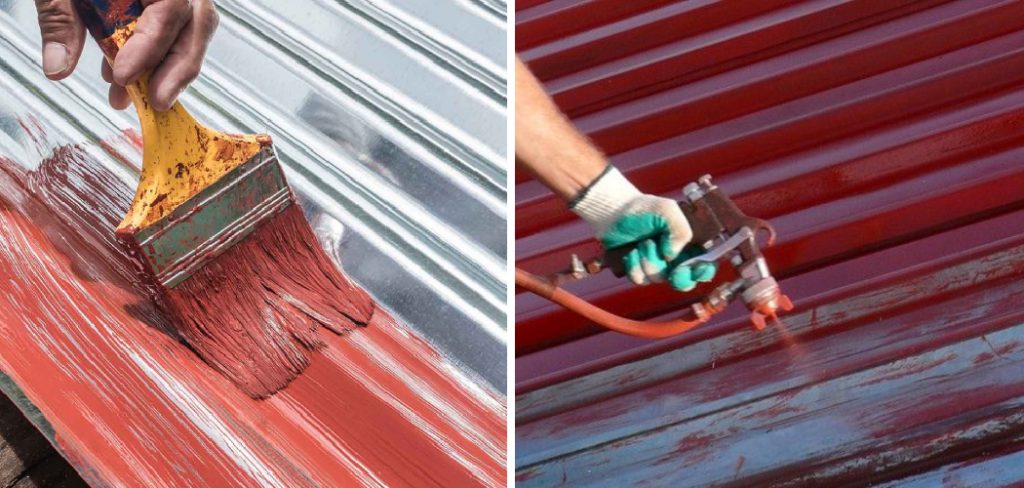
Traditional paint techniques often fail to bond effectively without proper surface preparation. This article addresses these challenges by providing detailed guidance on how to paint a galvanized metal surface. By following the outlined procedures and recommendations, you can ensure that your painted galvanized metal projects are both durable and visually appealing, maintaining their aesthetic appeal for years to come.
Why Special Preparation is Needed for Galvanized Metal
Explanation of Zinc Coating and Its Impact on Paint Adhesion
Galvanized metal is coated with a layer of zinc that provides exceptional rust resistance and durability, which is its most significant advantage. However, this protective zinc coating presents a challenge when it comes to painting because it creates a slick surface that prevents standard paints from adhering properly. Without proper preparation, traditional paint methods will often flake, peel, or fail to adhere to galvanized surfaces, making it crucial to prepare the metal correctly before applying any paint. Understanding this challenge is essential for achieving a successful and long-lasting paint application.
Importance of Using Suitable Paints and Primers
Using the right paints and primers is vital to ensure a durable and visually appealing finish when painting galvanized metal. Specific primers, such as self-etching primers or acrylic-based options, are designed to enhance adhesion on galvanized surfaces, providing a solid base for further paint application. Additionally, compatible paints like acrylic latex or specially formulated oil-based paints are recommended for metal to ensure they bond effectively with the primed surface. Employing these suitable products helps achieve a professional-quality finish and ensures that the painted surface can withstand environmental factors, maintaining its beauty and integrity over time.
Tools and Materials Needed
Essential Tools
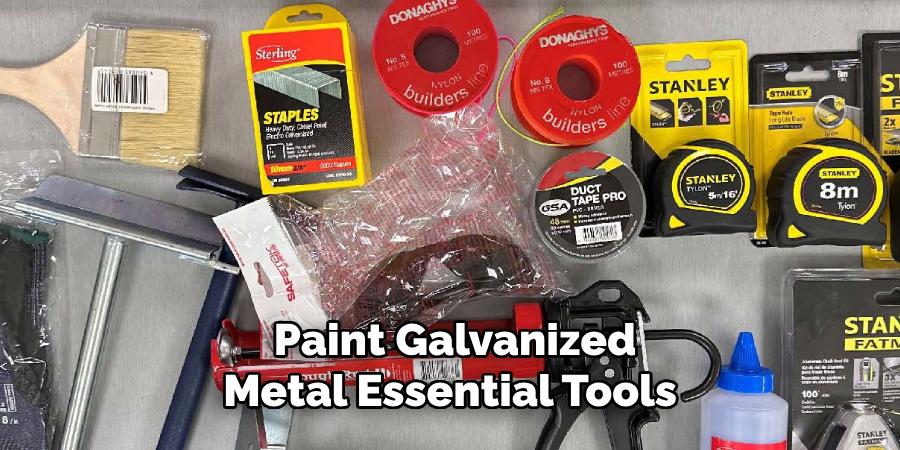
To successfully paint galvanized metal, certain essential tools are necessary to ensure proper surface preparation and paint application. To promote adhesion, a wire brush and sandpaper are crucial for thoroughly cleaning and scuffing the metal. Painter’s tape helps protect edges and create clean lines, while various paintbrushes and rollers are useful for applying both primers and paint evenly. For larger or more intricate surfaces, optional tools such as paint sprayers can help achieve a smooth finish efficiently. Drop cloths are also recommended to prevent paint from spilling or dripping onto surrounding areas, keeping your workspace tidy.
Required Materials
Selecting suitable materials is key when painting galvanized metal to achieve a lasting finish. Primers designed for metal, such as self-etching or acrylic-based primers, provide the necessary foundation for ensuring adhesion. Paints that are compatible with metal, like acrylic latex or specially formulated oil-based options, offer durability and resistance to weathering. Additionally, cleaning agents such as vinegar or TSP (trisodium phosphate) cleaners effectively remove dirt and oils from the metal surface before painting. Safety gear, including gloves, goggles, and masks, is essential to protect yourself from potentially harmful chemicals, dust, and debris throughout the preparation and painting process.
Cleaning and Preparing the Surface
Cleaning Galvanized Metal
Before painting galvanized metal, it’s crucial to thoroughly clean the surface to remove any grease, dirt, or debris that might impede adhesion. Prepare a cleaning solution using a mild detergent or TSP (trisodium phosphate) cleaner mixed with water, following the product’s instructions for the appropriate ratio. Apply the solution with a soft-bristled brush or non-abrasive sponge,
scrubbing the metal thoroughly to dislodge any contaminants. Rinse the surface with clean water to remove all soap residue, then allow it to dry completely. To improve paint adhesion, create a vinegar solution by diluting white vinegar with water in a 1:1 ratio. Apply the solution using a clean cloth or sponge, gently wiping it over the metal to lightly etch and prepare it for primer. The vinegar’s acidity reacts with the zinc coating, enhancing the surface’s receptivity to subsequent coatings.

Sanding or Scuffing the Surface
To further ensure that the paint adheres well to the galvanized metal, lightly sanding or scuffing the surface is recommended. Use fine-grit sandpaper, around 220 grit, to avoid removing too much of the protective zinc coating. With gentle pressure, sand the metal in a consistent, circular motion to create a uniform, slightly roughened texture that will help the primer and paint bond more effectively.
Pay extra attention to corners and edges, where adhesion can be more challenging. After sanding, removing any dust that could interfere with the painting process is essential. Use a damp cloth to wipe down the entire surface, ensuring it is clean and debris-free. Allow the surface to dry completely before applying primer, as any residual moisture can lead to paint imperfections or reduced finish longevity.
How to Paint a Galvanized Metal: Applying Primer to Galvanized Metal
Choosing the Right Primer
When painting galvanized metal, selecting a compatible primer is crucial to ensure proper adhesion and a lasting finish. Acrylic primers and self-etching primers are particularly effective for this purpose. Acrylic primers are water-based and versatile, providing a flexible base that adheres well to the metallic surface. Self-etching primers, on the other hand,
chemically bond with the zinc coating, creating a strong base that enhances paint adhesion. Both options offer excellent corrosion resistance and promote durability, ensuring that the paint adheres well and lasts over time. By establishing a solid foundation, these primers prevent common issues such as peeling or flaking, significantly extending the lifespan of the painted surface.
Step-by-Step Guide to Priming
Applying primer to galvanized metal requires careful attention to detail to achieve an even and effective coat. Begin by ensuring that the surface is clean and dry. Select your application tool based on the surface size: use a brush for intricate areas, a roller for larger flat surfaces, or a spray for extensive or detailed sections. Start priming from one edge and working across the metal in long, consistent strokes.
Maintain a wet edge to prevent overlapping lines or streaks. Apply a thin, even layer and avoid overloading your brush, roller, or sprayer to prevent drips. If necessary, apply a second coat after the first has dried to ensure complete and uniform coverage, particularly in areas prone to wear or exposure.
Allowing Primer to Dry Completely
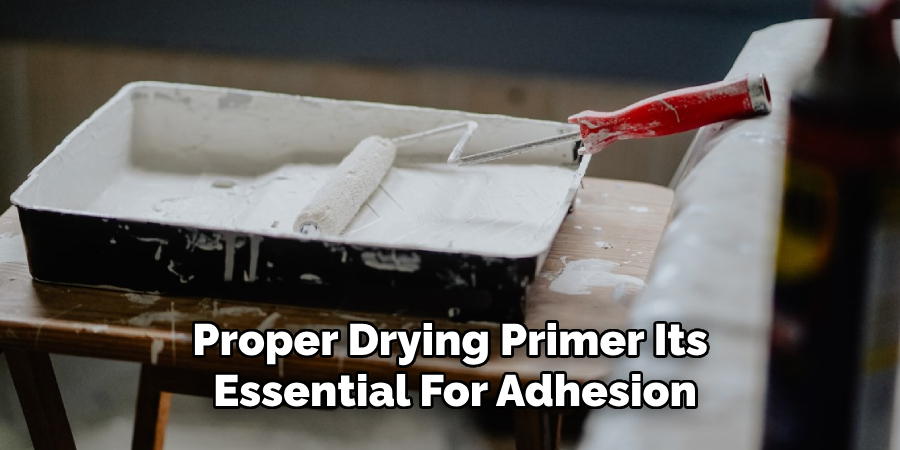
Proper drying of the primer is essential to ensure strong adhesion and prepare the surface adequately for paint application. Follow the product instructions for recommended drying times, which can vary based on the type of primer used. As a general guideline, allow the primer to dry for at least 24 hours in ideal conditions.
Factors such as temperature, humidity, and ventilation can influence drying time—warm, dry environments facilitate faster drying, while cooler or humid conditions may prolong the process. Avoid rushing this step, as insufficiently dried primer can compromise the paint’s bond, leading to premature failure. To expedite drying, ensure good airflow around the primed surface, either by positioning fans or enhancing natural ventilation in indoor settings.
How to Paint a Galvanized Metal: Applying Paint to Galvanized Metal
Choosing the Best Paint for Galvanized Metal
Selecting the right paint is essential for a durable and visually appealing finish on galvanized metal. Acrylic latex paints and oil-based paints specifically formulated for metal are excellent choices. Acrylic latex is water-based, offering flexibility and ease of cleanup, while oil-based paints provide a robust layer of protection against the elements. These paints are designed to bond effectively with the primed metal surface, offering enhanced weather resistance and long-lasting wear. With suitable paint, you ensure that the finished surface looks great and withstands environmental exposure over time.
Painting the Metal Surface
Begin painting the galvanized metal by ensuring the primer is completely dry. Choose a brush, roller, or spray gun depending on the size and complexity of the surface area. Start at one corner, applying the paint in long, even strokes to avoid streaks and overlaps. Keep a wet edge to prevent lap marks and ensure consistent pressure for an even finish. Corners and edges require special attention; use a smaller brush for these areas to achieve a clean, professional appearance. Work methodically, section by section, and inspect your work for any missed spots or inconsistencies. Ensuring the initial coat is uniform sets the foundation for additional layers if needed.
Applying Additional Coats if Needed
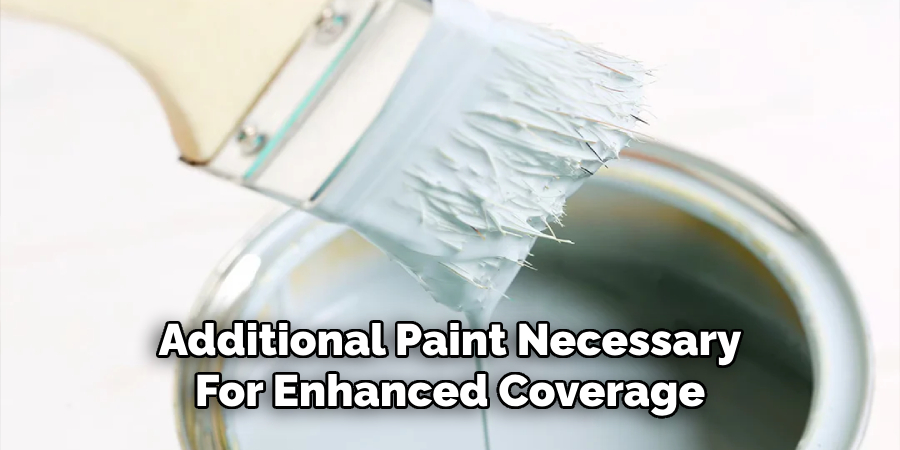
Additional coats of paint may be necessary for enhanced coverage and durability. Assess the surface after the first coat dries to determine if a second layer is required. Allow each coat to dry according to the paint manufacturer’s instructions, typically around 4-6 hours, before applying the next. This drying time helps maintain a smooth, even finish and maximizes the paint’s protective properties.
Sealing and Protecting the Painted Surface
Adding a Clear Sealant
Applying a clear sealant over the painted galvanized metal can significantly enhance its durability and protection against weather elements. A topcoat or sealant acts as a barrier, safeguarding the paint from UV rays, moisture, and physical wear and tear. When choosing a sealant, ensure it complements the paint’s composition, whether it’s water-based or oil-based, to prevent any adverse reactions. Select a high-quality sealant specifically designed for metal surfaces to maximize longevity and maintain the vibrancy of the paint finish.
Regular Maintenance Tips
To keep the painted surface looking pristine, perform regular maintenance by cleaning it with mild soap and water to remove dirt and debris. Periodically inspect the surface for any paint chips or scratches and address them promptly to prevent further damage or corrosion. Touching up these areas ensures the metal remains well-protected, extending the paint’s lifespan and the underlying metal. Such proactive care helps preserve the surface’s aesthetic and structural integrity over time.
Common Mistakes to Avoid
Skipping Surface Preparation
Neglecting proper surface preparation can lead to peeling paint and poor adhesion. Dirt, oil, and residues left on the surface hinder the primer and paint’s ability to bond effectively. To avoid this mistake, thoroughly clean and dry the metal before priming. Additionally, ensure that the primer is suitable for galvanized metal to establish a strong adhesion layer.
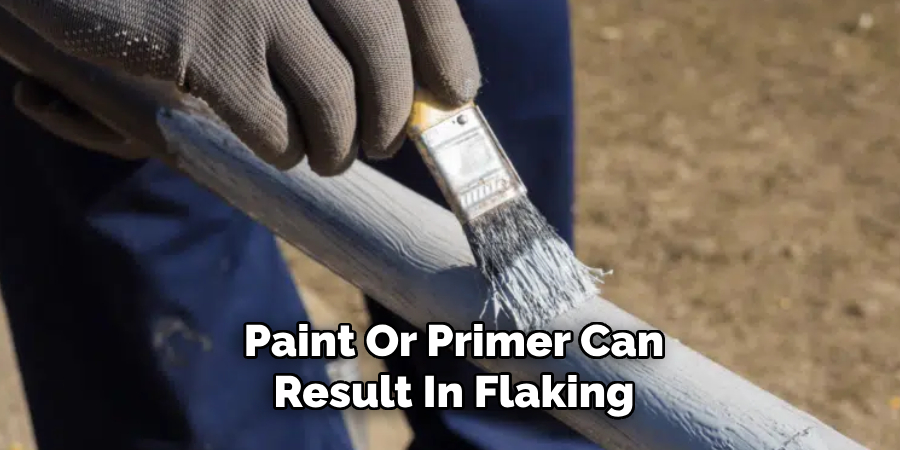
Using Incompatible Paints or Primers
Using the wrong type of paint or primer can result in flaking or peeling over time. It’s crucial to read product labels to check compatibility with galvanized metal. Choose products specifically formulated for this material to ensure a durable and lasting finish.
Conclusion
Successfully understanding “how to paint a galvanized metal” involves a handful of crucial steps. Begin with a thorough cleaning to remove dirt and oil, ensuring the surface is primed to hold the paint effectively. Next, a suitable primer is applied, followed by carefully selected paint designed for metal surfaces. Complete the process with a clear sealant to protect against environmental factors. Ensure each layer dries properly according to product guidelines for optimal results. By selecting the right materials and strictly adhering to the procedure, you will achieve a professional-looking, durable finish.
Edmund Sumlin is a skilled author for Metal Fixes, bringing 6 years of expertise in crafting a wide range of metal fixtures. With a strong background in metalwork, Edmund’s knowledge spans various types of fixtures, from decorative pieces to functional hardware, blending precision with creativity. His passion for metalworking and design has made him a trusted resource in the industry.
Professional Focus:
- Expert in Metal Fixtures : Edmund aesthetic specializes in creating durable and innovative metal fixtures, offering both appeal and functionality. His work reflects a deep understanding of metalworking techniques and materials.
- Sustainability Advocate : He is dedicated to using sustainable practices, ensuring that every fixture is crafted with eco-friendly methods while maintaining high-quality standards.
In his writing for Metal Fixes, Edmund provides valuable insights into the latest trends, techniques, and practical advice for those passionate about metal fixtures, whether they are professionals or DIY enthusiasts. His focus on combining artistry with engineering helps others discover the true potential of metal in design.


