

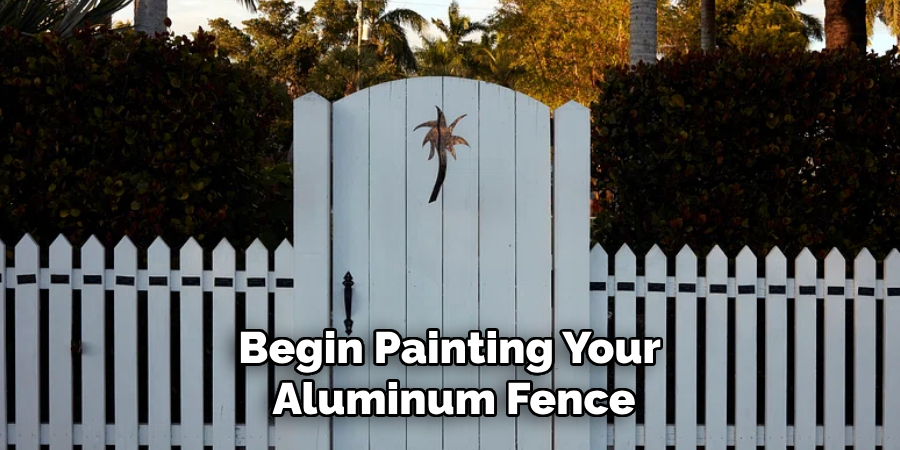
Painting an aluminum fence is a great way to refresh its appearance and protect it from the elements. With proper preparation and the right tools, this task can be carried out efficiently to achieve a professional, long-lasting finish. Whether you’re restoring an old fence or adding a personal touch to a new one, following the correct steps ensures that the paint adheres well and remains durable over time. This guide will walk you through the essential steps for how to paint aluminum fence.
Importance of Painting Aluminum Fence
Painting an aluminum fence goes beyond simply enhancing its visual appeal; it also plays a critical role in maintaining the fence’s durability and longevity. Aluminum is naturally resistant to rust, but exposing it to harsh weather conditions or constant wear can lead to surface deterioration over time. A coat of paint provides an additional layer of protection, shielding the metal from moisture, UV rays, and other environmental factors that could degrade its surface. Furthermore, painting allows you to customize the fence to match your property’s aesthetic, creating a cohesive and polished look.
Regular maintenance through painting helps to prevent small issues like chipping or discoloration from escalating, making it a worthwhile investment in preserving the fence’s value and functionality.
Materials and Tools Needed
Before you begin painting your aluminum fence, it’s essential to gather all the necessary materials and tools to ensure a smooth and efficient process. Here’s what you’ll need:
- Sandpaper or Wire Brush: For removing any loose paint, rust, or other imperfections on the fence’s surface.
- Cleaner/Degreaser: To thoroughly clean the fence and remove dirt, grease, or grime.
- Painter’s Tape: For masking any areas you want to protect from paint, such as hinges or adjoining surfaces.
- Drop Cloths or Plastic Sheets: To protect the ground or nearby surfaces from paint spills and drips.
- Primer (suitable for metal surfaces): To ensure proper adhesion of the paint to the aluminum and enhance its durability.
- Metal Paint (weather-resistant): Specifically designed for outdoor use to withstand environmental elements.
- Paintbrushes and Rollers (various sizes): For detailed painting and broader coverage, depending on the fence design.
- Sprayer (optional): For a more even and efficient application, especially on larger fences with intricate designs.
- Gloves and Safety Goggles: For personal protection while sanding, cleaning, or applying paint.
10 Methods How to Paint Aluminum Fence
1. Choosing the Right Paint for Aluminum Fences
The first step in painting an aluminum fence is selecting the appropriate paint. Unlike wood or steel, aluminum requires paint specifically formulated for metal surfaces to ensure proper adhesion and durability. Opt for a high-quality enamel or epoxy-based paint that is designed for metal. These paints offer excellent adhesion, resist corrosion, and provide a smooth, long-lasting finish. For added protection, choose a paint that includes rust inhibitors or is rust-resistant, as aluminum can corrode if left unprotected.
2. Cleaning the Aluminum Fence Thoroughly
Proper cleaning is crucial to ensure that the paint adheres well to the surface. Begin by washing the fence with warm water and a mild detergent or a mixture of water and vinegar to remove dirt, grime, and surface oils. For tougher stains or built-up dirt, use a scrub brush or a power washer on a low setting. Make sure to remove any rust spots, loose paint, or debris that may have accumulated over time. If there is significant rust on the fence, you may need to use a wire brush or sandpaper to scrub away the corrosion.
3. Sanding the Surface for Better Adhesion
Once the fence is dry, the next step is to lightly sand the surface of the aluminum. Sanding helps to create a rough texture, which allows the paint to adhere better. Use medium-grit sandpaper (about 120 to 150 grit) to scuff up the surface of the fence, focusing on areas with peeling or old paint. Sanding also removes any minor rust spots that might remain after cleaning. Be sure to wipe away any dust from sanding with a damp cloth or a tack cloth before applying primer or paint. This step ensures that the paint will bond effectively to the aluminum, leading to a smoother and more durable finish.
4. Applying a Rust-Inhibiting Primer
Primer plays an essential role in creating a smooth, even base for the paint to adhere to. It also helps to protect the aluminum fence from moisture and rust, preventing deterioration over time. Apply a primer specifically designed for metal or aluminum surfaces. Use a high-quality spray primer or a brush-on primer, depending on your preference. Spray primers can cover large areas quickly and provide a smooth, even coating. For a brush-on primer, ensure you use a wide brush for even application. Allow the primer to dry completely before proceeding with painting, as this will give the best adhesion and coverage.
5. Using a Spray Paint Applicator for an Even Coat
Spray painting is often the preferred method for painting aluminum fences because it provides an even, smooth coat of paint without leaving brush marks. If you are using spray paint, ensure the nozzle is adjusted for an even spray pattern. Hold the spray can approximately 8 to 12 inches from the fence surface, and spray in sweeping motions, slightly overlapping each pass to avoid streaks or uneven coverage. It’s important to use thin coats, as thick layers of paint can drip and cause an uneven finish. Apply two to three coats of paint, allowing each coat to dry completely before adding the next.
This method results in a professional-looking finish, and the paint adheres well to the aluminum.
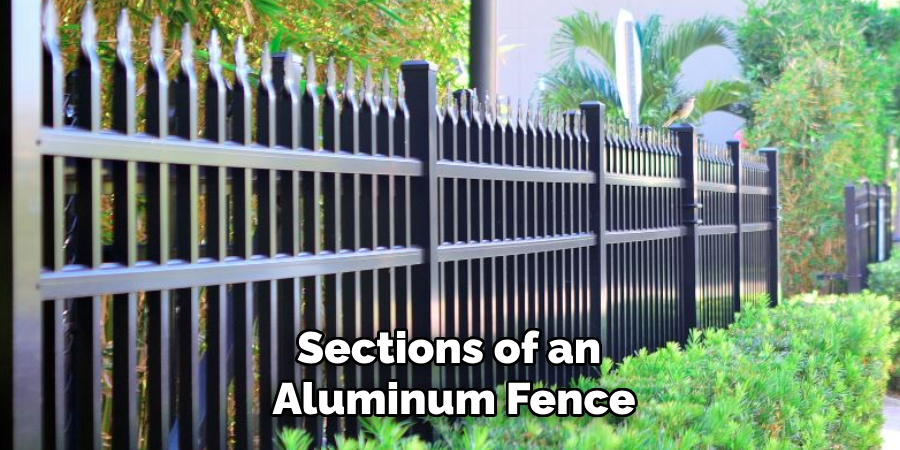
6. Using a Paint Roller for Larger Areas
While spray painting is efficient for many, a paint roller can also be an excellent option for larger sections of an aluminum fence. A roller allows for a faster, more consistent application on flat sections. Select a roller with a short nap to prevent excess paint from accumulating and to ensure smooth coverage. Start by applying a thin layer of paint to the surface and work in small sections, rolling in the direction of the fence panels. As with spray painting, it’s best to apply several thin coats, allowing each coat to dry completely before applying the next. This method is particularly effective if the fence has a large, flat surface area that doesn’t require the precision of spray painting.
7. Using a Paintbrush for Touch-Ups and Detailed Areas
For intricate areas or touch-ups, using a paintbrush is essential. A high-quality, angled brush allows you to get into the crevices of the fence, such as around decorative elements, posts, and railings. When applying paint with a brush, make sure to work in long, smooth strokes to avoid leaving visible brush marks. Be mindful of excess paint on the brush, as it can drip and cause uneven finishes. Brushes are also ideal for reapplying paint to any areas that may have been missed during the initial spraying or rolling. After the main sections are painted, use a small brush to carefully touch up any areas where the paint may have been uneven or thin.
8. Allowing Adequate Drying Time Between Coats
Patience is key when painting an aluminum fence. After each coat of primer or paint, it’s crucial to allow sufficient drying time to ensure the layers bond properly and dry evenly. Check the manufacturer’s instructions for specific drying times, but generally, allow each coat to dry for at least 1 to 2 hours before applying another. If the weather is humid, this drying time may increase. Applying the second coat too soon can cause the paint to smudge or become tacky, leading to a poor finish. Ensuring proper drying time between coats will result in a smooth, durable paint job that lasts.
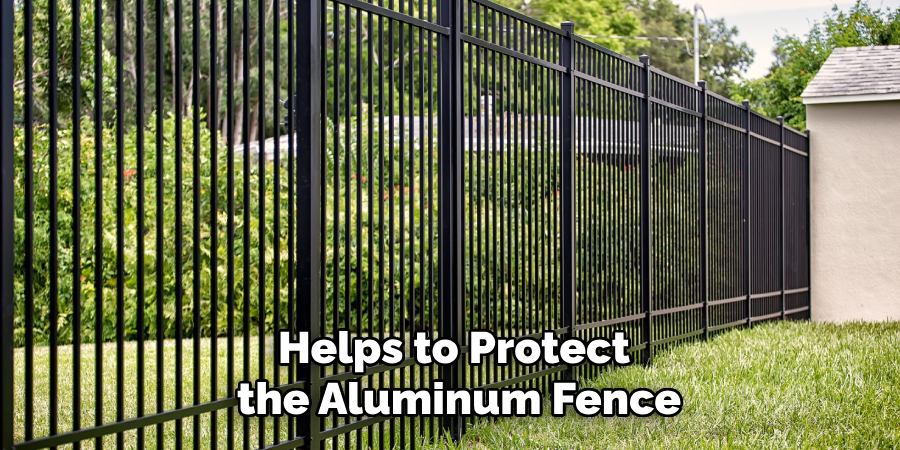
9. Sealing the Paint for Extra Protection
Once the paint has dried completely and you are satisfied with the coverage, it’s a good idea to seal the paint with a clear coat. A clear topcoat or sealant adds an additional layer of protection, enhancing the durability of the paint and making it more resistant to scratches, fading, and environmental damage. Choose a clear coat that is compatible with your paint type, whether it’s an enamel or epoxy finish. Apply the clear coat using the same method as the paint, whether by spraying, rolling, or brushing. Allow the sealant to dry fully before using or exposing the fence to the elements.
10. Maintaining the Painted Aluminum Fence
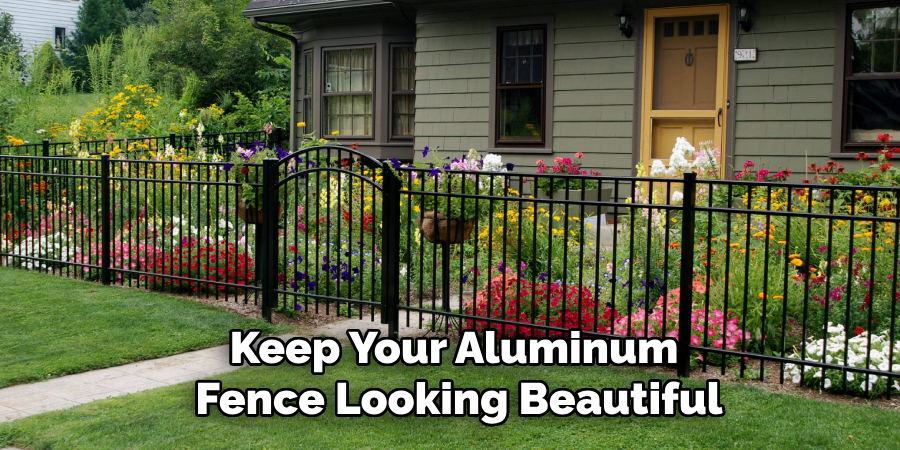
Once your aluminum fence is painted and sealed, regular maintenance is essential to keep it looking fresh and to prolong its life. Periodically inspect the fence for signs of wear, chips, or peeling paint, especially in areas exposed to high traffic or harsh weather. Clean the fence regularly to remove dirt, debris, and buildup, and touch up any areas where the paint may have worn away. By performing periodic maintenance and cleaning, you can keep your aluminum fence looking beautiful and functioning properly for years to come.
Conclusion
Painting an aluminum fence is a rewarding project that can enhance both the appearance and longevity of the fence. By following the proper steps—preparing the surface, applying primer, choosing the right application methods, and allowing adequate drying time—you can achieve a professional-looking finish. So, there you have it – a quick and easy guide on how to paint aluminum fence.
Edmund Sumlin is a skilled author for Metal Fixes, bringing 6 years of expertise in crafting a wide range of metal fixtures. With a strong background in metalwork, Edmund’s knowledge spans various types of fixtures, from decorative pieces to functional hardware, blending precision with creativity. His passion for metalworking and design has made him a trusted resource in the industry.
Professional Focus:
- Expert in Metal Fixtures : Edmund aesthetic specializes in creating durable and innovative metal fixtures, offering both appeal and functionality. His work reflects a deep understanding of metalworking techniques and materials.
- Sustainability Advocate : He is dedicated to using sustainable practices, ensuring that every fixture is crafted with eco-friendly methods while maintaining high-quality standards.
In his writing for Metal Fixes, Edmund provides valuable insights into the latest trends, techniques, and practical advice for those passionate about metal fixtures, whether they are professionals or DIY enthusiasts. His focus on combining artistry with engineering helps others discover the true potential of metal in design.