Are you looking to add a touch of style and protection to your vehicle? Painting your fender flares can be a great way to achieve both.
Fender flares not only protect your vehicle but also showcase your style. Painting them is a great option if you’re looking to give them a fresh and customized look. With the right tools, preparation, and technique, you can transform the appearance of your Fender flares to complement your vehicle’s aesthetics.

In this guide, we will walk you through the step-by-step process of how to paint fender flares, allowing you to achieve a professional and durable finish that will turn heads on the road. Let’s dive in and bring your Fender flares to life with a splash of color!
What Are the Benefits of Painting Fender Flares?
Before we get into the nitty-gritty of painting fender flares, let’s first discuss the benefits of doing so. Besides adding a unique touch to your vehicle, here are some other advantages of painting your fender flares:
- Protection: Fender flares help protect your vehicle from debris, rocks, and other road hazards. Painting them can add an extra layer of protection against scratches and chips.
- Personalization: As mentioned earlier, painting Fender Flares allows you to showcase your style. You can choose any color or finish that suits your taste and complements your vehicle’s overall look.
- Durability: When done correctly, painting your fender flares can provide a long-lasting and durable finish that can withstand daily wear and tear.
- Cost-effective: Painting fender flares in a different color or style is a much more affordable option than purchasing new ones. You can achieve the same desired look without breaking the bank.
Now that we’ve covered the benefits of painting fender flares, let’s move on to the step-by-step process.
What Will You Need?
To successfully paint your Fender flares, you will need the following supplies:
- Sandpaper: You will need different grits of sandpaper to prepare the surface of your fender flares for painting.
- Primer: A good quality primer is essential for providing a smooth and even base coat.
- Paint: Choose a high-quality automotive paint suitable for plastic surfaces. For better coverage, use at least two coats of paint.
- Clear Coat: A clear coat will give your fender flares a glossy finish and protect them from UV rays and other environmental factors.
- Painter’s Tape: Use painter’s tape to cover any areas on your vehicle that you do not want to get paint on. This includes the edges of your fender flares and other adjacent parts.
- Drop Cloth: To protect the surrounding area, lay down a drop cloth or old bedsheet to catch any overspray.
- Masking Paper: If you have more giant fender flares, masking paper can be used instead of painter’s tape to cover more surface area.
- Spray Gun or Aerosol Cans: Depending on your preference and level of experience, you can use either a spray gun or aerosol cans for painting.
- Respirator Mask: It is essential to protect yourself by wearing a respirator mask when working with automotive paints.
- Wax and Grease Remover: Before painting, it is crucial to clean the surface of your fender flares with a wax and grease remover to ensure proper paint and primer adhesion.
10 Easy Steps on How to Paint Fender Flares
Step 1: Prepare Your Vehicle
Before beginning any painting process, it is crucial to prepare your vehicle correctly. Start by thoroughly washing and drying your fender flares to remove dirt or debris.

Next, use wax and grease remover to clean the surface of your fender flares. This step is essential, as any residue or contaminants can affect the paint’s adhesion.
Step 2: Remove Fender Flares
To paint your fender flares effectively, you must remove them from your vehicle. This step ensures full access to the flares and allows for a more precise and even paint application. Consult your vehicle’s manual or online resources for instructions on removing the fender flares. Typically, this involves eliminating screws, clips, or bolts that secure the flares to the vehicle body. Take care during removal to avoid damaging the flares or surrounding areas. Once the flares are detached, set them aside in a safe and clean location until you can begin the painting process.
Step 3: Sand Down the Surface
Using sandpaper, gently sand down the surface of your fender flares to create a smooth and rough surface for the primer to adhere to. Start with a low grit sandpaper (around 220-400) and finish with a higher grit (600-800).
Be careful not to overspend as this can damage the plastic material of your fender flares. Continuously check the surface until it has a dull and rough appearance.
Step 4: Clean with Wax and Grease Remover Again
After sanding, it is essential to clean the fender flares once more using a wax and grease remover. This will eliminate any sanding dust, oils, or residue left on the surface, ensuring that the primer adheres appropriately. Wipe the flares with a clean microfiber cloth to ensure they are spotless and dry before proceeding to the next step.
Step 5: Apply Primer
Priming your fender flares is a crucial step that lays the foundation for a smooth and durable paint finish. Use a high-quality primer specifically designed for plastic surfaces. Hold the spray can or gun about 12–18 inches from the surface and apply thin, even coats, allowing each coat to dry according to the manufacturer’s recommendations. Typically, two to three coats of primer are sufficient. Once the final coat is dry, lightly sand the surface with fine-grit sandpaper (around 800) to smooth out any imperfections, then wipe the flares clean again with a microfiber cloth.
Step 6: Apply Paint
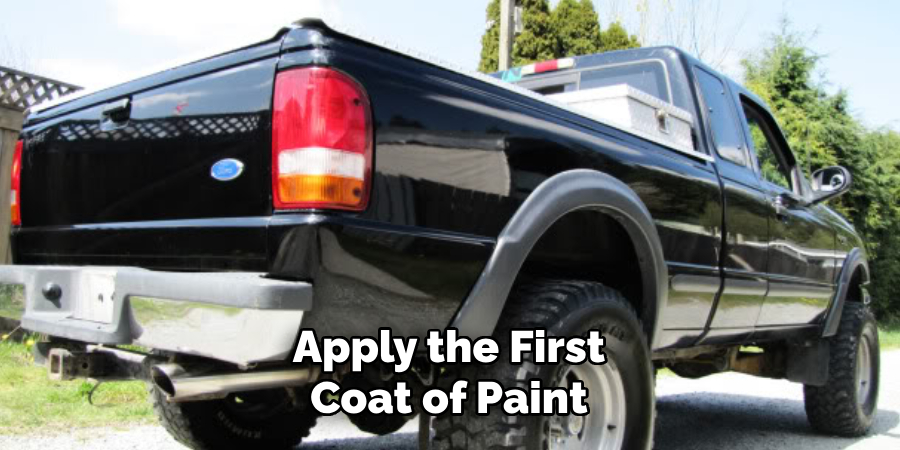
Now it’s time to add color! Choose an automotive paint suitable for plastic materials and ensure it matches your vehicle’s color scheme or your desired aesthetic. Shake the spray can or mix the paint thoroughly before use. Apply the first coat of paint in a thin, even layer, keeping the spray gun or aerosol can at a consistent distance of 12–18 inches. Allow each coat to dry completely before applying the next. Depending on the coverage, you may need two or three coats to achieve the desired look. Avoid over-spraying to prevent drips or uneven finishes.

Step 7: Apply Clear Coat
Apply a clear coat to protect the paint and add a glossy or matte finish (depending on your preference). Like with the paint, spray thin, even layers over the surface, allowing each coat to dry thoroughly before adding the next. Two to three clear coats are usually ideal for durability and UV protection. Make sure the flares are fully dry before handling them further.
Step 8: Allow Proper Drying Time
Patience is key when painting. Once all the layers are applied, allow the fender flares to dry and cure completely. This may take 24 to 48 hours, depending on the type of paint and clear coat used, as well as temperature and humidity levels. Avoid touching or handling the fender flares during this time to prevent damaging the finish.
Step 9: Reinstall Fender Flares
Once the paint and clear coat are fully cured, carefully reinstall your fender flares onto your vehicle. Align them properly and secure them with the screws, clips, or bolts you removed earlier. Ensure they are tightly fastened without over-tightening, which could cause damage. If there are any noticeable gaps between the flares and the vehicle body, use weather stripping or adhesive to fill them in.
Step 10: Final Touches and Maintenance
Inspect your newly painted fender flares to ensure an even and professional finish. Regularly clean and maintain your flares and the rest of your vehicle to keep them looking their best. Use non-abrasive cleaning products to avoid scratching the surface. Remember to take your time during the painting process and follow all instructions carefully for a flawless finish that will last.

By following these ten easy steps, you can give your fender flares a fresh and professional look without spending money on expensive aftermarket options.
5 Things You Should Avoid
- Skipping Proper Preparation: Neglecting to properly prepare the surface of the fender flares, including cleaning, sanding, and priming, can result in poor paint adhesion and a subpar finish.
- Using Low-Quality Paint or Tools: Opting for cheap or low-quality paint and tools can lead to uneven coverage, streaks, and a lackluster final result. Investing in high-quality paint and tools will help achieve a smooth and durable finish.
- Rushing the Drying Process: Allowing insufficient drying time between coats or layers can lead to paint runs, smudges, and an uneven appearance. Following the recommended drying times is crucial to avoid rushing the process.
- Ignoring Proper Masking Techniques: Please properly mask off surrounding areas before painting can result in overspray and unwanted paint on adjacent surfaces. Taking the time to mask off areas that should not be painted will ensure clean lines and a professional finish.
- Not Applying Clear Coat: Neglecting to apply a clear coat as the final protective layer can leave the paint vulnerable to chipping, fading, and damage from UV rays. Adding a clear coat will provide added protection and a glossy finish.

Conclusion
How to paint fender flares can enhance the overall appearance of a vehicle and protect them from wear and tear.
However, it’s essential to avoid common mistakes that can result in a poor finish and wasted time and money. By following these tips and taking the time to prepare, use quality materials, and follow proper techniques, you can achieve professional-looking results that will last for years. Remember to read instructions carefully, take your time, and don’t be afraid to seek help or advice.
With patience and attention to detail, you can successfully paint your fender flares and elevate the look of your vehicle. Happy painting!
Edmund Sumlin is a skilled author for Metal Fixes, bringing 6 years of expertise in crafting a wide range of metal fixtures. With a strong background in metalwork, Edmund’s knowledge spans various types of fixtures, from decorative pieces to functional hardware, blending precision with creativity. His passion for metalworking and design has made him a trusted resource in the industry.
Professional Focus:
- Expert in Metal Fixtures : Edmund aesthetic specializes in creating durable and innovative metal fixtures, offering both appeal and functionality. His work reflects a deep understanding of metalworking techniques and materials.
- Sustainability Advocate : He is dedicated to using sustainable practices, ensuring that every fixture is crafted with eco-friendly methods while maintaining high-quality standards.
In his writing for Metal Fixes, Edmund provides valuable insights into the latest trends, techniques, and practical advice for those passionate about metal fixtures, whether they are professionals or DIY enthusiasts. His focus on combining artistry with engineering helps others discover the true potential of metal in design.


