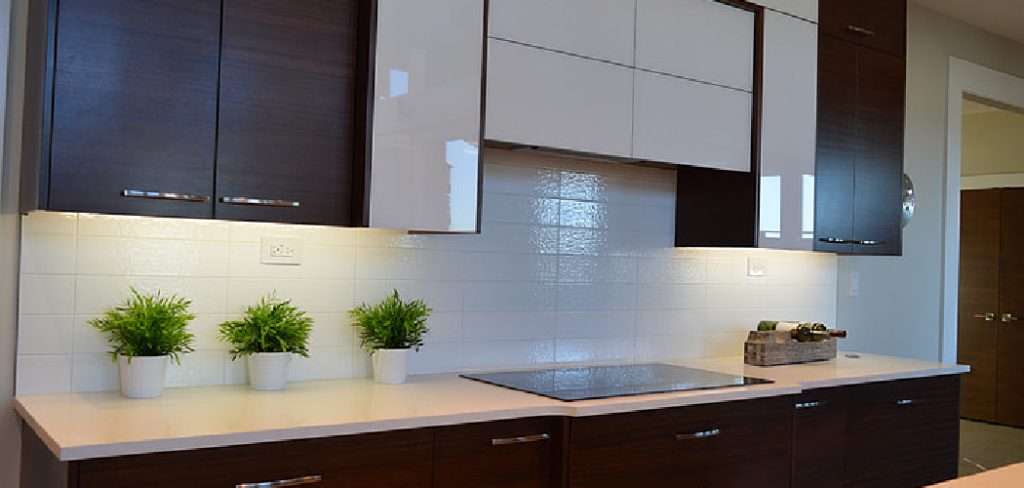
Painting metal kitchen cabinets is an excellent way to refresh and modernize your kitchen space without the cost and hassle of replacing them. This project can be tackled by homeowners with basic DIY skills and a bit of patience. Not only does painting your cabinets allow you to customize the color scheme to better match your interior décor, but it also helps protect the metal surfaces from rust and wear. In this guide, we’ll walk you through how to paint metal kitchen cabinets, from preparation to the final coat, ensuring a smooth and professional-looking finish.
The Importance of Proper Preparation
Before diving into the painting process, proper preparation is crucial to achieving a long-lasting and high-quality finish on your metal kitchen cabinets. Skipping or rushing through the prep stage can lead to issues such as uneven paint coating, peeling, or poor adhesion. Start by thoroughly cleaning the cabinets to remove grease, grime, and any loose debris that might interfere with the paint’s ability to stick. Removing hardware and masking off surrounding areas also helps ensure clean edges and avoids unintentional splatters or paint drips.
Additionally, sanding the surface not only removes rust but also provides a slightly rough texture that allows primer and paint to adhere more effectively. Taking the time to prepare properly will make a substantial difference in the durability and appearance of your finished cabinets, so approach this step with diligence and care.
Benefits of Painting Metal Kitchen Cabinets
Painting metal kitchen cabinets comes with several benefits that can enhance both the functionality and aesthetics of your kitchen. Firstly, customizing the color of your cabinets allows you to reflect your personal style and harmonize the overall look of your kitchen with the rest of your home’s décor. This transformation can revitalize your kitchen space, making it more inviting and enjoyable. Moreover, applying a fresh coat of paint acts as a protective barrier against environmental factors that can cause damage, such as moisture and temperature changes.
This protection helps prevent rust and extends the life of your cabinets. Additionally, painting is a cost-effective refurbishing option, providing a budget-friendly alternative to replacing cabinetry altogether. By opting to paint your metal cabinets, you also contribute to sustainability by minimizing waste associated with the disposal and replacement of old units.
Tools and Materials Needed
Before beginning the painting process, it is essential to gather all the necessary tools and materials to ensure a smooth workflow. Here’s a list of items you’ll need:
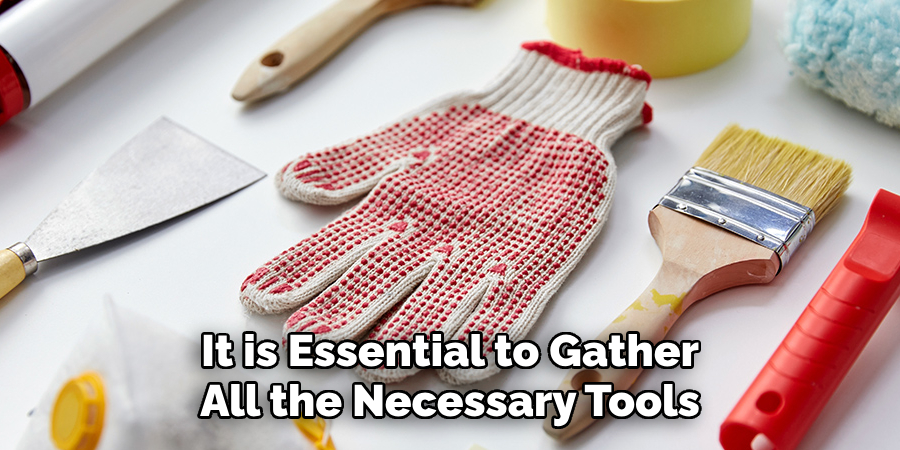
- Cleaner/Degreaser: Use a heavy-duty cleaner or degreaser to remove dirt, grease, and grime from the cabinet surfaces.
- Screwdriver: For removing cabinet doors, hardware, and handles, a screwdriver will be essential.
- Sandpaper or Sanding Block: Medium-grit sandpaper (around 120 to 150 grit) will help to remove rust and create a surface that the primer can adhere to.
- Painter’s Tape: This is crucial for masking off areas you do not want to paint, ensuring a clean and professional edge.
- Drop Cloths or Plastic Sheeting: Protect your floors and countertops by covering them with drop cloths or plastic sheeting.
- Primer: Use a metal primer specifically designed to adhere to metal surfaces and provide a strong base for the paint.
- Paint: Choose a high-quality, durable paint suitable for metal surfaces. Consider using a spray paint for smoother coverage or a brush-on paint for more control.
- Paintbrushes or Foam Rollers: Depending on your chosen paint type, have different sizes handy to handle various areas, from broad surfaces to intricate details.
- Safety Gear: Gloves and a mask will protect you from the fumes and potential skin contact with chemicals.
- Sandpaper or Sanding Block: A fine-grit sanding tool for smoothing surfaces before and between coats as needed.
Having these tools and materials gathered and ready will streamline the painting process, enabling you to focus on achieving the best possible finish for your metal kitchen cabinets.
10 Methods on How to Paint Metal Kitchen Cabinets
1. Start with a Thorough Cleaning
Before you even think about picking up a paintbrush, it’s essential to clean your cabinets. Use a grease-cutting cleaner or a mixture of warm water and dish soap to remove dirt, grease, and kitchen grime. Residue can prevent paint from adhering properly, leading to a patchy finish. Take the time to scrub thoroughly, especially around the edges and corners, and allow everything to dry completely.

Pro Tip: Tackle stubborn grease stains with white vinegar or a specialized degreaser.
2. Remove the Hardware for a Neat Job
To achieve a seamless finish, remove all hardware from your cabinets—including handles, hinges, and knobs. Paint can collect around these areas, creating uneven layers and a sloppy look. Label each piece or take a photo before disassembling to make reinstallation easier.
3. Sand for a Smooth Surface
Sanding is crucial when painting metal cabinets as it creates a texture for the primer and paint to grip onto. Use sandpaper with a grit of 100-150 and work in circular motions to avoid deep scratches. Concentrate on shiny areas, as paint struggles to stick to slick surfaces.
Pro Tip: Use a sanding block for flat surfaces and steel wool for intricate edges. Wipe down the cabinets with a damp cloth afterward to eliminate dust.
4. Repair Dents and Scratches
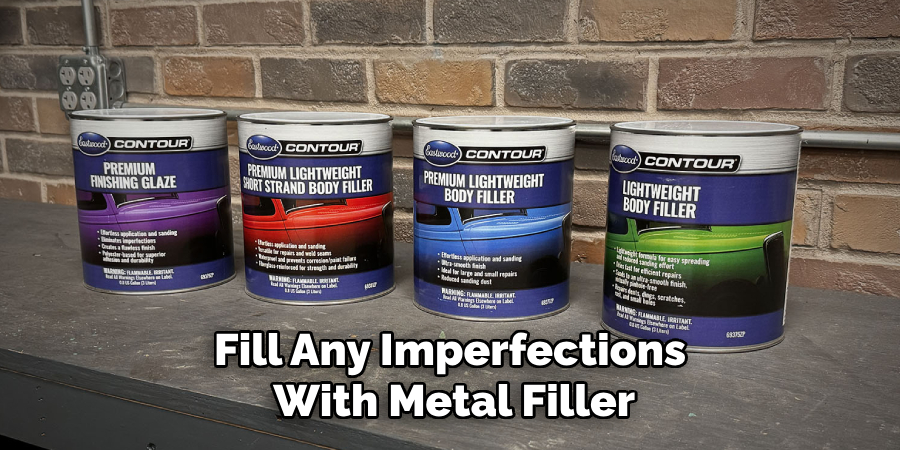
Metal cabinets, especially older ones, often have dents or scratches. Fill any imperfections with metal filler or putty, then sand the area again once it’s dry. This ensures a smooth final result, free from visible blemishes.
5. Choose the Right Primer
Metal surfaces require a specific type of primer to prevent the paint from peeling or chipping. Use an oil-based or epoxy primer designed for metal applications. Apply it evenly with a foam roller or spray for a flawless base coat.
Why it Matters: Primer isn’t just for adhesion; it also helps prevent rust and increases the durability of the finish.
6. Select the Perfect Paint
When it comes to painting metal kitchen cabinets, not all paints are created equal. Use oil-based paint or high-quality enamel paint designed for durability and easy cleaning. For a more modern touch, metallic or semi-gloss finishes work wonders in kitchens.
7. Use Spray Painting for an Even Finish
Spray painting metal cabinets is often the best way to achieve a smooth, professional finish. Hold the can or spray gun about 8-12 inches from the surface, moving in steady, even strokes. Avoid overcrowding the paint layers—apply thin coats, letting each one dry before adding another.
Pro Safety Tip: Always wear a mask and work in a well-ventilated area when spray painting.
8. Work in Layers for Durability
Instead of trying to achieve complete coverage in one pass, apply several thin coats of paint. This not only ensures a smooth, streak-free finish but also increases the durability of the paint over time. Allow each layer to dry before moving on to the next.
Practical Advice: Check the manufacturer’s instructions on drying time between coats to avoid tackiness.
9. Seal with a Protective Topcoat
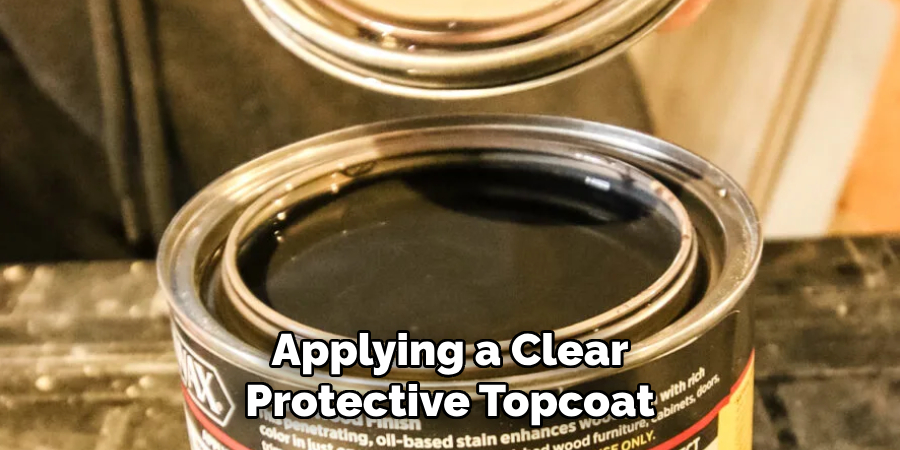
Applying a clear protective topcoat is a game-changer for painted metal cabinets. It enhances the sheen, protects against scratches, and adds an extra layer of durability. Choose a polyurethane or acrylic-based topcoat for best results.
Bonus Tip: Go for a matte or glossy topcoat depending on your desired aesthetic.
10. Reassemble and Style Your Cabinets
Once the paint has cured completely (usually after 24-48 hours), reattach the hardware and reinstall your cabinets. This is also a great time to consider upgrading your hardware for a modernized look.
Styling Note: Pair your newly painted cabinets with complementary accessories like vibrant kitchen towels or elegant backsplash tiles to complete the transformation.
Things to Consider When Painting Metal Kitchen Cabinets
When embarking on the project of painting metal kitchen cabinets, several key considerations can ensure a successful outcome. First, assess the condition of the cabinets to determine if additional repairs or adjustments are necessary before painting. Damage such as rust or significant dents may require more extensive repair work. It’s also important to consider the type of metal your cabinets are made of, as this can influence your choice of primer and paint. The environment in which you work should be well-ventilated; proper airflow is crucial when dealing with paint and fumes. Furthermore, weather conditions can affect paint drying and setting times, so be mindful of humidity and temperature.
Conclusion
Painting metal kitchen cabinets is a rewarding project that can dramatically transform the look of your space with a relatively modest investment. By following the outlined methods and considering key factors such as preparation, paint selection, and application techniques, you can achieve a professional and long-lasting finish. Taking the time to clean, sand, and repair your cabinets before applying paint ensures the end result is smooth and durable. The choice of high-quality primer and paint specifically designed for metal surfaces is crucial for adhesion and protection against rust, extending the life of your cabinets. Thanks for reading, and we hope this has given you some inspiration on how to paint metal kitchen cabinets!
Edmund Sumlin is a skilled author for Metal Fixes, bringing 6 years of expertise in crafting a wide range of metal fixtures. With a strong background in metalwork, Edmund’s knowledge spans various types of fixtures, from decorative pieces to functional hardware, blending precision with creativity. His passion for metalworking and design has made him a trusted resource in the industry.
Professional Focus:
- Expert in Metal Fixtures : Edmund aesthetic specializes in creating durable and innovative metal fixtures, offering both appeal and functionality. His work reflects a deep understanding of metalworking techniques and materials.
- Sustainability Advocate : He is dedicated to using sustainable practices, ensuring that every fixture is crafted with eco-friendly methods while maintaining high-quality standards.
In his writing for Metal Fixes, Edmund provides valuable insights into the latest trends, techniques, and practical advice for those passionate about metal fixtures, whether they are professionals or DIY enthusiasts. His focus on combining artistry with engineering helps others discover the true potential of metal in design.


