

Passivation is a chemical process that enhances stainless steel’s corrosion resistance. By treating the surface with an acid solution, it effectively removes any free iron or other contaminants that may be present.
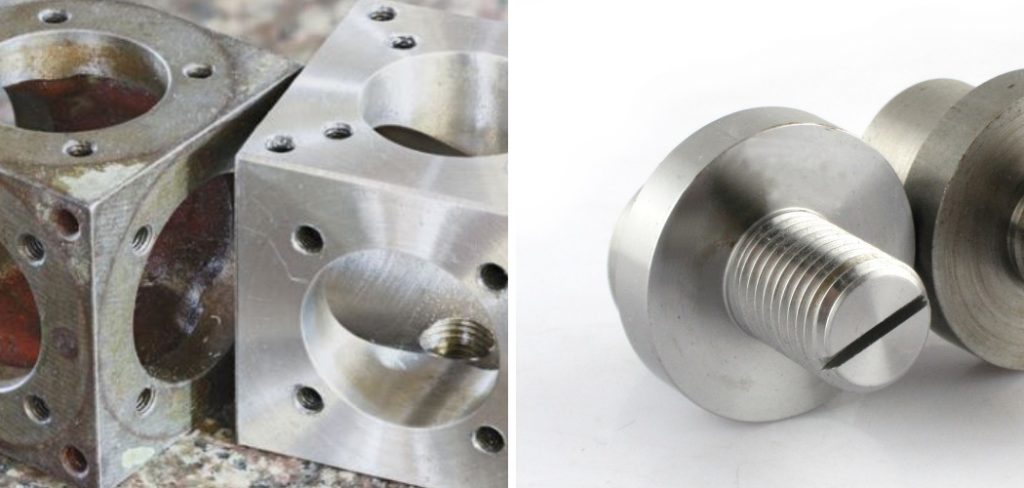
This process subsequently forms a thin, passive oxide layer that protects the metal from rust and corrosion.
Passivation is commonly employed in various industries, including medical, aerospace, and food processing, where maintaining the integrity of stainless steel components is critical.
Passivation is important because it improves the longevity and durability of stainless steel products. By eliminating surface contaminants and creating a protective oxide layer, passivation significantly reduces the risk of corrosion.
The process involves several key steps: thorough cleaning of the surface, treatment with an acid solution, and meticulous rinsing.
Understanding how to passivate stainless steel is essential for ensuring the material’s optimal performance in demanding environments.
Materials and Tools Needed
Materials:
- Stainless Steel Items to Be Passivated:
- Various stainless steel components require passivation.
- Cleaning Agents(detergents, solvents):
- Industrial-grade detergents and solvents to thoroughly clean the stainless steel surfaces before passivation.
- Passivation Acid Solution (nitric acid or citric acid):
- Appropriate acid solution specific to the type of stainless steel and desired passivation results.
- Deionized or Distilled Water:
- Pure water for rinsing the stainless steel items to ensure all contaminants are removed.
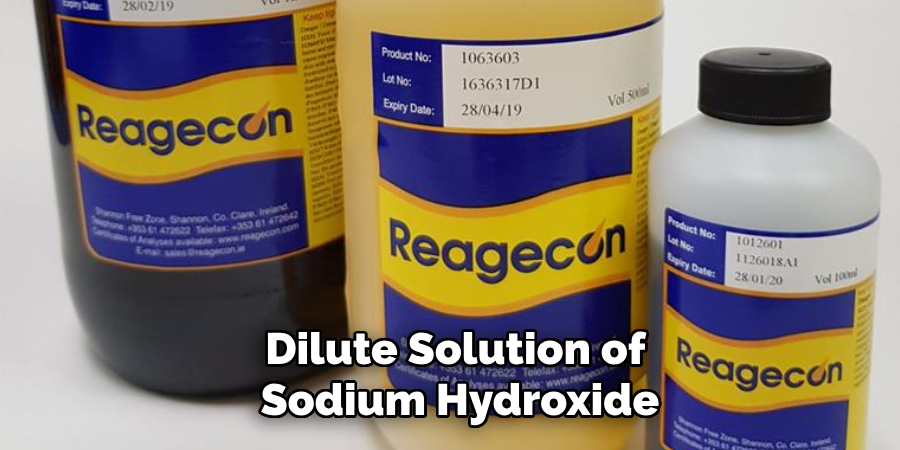
- Neutralizing Solution (if using nitric acid):
- A dilute solution of sodium hydroxide or another neutralizing agent to neutralize any remaining nitric acid on the stainless steel surfaces.
Tools:
- Plastic or Stainless Steel Containers for Immersion:
- Suitable containers that are resistant to the acids used in the passivation process.
- Soft Brushes or Sponges:
- Non-abrasive brushes or sponges to aid in the cleaning of stainless steel items prior to immersion.
- Personal Protective Equipment (PPE):
- Essential PPE includes chemical-resistant gloves, safety goggles, and an apron to protect the user from splashes and fumes.
- Ph Test Strips or Meter:
- Tools to measure the pH levels of the acid solution to ensure it remains within the desired range during the passivation process.
Safety Equipment:
- Chemical-resistant Gloves:
- Heavy-duty gloves that provide protection from corrosive acids and cleaning agents.
- Safety Goggles or Face Shield:
- Eye protection to guard against splashes and potential eye irritation from the chemicals used.
- Protective Clothing or Apron:
- Protective garments to prevent skin contact with harmful substances.
- Proper Ventilation or Fume Hood:
- Equipment to ensure adequate ventilation and minimize exposure to harmful fumes during the passivation process. This is crucial for maintaining a safe work environment and protecting the user’s respiratory health.
Preparing the Stainless Steel
Cleaning the Surface
Thoroughly cleaning the surface of stainless steel is crucial to remove oils, grease, dirt, and other contaminants that can interfere with the passivation process. Proper cleaning ensures the acid solution can effectively treat the surface, leading to optimal passivation results.
Importance of Thoroughly Cleaning the Stainless Steel
Oils, grease, and dirt on the stainless steel surface can create barriers that prevent the acid solution from contacting the metal. This can result in incomplete passivation, leaving the stainless steel vulnerable to corrosion.
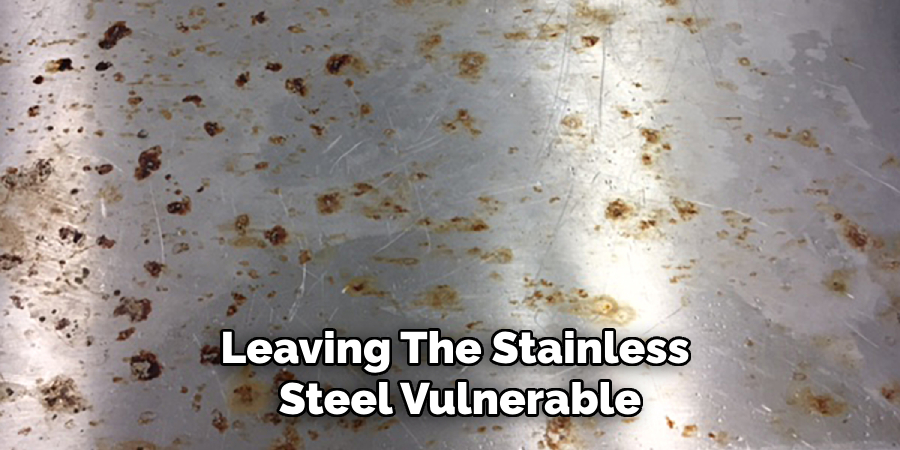
Cleaning the surface meticulously is essential for the successful formation of the protective oxide layer.
Step-by-Step Cleaning Process
- Prepare the Cleaning Solution:
- Use a suitable industrial-grade detergent solution or solvent to clean the stainless steel surface. The choice of cleaning agent should correspond to the type of contaminants present.
- Apply the Cleaning Solution:
- Using a non-abrasive soft brush or sponge, apply the detergent solution to the stainless steel surface. Gently scrub to ensure the entire surface is covered and contaminants are lifted.
- Rinse Thoroughly:
- Rinse the cleaned surface thoroughly with deionized or distilled water. This step is crucial to remove all residual detergent or solvent, as any remaining cleaning agents can interfere with the passivation process. Ensure the rinse water runs clear and free of any suds or residues.
- Dry the Surface Completely:
- Using clean, lint-free cloths, dry the stainless steel surface completely. Any moisture left on the surface can dilute the acid solution and compromise the passivation process. Ensure the surface is dry, with no streaks or water spots, to achieve uniform passivation.
Inspecting for Contaminants
After cleaning, it’s essential to inspect the stainless steel surface to ensure no contaminants remain that could interfere with passivation. This step helps identify any areas that may require additional cleaning before proceeding.
Checking for Any Remaining Contaminants
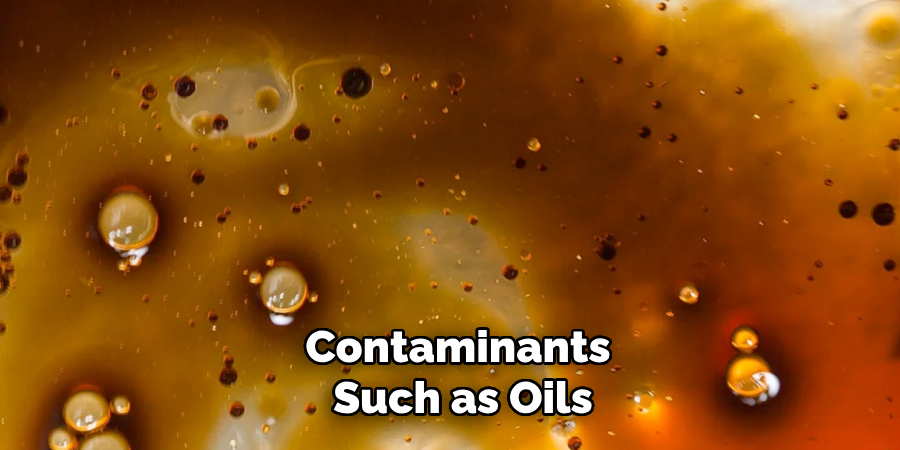
Contaminants such as oils, grease, and dirt can be challenging to detect with the naked eye. A thorough inspection helps ensure all potential interference is addressed before passivation.
Using a UV Light or Other Inspection Methods
One effective method for detecting residual contaminants is using a UV light. Under UV light, oils, and organic contaminants typically fluoresce, revealing their presence on the stainless steel surface. This allows for targeted re-cleaning of any affected areas.
Alternatively, using inspection tools like white cloths or swabs along with chemical detection kits can also help identify any remaining contaminants. Applying these inspection methods ensures the stainless steel surface is impeccably clean and ready for the passivation process.
By following these detailed cleaning and inspection steps, you’ll be well-prepared to achieve optimal results in the stainless steel passivation process, ensuring enhanced corrosion resistance and longevity for your stainless steel components.
How to Passivate Stainless Steel: Choosing the Right Acid Solution
Selecting the appropriate acid solution for passivating stainless steel is crucial to achieving effective results while ensuring safety and environmental considerations are met.
Nitric Acid vs. Citric Acid
- Nitric Acid:
- Traditional choice, effective but hazardous:
- Nitric acid has long been the traditional choice for passivating stainless steel due to its high efficacy. It quickly removes free iron and other contaminants from the surface, forming a robust passive oxide layer.
- Requires careful handling and neutralization after use:
- The use of nitric acid requires stringent safety measures, as it is highly corrosive and can produce hazardous fumes. Appropriate protective equipment, such as gloves, goggles, and protective clothing, should be worn at all times. After the passivation process, a neutralizing solution, typically a dilute sodium hydroxide solution, is necessary to neutralize any remaining acid on the stainless steel surfaces.
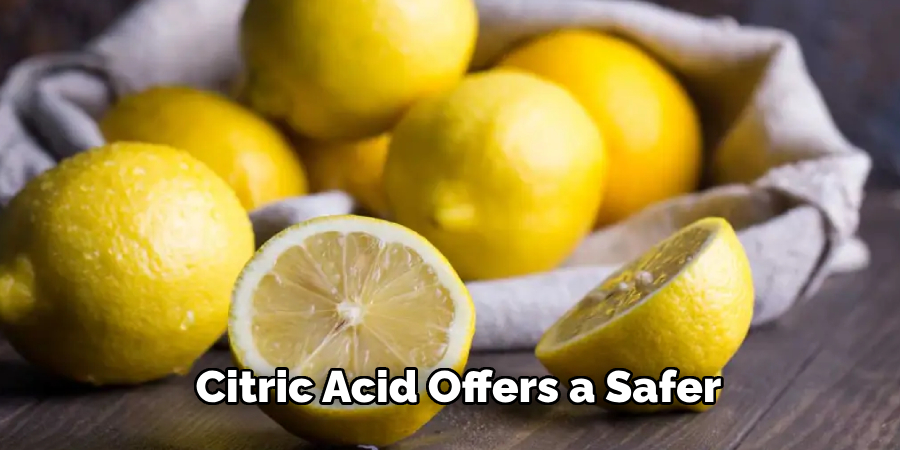
- Citric Acid:
- Safer, environmentally friendly alternative:
- Citric acid offers a safer and more environmentally friendly alternative to nitric acid. It is non-toxic, biodegradable, and poses fewer health hazards during handling and disposal. This makes it an attractive option, particularly in industries where safety and environmental impact are significant concerns.
- Equally effective in passivating stainless steel:
- Despite its milder nature, citric acid is equally effective in passivating stainless steel. It efficiently removes contaminants and promotes the formation of a protective oxide layer, ensuring excellent corrosion resistance.
Preparing the Acid Solution
Proper preparation of the acid solution is critical to ensure safety and achieve optimal passivation results.- Guidelines for diluting and handling nitric or citric acid solutions:
- When preparing either nitric or citric acid solutions, it is essential to always add acid to water, not water to acid, to avoid violent reactions. Use deionized or distilled water to achieve the desired dilution and thoroughly mix the solution. Ensure all handling is done in a well-ventilated area or under a fume hood to minimize exposure to fumes.
- Importance of following manufacturer instructions for concentration and immersion times:
- Manufacturer instructions should be closely followed when determining the concentration of the acid solution and the recommended immersion times for the stainless steel items. These guidelines are based on extensive research and testing to ensure the effectiveness and safety of the passivation process. Deviating from these instructions could result in suboptimal passivation or increased risk of damage to the stainless steel components.
- By carefully selecting and preparing the appropriate acid solution, you can achieve a high-quality passivation that enhances the durability and longevity of stainless steel products.
How to Passivate Stainless Steel: The Passivation Process
Setting Up the Work Area
Effective preparation of the work area is paramount to ensuring safety and achieving optimal passivation results for stainless steel. Here’s how you can set up your workspace:
- Using Plastic or Stainless Steel Containers:
- Select containers made of plastic or stainless steel to hold the acid solution. These materials are resistant to corrosion and will not react with the acid, ensuring the integrity of the passivation process.
- Ensuring Proper Ventilation:
- Perform all passivation work in a well-ventilated area or under a fume hood. Proper ventilation is crucial to minimize exposure to potentially harmful fumes produced by the acid solution. This precaution helps maintain a safe working environment and protects respiratory health.
- Immersing the Stainless Steel
Following a systematic approach to immersing stainless steel parts in the acid solution is essential for effective passivation.
Step-by-Step Process- Immerse the Cleaned Stainless Steel Parts in the Acid Solution:
- Carefully place the pre-cleaned stainless steel components into the prepared acid solution, ensuring they are fully submerged. Utilizing plastic or stainless steel tongs can facilitate this process while minimizing direct contact with the acid.
- Ensure Complete Submersion and Agitation:
- Verify that all parts are completely immersed in the solution. Gently agitate the container to dislodge any air bubbles that may form on the surface of the components. This step ensures uniform contact between the acid solution and the stainless steel surface.
- Follow Recommended Immersion Times:
- Adhere to the recommended immersion times for the acid solution used. For nitric acid, the parts typically need to remain submerged for 20-30 minutes, while citric acid requires 30-60 minutes. These guidelines ensure that the passivation process is thorough and effective.
- Monitoring the Process
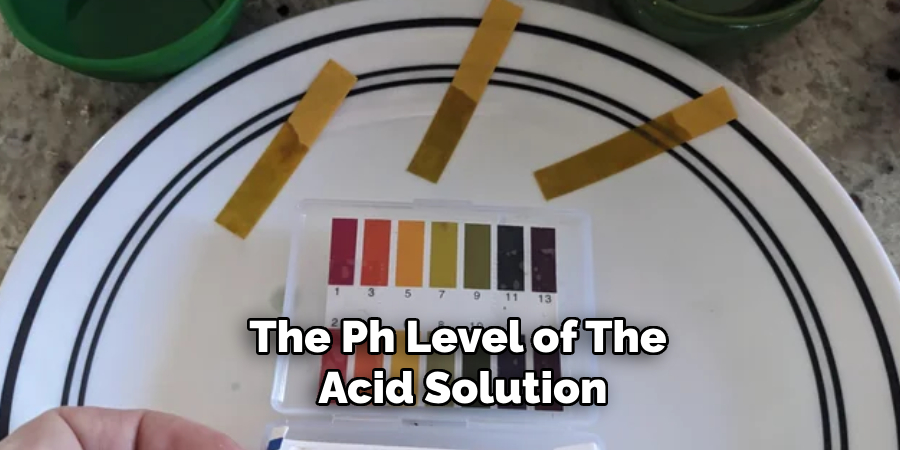
Consistent monitoring during the passivation process is vital to ensure optimal results:- Checking the pH Level Periodically:
- Regularly monitor the pH level of the acid solution to ensure it remains within the desired range. Slight variations can occur, and adjustments may be needed to maintain the efficacy of the solution.
- Observing the Stainless Steel Parts for Any Adverse Reactions:
- Continuously observe the stainless steel components for any signs of adverse reactions or changes, such as discoloration or excessive bubbling. These indicators may suggest issues with the process and should be addressed promptly.
- Removing the Parts from the Solution
Once the passivation process is complete, carefully remove the stainless steel components to avoid compromising the results.- Carefully Lift the Parts Out of the Acid Bath:
- Using plastic or stainless steel tools, cautiously lift the stainless steel parts out of the acid solution. Handle the components with care to prevent damage or contamination.
- Rinse Immediately with Plenty of Deionized Water:
- Immediately rinse the parts thoroughly with deionized or distilled water to remove all traces of acid. This step is crucial to halt the passivation process and eliminate any residual acid that might continue reacting with the metal surface. Ensure the rinse water flows freely and thoroughly over all surfaces of the components.
- By meticulously following these steps, you can achieve a high-quality passivation that significantly enhances the corrosion resistance and longevity of stainless steel products.
Neutralizing and Rinsing
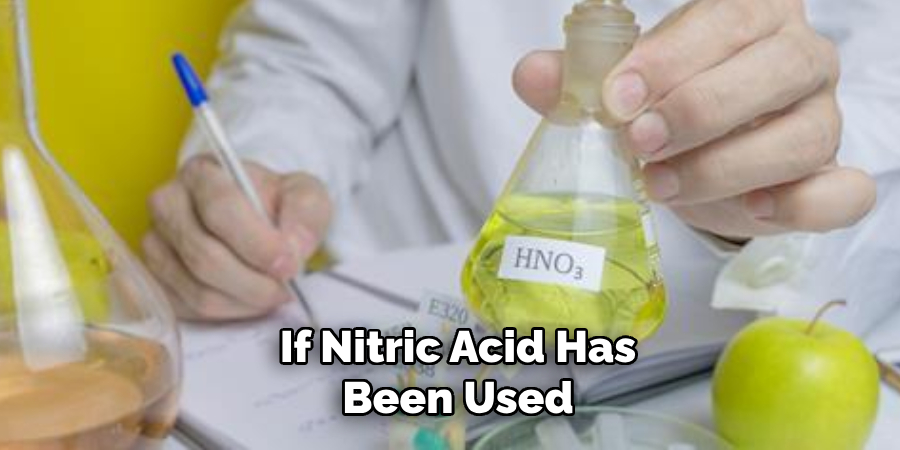
Neutralizing Residual Acid
If nitric acid has been used during the passivation process, it’s imperative to neutralize any residual acid on the stainless steel components. Here are the step-by-step instructions for preparing and using a neutralizing bath:
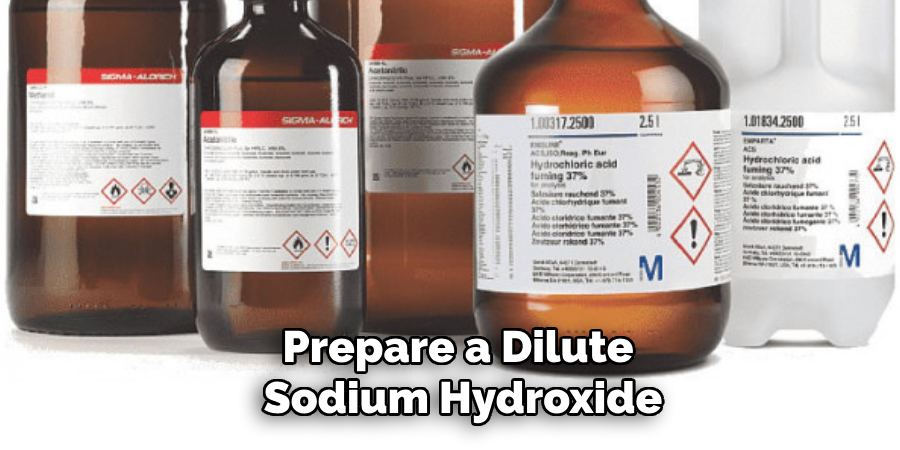
- Preparing a Neutralizing Bath:
- Prepare a dilute sodium hydroxide (NaOH) solution by adding sodium hydroxide pellets to deionized water. A typical concentration for neutralizing purposes is around 0.1-0.2%. Always add the sodium hydroxide to the water, not the other way around, to avoid exothermic reactions.
Immersing the Parts in the Neutralizing Solution:
- Carefully immerse the passivated stainless steel parts into the prepared sodium hydroxide solution. Ensure that all parts are fully submerged in the neutralizing bath to effectively neutralize any remaining acid. Gently agitate the container to guarantee uniform contact with the neutralizing solution.
Rinsing Thoroughly with Deionized Water after Neutralization:
- After sufficient immersion time in the neutralizing bath (typically 5-10 minutes), remove the parts carefully using plastic or stainless steel tools. Immediately proceed to rinse the components thoroughly with deionized or distilled water. This step is crucial to wash away any remaining neutralizing solution and halt any ongoing chemical reactions.
Final Rinse
To ensure the complete removal of all chemical residues and guarantee the success of the passivation process, a final rinse is essential:
- Ensuring a Thorough Rinse with Deionized or Distilled Water:
- Place the neutralized stainless steel parts under a stream of deionized or distilled water. Ensure that the water flows freely over all surfaces of the components to remove any lingering chemicals. Thorough and uniform rinsing helps in eliminating all residues that might impair the passivation layer.
- Using Multiple Rinses if Necessary to Achieve Complete Removal:
- Depending on the complexity and surface area of the stainless steel parts, multiple rinses may be required. Inspect the components between rinses to ensure that all chemical residues have been effectively removed. Continue rinsing until the water runoff is clear and free from any traces of acid or neutralizing solution.
By diligently following these neutralizing and rinsing steps, you can attain superior passivation outcomes, enhancing the corrosion resistance and longevity of stainless steel products.
Properly neutralized and thoroughly rinsed components are crucial to achieving high-quality and durable passivation.
Neutralizing and Rinsing
Neutralizing Residual Acid
If nitric acid has been used during the passivation process, it’s imperative to neutralize any residual acid on the stainless steel components.
This step prevents any potential damage that the acid might cause if left untreated. Here are the detailed steps to prepare and use a neutralizing bath:
- Preparing a Neutralizing Bath:
- Prepare a dilute sodium hydroxide (NaOH) solution by carefully adding sodium hydroxide pellets to deionized water. A typical concentration for neutralizing purposes is around 0.1-0.2%. It’s crucial to always add the sodium hydroxide to the water, not the other way around, to avoid an exothermic reaction that can be hazardous.
- Immersing the Parts in the Neutralizing Solution:
- Gently submerge the passivated stainless steel parts into the prepared sodium hydroxide solution. Ensure that each component is fully immersed to effectively neutralize any remaining acid on their surfaces. Agitate the container slightly to ensure even contact between the stainless steel parts and the neutralizing solution.
- Rinsing Thoroughly with Deionized Water after Neutralization:
- After an immersion period of about 5-10 minutes in the neutralizing bath, remove the parts carefully using plastic or stainless steel tools. It is essential to immediately proceed to rinse the components thoroughly with deionized or distilled water. This rinse will wash away any residual neutralizing solution and halt any ongoing chemical reactions.
- Final Rinse
To ensure the complete removal of all chemical residues and to guarantee the success of the passivation process, a final rinse is essential:- Ensuring a Thorough Rinse with Deionized or Distilled Water:
- Place the neutralized stainless steel parts under a continuous flow of deionized or distilled water. Ensure that the water flows over the entire surface area of each component to eliminate any remaining chemical residues. This step helps prevent any potential impairment of the passivation layer.
- Using Multiple Rinses if Necessary to Achieve Complete Removal:
- Depending on the complexity and surface area of the stainless steel parts, multiple rinses may be required. Inspect the components between rinses to ensure that all chemical residues have been effectively removed. Continue the rinsing process until the water runoff is clear and free of any acid or neutralizing solution traces.
- By meticulously following these neutralizing and rinsing steps, you can achieve superior passivation results, thereby significantly enhancing the corrosion resistance and longevity of stainless steel products. Properly neutralized and thoroughly rinsed components are critical to achieving high-quality and durable passivation.
Conclusion
The passivation process for stainless steel involves several key steps: thorough cleaning of the components, acid treatment to remove surface contaminants, rinsing to eliminate residual acids, and drying to ensure no moisture remains. Each step is crucial in forming an effective passive layer that enhances the material’s corrosion resistance.
It is indispensable to follow all safety protocols when handling acids, bases, and stainless steel products during the passivation process. Precision in measuring chemical concentrations, maintaining immersion times, and conducting thorough rinses greatly impacts the efficacy of the passivation.
Adhering to proper passivation practices is essential for achieving consistent results. Professionals are encouraged to continually practice and refine their techniques, ensuring the highest quality passivation across different applications.
Passivated stainless steel offers significantly enhanced corrosion resistance and longevity. By understanding how to passivate stainless steel correctly and maintaing proper practices, industry professionals can ensure their components perform optimally in various environments.
Edmund Sumlin is a skilled author for Metal Fixes, bringing 6 years of expertise in crafting a wide range of metal fixtures. With a strong background in metalwork, Edmund’s knowledge spans various types of fixtures, from decorative pieces to functional hardware, blending precision with creativity. His passion for metalworking and design has made him a trusted resource in the industry.
Professional Focus:
- Expert in Metal Fixtures : Edmund aesthetic specializes in creating durable and innovative metal fixtures, offering both appeal and functionality. His work reflects a deep understanding of metalworking techniques and materials.
- Sustainability Advocate : He is dedicated to using sustainable practices, ensuring that every fixture is crafted with eco-friendly methods while maintaining high-quality standards.
In his writing for Metal Fixes, Edmund provides valuable insights into the latest trends, techniques, and practical advice for those passionate about metal fixtures, whether they are professionals or DIY enthusiasts. His focus on combining artistry with engineering helps others discover the true potential of metal in design.