

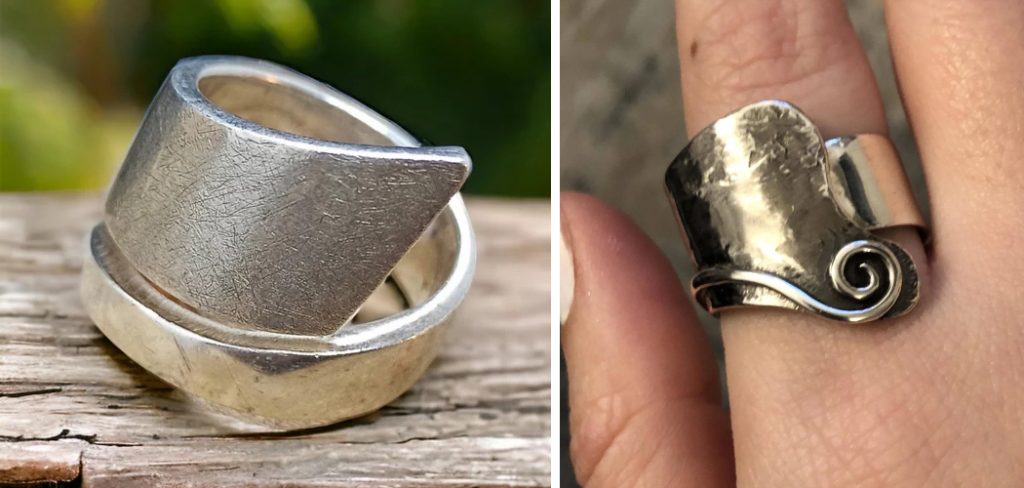
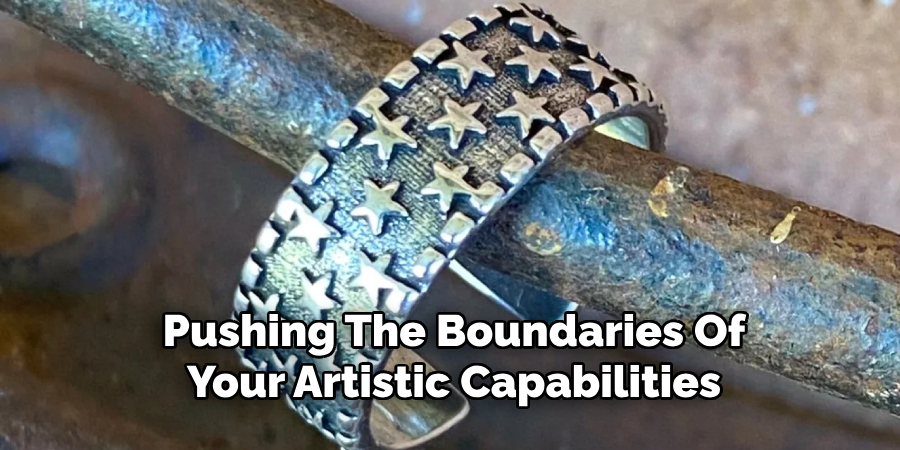
Are you a jewelry maker or simply someone who appreciates the unique beauty of silver patina? Adding a patina to your silver pieces can give them an aged and rustic look while also protecting the metal from tarnishing.
How to patina silver is a time-honored technique that enhances the metal’s natural beauty and lends an antique charm to various objects. Whether you’re looking to give a new piece a vintage look or restore a cherished heirloom to its former glory, patination can achieve the desired aesthetic. The process involves applying chemical treatments to the silver, which reacts with the metal to produce a darker, often varied finish.
This guide will offer insights and step-by-step instructions into patinating silver, ensuring you create a lasting and visually appealing effect.
What Will You Need?
Before starting the patina process, gather the necessary materials. These include:
- Silver pieces to be treated
- Protective gear such as gloves and eye protection
- Chemicals for patination (e.g., liver of sulfur, potassium sulfide)
- A container for mixing the chemicals
- An appropriate brush or applicator for applying the solution
- Water source for rinsing off excess solution
Once you have these items ready, it’s time to begin the patination process.
10 Easy Steps on How to Patina Silver
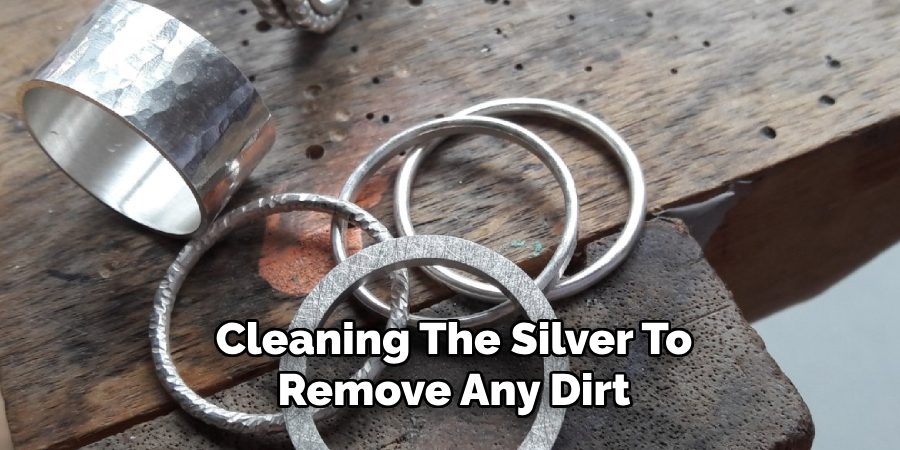
Step 1: Preparing the Silver
Preparation is fundamental in achieving an even and effective patina on your silver pieces. Begin by thoroughly cleaning the silver to remove any dirt, oils, or other contaminants that may impede the patination process. Use a gentle soap, dishwashing liquid, and a soft brush or cloth to clean every surface and crevice meticulously. After cleaning, ensure the silver is completely dry before proceeding, as moisture can disrupt the chemical reaction that forms the patina.
Next, inspect the silver for any scratches or imperfections that affect the final appearance. If necessary, use fine-grit sandpaper or steel wool to smooth out any irregularities. This refines the surface and creates a slightly rough texture that can help the chemicals adhere better.
Step 2: Mixing the Patina Solution
With your silver pieces prepared, the next step is to mix the patina solution. Begin by putting on your protective gear, such as gloves and eye protection, to ensure safety while handling chemicals. Prepare the solution in a well-ventilated area or under a fume hood according to the instructions provided with your chosen patination chemical, such as liver of sulfur or potassium sulfide.
This usually involves dissolving a small amount of the chemical in warm water, but the concentration and specific ratios may vary based on the desired intensity of the patina. Stir the solution gently with an applicator to ensure the chemical is fully dissolved, creating a uniform mixture ready for application.
Step 3: Applying the Patina
Once you have your patina solution ready, it’s time to apply it to the silver piece. Using a brush or sponge, carefully coat the surface of the silver with the solution. Apply it evenly, ensuring that all areas receive a consistent patina mixture. For a more varied or artistic effect, you can experiment with applying the solution in layers or using different applicators to create texture. Observe the color change as the chemical reacts with the metal,
allowing it to develop to your desired shade. If necessary, you can reapply the solution to deepen the patina. Once satisfied with the appearance, rinse the piece thoroughly with water to stop the chemical reaction, drying it immediately to prevent further undesired changes.
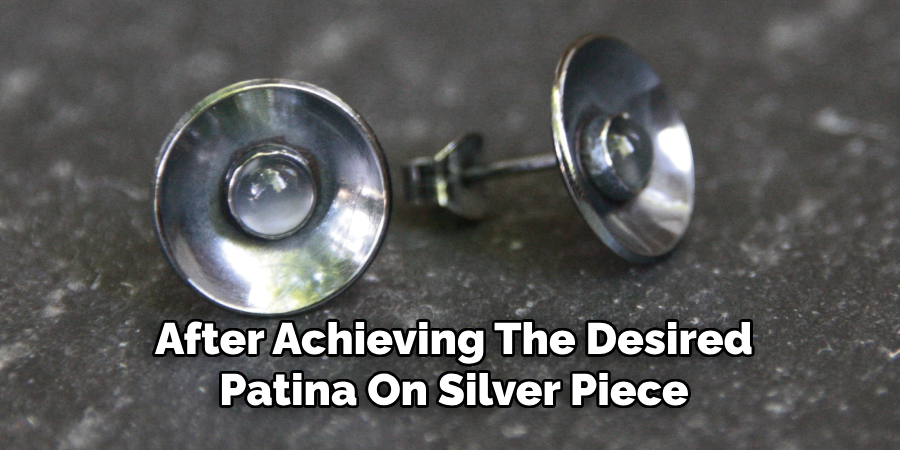
Step 4: Finishing and Sealing the Patina
After achieving the desired patina on your silver piece, sealing and protecting the finish is essential to ensure its longevity. Begin by gently polishing the surface with a soft cloth to remove any residual chemical traces and enhance the overall luster of the patina.
This process should be done with care to avoid stripping the patina itself. Once polished, consider applying a clear sealant or lacquer to the silver to protect the patina from wear and environmental exposure. This step is especially crucial if the silver piece will be handled frequently or exposed to elements that may cause further oxidation. A sealant safeguards the patina and adds an extra sheen, highlighting the piece’s intricate details and aged charm.
Step 5: Maintaining Your Patina
Once your silver piece has been successfully patinated and sealed, maintaining its finish is crucial for preserving its appearance. Regularly clean your silver with a soft, dry cloth to remove dust and fingerprints, avoiding abrasive materials or harsh chemicals that might damage the patina. When necessary, use a gentle, pH-neutral soap with warm water to clean more thoroughly,
ensuring you dry the piece immediately afterward. Consider storing patinated silver in a soft pouch or lined box to protect it from scratches and environmental exposure. Proper maintenance keeps the patina’s aesthetic charm intact and reinforces its protective qualities, prolonging the life and beauty of your silver creation.
Step 6: Troubleshooting Common Issues
Despite careful preparation and application, you might encounter some challenges during the patination process. One common issue is uneven coloration, which can result from inconsistent application of the patina solution. To address this, ensure the surface is thoroughly clean before starting and apply the patina evenly across the entire piece. If the patina is too dark or light, adjust the solution’s concentration or the application duration.
Another problem might be unwanted spots or streaks caused by residual oils or moisture; ensure the silver is completely dry and handle it with gloves to prevent contamination. If problems persist, consider stripping the existing patina and reapplying the solution, noting any alterations to your technique to avoid repeating the same issue. Regular practice and patience are vital to mastering the art of silver patination.
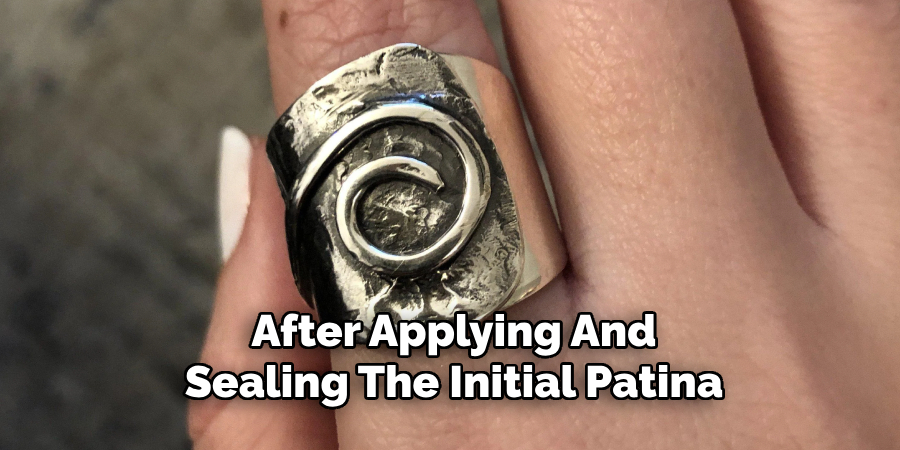
Step 7: Enhancing the Patina Effect
After applying and sealing the initial patina, you may wish to enhance it further or modify its appearance for a more personalized finish. Experimenting with various techniques, such as layering multiple patina solutions, can create complex colors and textures. To add highlights, consider lightly buffing raised areas of the silver with a fine polishing cloth, revealing more of the metal beneath and adding contrast.
Alternatively, selectively apply a mild oxidizing agent to deepen shadows and enrich details. For artists and crafters, adding a touch of fine paint or enamel in certain areas can introduce additional color nuances and artistic flair. Always test these techniques on a small or less visible part of your silver piece first to ensure the desired effect is achieved.
Step 8: Documenting Your Patina Process
Proper documentation of your patina process is crucial for replicating successful results and refining your technique over time. Begin by noting the specific patina chemical and concentration used and detailed information on ratios and the application method. Record any observations about the color changes, timing, and environmental conditions that may have influenced the outcome.
Photograph each stage of the process to provide visual references, making it easier to identify the best techniques and conditions. Keeping a detailed journal assists with recreating past successes and offers valuable insights for making adjustments in future projects.
Step 9: Sharing Your Patina Creations
Once you’ve mastered your patination technique and documented the processes, consider sharing your creations and experiences with others. Sharing can take many forms, such as showcasing your work in galleries, selling on online platforms, or participating in local art fairs. Networking with fellow artisans through workshops or social media communities can also be a great way to exchange tips and gather feedback.
When sharing online, use high-quality images and describe your process and inspirations. Sharing not only helps you reach a wider audience but also contributes to the collective knowledge within the silver crafting community, inspiring others to explore their own patina journeys.
Step 10: Reflecting on the Learning Process
Reflecting on your journey through the patination process is essential for continuous improvement and personal growth. Take time to evaluate your challenges and the creative solutions you developed to overcome them. Consider the skills you’ve acquired and how they can be applied to other areas of your art or craft. Reflect on the feedback received from others, identifying constructive criticism that can enhance your future projects.
By analyzing your experiences, you can set new goals and objectives, pushing the boundaries of your artistic capabilities. Reflecting solidifies the knowledge gained, inspires innovation, and fosters a deeper appreciation for the art of silver patination.
By following these steps and continually practicing, you can become an expert in the art of silver patination.
Conclusion
The journey into the art of patinating silver is a rewarding blend of chemistry, creativity, and craftsmanship.
By understanding and meticulously following each step on how to patina silver—from preparation to troubleshooting and enhancement—you can transform ordinary silver into pieces with unique depth and character. The process requires technical skill and a willingness to experiment and learn from each attempt.
As you document your techniques and share your creations, you contribute to an ongoing dialogue within the artisanal community, enriching both your artistry and the broader field of silver crafting. Embrace the journey with patience and enthusiasm, and let your silverware tell its story through the colors and finishes you cultivate.
Ultimately, the dedication to perfecting your patination technique will result in beautifully crafted silver that resonates with personal and artistic significance.
you can also check it out Remove Silver Plate
Edmund Sumlin is a skilled author for Metal Fixes, bringing 6 years of expertise in crafting a wide range of metal fixtures. With a strong background in metalwork, Edmund’s knowledge spans various types of fixtures, from decorative pieces to functional hardware, blending precision with creativity. His passion for metalworking and design has made him a trusted resource in the industry.
Professional Focus:
- Expert in Metal Fixtures : Edmund aesthetic specializes in creating durable and innovative metal fixtures, offering both appeal and functionality. His work reflects a deep understanding of metalworking techniques and materials.
- Sustainability Advocate : He is dedicated to using sustainable practices, ensuring that every fixture is crafted with eco-friendly methods while maintaining high-quality standards.
In his writing for Metal Fixes, Edmund provides valuable insights into the latest trends, techniques, and practical advice for those passionate about metal fixtures, whether they are professionals or DIY enthusiasts. His focus on combining artistry with engineering helps others discover the true potential of metal in design.