

Are you tired of looking at your stainless steel appliances with dull and lifeless surfaces? If so, don’t worry! With the right tools and techniques, you can achieve a stunning shine that will make your steel surfaces look brand new.
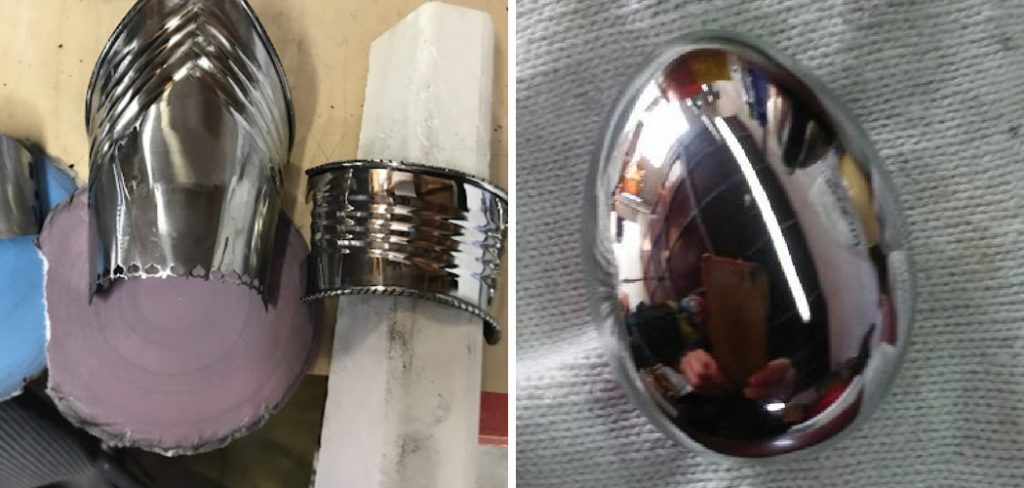
How to polish steel to a mirror finish is an intricate process that transforms a rugged piece of metal into a smooth, reflective surface. This process not only enhances the aesthetic appeal of the steel but also extends its durability by reducing susceptibility to corrosion and wear.
Whether you are working on a car part, a piece of jewelry, or a kitchen appliance, achieving a mirror finish requires patience, precision, and the right set of tools.
In this guide, we will walk you through the essential steps and techniques needed to attain that flawless, shiny surface, ensuring your steel shines with a professional-grade luster.
What Will You Need?
Before diving into the polishing process, it is essential to gather all the necessary tools and materials. Here’s a list of what you’ll need:
- Sandpaper (various grits)
- Steel wool
- Metal polish or buffing compound
- Buffing wheel or pad
- Microfiber cloth
- Safety goggles and gloves for protection
Once you have all the required items, you are ready to start polishing your steel.
10 Easy Steps on How to Polish Steel to a Mirror Finish
Step 1: Prep the Surface
The first and most crucial step in polishing steel to a mirror finish is properly preparing the surface. Start by thoroughly cleaning the steel to remove dirt, grease, and debris.

Use a mild detergent and water solution to wipe down the surface, ensuring it is free of contaminants that could scratch the metal during sanding.
Once the steel is clean and dry, inspect it for any existing scratches, dents, or imperfections. If you find any, you’ll need to address them before proceeding.
Depending on the severity of the imperfections, you might need to use coarse-grit sandpaper (e.g., 80 or 120 grit) to sand them out. Be sure to sand in a consistent direction to avoid creating additional scratches.
After dealing with any major surface flaws, gradually progress to finer grit sandpaper, from medium (e.g., 220 grit) to fine (400, 600, and 800 grit). This gradual progression helps to smooth out the surface while minimizing scratches.
Remember to sand evenly and to keep the surface well-lubricated with water or a suitable lubricant to prevent heat buildup and clogging of the sandpaper.
Continuing with this method will ensure that you create a smooth and even base for the upcoming polishing stages. A well-prepped surface is key to achieving a flawless mirror finish.
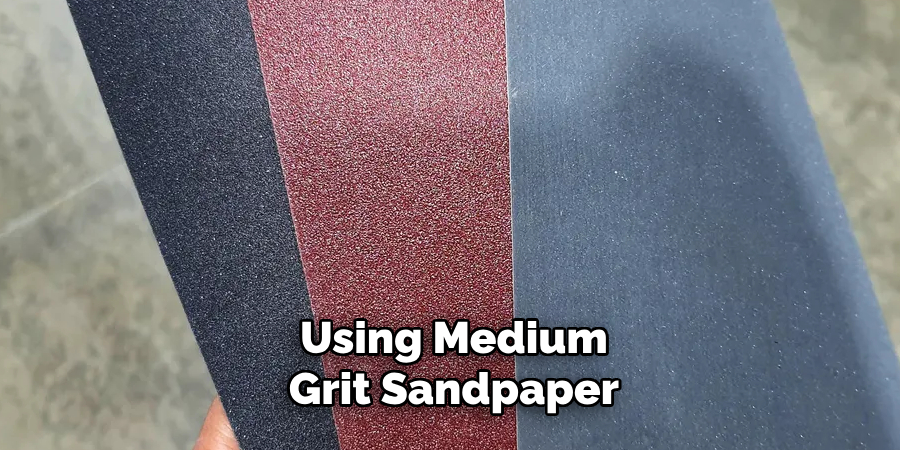
Step 2: Apply Medium Grit Sandpaper
With the major imperfections addressed and the surface adequately prepped, it’s time to refine the metal further using medium grit sandpaper. Start with a grit level of around 1000, delicately sanding the steel in a consistent, circular motion.
This step is crucial for eliminating any remaining minor scratches and preparing the surface for the finer grit stages to follow. Ensure you maintain a gentle touch to avoid unintentional damage to the metal.
Always keep the sandpaper and surface lightly lubricated with water or a suitable lubricant to prevent friction heat and clogging. Work systematically across the entire area, continually checking the smoothness of the steel by running your fingers lightly over it.
As you do, you should notice a reduction in visible blemishes and a smoother texture, setting the stage for the fine grit polishing phases ahead. Proper attention at this step helps in developing a near-flawless foundation that will greatly enhance the final mirror finish effect.
Step 3: Use Fine Grit Sandpaper
You can proceed to the fine-grit stages with the surface now refined using medium-grit sandpaper. Begin with 1200 grit sandpaper and continue the same sanding technique, using circular motions and consistent pressure.
This fine sanding step is vital for removing the last vestiges of scratches and for achieving that sleek, polished look.
Continuously lubricate the surface and sandpaper to maintain a smooth sanding process and avoid the risk of heat damage.
Once satisfied with the results using the 1200 grit, advance to even finer grits such as 1500 and eventually 2000 or 2500 grit sandpaper.
The progressive use of increasingly finer grits will gradually smooth out any subtle imperfections, preparing the steel for the final stages of the polishing process.
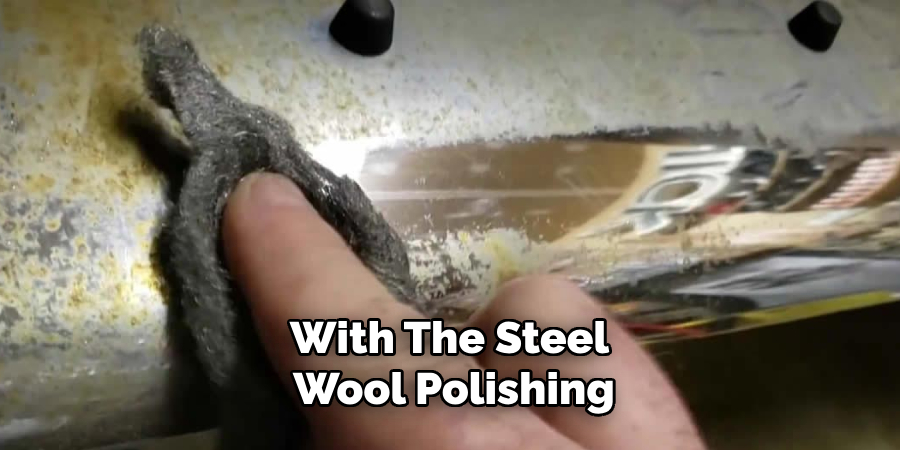
Step 4: Polish with Steel Wool
After progressing through the fine grit sandpapers, the next step is smoothing the surface using steel wool.
Opt for the finest grade of steel wool (0000 grade) to gently polish the steel in a circular motion. This step helps to eliminate any microscopic scratches that may remain after the fine sanding, starting to bring out a subtle sheen on the surface.
Ensure the steel wool and the surface remain lubricated throughout the process to reduce friction and avoid any potential damage.
As you work across the entire area, periodically wipe down the surface with a clean, damp microfiber cloth to assess your progress. The steel should now begin to exhibit a noticeable, smooth luster, setting the stage for the final polishing stages.
Step 5: Apply Metal Polish
With the steel wool polishing complete, you are now ready to apply the metal polish or buffing compound. Using a clean microfiber cloth, apply a small amount of the polish to the steel surface.
Work in small sections, applying the polish in a circular motion to ensure even coverage. The polishing compound will help to bring out the reflective qualities of the steel, enhancing its luster further.
As you apply the polish, continue to rub it into the metal until you notice a shiny, reflective surface starting to emerge. Take your time with this step to maximize the finish quality.
Once you have covered the entire surface with polish, use a separate, clean microfiber cloth to buff away any excess polish. This buffing stage will help to smooth out any streaks and reveal a high-gloss shine.
Repeat the polishing and buffing process as necessary to achieve the desired mirror-like finish.
Step 6: Buff with a Polishing Wheel
Once you have achieved a shiny surface with the metal polish, it’s time to take the shine to the next level by using a polishing wheel.
Attach a soft buffing wheel to your rotary tool or bench grinder. Apply a small amount of buffing compound to the wheel, and then gently press the steel against the wheel, moving it in a consistent, circular motion.
Buffing with a polishing wheel significantly enhances the reflective quality of the steel, pushing it closer to that coveted mirror finish. Make sure to wear appropriate safety gear, such as protective eyewear and gloves, to prevent any injuries during this step.
Also, work in a well-ventilated area to avoid inhaling any fine particles. Continue buffing until you are satisfied with the gleam on the metal surface, regularly checking your progress.
This step is pivotal as it smooths out any remaining fine abrasions and produces a high-gloss, mirror-like finish that is difficult to achieve through hand polishing alone.
Step 7: Clean and Inspect the Surface
With the polishing process complete, the final step is to thoroughly clean and inspect the steel surface. Using a clean microfiber cloth or a soft lint-free cloth, gently wipe down the steel to remove any residual buffing compound, polish, or fine particles.

Ensuring the surface is completely clean will allow you to see any remaining imperfections or areas that might need a touch-up.
Carefully inspect the steel under good lighting. Look for any spots with minor scratches or areas where the polish wasn’t completely removed. If necessary, repeat the previous steps to address these imperfections.
The goal is to achieve a flawless, mirror-like finish that reflects light evenly. Once satisfied with the results, store the polished steel in an environment that minimizes its exposure to dust and moisture to preserve its pristine condition.
Step 8: Apply a Protective Coating
To maintain the steel’s high-gloss mirror finish, a protective coating is essential. Select a clear protective wax, oil, or sealant designed specifically for metal surfaces. This coating will help guard against oxidation, fingerprints, and other environmental factors that can tarnish the finish.
Begin by applying a thin, even layer of your chosen protective coating using a clean microfiber cloth or applicator pad—work in small sections, applying the coating in a smooth, circular motion to ensure complete coverage.
Allow the coating to set according to the manufacturer’s instructions, and then buff the surface with a clean, dry microfiber cloth to enhance the shine.
Regular maintenance will help keep the steel’s mirror finish intact. Periodically reapply the protective coating based on the manufacturer’s recommendations or whenever you notice the gloss starting to diminish. By taking these steps, you can enjoy the radiant shine of your polished steel for an extended period.
Step 9: Routine Maintenance
Maintaining the mirror finish of your polished steel is an ongoing process that ensures lasting beauty and durability.
Routine maintenance involves cleaning the surface regularly to remove any dust, fingerprints, or other contaminants that may dull the shine. Use a clean, dry microfiber cloth to gently wipe the steel surface daily.

For a deeper clean, periodically use a metal-friendly cleaner or a solution of mild soap and water. Apply the solution with a damp microfiber cloth, ensuring it is not overly saturated to avoid streaks.
Wipe the surface in gentle, circular motions, then follow with a dry microfiber cloth to remove any residue and restore the shine.
It’s also important to avoid placing the polished steel in environments prone to excessive moisture or temperature fluctuations, as these can affect the finish over time. If you do notice any faint scratches or a reduction in gloss, promptly address these issues by revisiting the polishing steps or touching up with metal polish.
By incorporating these routine maintenance practices, you preserve the high-gloss, mirror-like finish of your polished steel, ensuring it remains a stunning focal point for years to come.
Step 10: Handle with Care
Handling your polished steel with care is paramount to ensuring its mirror finish remains in pristine condition.
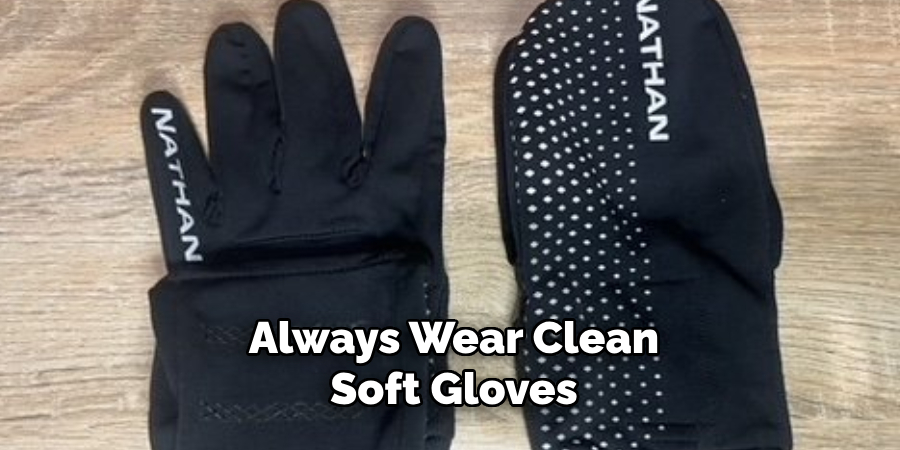
Always wear clean, soft gloves when touching the steel to avoid leaving fingerprints or smudges that can mar the finish.
If you need to move or transport the polished metal, use padded cloths or bubble wrap to provide a cushioning layer that protects against scratches and abrasions during transit.
When installing the polished steel in its final location, be mindful of its surroundings. Avoid placing it near abrasive surfaces or objects that can cause accidental damage. Additionally, ensure that any mounting hardware or fasteners used are appropriate for polished surfaces and do not cause undue stress or scratches to the finish.
By taking these precautionary measures, you help maintain the flawless mirror finish of your polished steel, showcasing its beauty and reflective quality for a prolonged period.
5 Additional Tips and Tricks
- Clean Thoroughly Before Starting: Before you begin polishing, ensure the steel surface is free from dirt, grease, and other contaminants. Use a degreaser and a scrubbing pad to clean the area thoroughly.
- Use Incremental Sandpaper Grits: Start with a lower grit sandpaper, such as 320 or 400, and gradually work your way up to higher grits like 600, 800, and finally 1200 or 1500. This step-by-step approach helps to smooth out imperfections progressively.
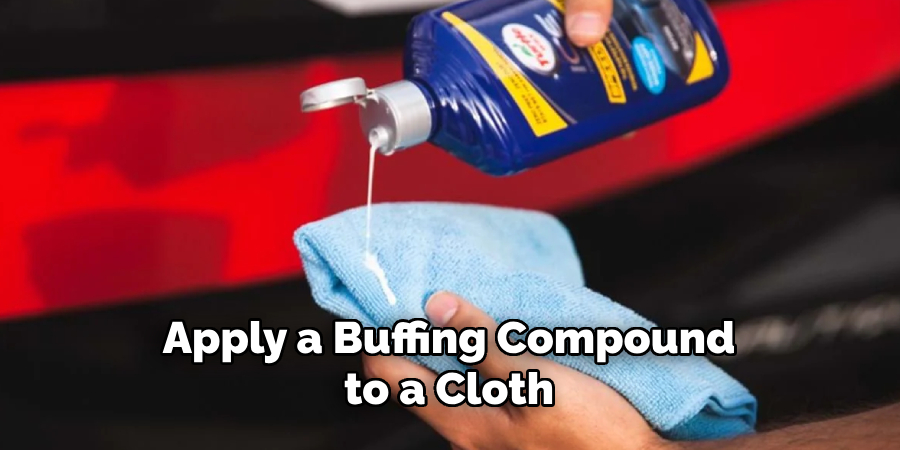
- Apply Buffing Compound: Once the sanding process is complete, apply a buffing compound to a cloth or buffing wheel. Compounds such as Tripoli or rouge are particularly effective in bringing out a high shine in steel surfaces.
- Polish in Stages: Don’t rush the polishing process. Work on small sections at a time to ensure even coverage and avoid streaks or missed spots. Overlapping your passes will ensure a uniform finish.
- Finish with a Protective Coating: After achieving the desired mirror finish, apply a protective coating such as a clear lacquer or a specialized metal sealant. This will help maintain the shine and prevent rust or tarnish over time.
With these additional tips and tricks, you can achieve a professional-grade mirror finish on steel surfaces. It may take some time and effort, but the end result will be worth it.
5 Things You Should Avoid
- Skipping Grits: Avoid skipping one or more grit levels during sanding. Each grit is essential for removing the scratches from the previous layer and progressively refining the surface. Skipping grits can lead to an uneven finish and more work down the line.
- Using Excessive Pressure: Applying too much pressure while sanding or buffing can cause gouges or heat damage to the steel surface. Use gentle, consistent pressure to avoid compromising the integrity of the steel.
- Ignoring Safety Precautions: Polishing steel generates fine dust and requires the use of chemicals and power tools, all of which pose safety risks. Always wear appropriate safety gear, such as gloves, safety glasses, and a dust mask, to protect yourself.
- Polishing Dirty Surfaces: Starting the polishing process on a dirty surface can embed contaminants into the steel, leading to scratches and an inadequate finish. Ensure the surface is clean before you begin each stage of the process.
- Using the Wrong Products: Not all compounds and tools are suitable for polishing steel. Using the wrong products can result in a subpar finish or damage to the material. Always choose the appropriate sandpaper grit, buffing compound, and protective coating for the best results.
By avoiding these common mistakes, you can ensure a smoother, more efficient process and achieve a stunning mirror finish on your steel surfaces.
Can You Polish Steel With Toothpaste?
Toothpaste is a popular DIY alternative for polishing metal surfaces, but it may not be the most effective option for steel. While toothpaste does contain mild abrasives that can help remove some scratches and stains, it is not strong enough to achieve a mirror finish on steel.
Additionally, toothpaste may contain other ingredients such as fluoride or whitening agents that could potentially damage the steel surface. It is always best to use products specifically designed for polishing metal, such as buffing compounds and specialized sealants.
However, suppose you are in a pinch and need to remove minor scratches or stains on your steel. In that case, toothpaste may provide a temporary solution until you can properly polish the surface with the appropriate materials.
Just be sure to test it on a small, inconspicuous area first to avoid any potential damage. Overall, it is best to use professional-grade products to achieve a high-quality mirror finish on steel.
Conclusion
How to polish steel to a mirror finish is a meticulous process that requires patience, the right tools, and an understanding of the necessary steps.
You can achieve a professional-grade shine by starting with a clean surface, progressively sanding with incremental grits, and applying the appropriate buffing compounds.
Equally important is to avoid common mistakes such as skipping grit levels, using excessive pressure, or neglecting safety precautions.
While DIY alternatives like toothpaste can offer temporary fixes for minor imperfections, specialized products and techniques are essential for a long-lasting, flawless finish.
By following these tips and tricks and avoiding pitfalls, you can ensure that your steel surfaces gleam with a brilliant, mirror-like luster that stands the test of time.
Edmund Sumlin is a skilled author for Metal Fixes, bringing 6 years of expertise in crafting a wide range of metal fixtures. With a strong background in metalwork, Edmund’s knowledge spans various types of fixtures, from decorative pieces to functional hardware, blending precision with creativity. His passion for metalworking and design has made him a trusted resource in the industry.
Professional Focus:
- Expert in Metal Fixtures : Edmund aesthetic specializes in creating durable and innovative metal fixtures, offering both appeal and functionality. His work reflects a deep understanding of metalworking techniques and materials.
- Sustainability Advocate : He is dedicated to using sustainable practices, ensuring that every fixture is crafted with eco-friendly methods while maintaining high-quality standards.
In his writing for Metal Fixes, Edmund provides valuable insights into the latest trends, techniques, and practical advice for those passionate about metal fixtures, whether they are professionals or DIY enthusiasts. His focus on combining artistry with engineering helps others discover the true potential of metal in design.