

Are you tired of your old steel tub and ready for an upgrade? Or perhaps you are remodeling a bathroom and need to remove the existing tub. Whatever your reason may be, removing a steel tub can seem like a daunting task. But it can be done easily and safely with the right tools and techniques.
Whether you’re looking to replace your tub or renovate your bathroom, this guide on removing a steel tub will provide you with step-by-step instructions on how to remove a steel tub safely and efficiently.
By following these instructions and taking the necessary precautions, you’ll be on your way to successfully removing your steel tub and achieving your bathroom transformation goals. Let’s dive in!
What Will You Need?
Before you begin the removal process, ensure you have all the necessary tools and materials to complete the job. Here’s a list of items you’ll need:
- Safety goggles
- Gloves
- Adjustable wrench
- Screwdriver
- Hammer
- Utility knife
- Reciprocating saw
- Pry bar or crowbar
Make sure to have these items readily available before starting the removal process.
10 Easy Steps on How to Remove a Steel Tub
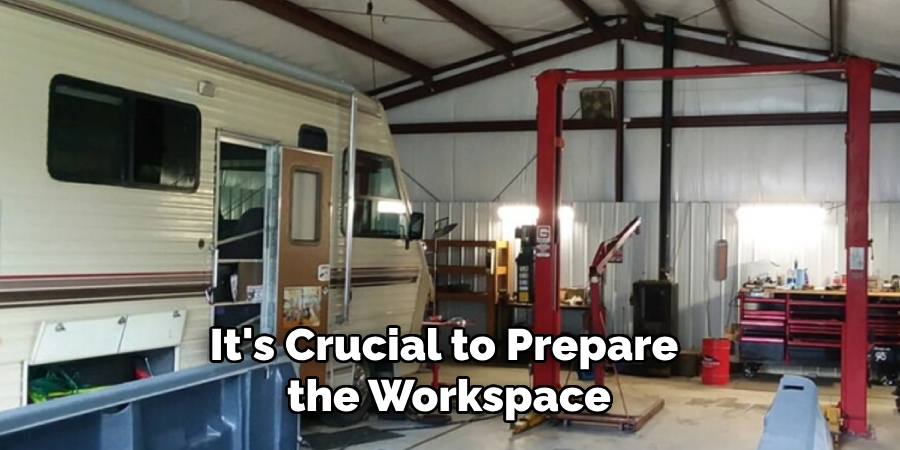
Step 1. Prepare the Workspace
Before you begin removing a steel tub, it’s crucial to prepare the workspace for a smooth and safe operation. Here’s what you need to do:
- Clear the Area: Remove any objects or obstacles around the tub area to create ample space for maneuvering.
- Protect the Floor: Lay a protective covering, such as drop cloths or cardboard, to prevent any damage to the floor surface during removal.
- Turn Off Water Supply: Locate the water shut-off valves and turn off the tub’s water supply. This step is crucial to prevent potential water damage during removal.
- Turn Off Electricity: If your tub has electrical outlets or lighting fixtures, turn off the electricity supply before starting.
Step 2: Remove Drain Cover
Start by removing the drain cover or stopper. Use a screwdriver to unscrew and lift it out. If the stopper is stuck or challenging to remove, you may need to use pliers or a suitable drain removal tool. Once the drain cover is off, inspect the drain assembly to locate the drain flange and ensure it’s completely accessible before moving to the next step. This will make the process of disconnecting the drain pipe much more accessible.
Step 3. Disconnect the Drain Pipe
Loosen and disconnect the drain pipe from the tub using an adjustable wrench or pliers. If the pipe is sealed with pa lumber’s putty or adhesive, you may need to cut around the seal using a utility knife carefully. Keep a bucket or container nearby to catch any residual water that may still be in the pipe. Ensure the pipe is entirely detached from the tub before proceeding.
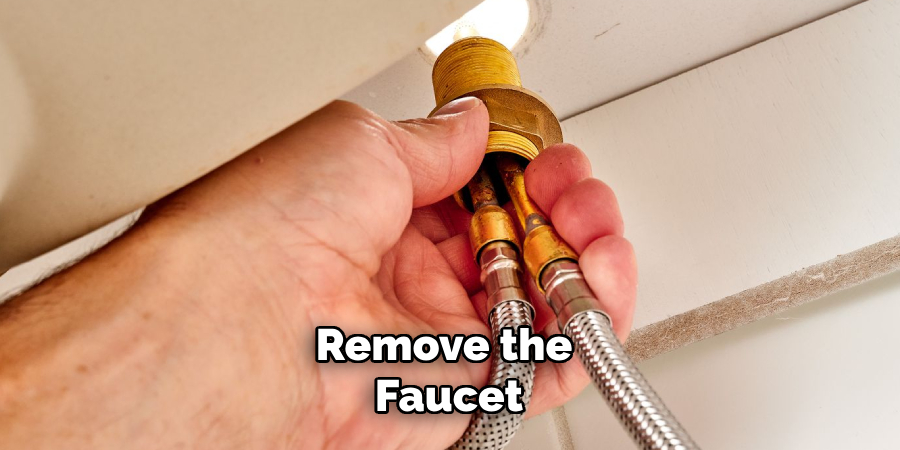
Step 4. Remove the Faucet and Handles
To remove the faucet and handles, follow these steps:
- Turn off the water supply: Locate the water shut-off valves beneath the sink or near the main water supply and turn them off to prevent any water flow.
- Remove the handles: Depending on the type of faucet, you may need to unscrew the handles using a screwdriver or Allen wrench. Once loose, carefully lift the handles off the faucet assembly.
- Loosen the faucet: Use an adjustable wrench to loosen the nuts securing the faucet to the sink. Turn them counterclockwise until the faucet is loose enough to remove.
- Disconnect the water supply lines: Locate them and connect them to the faucet. Use an adjustable wrench to disconnect them. Be prepared for any remaining water in the lines to drain into a bucket or container.
- Remove the faucet: With the nuts and water supply lines disconnected, lift the assembly out of the sink, ensuring all remaining components are detached.
Following these steps, you’ll successfully remove the faucet and handles, allowing for further maintenance or replacement.
Step 5. Unscrew and Remove the Overflow Cover
The overflow cover prevents the tub from overfilling by allowing excess water to drain. Here’s how to remove it:
- Locate the Overflow Cover: The overflow cover is typically positioned on the tub wall, just above the drain.
- Unscrew the Cover: Using a screwdriver, carefully unscrew the screws holding the overflow cover in place. Keep these screws in a safe spot for potential reuse.
- Detach the Assembly: Once the screws are removed, gently pull the overflow cover and its connected assembly away from the tub. You may need to wiggle it slightly to loosen it.
- Inspect for Additional Seals: Check for any caulking or plumber’s putty sealing the overflow cover. If present, use a utility knife to carefully cut or scrape away the seal without damaging the tub.
With the overflow cover removed, the tub is fully disconnected from the plumbing system, and you’re ready to detach the surrounding materials.
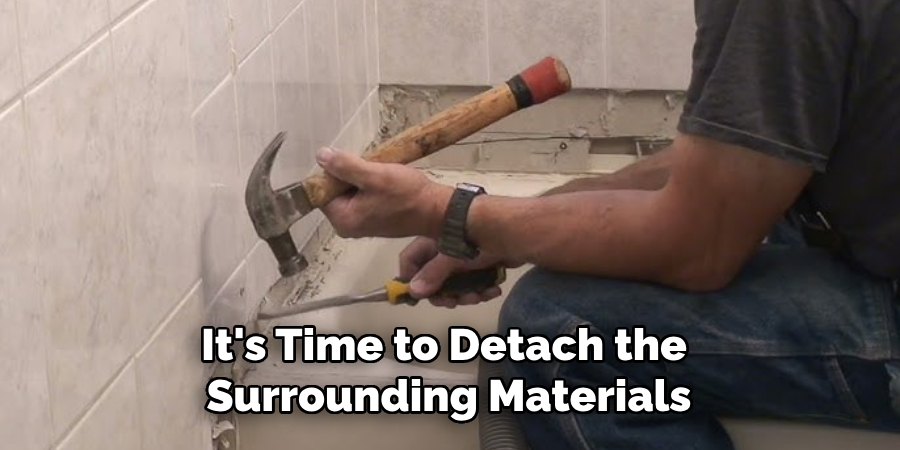
Step 6: Detaching the Surrounding Materials
Once the overflow cover has been removed, it’s time to detach the surrounding materials for further access and maintenance. Follow these steps:
- Remove Caulk or Putty: Inspect the area around the overflow pipe for caulking or plumber’s putty. Use a utility knife or scraper to carefully remove the sealant, taking care not to damage the tub surface.
- Disconnect Drain Pipe: Locate the drain pipe connected to the overflow pipe. Loosen the slip nut or compression fitting connecting the two pipes. Use pliers or a wrench to disconnect the drain pipe from the overflow pipe.
- Detach the Overflow Pipe: Unscrew the mounting nut securing the overflow pipe to the tub. Once loosened, remove the overflow pipe by pulling it out from the tub wall.
- Inspect and Clean: Take a moment to inspect the removed components for any signs of damage or corrosion. Clean the overflow pipe, drain pipe, and surrounding area to remove any debris or buildup.
- Reassemble or Replace: If everything appears in good condition, you can reassemble the components in the reverse order. However, consider replacing parts before reassembling if any parts are damaged or worn.
Step 7. Remove Surrounding Materials
Once the surrounding materials are detached, use a pry bar or hammer to remove any tiles or drywall covering the tub surface carefully. Be cautious not to damage the tub during this process. With the surrounding materials removed, you can now access the steel tub and begin removing it.
Step 8. Removing the Steel Tub
Removing a steel tub can be challenging and physically demanding, so taking proper precautions for safety is essential. Here are the steps to follow:
- Protect Your Hands and Eyes: Wear gloves and goggles to protect your hands from sharp edges and your eyes from any debris.
- Locate Screws or Clips: Many steel tubs are secured with screws or clips around the edges. Use a screwdriver or pliers to remove these fasteners carefully.
- Disconnect Drain Pipe: With the screws removed, disconnect the drain pipe from underneath the tub using an adjustable wrench or pliers.
- Lift and Remove Tub: With all connections detached, carefully lift the tub from its position and remove it from the bathroom. Be careful not to damage any surrounding walls or plumbing fixtures during removal.
Step 9. Dispose of the Tub and Clean Up
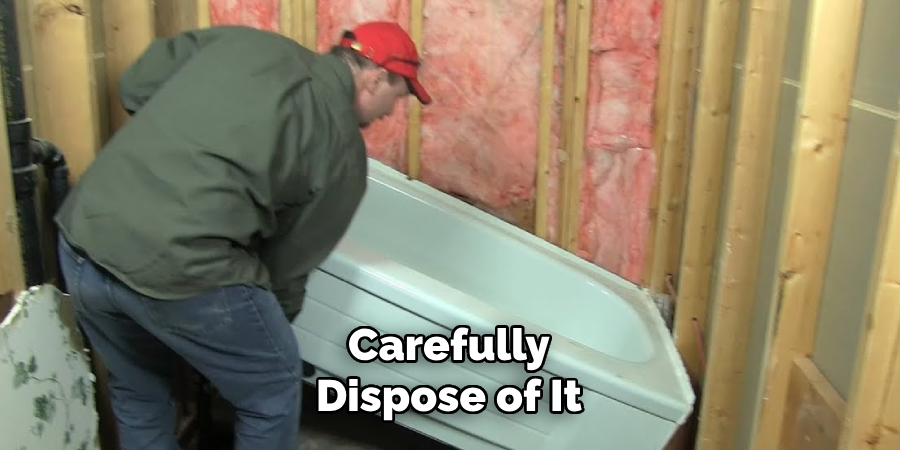
Once the tub has been removed, carefully dispose of it according to your local waste management regulations. Ensure any sharp edges or debris are safely contained for disposal. Then, clean up the area and prepare for the installation of a new tub if desired.
Step 10. Seek Professional Help
Removing a steel tub can be a challenging and potentially hazardous task. If you’re unsure about any step or feel uncomfortable with the process, it’s always best to seek professional help. A licensed plumber or contractor can safely remove the tub for you, saving you time and potential injuries. Remember, safety should always be the top priority when attempting any DIY project. So, if you feel uncertain or uncomfortable at any point during the removal process, don’t hesitate to seek professional assistance.
By following these steps, you’ll successfully remove a steel tub and have the necessary information to handle any potential issues that may arise.
5 Things You Should Avoid
- Using Excessive Force: Excessive force during the removal process can damage the surrounding areas or cause injury. It’s essential to approach the task with caution and employ proper techniques to avoid unnecessary damage.
- Neglecting Safety Precautions: Removing a steel tub involves handling heavy objects and working with tools. Neglecting safety precautions, such as wearing protective gear like gloves and safety glasses, can lead to accidents and injuries.
- Not Disconnecting Plumbing Properly: Before attempting to remove the steel tub, it’s crucial to ensure that all plumbing connections, including water supply lines and drain connections, are properly disconnected. Please do so to avoid water damage or complications during the removal.
- Forgetting to Prepare the Surrounding Area: Before starting the removal process, make sure to clear the surrounding area and protect nearby fixtures and surfaces. This will help prevent damage to walls, flooring, and other fixtures during removal.
- Lack of Proper Tools and Assistance: Removing a steel tub can be challenging and may require specific tools and assistance. Attempting to remove the tub without the necessary tools or support can lead to unnecessary difficulties or damage.
Avoiding these common pitfalls can ensure a successful and hassle-free steel tub removal process.
Conclusion
Proper planning and caution are key to removing a steel tub. Avoiding these common mistakes can save you from potential damage, injuries, and additional expenses. Remember to take your time, use the right tools, and seek assistance for a smooth and successful removal process.
Hopefully, this guide has provided you with valuable tips and insights on how to remove a steel tub effectively.
With careful preparation and execution, you’ll have that old steel tub removed in no time. So go ahead and give your bathroom a fresh new look! Happy renovating!
Edmund Sumlin is a skilled author for Metal Fixes, bringing 6 years of expertise in crafting a wide range of metal fixtures. With a strong background in metalwork, Edmund’s knowledge spans various types of fixtures, from decorative pieces to functional hardware, blending precision with creativity. His passion for metalworking and design has made him a trusted resource in the industry.
Professional Focus:
- Expert in Metal Fixtures : Edmund aesthetic specializes in creating durable and innovative metal fixtures, offering both appeal and functionality. His work reflects a deep understanding of metalworking techniques and materials.
- Sustainability Advocate : He is dedicated to using sustainable practices, ensuring that every fixture is crafted with eco-friendly methods while maintaining high-quality standards.
In his writing for Metal Fixes, Edmund provides valuable insights into the latest trends, techniques, and practical advice for those passionate about metal fixtures, whether they are professionals or DIY enthusiasts. His focus on combining artistry with engineering helps others discover the true potential of metal in design.