

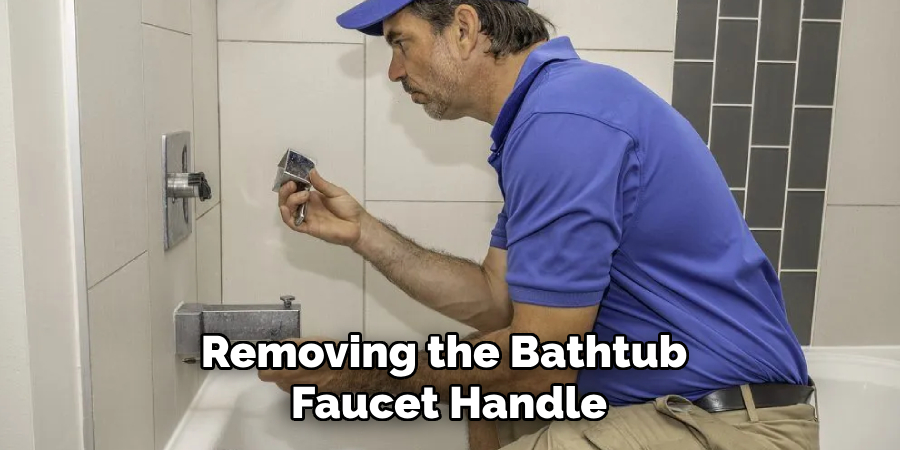
Are you experiencing leaky bathtub faucets and need to fix them urgently? Removing the faucet handle is often the first step in repairing a leaking bathtub faucet.

How to remove bathtub faucet handle without screws might seem challenging at first, but with the right approach, it can be a straightforward task. These types of faucet handles typically use a hidden fastening mechanism that offers a sleek and seamless look. This introduction aims to guide you through the process, ensuring you can complete the task without causing any damage to your fixtures. Whether you plan to replace the handle, perform maintenance, or fix a leak, understanding the method to safely and effectively remove the handle is crucial.
With some simple tools and the correct steps, you can easily access and remove your faucet handle.
What Will You Need?
- Flathead screwdriver
- Allen wrench (if needed)
- Adjustable pliers
- Safety glasses
Once you have these tools assembled, follow the steps below to remove your bathtub faucet handle without screws.
10 Easy Steps on How to Remove Bathtub Faucet Handle Without Screws
Step 1: Prepare the Area
Before you begin working on removing the bathtub faucet handle, it’s important to prepare the area to ensure a smooth and stress-free process. Start by clearing the surrounding area of any personal items, such as toiletries or decorations, to prevent accidental damage or interference during the task. Lay down a towel or cloth in the tub or on the countertop nearby. This helps in catching any small parts or tools that might accidentally fall, preventing them from causing scratches or getting lost. Additionally, ensure the bathroom is well-lit so you can clearly see the small parts you’ll be working with.
Put on your safety glasses to protect your eyes from any unforeseen debris. Once the area is adequately prepped, you are ready to proceed with the actual removal process.
Step 2: Locate the Hidden Fastener
The next step involves identifying how the handle is secured in place. Many modern faucet handles without visible screws are held by a hidden fastener or clip. Begin by inspecting the handle for any tiny hole or slot on the sides or underneath, which can often be the access point to the fastener. Use a flashlight if needed to see better into tight spaces. Once you locate it, cautiously insert a flathead screwdriver into the slot. Gently pry or push in the direction indicated to loosen the handle. Be patient and gentle during this step to avoid damaging the handle or the fixture.
Step 3: Loosen the Handle
Once you’ve located the hidden fastener and gently worked it open, the next step is to loosen the faucet handle for removal. With the fastener disengaged, carefully grip the handle with both hands if possible, and wiggle it back and forth. This movement helps to release any residual grip the handle may have due to wear or mineral deposits. Avoid using excessive force if the handle seems stuck, as this could damage the fixture. Instead, consider applying some penetrating oil around the base of the handle and allowing it to sit for a few minutes to help ease its removal.
Afterward, continue gently turning and pulling until the handle comes loose. If an Allen wrench is needed, insert it into the set screw’s opening, turning counterclockwise to release the handle fully.
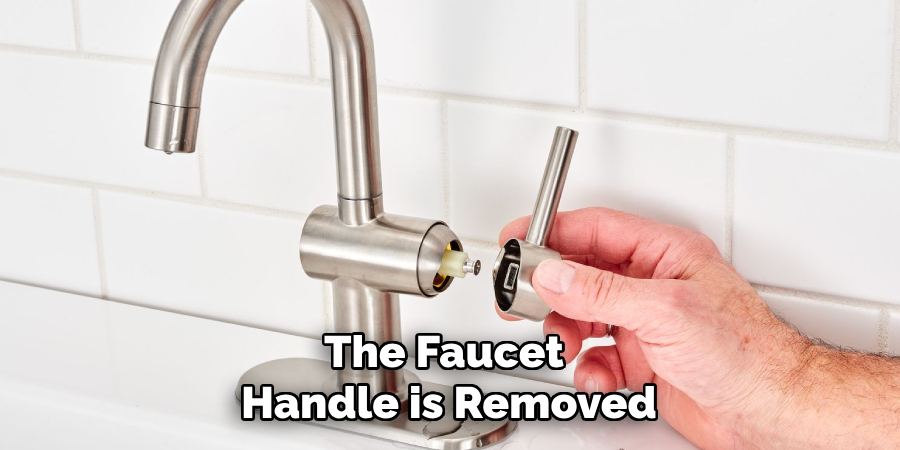
Step 4: Remove the Handle
With the handle loosened, removing it entirely from the faucet assembly is time. Gently pull the handle away from the wall or faucet body, using a steady and even pressure. In some cases, the handle will come off quickly as soon as the fastener is disengaged. In contrast, in others, you might need to continue lightly wiggling it to overcome any remaining resistance. If the handle still feels resistant, double-check that the fastener is fully detached and apply more penetrating oil if necessary. Always handle the fixture with care to prevent scratches or damage.
Step 5: Inspect the Internal Mechanism
Now that the faucet handle is removed, you can proceed to inspect the internal mechanism of the faucet. This is critical, especially if you’re addressing a leak or planning to replace parts. Look for visible wear, corrosion, or mineral deposits on the mounting hardware and internal components. If you notice any damaged parts, such as worn-out washers or compromised o-rings, plan to replace them as necessary. Cleaning the components with a soft cloth or brush can help remove any mineral build-up affecting the faucet’s function.
This inspection ensures that the faucet handle will work efficiently without any underlying issues when you reassemble it.
Step 6: Clean the Area
After inspecting the internal mechanism, cleaning the faucet area is essential to ensure optimal performance and prevent future issues. Begin by wiping down the exposed parts with a damp cloth to remove any grime, soap residue, or mineral deposits. Pay special attention to the threads and other contact points affecting the faucet’s operation. For stubborn build-up, consider using a mixture of vinegar and water to help dissolve any remaining deposits. A thorough cleaning helps maintain the faucet’s appearance and ensures all parts will fit together smoothly without obstruction.
Step 7: Replace Any Worn Parts
After cleaning the area, you can now assess the need to replace any parts that showed signs of wear or damage during your inspection. If you identified faulty washers, o-rings, or other components, ensure you have the correct replacements. Carefully install the new parts, following any instructions provided with the replacement components. It’s important to ensure all pieces fit well and are securely in place to prevent future leaks or issues. Once you’ve replaced the necessary parts, you can reassemble the faucet handle, confident that your fixture is ready for optimal performance.
Step 8: Reassemble the Faucet Handle
With all inspections and replacements, it’s time to reassemble the faucet handle. Begin by positioning the handle back onto the faucet assembly aligning it with the correct position for proper function. If the handle features a hidden fastener or clip, ensure it aligns with the release mechanism first, facilitating easier reattachment. Gently press the handle into place until you feel it securely click back onto the faucet while ensuring it moves smoothly and without obstruction. Use the appropriate tool, such as a flathead screwdriver or Allen wrench, to tighten the fastener, ensuring the handle is firmly secured.
Test the handle by turning it gently to ensure full functionality without leaks or looseness. Your faucet should now operate smoothly and be restored to optimal working condition.
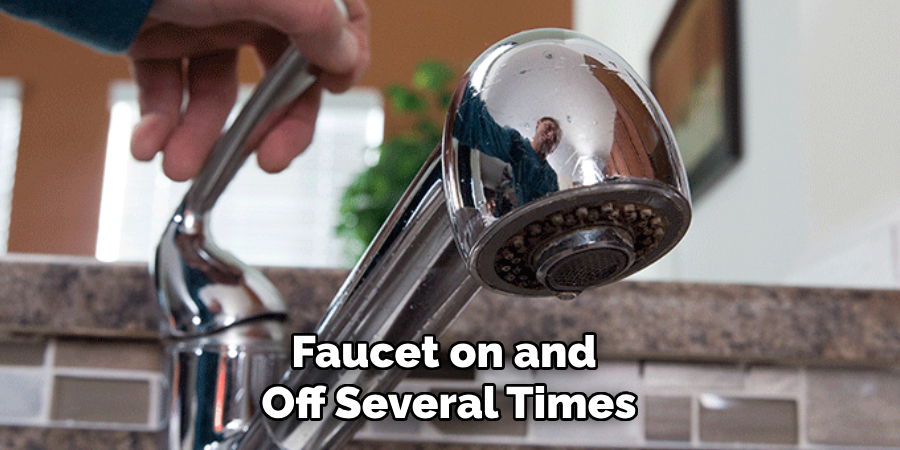
Step 9: Test the Faucet
With the faucet handle reassembled, it’s crucial to test it to ensure everything functions correctly. Turn the faucet on and off several times, checking for smooth operation and the absence of leaks. Pay attention to the water flow to ensure it matches expectations and is free from unusual noises, such as whistling or grinding, which could indicate internal issues. Let the water run for a few minutes to confirm that all components are sealed properly and that the faucet is performing efficiently.
If you identify any problems during these tests, recheck the previous steps to ensure everything was reassembled correctly. Address any issues promptly, as this will enhance the longevity and performance of your faucet system.
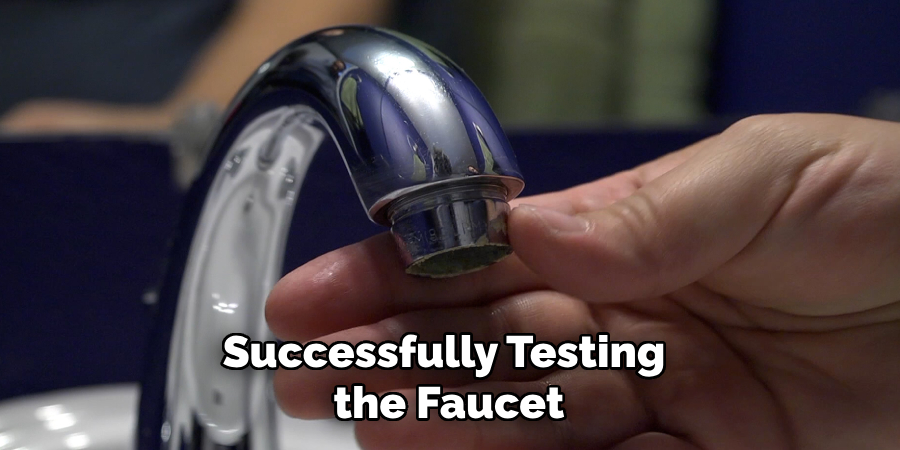
Step 10: Final Checks and Maintenance
After successfully testing the faucet, conduct a final visual and functional check to ensure everything is in order. Look around the faucet body and handle area for any water beads or leaks that might have been missed earlier. Verify that all components installed are tightened properly and that the faucet handle operates with ease. Consider adding a thin layer of plumber’s grease to movable parts, such as o-rings and washers, to promote smooth operation and longevity. It’s also a good time to clean and polish any visible parts of the faucet, using a suitable polish or cleaner to maintain its finish.
Regular maintenance like this can prevent future issues and keep your fixture in top condition, enhancing both its durability and aesthetic appeal.
By following these steps, you can successfully remove, inspect, clean, and reassemble a faucet handle.
5 Things You Should Avoid
- Using Excessive Force: Avoid using too much force when attempting to remove the faucet handle. This can damage the handle or other components, making repairs more difficult and costly.
- Skipping Protective Gear: Remember to wear protective gear such as gloves or goggles. This can prevent injuries from sharp edges or accidental slips during the process.
- Ignoring Hidden Fasteners: Not all handles are screwless in the traditional sense; some may have hidden fasteners. Be sure to thoroughly inspect the handle for any concealed clips or locks before attempting removal.
- Forgetting to Turn Off the Water Supply: Always turn off the water supply before starting the removal process. If something goes wrong during removal, this step could result in water leakage or a mess.
- Lack of Proper Tools: Avoid attempting the removal with makeshift tools that aren’t meant for plumbing work. Using improper tools can cause damage or inefficiencies during the handle removal.
Conclusion
To successfully remove a bathtub faucet handle without screws, it’s essential to approach the task with patience and readiness. First, gather all the necessary tools, ensuring you have protective gear to prevent injury.
Carefully inspect the handle for any hidden fasteners or clips that might be securing it. Remember to turn off the water supply to avoid unexpected leaks. Apply gentle force when attempting to remove the handle and avoid using unsuitable tools to prevent damage.
Hopefully, the article on how to remove bathtub faucet handle without screws has provided some helpful tips and insights to make the process easier. Happy DIY-ing!
Edmund Sumlin is a skilled author for Metal Fixes, bringing 6 years of expertise in crafting a wide range of metal fixtures. With a strong background in metalwork, Edmund’s knowledge spans various types of fixtures, from decorative pieces to functional hardware, blending precision with creativity. His passion for metalworking and design has made him a trusted resource in the industry.
Professional Focus:
- Expert in Metal Fixtures : Edmund aesthetic specializes in creating durable and innovative metal fixtures, offering both appeal and functionality. His work reflects a deep understanding of metalworking techniques and materials.
- Sustainability Advocate : He is dedicated to using sustainable practices, ensuring that every fixture is crafted with eco-friendly methods while maintaining high-quality standards.
In his writing for Metal Fixes, Edmund provides valuable insights into the latest trends, techniques, and practical advice for those passionate about metal fixtures, whether they are professionals or DIY enthusiasts. His focus on combining artistry with engineering helps others discover the true potential of metal in design.