

Melted plastic sticking to iron surfaces is a frustrating and common issue with cookware, appliances, or tools. Whether caused by accidental overheating or improper placement, the plastic can adhere tightly to the metal, leaving a sticky, unsightly mess. Removing melted plastic can be particularly challenging, as improper methods may scratch or damage the underlying iron surface, further complicating the problem. This is especially true if abrasive utensils or harsh chemicals are used.
This article aims to provide a straightforward solution to this issue by explaining how to remove melted plastic from iron surfaces with vinegar. Vinegar, a widely available, non-toxic household item, is effective in softening and loosening the plastic without harming the metal. Following the steps outlined in this guide, you can safely and effectively clean your iron surfaces, restoring them to their original condition with minimal effort and cost.
Understanding the Nature of Melted Plastic on Metal
When plastic comes into contact with a hot iron surface, it can melt and form a strong bond due to the combination of heat, time, and physical contact. The heat causes the plastic to soften and flow, allowing it to adhere tightly to the metal surface. If left for extended periods, the plastic can harden as it cools, making removal even more stubborn without the right techniques.
Different types of plastic, such as polyethylene and polypropylene, exhibit varied behaviors when melted. Polyethylene, a common material in plastic bags, tends to melt and spread thinly when exposed to heat, creating an almost glue-like layer. Polypropylene, often found in food containers and storage products, melts at higher temperatures and may form thicker deposits. Understanding these differences is crucial, as they influence the cleaning methods and tools required to tackle melted plastic effectively.
Improper removal techniques can pose a risk to the iron surface. Tools that are too abrasive or the use of excessive force may scratch or damage the iron, reducing its functionality and aesthetic appeal. For this reason, it is essential to approach the cleaning process with care, using gentle yet effective methods to avoid permanent harm to the surface.
Why Vinegar Works for Plastic Removal
Vinegar is a highly effective solution for removing melted plastic from iron surfaces due to its unique chemical properties. The primary component of vinegar, acetic acid, is a weak acid that can break down many organic compounds, including the molecular structure of plastic. When applied to melted plastic, vinegar softens and loosens its bond with the metal surface, making it easier to lift or scrape away. This action happens without the need for harsh chemicals, which can be harmful to both the user and the iron.

The interaction between vinegar and melted plastic is gentle yet effective, ensuring that the plastic is weakened without compromising the integrity of the underlying metal. Vinegar’s liquid form also allows it to seep into fine cracks or grooves where plastic may be embedded, tackling even the most stubborn residues. Unlike abrasive cleaners or solvents, vinegar does not scratch or corrode the metal, preserving the surface’s durability and appearance.
Beyond its effectiveness, vinegar is an ideal choice for this task because it is non-toxic, environmentally friendly, and widely available. Its safe nature ensures minimal risk to both the user and the environment, making it an excellent cleaning agent for households and cookware. These qualities make vinegar a practical and reliable solution for tackling melted plastic on iron surfaces.
Tools and Materials Needed
Basic Tools
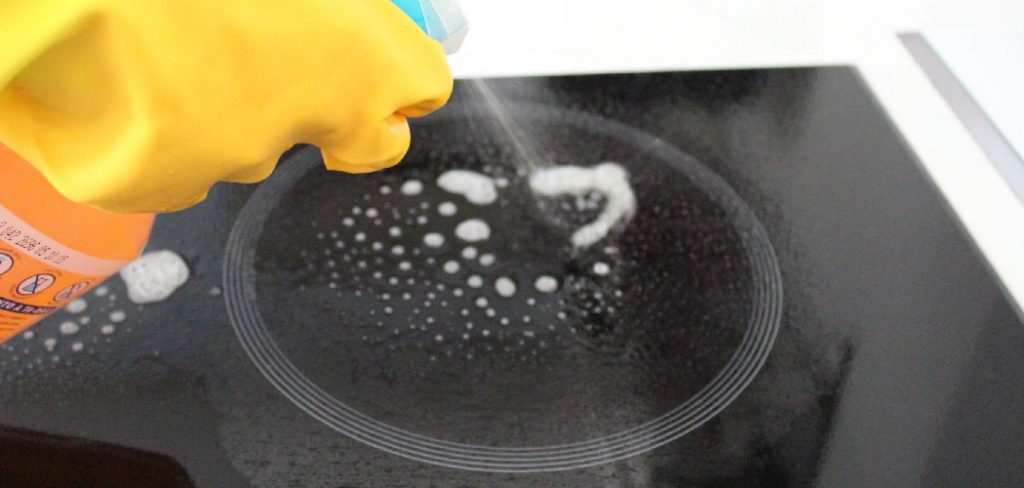
Having the right tools is essential to safely and effectively remove melted plastic from iron surfaces. A plastic scraper or spatula is ideal for gently lifting loosened plastic without scratching the metal. Soft cloths and sponges also play a crucial role in removing residues and ensuring a clean finish. Rubber gloves are important to protect your hands during cleaning, particularly when working with warm solutions or scrubbing small, intricate areas. Additionally, a bowl can mix or hold cleaning solutions for easy application. For tougher spots, optional items like steel wool or abrasive pads can be used with ccautiouslyution to avoid damaging the surface.
Cleaning Materials
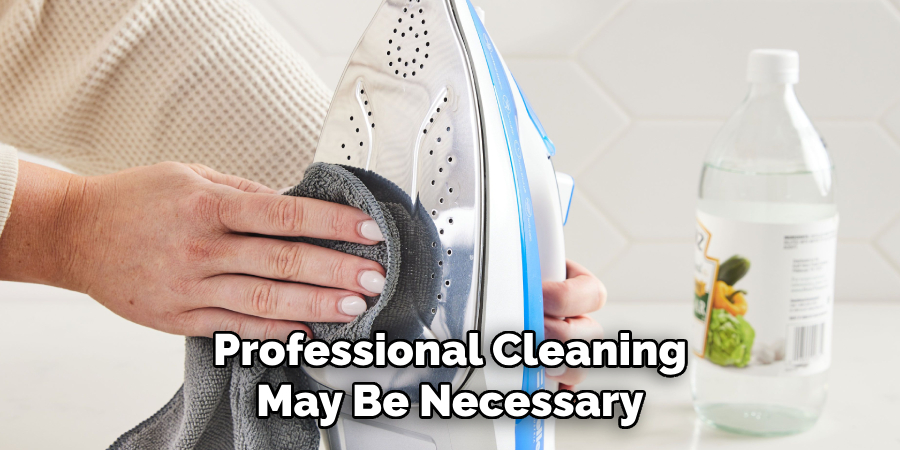
The key cleaning material for this process is distilled white vinegar, which effectively softens and breaks down melted plastic. A spray bottle or bowl can apply the vinegar directly to the affected areas for even distribution and better control. Once the plastic is removed, water, dish soap, or baking soda can be used for follow-up cleaning to ensure all residues are cleared. These additional materials help restore the iron’s surface to its original condition, making it spotless and ready for future use. All these cleaning materials are easily accessible, cost-effective, and safe for household use.
How to Remove Melted Plastic from Iron Surfaces with Vinegar: Step-by-Step Guide
Preparing the Iron Surface
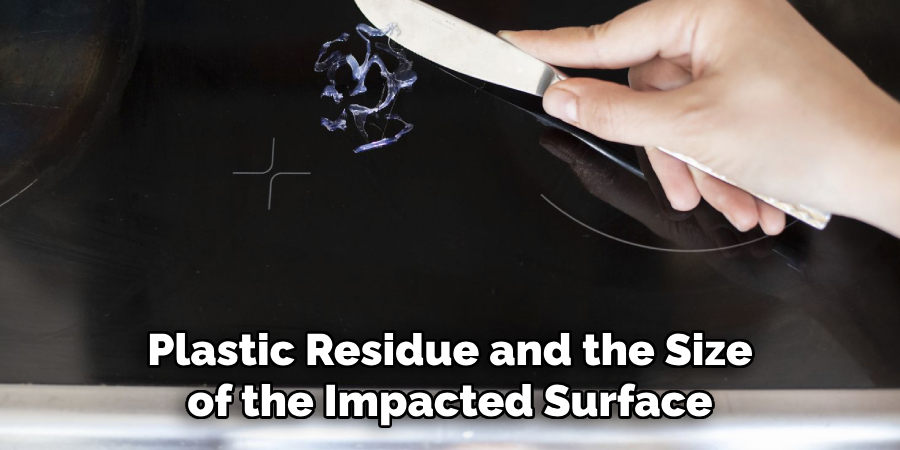
Before beginning the cleaning process, ensure the iron is completely cool to the touch. Working on a hot surface can be dangerous and may cause the plastic to adhere further, complicating removal. Unplug the iron and allow it to rest for at least 30 minutes in a well-ventilated area to ensure it has cooled thoroughly. Once cool, inspect the affected area to assess the extent of the plastic residue and the size of the impacted surface.
Place an old towel or a newspaper layer underneath the iron to protect surrounding surfaces and make clean-up easier. This precaution will catch any drips or spills during cleaning, preventing damage to countertops or tables. Additionally, wear rubber gloves to protect your hands from prolonged contact with vinegar, especially if the solution needs to be warmed later for stubborn spots. With these preparations completed, you are ready to proceed with the cleaning steps.
Applying Vinegar to the Melted Plastic
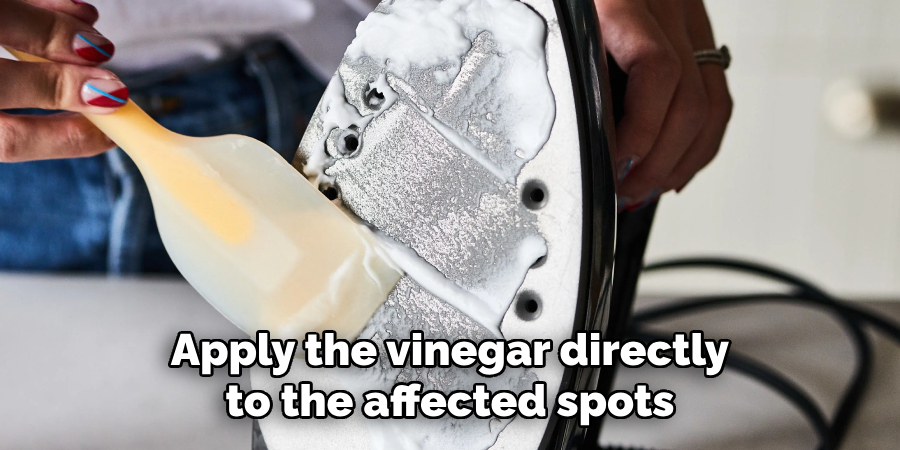
Pour distilled white vinegar into a bowl or transfer it to a spray bottle for easier application. Add vinegar to the affected area, ensuring the melted plastic is thoroughly covered. The liquid should soak into the plastic, softening its bond with the metal surface. Allow the vinegar to sit for 10–15 minutes. This waiting period is crucial, as it provides the acetic acid in the vinegar enough time to break down the plastic’s structure.
A slight modification can enhance the vinegar’s effectiveness for particularly stubborn spots that resist loosening. Gently heat the vinegar before application—ensuring it is warm but not scalding—and then apply it as usual. Alternatively, soak a soft cloth in warm vinegar, wring out the excess liquid, and lay the cloth over the plastic. This method allows the vinegar to maintain contact with the residue while cooling gradually, maximizing its softening effect. After this step, the plastic will be ready for removal.
Scraping and Wiping Away the Plastic
Use a plastic scraper or spatula to gently lift the softened plastic from the iron surface. Avoid using metal tools, as these can scratch or damage the iron. Begin at the edges of the melted plastic and work inward, applying minimal pressure to dislodge the residue without harming the surface. A cotton swab or soft-bristled toothbrush can provide greater precision for intricate areas or grooves.
Once the majority of the plastic has been removed, use a soft cloth to wipe away any leftover residue. A damp cloth soaked in vinegar may be used for this step, ensuring that any remaining plastic fragments are thoroughly eliminated. Avoid applying excessive force throughout this process, as this could cause scratches or dents on the iron. After wiping, rinse the surface with water and dry it with a clean towel to restore its original appearance. Your iron surface should now be plastic-free and ready for use.
Dealing with Stubborn or Residual Plastic
Reapplying Vinegar
Relying on vinegar can help loosen the residue for remaining stubborn plastic spots. Ensure the area is clean of any loosely removed plastic before proceeding. Pour a small amount of distilled white vinegar into a bowl or transfer it to a spray bottle if not already done. Apply the vinegar directly to the affected spots, ensuring they are thoroughly covered. Allow the vinegar to sit for another 10–15 minutes to penetrate and soften the remaining plastic.
You can create a paste for tougher stains by combining a small amount of vinegar with baking soda. Apply this paste directly to the stubborn areas, allowing it to sit briefly. Then, gently scrub in circular motions with a soft cloth or sponge to break down the residue further.
Scrubbing with Mild Abrasives
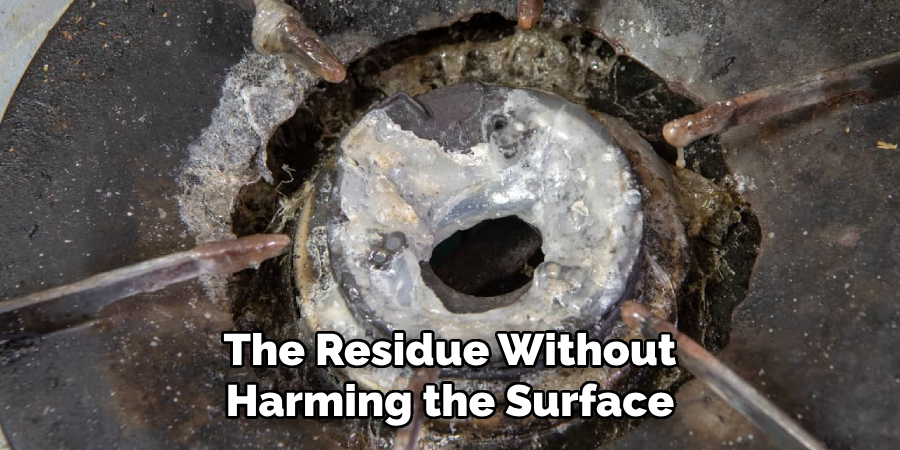
If residual plastic remains, scrubbing with non-abrasive tools can assist in removing the last traces. Use a sponge, soft-bristled toothbrush, or a gentle scrubber to carefully work on the affected areas. Avoid using harsh abrasives like steel wool, as they can scratch or damage the iron’s smooth surface. For delicate areas, a cotton swab soaked in vinegar can provide precision. Apply light pressure as you scrub to prevent harm to the iron. Afterward, wipe the surface with a damp cloth to remove any remaining debris before rinsing and drying. This final step ensures the iron is fully clean and ready for use.
Cleaning the Iron Surface After Plastic Removal
Rinsing and Wiping
After successfully removing the melted plastic, it is essential to clean the iron surface thoroughly to remove any remaining residue or cleaning solution. Start by preparing a mixture of warm water and a few drops of dish soap in a bowl. Dip a soft cloth into this soapy water and wring out the excess liquid. Gently wipe the iron’s surface to eliminate any lingering vinegar, plastic fragments, or paste remnants. Pay extra attention to grooves or intricate areas to ensure all residues are cleared away.
Once the surface is cleaned, rinse it with a cloth soaked in plain water to remove any soap or cleaning solution. Follow this step by drying the iron with a clean, dry cloth to prevent water spots or streaks. Make sure the iron is completely dry before storing or using it again. This step ensures the iron remains spotless and ready for future use.
Polishing the Iron
To restore the iron’s shine and ensure the surface is smooth, you can optionally polish it. Use a metal cleaner designed for household appliances, following the manufacturer’s instructions for safe application. Alternatively, create a natural polishing solution by mixing equal parts of vinegar and olive oil. Apply a small amount of the chosen polish to a soft cloth and gently rub it over the iron’s surface in circular motions, focusing on any dull or streaked areas. Wipe away excess polish with a clean cloth to reveal a smooth and gleaming surface. This optional step helps maintain the iron’s aesthetic appeal and functionality.

Preventing Future Plastic Melt Damage
Tips for Avoiding Plastic Melt on Iron Surfaces
Preventing plastic from melting onto your iron starts with keeping the iron at a safe temperature. Always follow the recommended heat settings for each fabric type to avoid unnecessary exposure to high heat. Store it away from plastic items and accessories when not in use to further protect your iron. Using heat-resistant mats or covers beneath your iron during storage or resting can also help prevent accidental plastic contact, ensuring the surface remains unblemished.
Maintaining Your Iron Surface
Regular cleaning and upkeep are essential to maintaining your iron’s functionality and durability. Wipe your iron surface after each use with a soft, damp cloth to remove any debris or residues before they harden. Periodically inspect the soleplate for buildup so it can be addressed promptly. Investing in proper storage and handling also extends the lifespan of your appliance, keeping its surface smooth and its performance reliable for years to come.
When to Seek Professional Help
Identifying Cases for Professional Cleaning
Professional cleaning may be necessary if the melted plastic damage is severe, covering a large portion of the iron or deeply ingrained into intricate areas. Such cases often require specialized tools and expertise to safely restore the iron without causing further harm.
Risks of Aggressive Cleaning Techniques
Attempting aggressive cleaning techniques on valuable or delicate irons can lead to irreversible damage, such as scratches, warping, or impairing the appliance’s functionality. When in doubt, contacting a professional ensures proper care and minimizes the risk of compromising the iron’s surface or internal components.
Conclusion
Removing melted plastic from iron surfaces with vinegar is an effective, safe, and simple method that restores your appliance to its original state. By following the steps outlined in how to remove melted plastic from iron surfaces with vinegar, including using vinegar to loosen residue and gentle scrubbing to ensure cleanliness, your iron can be plastic-free and ready for use.
Vinegar’s natural cleaning properties make it an excellent solution for tackling stubborn plastic while protecting the iron’s surface. Regular maintenance and proper care can help prevent such incidents in the future. Use this method with confidence to maintain a smooth, functional iron surface and prolong the life of your appliance.
Edmund Sumlin is a skilled author for Metal Fixes, bringing 6 years of expertise in crafting a wide range of metal fixtures. With a strong background in metalwork, Edmund’s knowledge spans various types of fixtures, from decorative pieces to functional hardware, blending precision with creativity. His passion for metalworking and design has made him a trusted resource in the industry.
Professional Focus:
- Expert in Metal Fixtures : Edmund aesthetic specializes in creating durable and innovative metal fixtures, offering both appeal and functionality. His work reflects a deep understanding of metalworking techniques and materials.
- Sustainability Advocate : He is dedicated to using sustainable practices, ensuring that every fixture is crafted with eco-friendly methods while maintaining high-quality standards.
In his writing for Metal Fixes, Edmund provides valuable insights into the latest trends, techniques, and practical advice for those passionate about metal fixtures, whether they are professionals or DIY enthusiasts. His focus on combining artistry with engineering helps others discover the true potential of metal in design.