

Removing a metal door jamb may seem like a daunting task, but with the right tools and approach, it can be accomplished efficiently. Whether you are replacing a door or remodeling a space, understanding the steps involved will help ensure a smooth and successful removal process. This guide will walk you through the necessary tools, safety precautions, and step-by-step instructions for how to remove metal door jamb safely and effectively.
What is a Metal Door Jamb
A metal door jamb is a structural component that forms the frame of a door. It provides the necessary support for the door, ensuring stability and alignment within the doorway. Typically made from steel or aluminum, metal door jambs offer durability and resistance to wear and damage. They are commonly used in commercial buildings and high-traffic areas due to their strength and security features. Unlike wooden jambs, metal versions are less susceptible to warping, rotting, or pest damage, making them a long-lasting solution for securing door installations.
Why You Might Need to Remove a Metal Door Jamb
There are several reasons why you might need to remove a metal door jamb from its installation. One common reason is the need to replace a damaged or worn-out jamb that no longer provides a secure fit for the door. Over time, even metal can succumb to corrosion or physical damage, particularly if subjected to harsh environmental conditions or heavy usage. Another reason could be remodeling or upgrading a space, where the current door and frame no longer match the aesthetic or functional requirements of the new design.
Additionally, removing a metal door jamb may be necessary if you are installing a different type or size of door, such as upgrading to a more energy-efficient model or altering door dimensions for accessibility improvements. Understanding the reasons for removal can aid in selecting the right replacement that meets your needs.
Tools and Materials Needed
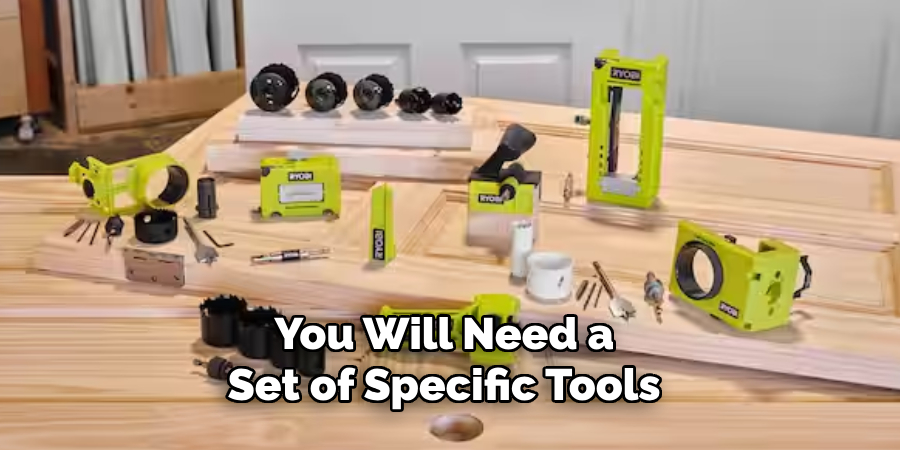
To successfully remove a metal door jamb, you will need a set of specific tools and materials to ensure the process is smooth and efficient. Here is a list of items you should gather before starting:
- Screwdriver Set: Both flat-head and Phillips screwdrivers are typically required to remove screws from the jamb.
- Pry Bar: A pry bar will help in loosening and removing the jamb from the surrounding frame.
- Hammer: Useful for applying force where necessary, especially when using the pry bar.
- Drill with Bits: For unscrewing and detaching any hard-to-reach fasteners.
- Utility Knife: To cut through caulk or sealant around the jamb.
- Gloves: To protect your hands from sharp edges.
- Safety Glasses: Ensures your eyes are protected during the removal process.
- Tape Measure: To accurately measure the space for the new jamb or adjustments.
- Drop Cloth or Tarps: To protect floors and nearby surfaces from dust and debris.
Having these tools on hand will make the job easier and help in achieving a cleaner removal of the metal door jamb. Always ensure that you follow safety precautions while using the tools to prevent any injuries.
10 Effective Methods on How to Remove Metal Door Jamb
Metal door jambs are known for their durability and strength, making them a popular choice for homeowners and builders alike. However, there may come a time when you need to remove one, whether for renovation, repair, or replacement. Tackling this task can seem daunting, but with the right techniques, it becomes manageable. This listicle provides ten practical methods to remove a metal door jamb, ensuring that even DIY enthusiasts can approach the job with confidence.
1. Assess the Situation First
Before grabbing any tools, take a moment to assess the situation. Understand the type of metal door jamb you have and the surrounding structure. Is it a load-bearing door? Is there trim, caulking, or paint that needs to be dealt with first? By evaluating these factors, you’ll ensure a smoother removal process and avoid potential damage to the surrounding area.
2. Gather the Right Tools
Having the right tools on hand is crucial for any DIY project. For removing a metal door jamb, you’ll need a pry bar, a drill with metal drill bits, a reciprocating saw with a metal cutting blade, safety gloves, and goggles. These tools are essential and will help make the job easier, safer, and more efficient.
3. Remove the Door
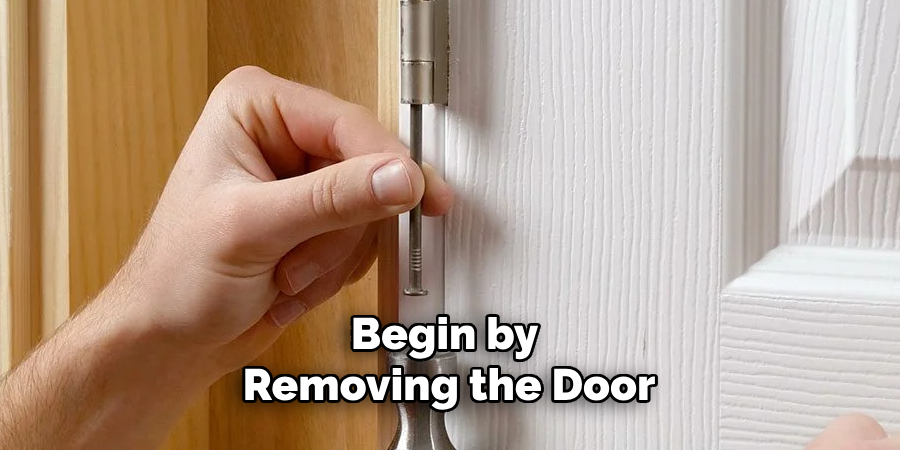
Begin by removing the door from its hinges. Use a screwdriver or drill to unfasten the hinge screws. This step is essential as it provides better access to the jamb and minimizes the weight you need to handle. Keep the door in a safe location if you plan to reuse or donate it.
4. Detach the Trim
Use the pry bar to carefully remove any trim or casing around the door jamb. Insert the pry bar between the trim and the wall, and gently pry it loose. Be cautious to prevent damage to the wall or trim, especially if you plan to reuse it. Removing trim will expose the full extent of the jamb and give you a better view of any screws or nails holding it in place.
5. Identify and Remove Fasteners
Once the trim is removed, inspect the jamb for screws or nails securing it to the wall frame. Use a drill with the appropriate bit to remove screws, or a claw hammer to pull out any nails. This step may require a bit of patience as fasteners can be numerous or painted over.
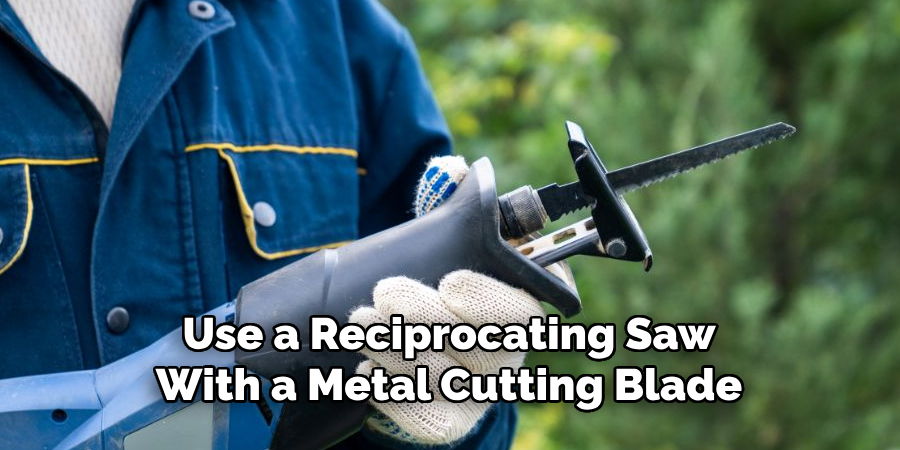
6. Cut the Jamb if Necessary
In some cases, the jamb may be welded or otherwise stubbornly attached, making it difficult to remove. Use a reciprocating saw with a metal cutting blade to cut through any metal sections that are difficult to detach. Always wear safety goggles and gloves during this step to protect yourself from metal shards.
7. Pry the Jamb Away from the Wall
With fasteners and potential welds removed, use your pry bar to gently separate the jamb from the wall. Start at the top and work your way down, applying steady pressure. If the jamb is particularly resistant, you may need to make additional cuts with your saw.
8. Address Remaining Adhesives or Caulk
Metal door jambs are sometimes installed with caulk or adhesive for added stability. Use a utility knife to carefully cut through any adhesive or caulk that remains after prying. This will help ensure a clean removal without damaging the surrounding wall.
9. Clean Up the Area
Once the jamb is successfully removed, take time to clean up the work area. Remove any leftover debris, nails, or screws, and dispose of them properly. This not only leaves your workspace tidy but also ensures safety, reducing the risk of injury from stepping on sharp objects.
10. Inspect and Prepare for the Next Steps

After removal, inspect the wall and door frame for any damage or needed repairs. Make sure the area is ready for a new door jamb or any further renovations. This step is crucial for ensuring that your next installation goes smoothly and is free from complications.
Maintenance and Upkeep
Proper maintenance and upkeep of a door jamb are crucial for ensuring its longevity and functionality. Regularly inspect the door jamb for any signs of wear, such as rust, dents, or loose fasteners, especially in metal door jambs. Address any rust spots promptly by sanding them down and applying a metal primer and paint to prevent further corrosion. Check the alignment of the door within the jamb; any misalignment may indicate the need for hinge adjustments or further inspection of the surrounding structure. Lubricate moving parts, like hinges and locks, to ensure smooth operation and reduce wear.
Common Mistakes to Avoid
Removing a metal door jamb is a task that requires attention to detail and proper technique. However, even seasoned DIY enthusiasts can make mistakes. Here are some common pitfalls to avoid:
- Neglecting Safety Precautions: Always prioritize your safety by wearing protective gear such as gloves and goggles. The removal process can produce sharp metal edges or shards, posing a hazard.
- Failing to Assess Structural Impact: Prior to removal, determine whether the door jamb is part of a load-bearing structure. Removing a load-bearing jamb without proper support can lead to structural issues.
- Ignoring Hidden Fasteners: Thoroughly inspect the jamb for all fasteners, as they are often painted over or hidden. Missing even a single screw or nail can make removal difficult and may damage the surrounding area.
- Using Incorrect Tools: Employ the proper tools for the task, such as a metal cutting blade for a reciprocating saw. Using the wrong tools can lead to poor results and potential injury.
- Forgetting to Protect Surrounding Areas: Cover nearby surfaces with drop cloths or plastic sheeting to prevent damage from debris or dust. This is especially important if you are working in a finished space.
Conclusion
Removing a metal door jamb can be a challenging yet rewarding project that requires careful planning, the right tools, and an understanding of techniques to ensure a successful outcome. By preparing adequately, respecting safety protocols, and following each step methodically, you can efficiently tackle this task without damaging your surroundings. Remember, the key to any DIY project is patience and attention to detail, so take your time and proceed cautiously. Thanks for reading our blog post on how to remove metal door jamb! We hope you found it helpful and informative.
Edmund Sumlin is a skilled author for Metal Fixes, bringing 6 years of expertise in crafting a wide range of metal fixtures. With a strong background in metalwork, Edmund’s knowledge spans various types of fixtures, from decorative pieces to functional hardware, blending precision with creativity. His passion for metalworking and design has made him a trusted resource in the industry.
Professional Focus:
- Expert in Metal Fixtures : Edmund aesthetic specializes in creating durable and innovative metal fixtures, offering both appeal and functionality. His work reflects a deep understanding of metalworking techniques and materials.
- Sustainability Advocate : He is dedicated to using sustainable practices, ensuring that every fixture is crafted with eco-friendly methods while maintaining high-quality standards.
In his writing for Metal Fixes, Edmund provides valuable insights into the latest trends, techniques, and practical advice for those passionate about metal fixtures, whether they are professionals or DIY enthusiasts. His focus on combining artistry with engineering helps others discover the true potential of metal in design.