Removing a metal J channel from your wall can be a simple DIY project with the right tools and approach. Whether you’re updating the aesthetics of your space or preparing for a new installation, understanding how to properly remove the metal J channel can save you time and prevent damage to your walls.
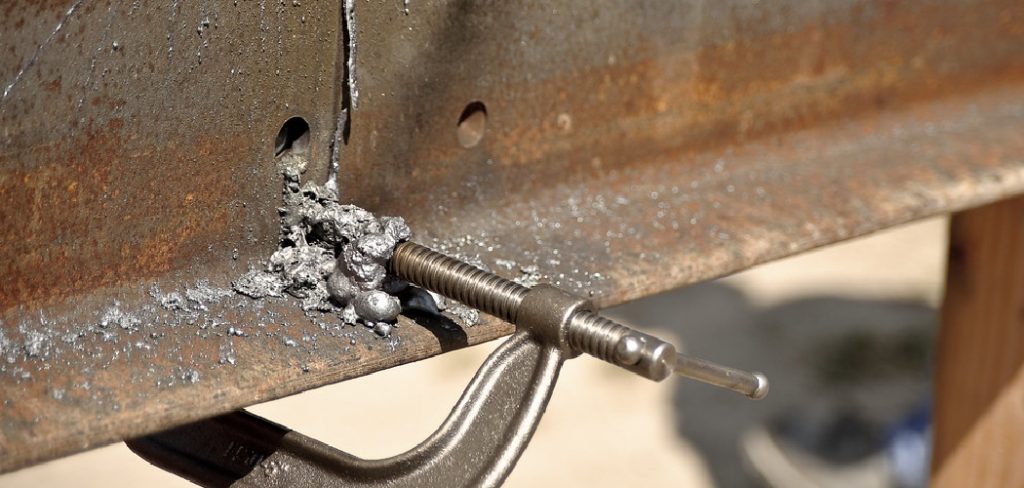
This guide will walk you through how to remove metal j channel from wall. With a little patience and attention to detail, you’ll have your wall ready for its next transformation in no time.
Reasons for Removing a J-Channel
There are several reasons you might need to remove a metal J channel from your wall. One of the most common reasons is to update the look of a room. As interior design trends change, replacing a J channel can provide a fresh aesthetic and allow for the installation of new materials, such as modern siding or trim.
Additionally, if the J channel has become damaged or corroded over time, removing it is necessary to maintain the structural integrity of the wall and prevent potential water damage or pests from entering.
Finally, during renovations or remodeling projects, removing the J channel can be a crucial step in redesigning spaces or installing new windows, doors, or insulation. Recognizing these reasons can help you determine when and why it might be necessary to tackle this home improvement task.
Tools and Materials Needed
Before you begin the process of removing a metal J channel from your wall, it’s important to gather all the necessary tools and materials to ensure a smooth and effective project. Here’s a list of items you will need:
- Safety Glasses: To protect your eyes from metal fragments or dust.
- Work Gloves: To ensure a firm grip and protect your hands from sharp edges.
- Screwdriver: Depending on the type of screws used, a flathead or Phillips screwdriver will be needed to remove any screws securing the J channel.
- Pry Bar: Useful for gently prying the J channel away from the wall without causing damage.
- Utility Knife: To cut through any sealant or caulking that may be securing the J channel to the wall.
- Hammer: For leverage when using the pry bar and to tap back any nails or nails tabs.
- Ladder: If the J channel is installed in harder-to-reach places, a ladder will be necessary.
- Drop Cloth: To cover and protect the work area from debris and dust.
- Sealant Remover: If there is significant adhesive or sealant present, a chemical remover may be useful.
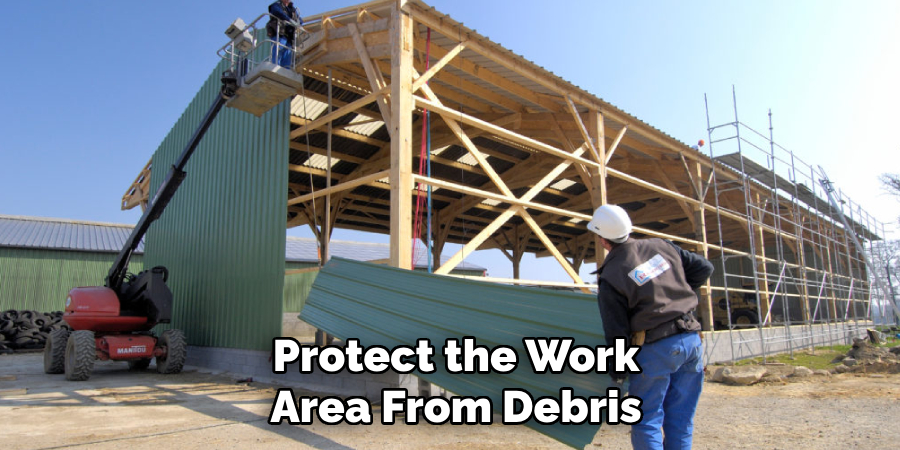
Having these tools and materials ready will help ensure that your project progresses smoothly and safely.
10 Methods on How to Remove Metal J Channel from Wall
Removing a metal J channel from a wall might seem like a daunting task, but it’s entirely doable with the right methods and tools.
Whether you’re a DIY enthusiast tackling a home improvement project, a novice trying to make your home feel brand-new, or a contractor looking for streamlined solutions, this guide covers everything you need to know. Below, we outline 10 practical methods to safely and efficiently remove a metal J channel, no matter your skill level.
1. Identify How the J Channel is Secured
Before you grab your tools, inspect the channel to determine how it’s attached. Common methods include screws, nails, or adhesive. Knowing this will help you choose the right approach to remove it without causing unnecessary damage.
Tip: Use a flashlight to check inside edges for hidden screws or nails.
2. Gather the Necessary Tools
To avoid interruptions during your project, make sure you have all the required tools at hand. You might need:
- A pry bar or crowbar for leverage.
- A screwdriver to remove screws.
- Pliers to pull out nails.
- A utility knife for cutting through caulk or adhesive.
- Safety gear like gloves and goggles.
Pro Tip: Keep extra tools nearby in case unexpected fixes are needed during removal.
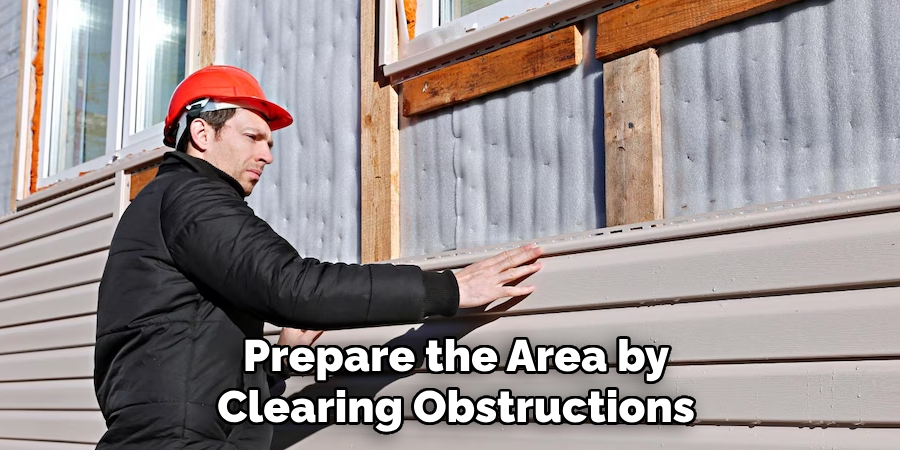
3. Remove Any Obstructions
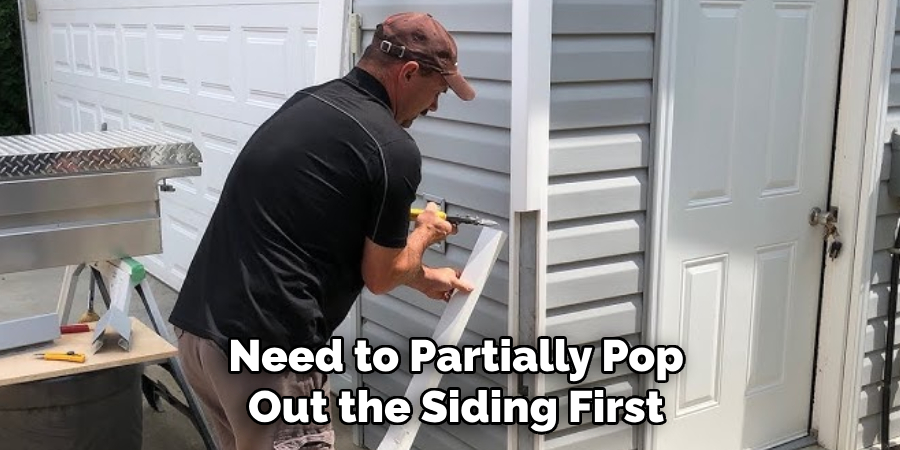
If the J channel is part of a siding or trim installation, it may be obstructed by overlapping panels or materials. Carefully detach them to expose the channel.
Example: Vinyl siding often clips into a J channel, so you’ll need to partially pop out the siding first.
4. Unscrew or Pry Loose Fasteners
Use a screwdriver to remove any visible screws securing the J channel. For nails, use the backside of a hammer or pliers to pull them out. If you’re working in tight spaces, consider a compact screwdriver or pry bar.
Tip: Be gentle as applying too much force can damage the wall or adjacent materials.
5. Cut Through Caulk or Sealant
If the metal J channel is secured with caulk or any adhesive, use a utility knife to carefully cut along the edges. This ensures a clean removal and minimizes the risk of peeling paint or drywall.
Safety Tip: Always direct the knife blade away from your body to prevent injury.
6. Pry the J Channel Off the Wall
Once fasteners and caulk are dealt with, gently use a pry bar to lift the J channel away from the wall. Start from one end, applying continuous pressure to avoid bending or warping the metal.
Tip: If the J channel resists, check for hidden screws or adhesive you may have missed.
7. Use a Heat Gun for Stubborn Adhesive
For particularly tough adhesive, a heat gun can soften it, making removal easier. Move the heat gun back and forth over the area to avoid overheating or damaging adjacent wall surfaces.
Pro Tip: Spot-test the heat gun on an inconspicuous area to ensure safe application.
8. Patch and Sand the Wall Surface
Once the J channel is removed, you might notice small holes or adhesive residue on the wall. Use spackle or filler to patch holes, and sand the surface smooth.
Example: A 120-grit sandpaper works well for prepping the wall for paint or refinishing.
9. Clean the Area Thoroughly
Clear away any debris or dust to leave the wall spotless and ready for the next step of your project. A damp cloth can help remove fine particles left from sanding.
Tip: If there’s adhesive residue, an adhesive remover like Goo Gone works wonders without damaging the surface.
10. Reinforce the Structural Area if Needed
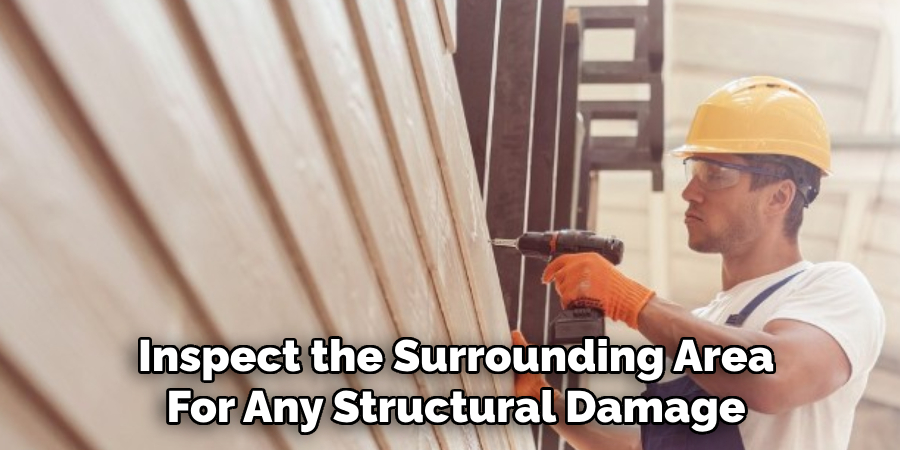
If the J channel was part of a window or siding installation, inspect the surrounding area for any structural damage. Replace any weakened components to maintain the integrity of the wall.
Pro Tip: Use this opportunity to upgrade trim or siding elements for a refreshed look.
Transform Your Space with Confidence
Removing a metal J channel might take some patience, but following these steps will make the process smoother and more manageable. Whether you’re preparing to install new materials or simply updating your decor, this effort will pay off in both function and aesthetics. Now that you’re ready to tackle this project, start gathering your tools and take it step by step—you’ve got this!
Things to Consider on How to Remove Metal J Channel from Wall
When planning to remove J channels, there are several factors to take into account to ensure a successful and hassle-free process. First, consider the material of the J channel, as different metals or plastic options might require varied handling techniques. Assess the surrounding area for potential hazards or obstructions that could complicate removal, like electrical fixtures or fragile trim.
Additionally, keep the weather conditions in mind if you’re working on an exterior wall, as moisture or temperature extremes can affect removal ease and safety. Finally, plan for any repairs or replacements needed post-removal, such as paint touch-ups or new trim installation, to complete the project seamlessly.
Common Mistakes to Avoid
When removing a metal J channel, there are several pitfalls that can compromise the success of your project. One frequent mistake is neglecting to identify all fasteners before attempting removal, which can lead to unnecessary damage to the wall or surrounding structures. Rushing the process and applying too much force can deform the J channel or even harm the adjacent surfaces.
Additionally, skipping safety measures by not wearing gloves or goggles can result in injuries, especially when using tools such as utility knives. Failing to prepare the area by clearing obstructions or addressing hidden nails or screws can also complicate the task. Ensure you take the time to assess the situation thoroughly and proceed with caution to avoid these common errors.
Conclusion
Removing a metal J channel can transform your space and pave the way for new designs or functional improvements. By carefully considering the materials, tools, and techniques involved, you can ensure a smooth and efficient process.
Remember to plan ahead, assess the work area for any potential issues, and maintain a focus on safety throughout. With patience and attention to detail, you can avoid common mistakes and achieve professional results. So, there you have it – a quick and easy guide on how to remove metal j channel from wall.
Edmund Sumlin is a skilled author for Metal Fixes, bringing 6 years of expertise in crafting a wide range of metal fixtures. With a strong background in metalwork, Edmund’s knowledge spans various types of fixtures, from decorative pieces to functional hardware, blending precision with creativity. His passion for metalworking and design has made him a trusted resource in the industry.
Professional Focus:
- Expert in Metal Fixtures : Edmund aesthetic specializes in creating durable and innovative metal fixtures, offering both appeal and functionality. His work reflects a deep understanding of metalworking techniques and materials.
- Sustainability Advocate : He is dedicated to using sustainable practices, ensuring that every fixture is crafted with eco-friendly methods while maintaining high-quality standards.
In his writing for Metal Fixes, Edmund provides valuable insights into the latest trends, techniques, and practical advice for those passionate about metal fixtures, whether they are professionals or DIY enthusiasts. His focus on combining artistry with engineering helps others discover the true potential of metal in design.


