

Removing permanent vinyl from metal surfaces can seem daunting at first, but with the right techniques and tools, it is entirely manageable. Permanent vinyl is praised for its durability and strong adhesive, which makes it ideal for long-term applications, but these qualities can also make removal challenging.
Whether you’re looking to update an old design, correct a mistake, or simply clear a surface for a new project, understanding the removal process is essential to prevent damage to the metal beneath.
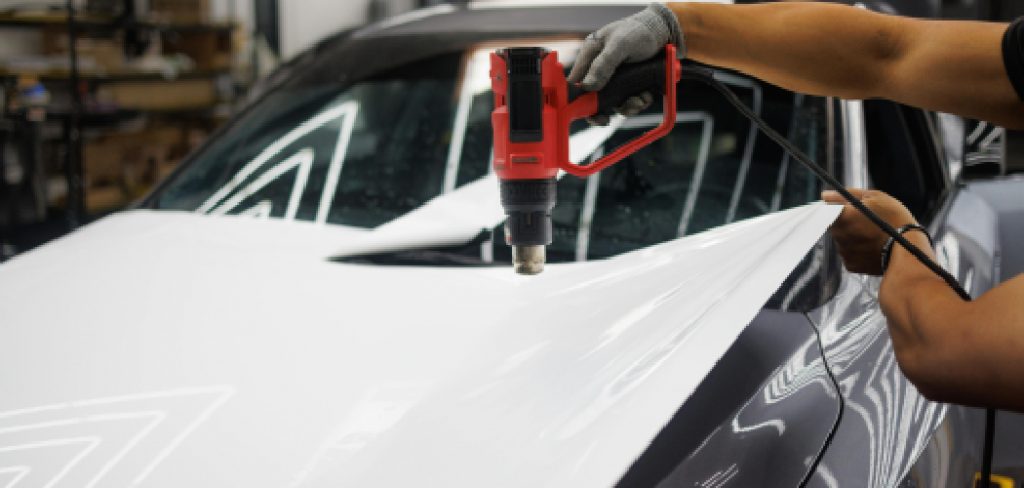
In this guide on how to remove permanent vinyl from metal, we will explore effective methods and tips to safely and efficiently remove permanent vinyl from metal surfaces.
Why Remove Permanent Vinyl from Metal?
There are several reasons why you might want to remove permanent vinyl from a metal surface. Some of the most common reasons include:
Update an Old Design:
One of the great things about vinyl is that it can be easily removed and replaced. If you have an old design that no longer fits your style or needs, removing the permanent vinyl allows you to create a new one. This is especially useful for personalizing items like water bottles, laptops, and phone cases.
Correct a Mistake:
Vinyl can be tricky to apply perfectly, and mistakes happen. Whether it’s a small air bubble or a misaligned design, removing the permanent vinyl allows you to fix any errors and achieve a flawless result.
Clear Surface for New Projects:
If you’re repurposing an old metal surface for a new project, removing the permanent vinyl is necessary. This ensures that the new design will adhere properly without any interference from the previous adhesive.
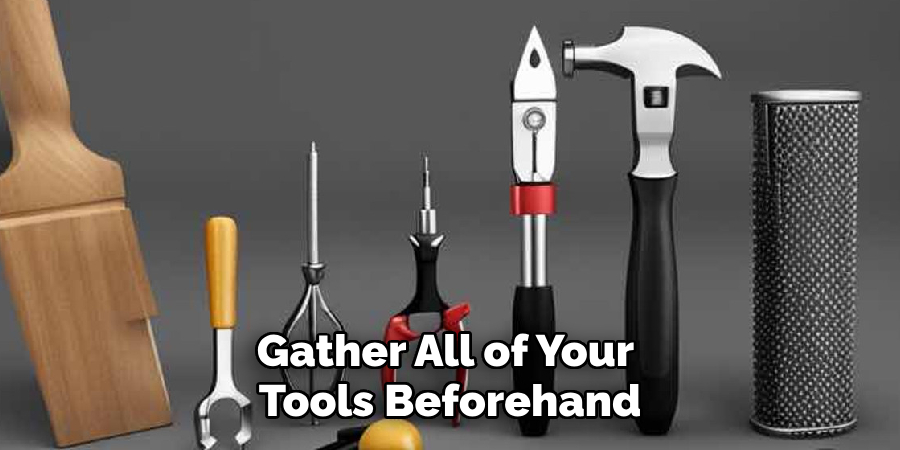
Tools You Will Need
Before diving into the removal process, gather all of your tools beforehand to ensure efficiency and safety. Some essential tools you will need include:
Heat Gun or Hair Dryer:
Heat is the most effective way to soften adhesive and release vinyl from metal surfaces. A heat gun or hairdryer set on high heat is necessary for this process.
Razor Blade or Scraper:
A razor blade or scraper will help you loosen and lift the vinyl from the metal surface. Make sure to use a sharp blade to prevent any damage to the metal beneath.
Adhesive Remover:
In some cases, adhesive remover may be necessary to dissolve any stubborn residue left behind by the vinyl. Make sure to choose a product that is safe for use on metal surfaces.
8 Step-by-step Guidelines on How to Remove Permanent Vinyl From Metal
Step 1: Prepare the Surface
Begin by cleaning the metal surface thoroughly to remove any dust, dirt, or debris that might interfere with the vinyl removal process. Use a soft cloth and a mild detergent or soapy water to gently clean the area, ensuring there is no leftover residue that could obstruct your work.
Once cleaned, dry the surface thoroughly with a lint-free cloth to prevent moisture from affecting the adhesive during the removal process. Ensuring a clean environment not only makes the task more manageable but also helps prevent any accidental scratches or damage to the metal.
Step 2: Heat the Vinyl
After preparing the surface, it’s time to apply heat to the vinyl to loosen its adhesive. Use a heat gun or a hair dryer set on high heat, maintaining a safe distance to avoid overheating the metal. Gently move the heating tool back and forth over the vinyl, allowing the heat to penetrate and soften the adhesive without causing any damage to the metal underneath.
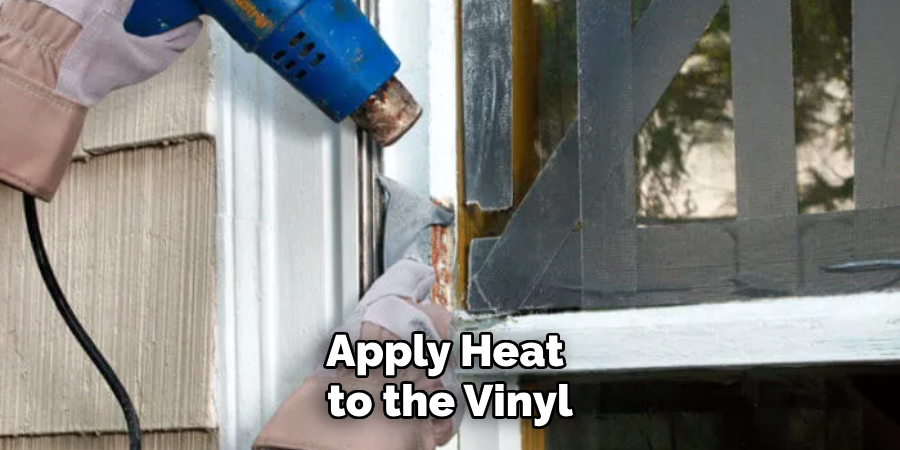
Heat each section of vinyl for about 30 seconds to a minute, ensuring an even and consistent application. This process helps in making the vinyl more pliable and easier to peel off once you begin scraping. Remember to wear protective gloves during this step to avoid burns from the heat. Once the vinyl has softened, you’re ready to move on to the next step of the removal process.
Step 3: Lift and Peel the Vinyl
After applying heat, use a razor blade or scraper to gently lift and peel off the vinyl. Start at one corner or edge of the vinyl and gradually work your way across, peeling as you go. If you encounter any resistance or difficulty in lifting the vinyl, apply more heat to that area to further soften the adhesive. Continue this process until all the vinyl has been removed from the metal surface.
The key here is to work slowly and carefully to avoid any damage to the metal beneath. If you’re dealing with a large vinyl design, it may help to have an extra pair of hands to assist in the peeling process.
Step 4: Remove Residue
Even after removing all of the vinyl, there may still be some residue or adhesive left on the surface. To remove this, use an adhesive remover product according to the manufacturer’s instructions. Apply a small amount of the solvent onto a clean cloth or paper towel and gently rub it over the remaining residue until it begins to dissolve. Be sure not to oversaturate the area with too much solvent as this can damage the metal.
Once the residue has been dissolved, wipe the surface clean with a damp cloth and dry thoroughly. You may need to repeat this step if there is still leftover residue.
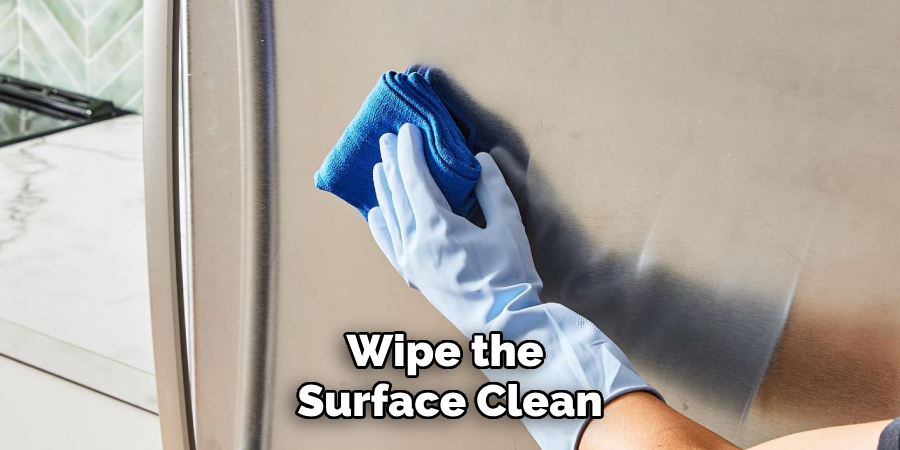
Step 5: Clean and Dry the Surface Again
After the residue has been removed, it’s important to clean and dry the surface once more to ensure no adhesive or solvent remains. Use a clean, soft cloth with a mild detergent or soapy water to thoroughly wash the metal surface.
This will remove any lingering chemicals from the adhesive remover, which could inhibit future use or designs. Rinse the area with clean water to remove any soap residue, then dry the metal using a lint-free cloth. This final cleaning step guarantees a pristine surface that is ready for any new vinyl design or alternative use you have planned.
Step 6: Use a Finishing Touch
If you prefer, you can use a finishing touch to clean and polish the metal surface further. This step is especially helpful if there are any scratches or marks left behind from the vinyl removal process. Apply a small amount of mild abrasive cleaner onto a soft cloth and buff it into the metal surface in circular motions until all marks have disappeared.
Once completed, rinse off any excess residue with clean water and dry the area thoroughly. This process not only removes any blemishes but also leaves your metal surface looking shiny and new again.
Step 7: Optional Sanding Process
In some cases, there may be stubborn residue or adhesive that cannot be removed using the above methods. If this occurs, you can try lightly sanding the surface with fine-grit sandpaper. This process should only be used as a last resort, as it can potentially damage or scratch the metal surface.
Ensure to use gentle pressure and a light touch when sanding to avoid any unwanted marks on the metal. Afterward, follow up with another round of cleaning and drying to remove any remaining residue or debris.
Step 8: Dispose of Vinyl Properly
Now that you have successfully removed the vinyl from your metal surface, it’s important to dispose of it properly. Permanent vinyl cannot be reused once removed, so make sure to throw it away in designated waste bins for recycling or disposal.
Follow any local regulations and guidelines on how to remove permanent vinyl from metal when disposing of vinyl to ensure the protection of the environment. Proper disposal is crucial in maintaining a clean and safe environment for ourselves and others.
Frequently Asked Questions
Q: Can I Use a Heat Gun for Vinyl Removal on All Types of Metal Surfaces?
A: Heat guns should be used with caution and only on heat-resistant metals such as aluminum, steel, or brass. Avoid using heat guns on plastic or painted surfaces as they can cause melting or discoloration. Always test a small, inconspicuous area before proceeding with the vinyl removal process.
Q: Can I Reuse Vinyl Once It Has Been Removed From Metal?
A: No, once vinyl has been removed from a surface, it cannot be reused. The adhesive loses its effectiveness after being applied and removed once, making it unsuitable for future use. Proper disposal of used vinyl is necessary to maintain a clean environment.
Q: Is There an Alternative Method for Removing Vinyl from Metal Without Using Heat?
A: Yes, there are alternative methods such as using rubbing alcohol or vinegar to dissolve the adhesive and remove the vinyl. However, these methods may take longer and require more effort compared to using heat. Heat is recommended for a more efficient and effective removal process.
Q: Can I Use a Chemical Adhesive Remover on All Metal Surfaces?
A: No, it’s important to check the manufacturer’s instructions and recommendations before using any chemical adhesive remover on metal surfaces. Some cleaners may be too harsh or abrasive for certain types of metal and can cause damage or discoloration. Always test a small area first and proceed with caution when using chemical solvents for vinyl removal. Overall, it’s best to use mild detergents or soapy water for general cleaning purposes.
Conclusion
Removing permanent vinyl from metal surfaces can be a meticulous process that requires patience and attention to detail. By following the outlined steps on how to remove permanent vinyl from metal, from heating and peeling to cleaning and finishing, you can ensure that your metal surfaces remain in optimal condition for future projects. While heat is a preferred method for its effectiveness, make sure to consider alternative adhesives removers for more delicate surfaces.
Proper disposal of used vinyl is also a key aspect of maintaining an environmentally conscious workspace. With the right tools and techniques, vinyl removal can be a straightforward and rewarding task, leaving your metal surfaces clean and ready for your next creative endeavor.
Edmund Sumlin is a skilled author for Metal Fixes, bringing 6 years of expertise in crafting a wide range of metal fixtures. With a strong background in metalwork, Edmund’s knowledge spans various types of fixtures, from decorative pieces to functional hardware, blending precision with creativity. His passion for metalworking and design has made him a trusted resource in the industry.
Professional Focus:
- Expert in Metal Fixtures : Edmund aesthetic specializes in creating durable and innovative metal fixtures, offering both appeal and functionality. His work reflects a deep understanding of metalworking techniques and materials.
- Sustainability Advocate : He is dedicated to using sustainable practices, ensuring that every fixture is crafted with eco-friendly methods while maintaining high-quality standards.
In his writing for Metal Fixes, Edmund provides valuable insights into the latest trends, techniques, and practical advice for those passionate about metal fixtures, whether they are professionals or DIY enthusiasts. His focus on combining artistry with engineering helps others discover the true potential of metal in design.