

Removing a SharkBite fitting might seem like a daunting task, especially if you’re new to plumbing work. These fittings are designed for easy installation and reliability, commonly used in both professional and DIY plumbing projects. However, situations arise when you need to disassemble or replace fittings, necessitating proper techniques to ensure seamless removal.
In this guide on how to remove sharkbite fitting, we will walk you through the steps required to safely and efficiently remove a SharkBite fitting without damaging pipes or surrounding fixtures. Whether you’re making adjustments to your plumbing system or conducting repairs, understanding how to properly handle these innovative fittings is crucial for maintaining the integrity of your plumbing work.
What is a SharkBite Fitting?
A SharkBite fitting is a type of push-to-connect fitting that offers a quick and easy way to join pipes without the use of specialized tools. It works by using stainless steel teeth to grip onto the pipe, creating a tight seal that can withstand high pressures and temperatures. These fittings are commonly used for both residential and commercial plumbing applications, making plumbing projects faster and more convenient.
It’s important to note that SharkBite fittings are not permanent connections and can be removed if needed. However, improper removal techniques can lead to damage or leaks, so it’s crucial to follow the correct steps when removing these fittings.
Why Do You Need to Remove SharkBite Fittings?
As durable and reliable as SharkBite fittings are, there may come a time when you need to remove them. Some common reasons for removing SharkBite fittings include:
- Making Adjustments or Modifications to Your Plumbing System
- Replacing Old or Damaged Fittings
- Conducting Repairs on Pipes or Fixtures Connected by Sharkbite Fittings
Regardless of the reason, it’s essential to know how to properly remove these fittings to avoid an unnecessary headache or costly repairs.
Tools You Will Need
Before attempting to remove a SharkBite fitting, make sure you have the proper tools on hand. These tools include:
Adjustable Wrench or Channellock Pliers
These tools will be used to grip and turn the fitting during removal.
SharkBite Depth and Deburr Tool
This tool is used to measure the depth of the SharkBite fitting and remove any burrs on the pipe, ensuring a proper fit.

Needle Nose Pliers
These pliers will be helpful in removing any debris or small objects that may be stuck inside the fitting.
8 Step-by-step Guides on How to Remove Sharkbite Fitting
Step 1: Identify and Turn Off Water Supply
The first step in removing a SharkBite fitting is to ensure that the water supply to that section of plumbing is turned off. This prevents water from flooding the area once you remove the fitting. Locate the main water shutoff valve for your home or the specific valve controlling the section you are working on. Turn the valve clockwise to shut off the water flow.
Once the water is off, activate any nearby faucets to drain residual water from the pipes, which will make the fitting removal process cleaner and easier. Confirm that the water is completely stopped before proceeding to the next steps.
Step 2: Measure the Depth of the Fitting
Once the water supply is turned off and the pipes are drained, the next important step is to measure the depth of the SharkBite fitting. This is crucial for ensuring a proper reinstallation or replacement. Use the SharkBite Depth and Deburr Tool for this task. Insert the pipe into the tool until it reaches the appropriate depth indicator marked for your pipe size.
Mark this depth on the pipe with a pencil or marker. This measurement will help you ensure that during reinstallation, the fitting is seated correctly and securely. Following this step accurately is essential to prevent leaks and maintain the integrity of the plumbing system.
Step 3: Deburr the Pipe
After measuring the depth, use the same tool to deburr the end of the pipe. This is important because burrs can cause leaks or prevent proper seating of the fitting during reinstallation. Insert and rotate the tool in a circular motion around the edge of the pipe until all burrs are removed.
The SharkBite fitting is now ready to be removed.
Step 4: Grip and Turn the Fitting
Using an adjustable wrench or channellock pliers, grip onto the SharkBite fitting. Make sure you have a firm grip as these fittings can be tight and difficult to remove. Hold onto the pipe with your other hand for stability.
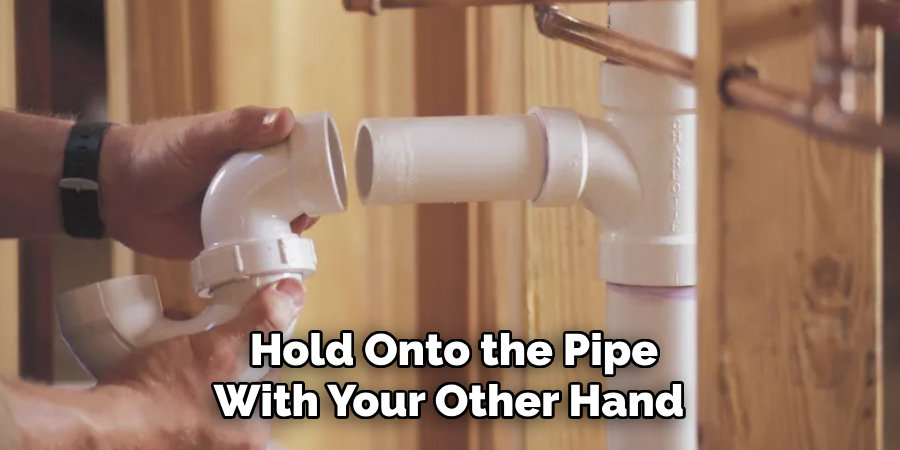
Next, twist the fitting in a counterclockwise direction while pulling it towards you. This may require some force, but avoid using excessive force as this can damage the pipes or cause injury.
If the fitting does not turn easily, try using WD-40 or other lubricants to loosen it up before attempting again.
Step 5: Remove the Fitting
Once the fitting starts to turn, you can continue twisting and pulling until it comes off the pipe. If there are any small objects or debris inside the fitting, use needle nose pliers to remove them before reinstalling.
You have now successfully removed the SharkBite fitting.
Step 6: Inspect the Fitting and Pipe
After removing the fitting, inspect it for any damage or signs of wear. If you plan on reusing the fitting, make sure it is clean and free of debris.
Inspect the pipe as well, looking for any cracks or damage that may require replacement. It’s always a good idea to replace old or damaged pipes when working on your plumbing system to ensure its longevity and reliability.
Step 7: Reinstall or Replace
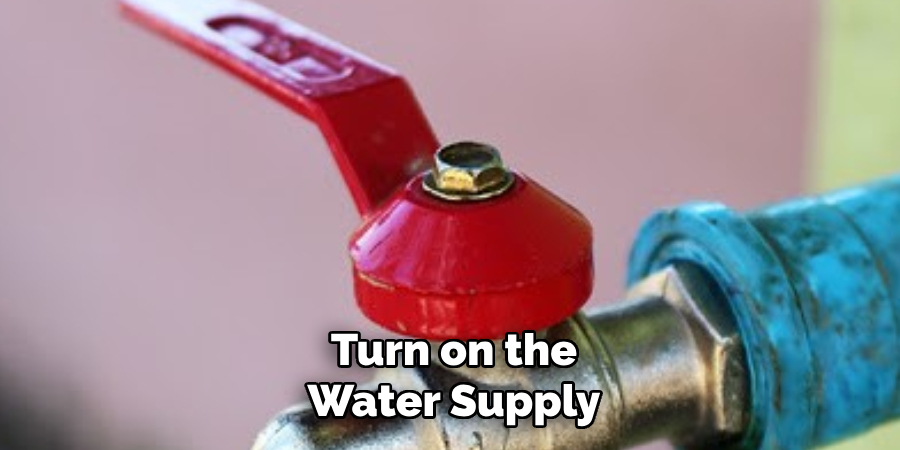
If you are reinstalling the same fitting, make sure to align it with the depth mark you made earlier before pushing it onto the pipe. Twist clockwise until the fitting is securely in place, and then turn on the water supply to test for any leaks.
If you are replacing the fitting, follow the same steps you would take during installation. Make sure to use a clean pipe and deburr before inserting it into the new SharkBite fitting.
Step 8: Check for Leaks
After reinstallation or replacement, turn on the water supply and check for any leaks. If there are no leaks, congratulations! You have successfully removed and reinstalled a SharkBite fitting.
If there are still leaks, make sure all connections are tight and secure. If necessary, replace the fittings or pipes with new ones.
Following these steps on how to remove sharkbite fitting carefully and accurately will make the process of removing SharkBite fittings easy and hassle-free. Remember to always turn off the water supply, measure depth and deburr the pipes, and use proper tools for a successful removal.
Additional Tips for Removing SharkBite Fittings
- If you are working on a section of plumbing with multiple fittings, it’s crucial to remove them in the correct order to avoid any damage or interference.
- If you encounter difficulty in removing a fitting, do not force it. Instead, try using lubricants or seeking professional help.
- It’s always a good idea to have extra SharkBite fittings on hand in case of emergencies or replacements.
- When reinstalling fittings, make sure to align them properly and use the correct tools for a secure and leak-free connection.
- Regularly check and maintain your plumbing system to prevent major issues and to ensure its longevity.
By following these steps and additional tips, you can confidently remove SharkBite fittings without causing any damage or problems. Remember to always prioritize safety and proper installation techniques for a successful removal process.
Frequently Asked Questions
Q: Can I Reuse a Sharkbite Fitting After Removal?
A: Yes, as long as the fitting is not damaged or worn out and it is properly cleaned and inspected before reinstallation. The SharkBite fittings are designed to be easily removable and reusable.
Q: How Do I Know If I Need to Replace the Fitting Instead of Reinstalling It?
A: If the fitting shows signs of wear or damage, it is best to replace it with a new one. Additionally, if there are any leaks after reinstallation, it may indicate that the fitting needs to be replaced.
Q: Can I Remove Sharkbite Fittings Without Using Special Tools?
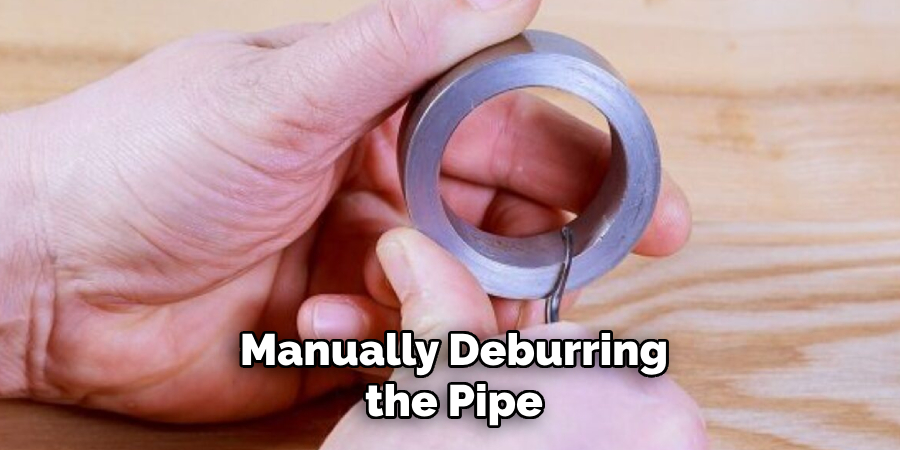
A: While using the SharkBite Depth and Deburr Tool is highly recommended for accuracy and ease, you can remove a fitting without it by carefully measuring the depth and manually deburring the pipe. However, this method may not be as effective and can potentially cause damage to the pipe or fitting. So, it is best to use the recommended tools.
Q: Can I Use Sharkbite Fittings on All Types of Pipes?
A: No, SharkBite fittings are designed for use with certain types of pipes such as copper, CPVC, PEX and PE-RT. Make sure to check the specifications before using a SharkBit fitting on a specific type of pipe. If you are unsure, consult with a professional plumber.
Conclusion
By following these step-by-step instructions on how to remove sharkbite fitting, you can successfully remove and replace SharkBite fittings in your plumbing system with confidence and ease. Properly maintaining and updating your plumbing components not only ensures the longevity and efficiency of your system but also prevents potential water damage and costly repairs.
Remember that having the right tools and knowledge is essential when working with SharkBite fittings, enabling you to handle any plumbing challenges that may arise. With patience and attention to detail, you can achieve professional results, leaving your plumbing system functioning smoothly and reliably.
Edmund Sumlin is a skilled author for Metal Fixes, bringing 6 years of expertise in crafting a wide range of metal fixtures. With a strong background in metalwork, Edmund’s knowledge spans various types of fixtures, from decorative pieces to functional hardware, blending precision with creativity. His passion for metalworking and design has made him a trusted resource in the industry.
Professional Focus:
- Expert in Metal Fixtures : Edmund aesthetic specializes in creating durable and innovative metal fixtures, offering both appeal and functionality. His work reflects a deep understanding of metalworking techniques and materials.
- Sustainability Advocate : He is dedicated to using sustainable practices, ensuring that every fixture is crafted with eco-friendly methods while maintaining high-quality standards.
In his writing for Metal Fixes, Edmund provides valuable insights into the latest trends, techniques, and practical advice for those passionate about metal fixtures, whether they are professionals or DIY enthusiasts. His focus on combining artistry with engineering helps others discover the true potential of metal in design.