

Are you tired of your silver-plated items losing their shine and looking dull? It’s time to learn how to remove silver plate and bring them back to life.

Silver plating is a process where a thin layer of silver is applied onto a base metal, such as copper or brass. However, this layer can wear off over time due to frequent use or exposure to certain chemicals.
Removing silver plates from items can be a meticulous process but is often necessary for restoration or repurposing projects. Whether you have inherited silver-plated antiques or wish to redecorate silver-plated home decor, knowing how to properly strip the silver plating can save you time and money.
This guide will walk you through the steps, ensuring the underlying material remains intact and ready for its next use phase.
What Will You Need?
Before you start the process of removing the silver plate, it’s important to gather all the necessary tools and materials. Here’s a list of items that you may need:
- Protective gear (gloves, goggles, mask)
- Chemical stripper (ammonia or sulfuric acid-based)
- Non-metallic container
- Soft-bristled brush or toothbrush
- Clean cloth or rag
- Soap and water
It’s essential to note that chemical strippers can be hazardous if not used properly. Always read and follow the instructions on the product label carefully.
10 Easy Steps on How to Remove Silver Plate
Step 1: Prepare Your Workspace
Set up your workspace in a well-ventilated area to ensure you have access to fresh air. This is crucial when working with chemical strippers, which can release harmful fumes. Lay down a protective covering, such as old newspapers or a plastic sheet, to protect your surfaces from spills and splatters. Ensure all your tools and materials are within easy reach and your workspace is clean and organized to prevent accidents or contamination.

Step 2: Put on Protective Gear
Safety should be your top priority when handling chemical strippers. Put on your gloves, goggles, and mask to protect your skin, eyes, and respiratory system from potential harm. It’s also a good idea to wear old clothing or an apron to shield your clothes from any accidental splashes or spills.
Step 3: Clean the Item
Before applying the chemical stripper, it’s important to clean the silver-plated item thoroughly. Use soap and water to remove any dirt, grease, or grime that could interfere with stripping.
Rinse the item well and allow it to dry completely. This step ensures that the chemical stripper can penetrate the silver plating effectively.
Step 4: Apply the Chemical Stripper
Pour the chemical stripper into the non-metallic container. Using a soft-bristled brush or toothbrush, carefully apply a generous amount of the stripper to the silver-plated surface. Follow the manufacturer’s instructions for application and wear protective gear at all times.
Step 5: Let it Sit
After applying the chemical stripper, you must let it sit for a specific amount of time. This will allow the chemicals to work and loosen the silver plating from the base metal. Refer to the product label for recommended wait times, ranging from a few minutes to several hours depending on the type of stripper used.
Step 6: Scrub Gently
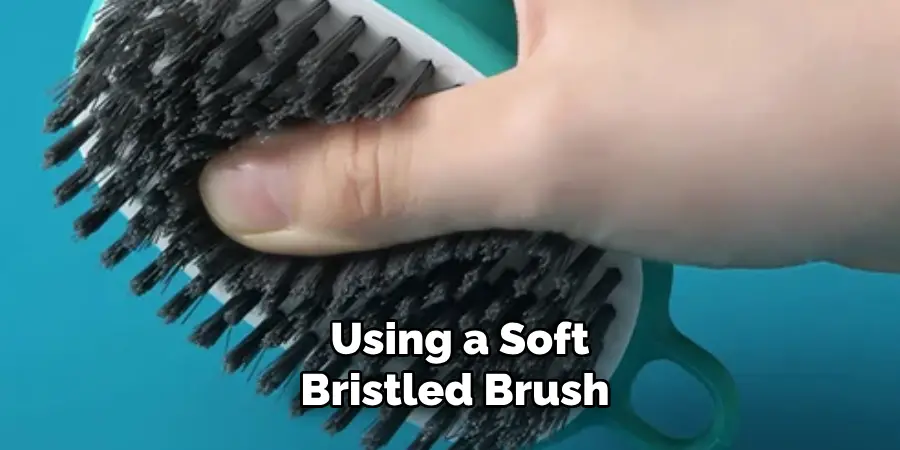
After the chemical stripper has had adequate time to sit and work its magic, it’s time to start removing the loosened silver plate. Begin by gently scrubbing the surface with a soft-bristled brush or toothbrush.
Use small, circular motions to effectively lift and remove the silver plating without scratching the underlying base metal. Be patient during this step to ensure you do not damage the item.
If you notice any areas where the plating is still firmly attached, you may need to apply a bit more of the chemical stripper and allow it to sit for some additional time before scrubbing again. Make sure to rinse the brush frequently to avoid spreading the chemical stripper to unintended areas.
Step 7: Rinse the Item
Once you have scrubbed off as much of the silver plating as possible, it’s crucial to thoroughly rinse the item. Use plenty of water to wash away any residual chemical stripper, ensuring that none of the chemicals remain on the surface.
Rinsing helps to neutralize the stripper and protect the base metal from any further chemical reaction. Double-check all nooks and crannies to make sure no stripper is left behind. Dry the item completely with a clean cloth or rag before proceeding to the next step.
Step 8: Repeat if Necessary
In some cases, the first application of the chemical stripper and scrubbing may not remove all of the silver plate.
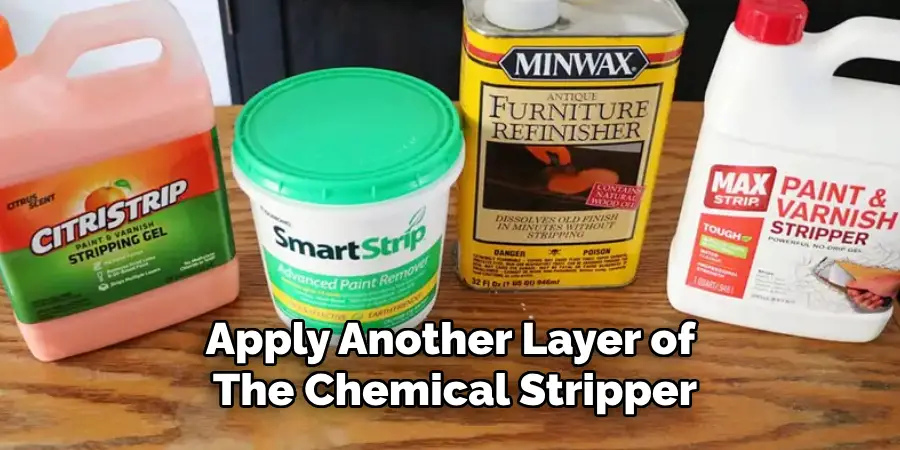
If you find that some areas still have silver plating, you may need to repeat steps 4 through 7. Apply another layer of the chemical stripper, let it sit, scrub gently, and rinse thoroughly until you achieve the desired result. This step can be time-consuming but is essential for completely removing the silver plating.
Step 9: Neutralize the Item
After the silver plating has been removed, and the item has been rinsed, it is important to neutralize any remaining traces of chemical stripper. You can do this by washing the item again using a solution of soap and water, or a mixture of baking soda and water.
This will help to ensure that all chemicals are fully neutralized, preventing any potential damage or discoloration to the base metal. Rinse thoroughly and dry the item well with a clean cloth.
Step 10: Final Cleaning and Polishing
With the silver plating removed and the item neutralized, give it a final cleaning. Use a mild soap and water solution to clean the item again, ensuring it is free from any residues.
Dry it thoroughly with a soft, clean cloth. Depending on the type of base metal, you might want to finish by polishing it with an appropriate metal polish to bring out its natural shine. This final touch can enhance the item’s appearance and prepare it for its next use or restoration project.
By following these detailed steps, you should be able to successfully remove the silver plate from your items, ensuring they are clean and ready for their next phase. Always remember to prioritize safety, work carefully, and be patient during the process for the best results.
5 Additional Tips and Tricks
Tip 1: Test on a Small Area First:
Before applying the chemical stripper to the entire surface, it’s wise to test it on a small, inconspicuous area of the item. This will help you gauge how the stripper reacts with the material and ensure that there are no adverse reactions or unexpected results. If the small area shows satisfactory results, you can proceed confidently to the rest of the item.
Tip 2: Use a Plastic Scraper:
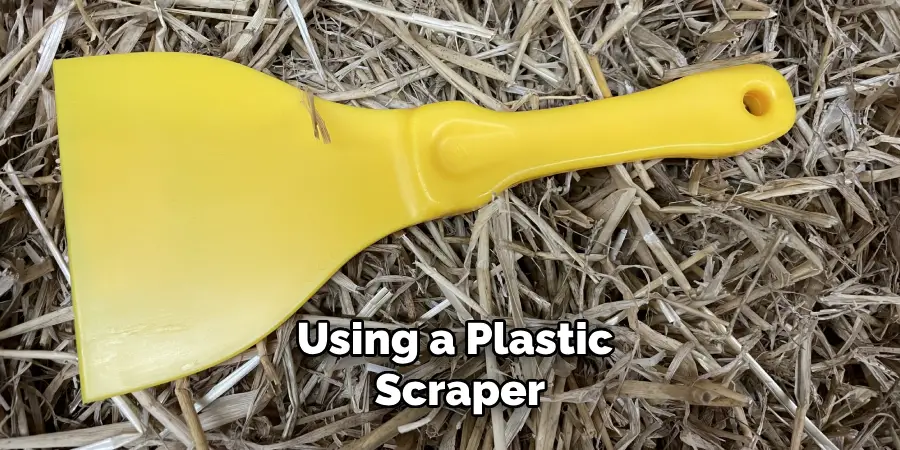
If you encounter stubborn areas of silver plating that are difficult to remove with a brush, try using a plastic scraper. This tool can help provide more leverage and gently scrape off any remaining plating without damaging the base metal.
Tip 3: Try Using Hot Water:
In some cases, hot water can help speed up the chemical stripping process. You can try running hot water over the item or submerging it in a container of hot water for a few minutes before applying the stripper. Be cautious when handling hot objects and always wear protective gear.
Tip 4: Use a Dremel Tool:
For intricate or hard-to-reach areas, a Dremel tool can be an effective way to remove silver plating.
Attach a soft-bristled brush or polishing attachment to gently buff away the plating without damaging the underlying metal. Again, be careful when using power tools and take necessary safety precautions.
Tip 5: Consider Professional Help:
If you have valuable or sentimental items with silver plating that you do not want to risk damaging, consider seeking professional help. There are experts who specialize in removing silver plate and restoring items to their original condition.
5 Things You Should Avoid
Avoid 1: Skipping Safety Precautions:
Always wear protective gear such as gloves, goggles, and a mask when working with chemical strippers. Skipping these important safety steps can expose you to harmful fumes and chemicals that can cause serious health issues.
Avoid 2: Using Abrasive Tools:
While it might be tempting to use abrasive tools like steel wool or harsh sandpaper to speed up the removal process, it can scratch and damage the underlying base metal. Stick to softer tools and brushes to maintain the integrity of your item.
Avoid 3: Rushing the Process:
Patience is key when removing silver plates. Rushing through the steps can result in incomplete stripping or accidental damage to the item. Follow the recommended wait times, scrub gently, and be prepared to repeat certain steps if necessary.
Avoid 4: Ignoring Ventilation:
Ensuring good ventilation is crucial when working with chemical strippers to avoid inhaling harmful fumes. Always work in a well-ventilated area, such as outdoors or in a room with plenty of windows and fans to circulate the air.
Avoid 5: Skipping Neutralization:
After removing the silver plating, it’s essential to neutralize any remaining traces of chemical stripper. Residual chemicals can continue to react with the base metal and cause damage over time. Neglecting this step can lead to discoloration or deterioration of your item.
Conclusion
How to remove silver plate requires careful attention to detail and adherence to safety protocols. You can achieve a thorough and effective removal process by following the outlined steps and implementing the additional tips and tricks.
Remember to always prioritize safety by wearing protective gear and working in a well-ventilated area.
Patience is crucial, so take your time and avoid rushing through the steps to prevent any potential damage to the underlying base metal. If ever in doubt, consider seeking professional assistance to ensure the best results for valuable or sentimental items.
With diligence and care, your items can be restored and prepared for their next phase with a renewed appearance.
Edmund Sumlin is a skilled author for Metal Fixes, bringing 6 years of expertise in crafting a wide range of metal fixtures. With a strong background in metalwork, Edmund’s knowledge spans various types of fixtures, from decorative pieces to functional hardware, blending precision with creativity. His passion for metalworking and design has made him a trusted resource in the industry.
Professional Focus:
- Expert in Metal Fixtures : Edmund aesthetic specializes in creating durable and innovative metal fixtures, offering both appeal and functionality. His work reflects a deep understanding of metalworking techniques and materials.
- Sustainability Advocate : He is dedicated to using sustainable practices, ensuring that every fixture is crafted with eco-friendly methods while maintaining high-quality standards.
In his writing for Metal Fixes, Edmund provides valuable insights into the latest trends, techniques, and practical advice for those passionate about metal fixtures, whether they are professionals or DIY enthusiasts. His focus on combining artistry with engineering helps others discover the true potential of metal in design.