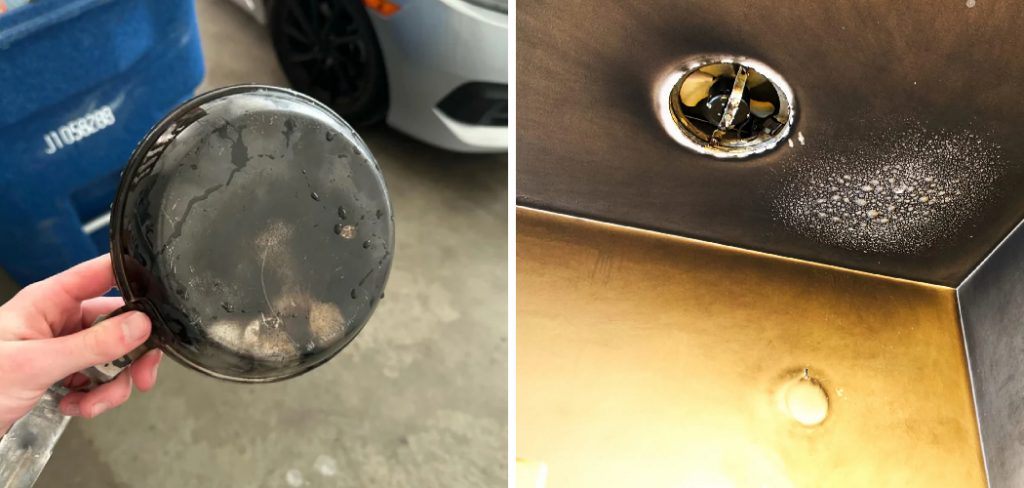
Soot can accumulate on metal surfaces from various sources, such as fireplaces, candles, or industrial processes, leading to unsightly discoloration and potential damage.

Removing soot from metal requires a combination of the right materials, techniques, and a bit of patience. Proper cleaning not only restores the metal’s appearance but also prevents further corrosion and deterioration.
In this guide on how to remove soot from metal, we’ll walk you through the step-by-step process for effectively removing soot from metal surfaces, ensuring they remain clean and well-maintained.
Why is It Important to Remove Soot From Metal?
Before we dive into the specifics of how to remove soot from metal, let’s understand why it’s essential to do so. Soot can be a fire hazard as it contains carbon and other combustible materials. When accumulated on metal surfaces, it can increase the risk of fires or explosions.
Moreover, soot is acidic in nature and can corrode metals over time, leading to structural damage and costly repairs. Regularly removing soot from metal surfaces not only maintains their appearance but also ensures the safety and longevity of the metal itself.
It is also essential to remove soot from metal surfaces to avoid potential health hazards. Soot can contain harmful chemicals and particles that can be inhaled, causing respiratory issues and other health problems.
By removing soot, you not only protect the metal but also create a safe and healthy environment for yourself and others.
Materials You’ll Need
Before starting the cleaning process, gather all the necessary materials to efficiently remove soot from metal. Here’s a list of items you’ll need:

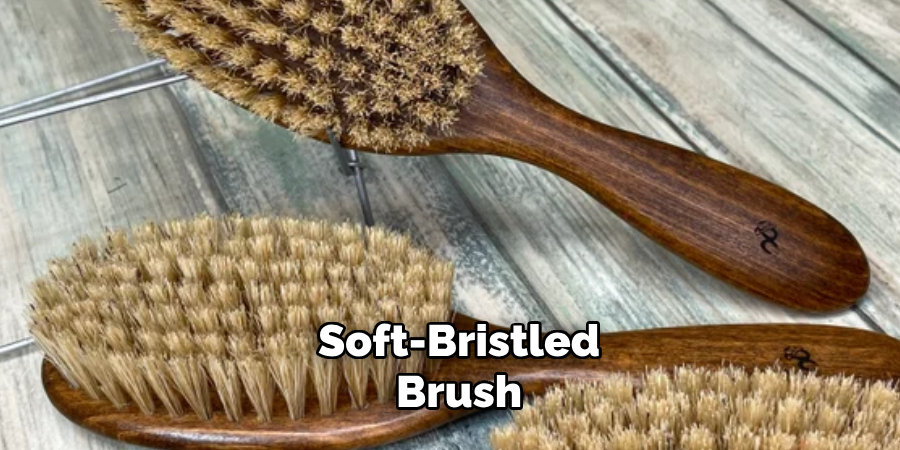
- Soft-bristled Brush or Sponge
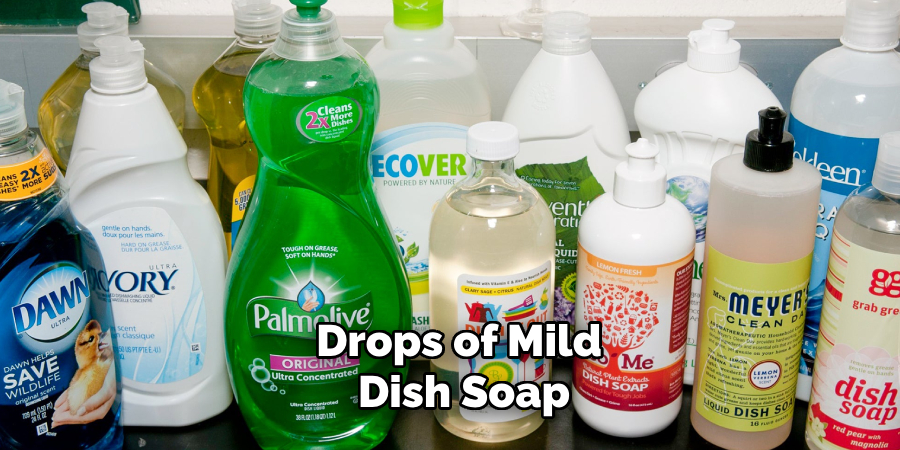
- Mild Dish Soap or All-purpose Cleaner
- Bucket of Warm Water
- Clean Rags or Towels
- White Vinegar
- Baking Soda
- Lemon Juice
- Safety Goggles
- Gloves (Optional)
Depending on the severity of soot, you may need additional materials such as a metal polish or specialized cleaning products. It’s always best to start with mild cleaning solutions and gradually increase the strength if needed.
8 Step-by-step Guides on How to Remove Soot From Metal
Step 1: Put on Safety Gear
Before beginning the cleaning process, it’s crucial to ensure your safety by putting on the appropriate safety gear. This includes safety goggles to protect your eyes from potential splashes and harmful particles. Additionally, wear gloves to protect your hands from any abrasive materials and chemicals you may be using.

While it is optional, wearing a face mask can further prevent the inhalation of soot particles, providing an extra layer of safety, especially in poorly ventilated areas. By taking these precautions, you safeguard yourself against potential hazards during the cleaning process.
Step 2: Remove Loose Soot
Begin by removing any loose soot from the metal surface using a soft-bristled brush or sponge. Gently brush the surface to dislodge any loose particles, making sure not to scratch or damage the metal. Use light, sweeping motions to collect the soot without spreading it further.
For areas that are difficult to reach, you can use a vacuum with a soft brush attachment to help lift the particles away. This initial step will make the subsequent cleaning stages more effective by eliminating the bulk of the loose debris before you start using cleaning solutions.
Step 3: Create a Cleaning Solution
In a bucket of warm water, add a few drops of mild dish soap or an all-purpose cleaner to create a gentle cleaning solution. If the metal surface is heavily soiled, you can also mix in white vinegar or baking soda for added strength. Alternatively, you can use lemon juice instead of white vinegar.

Avoid using harsh chemicals or abrasive cleaners as they can damage the metal surface and cause discoloration. It’s always best to start with milder solutions and gradually increase the strength if needed.
Step 4: Test on a Small Area
Before applying the cleaning solution to the entire metal surface, it’s essential to test it on a small, inconspicuous area first.
This helps ensure that the solution does not cause any adverse effects such as discoloration or damage to the metal. Dip a clean rag or sponge into the cleaning solution and gently rub it on the test area.
Wait a few minutes to observe any reactions. If the test area remains unchanged and clean, you can proceed with confidence to clean the rest of the metal surface. If you notice any negative effects, you may need to dilute the solution further or try an alternative cleaning method to ensure the safety and integrity of the metal.
Step 5: Clean the Metal Surface
Using a clean rag or sponge, dip it into the cleaning solution and gently rub it on the metal surface. Start from one corner and work your way across the surface in small sections to prevent the spreading of soot particles.
Use circular motions for light stains and more vigorous rubbing for tougher areas.
For stubborn stains, you can let the solution sit on the affected area for a few minutes before scrubbing. Avoid using excessive force or hard-bristled brushes as they can scratch or damage the metal surface. Continue cleaning until all visible traces of soot are removed.
Step 6: Rinse with Clean Water
Once the soot has been lifted from the surface, rinse it thoroughly with clean water. This helps remove any remaining cleaning solution and ensures that no residue is left behind. Use a clean rag or sponge to wipe away any excess water.

Alternatively, you can use a garden hose or pressure washer for larger surfaces or hard-to-reach areas. Make sure to direct the water flow away from electrical components to avoid any damage.
Step 7: Dry the Surface
Using a dry towel or rag, gently pat the surface dry. Avoid using paper towels as they can leave behind lint and fibers. If you’re working with smaller objects, you can also let them air dry.
For larger surfaces, use a fan or open windows to increase ventilation and speed up the drying process. Make sure the surface is completely dry before proceeding to the final step.
Step 8: Apply Metal Polish (Optional)
If your metal surface has lost its shine due to soot buildup, you can apply a metal polish to restore its glossy appearance. Follow the instructions on the product label for best results.
Alternatively, you can create a homemade metal polish by mixing equal parts of white vinegar and baking soda into a paste. Apply the paste to the metal surface and gently buff it with a clean, soft cloth. Once finished, rinse off any residue with water and dry the surface thoroughly.
Following these steps on how to remove soot from metal, you can effectively remove soot from metal surfaces and restore their original appearance. Remember to always prioritize safety by wearing protective gear and testing cleaning solutions on a small area before proceeding with the entire surface. With proper care, your metal objects will be clean and shiny once again. Happy cleaning!
Frequently Asked Questions
Q: Is It Safe to Use Harsh Chemicals on Metal Surfaces to Remove Soot?
A: No, it’s best to avoid using harsh chemicals or abrasive cleaners as they can damage the metal surface and cause discoloration.
It’s always best to start with milder solutions and gradually increase the strength if needed. It’s also essential to test the cleaning solution on a small area first to ensure it does not cause adverse effects.
Q: Can I Use a Pressure Washer to Remove Soot from Metal Surfaces?
A: Yes, you can use a pressure washer for larger surfaces or hard-to-reach areas. However, make sure to direct the water flow away from electrical components and use caution to avoid damaging the surface.
Q: How Often Should I Clean My Metal Objects to Prevent Soot Buildup?
A: It’s recommended that metal objects be cleaned regularly as soot buildup can cause damage over time. For outdoor objects, it may be necessary to clean them more frequently due to exposure to environmental factors such as air pollution and weather conditions.
Q: Can I Use Lemon Juice Instead of White Vinegar in the Cleaning Solution?
A: Yes, you can use lemon juice as an alternative to white vinegar in the cleaning solution. It also has natural acidic properties that can help break down soot particles. However, be aware that it may not be as effective as white vinegar for tougher stains.
Q: How Can I Prevent Soot from Building Up on My Metal Surfaces?
A: Regular cleaning and maintenance can help prevent soot buildup on metal surfaces. Additionally, you can also consider using a protective sealant or wax to create a barrier against soot particles.
Keep the metal surface away from sources of soot such as candles, fireplaces, and smoking areas can also help prevent buildup.
Conclusion
Removing soot from metal surfaces requires patience, caution, and the right materials and techniques.
By following these step-by-step guides on how to remove soot from metal, you can effectively remove soot from various types of metal without causing damage or discoloration.
Remember to always prioritize safety by wearing appropriate gear and testing cleaning solutions before applying them to the entire surface. With proper care and maintenance, your metal surfaces will remain clean and shiny for years to come.
Edmund Sumlin is a skilled author for Metal Fixes, bringing 6 years of expertise in crafting a wide range of metal fixtures. With a strong background in metalwork, Edmund’s knowledge spans various types of fixtures, from decorative pieces to functional hardware, blending precision with creativity. His passion for metalworking and design has made him a trusted resource in the industry.
Professional Focus:
- Expert in Metal Fixtures : Edmund aesthetic specializes in creating durable and innovative metal fixtures, offering both appeal and functionality. His work reflects a deep understanding of metalworking techniques and materials.
- Sustainability Advocate : He is dedicated to using sustainable practices, ensuring that every fixture is crafted with eco-friendly methods while maintaining high-quality standards.
In his writing for Metal Fixes, Edmund provides valuable insights into the latest trends, techniques, and practical advice for those passionate about metal fixtures, whether they are professionals or DIY enthusiasts. His focus on combining artistry with engineering helps others discover the true potential of metal in design.


