

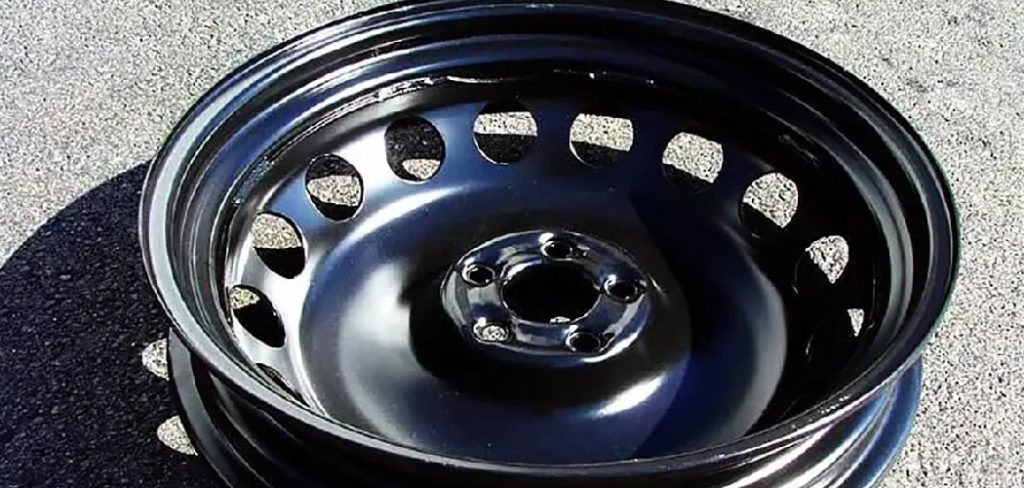
Are you tired of your steel wheels looking dull and rusty? Repainting them is a great way to give them a fresh new look. Follow these steps to learn how to repaint your steel wheels and make them shine like new ones again.
Repainting steel wheels is a cost-effective and straightforward way to refresh the look of your vehicle. Whether you want to restore the original color or try something new, repainting steel wheels can give your car a fresh appearance and protect the wheels from rust and corrosion.
In this guide on how to repaint steel wheels, we will walk you through the step-by-step process, from preparation to the final coat, so you can achieve professional-looking results without breaking the bank. Let’s dive in and transform your wheels into a statement of style and durability.
What Will You Need?
To repaint your steel wheels, you will need the following materials and tools:
- Steel wheel cleaner
- Sandpaper (various grits)
- Painter’s tape
- Primer spray paint
- Base coat spray paint
- Clear coat spray paint
- Gloves
- Respirator mask
- Drop cloth or old newspapers
- Water and soap for cleaning
You should have all these items on hand before starting the repainting process. Now, let’s get started!
10 Easy Steps on How to Repaint Steel Wheels
Step 1: Clean the Wheels
Thoroughly clean the steel wheels using a steel wheel cleaner, water, and soap. This step is crucial to remove dirt, grease, and grime and ensure a smooth surface for the paint to adhere to. Use a brush or sponge to scrub the wheels thoroughly, paying extra attention to hard-to-reach areas. Once the wheels are clean, rinse them with water and allow them to dry completely before moving on to the next step.
Step 2: Prepare the Wheels
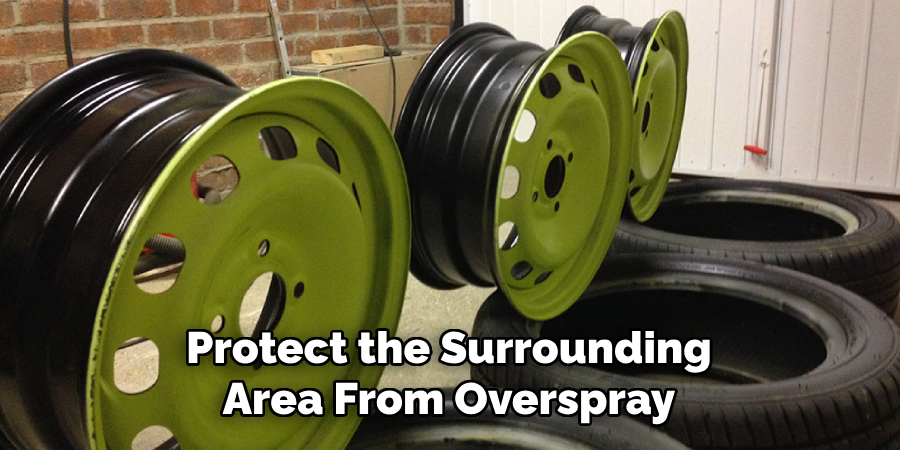
After the wheels have dried completely, it’s time to prepare them for painting. Use painter’s tape to cover any areas you don’t want to paint, such as the lug nuts or tire valve stem. This will ensure clean and precise lines. Additionally, place a drop cloth or old newspapers under the wheels to protect the surrounding area from overspray. Now, you’re ready to move on to the next step.
Step 3: Apply Primer
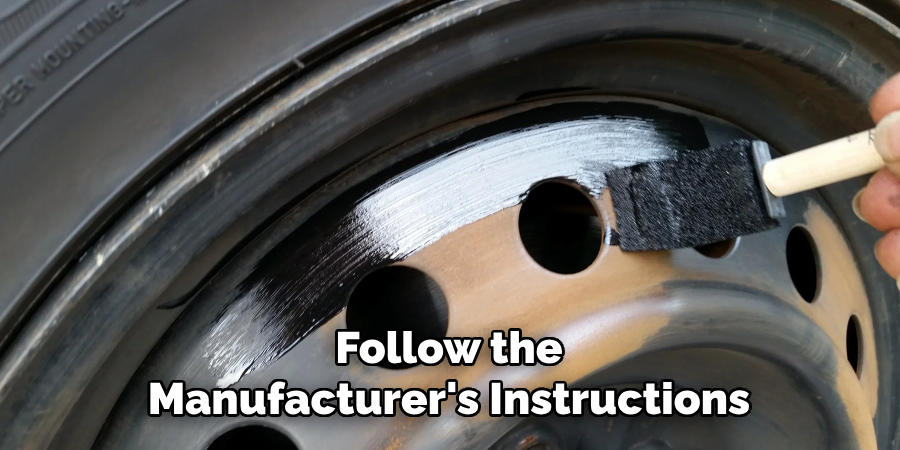
Once the wheels are cleaned and prepared, a primer must be applied. Primer helps create a smooth and even surface for the paint to adhere to, ensuring better durability and longevity of the paint job. Choose a primer specifically designed for metal surfaces and apply it evenly to the wheels. Use a paintbrush or a spray can to cover the entire surface, making sure to reach all the nooks and crannies. Allow the primer to dry completely according to the manufacturer’s instructions before proceeding to the next step. Applying primer ensures better adhesion and enhances the overall finish of the repainted steel wheels.
Step 4: Apply Paint
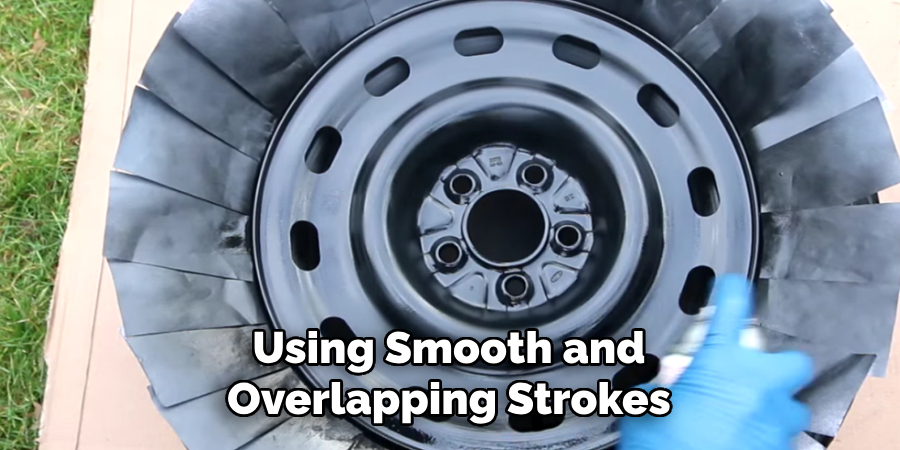
After the primer has dried, it’s time to give your steel wheels a fresh coat of paint. Choose a high-quality paint specifically formulated for metal surfaces, ensuring durability and a long-lasting finish. You can apply the paint evenly to the wheels using a paintbrush or spray, making smooth and overlapping strokes. Take care to cover the entire surface, including the spokes and rims. Consider using multiple thin coats instead of one thick coat for a more professional-looking result.
Allow each coat to dry according to the manufacturer’s instructions before applying the next one. This will help prevent drips and ensure a smooth and flawless finish. Once satisfied with the coverage and finish, let the paint dry completely before handling or reinstalling the wheels.
Step 5: Apply Clear Coat (Optional)
For added protection and a glossy finish, you may choose to apply a clear coat to your freshly painted steel wheels. A clear coat protects against scratches, UV rays, and other environmental factors, ensuring the longevity of your paint job. Select a clear coat specifically designed for metal surfaces and follow the manufacturer’s instructions for application. Apply the clear coat evenly, using smooth and overlapping strokes. Allow it to dry completely before handling or reinstalling the wheels for optimal results. Remember, applying a clear coat is optional, but it can enhance your repainted steel wheels’ overall appearance and durability.
Step 6: Final Inspection and Reinstallation
After the paint and clear coat have dried completely, it’s time to inspect your repainted steel wheels. Carefully examine the wheels for any unevenness, drips, or imperfections. If necessary, you can lightly sand and touch up any areas that need improvement. Once you are satisfied with the final result, it’s time to reinstall the wheels onto your vehicle. Follow the proper procedures for wheel installation, ensuring that each wheel is securely fastened and torqued to the manufacturer’s specifications.
Step 7: Maintenance and Care
Regular maintenance and care are essential to ensure the longevity and pristine appearance of your repainted steel wheels. Here are some tips to keep in mind:
- Regular Cleaning: Use a mild soap and water solution to your wheels. Avoid harsh chemicals or abrasive cleaners that could damage the paint or clear coat.
- Avoid Harsh Conditions: Protect your wheels from extreme weather conditions, such as snow, salt, and excessive heat. These conditions can deteriorate the paint and cause corrosion.
- Use Soft Brushes or Cloths: When cleaning your wheels, use soft brushes or cloths to avoid scratching the paint or clear coat. Avoid using abrasive tools or materials that can damage the finish.
- Inspect for Damage: Periodically inspect your wheels for any signs of damage, such as chips, scratches, or peeling paint. Address any issues promptly to prevent further damage and ensure the longevity of your repainted wheels.
- Wheel Sealant or Wax: Consider applying a wheel sealant or wax to provide an extra layer of protection against dirt, grime, and UV rays. Follow the manufacturer’s instructions for application.
Step 8: Customize Your Wheels
Customization is an excellent option if you want to add a personal touch to your steel wheels! You can get creative and choose designs, colors, or patterns that reflect your unique style. Consider using stencils, decals, or tape to create intricate designs or even a two-tone effect. You can also experiment with metallic or matte finishes for a more professional and polished look. Always ensure your customization methods are compatible with the paint and clear coat you’ve applied to avoid damage. Once your design is complete, allow it to dry thoroughly before handling or reinstalling the wheels.
Step 9: Reinstalling the Wheels
Once your steel wheels are completely dry and customized to your satisfaction, it’s time to reinstall them onto your vehicle. Start by ensuring that the lug nuts, rotor, and other components are clean and free of dirt or debris. Carefully align the wheel and secure it in place using the lug nuts. Tighten the lug nuts in a crisscross pattern to ensure even pressure and prevent the wheel from being misaligned. Finally, a torque wrench is used to tighten the lug nuts to the manufacturer’s recommended torque specifications. This will ensure the wheel is safely and securely installed.
Step 10: Showcase Your Work
Now that your steel wheels are repainted, customized, and reinstalled, it’s time to showcase your hard work! Drive your vehicle confidently, knowing your wheels look as good as new—if not better. Take photos of your newly repainted wheels to document your project, and consider sharing your work online or with friends who might appreciate or benefit from your effort. With regular care and maintenance, your steel wheels will turn heads and remain durable for years.
By following these ten easy steps, you can transform your dull and worn-out steel wheels into a stunning and durable asset for your vehicle.
5 Things You Should Avoid
When repainting steel wheels, it’s essential to avoid inevitable mistakes that can compromise the final outcome. Here are five things you should avoid:
- Skipping Surface Preparation: Neglecting proper surface preparation, such as cleaning and sanding the wheels, can lead to poor paint adhesion and a less durable finish. Ensure that the wheels are thoroughly cleaned and prepped before applying any paint.
- Not Using Primer: Applying a primer is crucial for enhancing paint adhesion and providing a smooth base for the topcoat. Skipping this step may result in paint peeling or chipping over time.
- Ignoring Proper Ventilation: When repainting wheels, working in a well-ventilated area is essential to avoid inhaling harmful fumes. Failing to do so can pose health risks and affect the overall quality of the paint job.
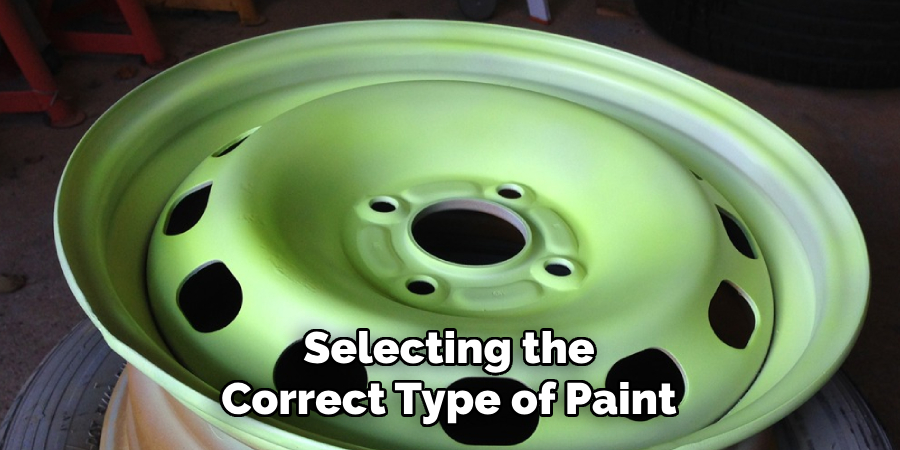
- Using the Wrong Type of Paint: Selecting the correct type of paint is vital for achieving a long-lasting and durable finish. Choose a paint specifically designed for automotive applications, as it will provide better adhesion and resistance to chipping and corrosion.
- Don’t Use Cheap Tools: Investing in high-quality painting tools, such as brushes and spray guns, can significantly affect the final outcome. Using cheap or worn-out
By avoiding these common mistakes, you can achieve a professional-looking repaint of your steel wheels that enhances their appearance and ensures durability and longevity.
Conclusion
Repainting steel wheels can be daunting, but by following the right steps and avoiding common mistakes, you can achieve a successful outcome.
Remember to thoroughly clean and prep the wheels, use a primer, work in a well-ventilated area, choose the right type of paint, and invest in good-quality tools. By doing so, you can ensure a long-lasting and professional-looking finish for your steel wheels.
Hopefully, the article on how to repaint steel wheels has provided valuable insights and tips that will help you in your next project. So go ahead and give it a try – who knows, you might just discover a new passion for wheel painting! Happy painting!
Edmund Sumlin is a skilled author for Metal Fixes, bringing 6 years of expertise in crafting a wide range of metal fixtures. With a strong background in metalwork, Edmund’s knowledge spans various types of fixtures, from decorative pieces to functional hardware, blending precision with creativity. His passion for metalworking and design has made him a trusted resource in the industry.
Professional Focus:
- Expert in Metal Fixtures : Edmund aesthetic specializes in creating durable and innovative metal fixtures, offering both appeal and functionality. His work reflects a deep understanding of metalworking techniques and materials.
- Sustainability Advocate : He is dedicated to using sustainable practices, ensuring that every fixture is crafted with eco-friendly methods while maintaining high-quality standards.
In his writing for Metal Fixes, Edmund provides valuable insights into the latest trends, techniques, and practical advice for those passionate about metal fixtures, whether they are professionals or DIY enthusiasts. His focus on combining artistry with engineering helps others discover the true potential of metal in design.