

Repairing a dent in a metal door might seem daunting, but it can be straightforward with the right tools and steps.
Metal doors are commonly used for their durability and strength but are not immune to damage. Dents can occur from various incidents, such as accidental impacts or natural wear and tear. If left unaddressed, a dent affects the door’s appearance and can interfere with its functionality. The process involves assessing the dent, gathering necessary tools, and carefully following techniques to restore the door to its original condition, enhancing both its aesthetic appeal and operational efficiency.
In this guide on how to repair a dent in a metal door, we’ll walk you through the steps to effectively repair a dent in your metal door, ensuring professional results with a DIY approach.
What Will You Need?
Before repairing a dent in your metal door, you must gather all the necessary tools and materials. Some of these tools are readily available at home, while others require a trip to the hardware store.
- Hammer
- Rubber Mallet
- Dolly or Block of Wood
- Sandpaper (60-grit and 120-grit)
- Body Filler or Auto-body Filler
- Spatula or Putty Knife
- Metal Primer
- Spray Paint (matching color)
Once you have all the tools and materials, you can start repairing the dent in your metal door.
10 Easy Steps on How to Repair a Dent in a Metal Door
Step 1: Assessing the Dent
The first and essential step in repairing your metal door is thoroughly assessing the dent. Begin by examining the size and depth of the dent, as these factors will determine the approach and tools you will require for an effective repair. A small and shallow dent may only require minimal intervention with a rubber mallet and some finishing touches.
In contrast, a more extensive, deeper dent might necessitate a more involved process with body filler and extensive sanding. Consider the location of the dent, as areas near edges or seams may demand extra care to avoid damaging the door’s structure or finish further. By carefully assessing the dent, you set the foundation for a successful repair, allowing you to choose the most appropriate method and ensure the dent is fully restored.
Step 2: Preparing the Surface
Once you have assessed the dent, the next step is to prepare the surface around it for repair. Start by thoroughly cleaning the area with a damp cloth to remove any dirt, dust, or residue that might interfere with the repair process. Working on a clean surface is crucial to ensure the materials adhere correctly. After cleaning, dry the area thoroughly with a clean, dry cloth. If the paint around the dent is chipped or cracked, gently sand it with 60-grit sandpaper to create a smooth surface for the filler application. Be cautious not to sand beyond the damaged area to avoid unnecessary scratches on the remaining paint.
Step 3: Gently Tap Out the Dent
With the surface prepared, use a rubber mallet and a dolly or block of wood to gently tap out the dent from the opposite side of the door, if accessible. Start at the edges of the dent and carefully work towards the center. This technique can reduce the size of the dent and make it easier to fill. Apply only gentle pressure to avoid creating additional marks or warping the metal panel. Tapping out the dent lightly will provide a better base for applying filler, resulting in a smoother and more stable repair. If the dent is not accessible from the other side, proceed to the following steps, as using filler can compensate for any remaining indentation.
Step 4: Applying the Body Filler
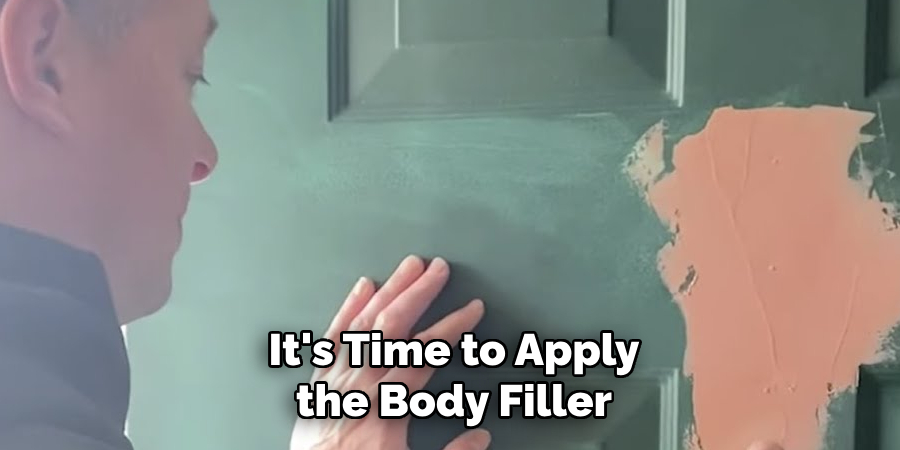
After reducing the dent’s size, it’s time to apply the body filler. Begin by mixing the body filler according to the manufacturer’s instructions. Using a spatula or putty knife, spread a thin layer of filler over the dent, ensuring it slightly overlaps the surrounding undamaged area. Build up the surface evenly to prevent any bumps or uneven patches. Work quickly but carefully, as the filler can set rapidly. Once applied, let the filler dry completely—this might take about 20 to 30 minutes, depending on the product.
Step 5: Sanding the Filler
Once the body filler has dried completely, the next step is to sand it down to create a smooth, even surface. Begin with 60-grit sandpaper to remove any large lumps or uneven areas. Sand in a circular motion, applying gentle pressure to ensure the surface blends seamlessly with the surrounding metal. After you’re satisfied with the initial sanding, switch to 120-grit sandpaper for finer sanding. This will help achieve a polished, professional finish. Be careful not to sand through to the metal, which could expose the door to rust if not adequately covered. Taking time to sand the filler smoothly is essential for the next steps in the repair process, ensuring an aesthetically pleasing and practical restoration.
Step 6: Cleaning the Sanded Area
After sanding, it’s essential to clean the area thoroughly to remove any dust or debris created during the sanding process. Use a clean, dry cloth to wipe down the sanded surface, ensuring that no particles remain that could interfere with the primer or paint adhesion. This step is crucial for achieving a smooth and even finish in the following stages. For better results, you may also use a vacuum or compressed air to ensure all dust is eliminated from the pores of the filler.
Step 7: Applying the Metal Primer
Once the sanded area is clean and free of dust, it’s time to apply the metal primer. The primer is essential as it creates a surface that allows the spray paint to adhere correctly while protecting the repaired area from rust and corrosion. Shake the primer thoroughly, then apply a thin, even coat over the repaired surface, covering both the filler and any exposed metal around it. Hold the can about 10-12 inches from the surface and use smooth, back-and-forth motions to avoid drips and runs. Allow the primer to dry completely, as per the manufacturer’s instructions, before moving on to the final painting stage.
Step 8: Applying the Paint
With the primer thoroughly dried, proceed to apply the spray paint to match the rest of the door’s color. Before starting, shake the spray paint can thoroughly to ensure an even mixing of the paint. Hold the can approximately 10-12 inches from the surface and apply the paint in smooth, sweeping motions. Use thin layers to prevent dripping, allowing each layer to dry completely before applying the next. Applying at least two to three coats of paint for complete coverage and a uniform finish is typically recommended. Once the final coat is applied, let the paint cure fully according to the manufacturer’s instructions.
Step 9: Finishing with a Clear Coat
After the paint has fully cured, the final step is to apply a clear coat to seal and protect the new paint job. This will also enhance the gloss and durability of the repair. Shake the clear coat spray can thoroughly and hold it about 10-12 inches from the surface. Apply a thin, even layer using smooth, sweeping motions. Allow the first layer to dry before applying a second coat if necessary. Multiple coats are often recommended to provide additional protection and ensure a high-quality finish. Your door repair is complete once the clear coat has dried entirely according to the manufacturer’s instructions!
Step 10: Buffing and Polishing the Surface
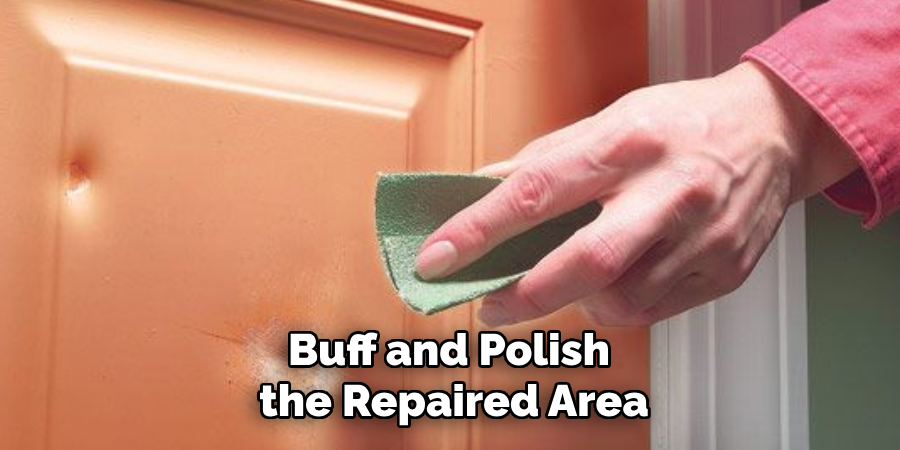
After the clear coat has dried completely, the final touch is to buff and polish the repaired area to blend seamlessly with the rest of the door. Use a soft, clean cloth or a polishing pad attached to a buffer to buff the surface in circular motions gently. This step helps remove minor imperfections and enhances the shine of the newly painted area. Take care to apply even pressure to avoid creating any new scratches. Use a high-quality automotive polish to achieve a professional finish for best results. Once finished, stand back and admire your work, as the once-damaged door boasts a smooth and lustrous appearance.
By following these steps and taking your time with each stage, you can successfully repair a dent in a metal door yourself.
Conclusion
How to repair a dent in a metal door is a meticulous process that, when done correctly, can restore the door’s original appearance and functionality.
By carefully following each step—from initial assessment and dent tapping through the application of filler and sanding to the final stages of priming, painting, and polishing—homeowners can achieve a professional-quality repair without costly replacements. Patience and attention to detail are essential, ensuring that each layer is applied smoothly and allowed to dry thoroughly for the best results. Ultimately, this DIY repair enhances the door’s aesthetic appeal and protects it against future damage and corrosion.
A seemingly daunting task can be accomplished with a bit of effort and suitable materials, leaving you satisfied with both the process and the outcome.
Edmund Sumlin is a skilled author for Metal Fixes, bringing 6 years of expertise in crafting a wide range of metal fixtures. With a strong background in metalwork, Edmund’s knowledge spans various types of fixtures, from decorative pieces to functional hardware, blending precision with creativity. His passion for metalworking and design has made him a trusted resource in the industry.
Professional Focus:
- Expert in Metal Fixtures : Edmund aesthetic specializes in creating durable and innovative metal fixtures, offering both appeal and functionality. His work reflects a deep understanding of metalworking techniques and materials.
- Sustainability Advocate : He is dedicated to using sustainable practices, ensuring that every fixture is crafted with eco-friendly methods while maintaining high-quality standards.
In his writing for Metal Fixes, Edmund provides valuable insights into the latest trends, techniques, and practical advice for those passionate about metal fixtures, whether they are professionals or DIY enthusiasts. His focus on combining artistry with engineering helps others discover the true potential of metal in design.