

Repairing a copper AC line is crucial for restoring cooling efficiency and preventing further damage to your air conditioning system.
Copper AC lines, which carry refrigerant throughout the unit, can develop leaks due to corrosion, physical damage, or poor installation. Addressing these leaks promptly ensures optimal performance and extends the lifespan of your AC unit. This guide explores effective methods and steps for how to repair copper ac line, whether they involve minor leaks or more significant issues.
From identifying the leak and shutting off the system to choosing the right repair technique—such as soldering, brazing, or using compression fittings—we’ll cover practical solutions to restore the integrity of your AC line.
By mastering these repair techniques and understanding the importance of regular maintenance, you can keep your home cool and comfortable while avoiding costly repairs down the road.
Common Causes of AC Line Damage
Copper AC lines are susceptible to various types of damage, often stemming from a range of common causes.
One prevalent cause is corrosion, which occurs when the copper reacts with environmental elements such as moisture and chemicals, gradually weakening the material. Physical damage can also be a significant factor; this includes incidents like accidental punctures during home renovations or contact with sharp objects.
Furthermore, vibration and stress over time can lead to cracks and fractures in the lines, particularly in older systems. Poor installation practices, such as improper sealing or inadequate support, can also contribute to early wear and tear.
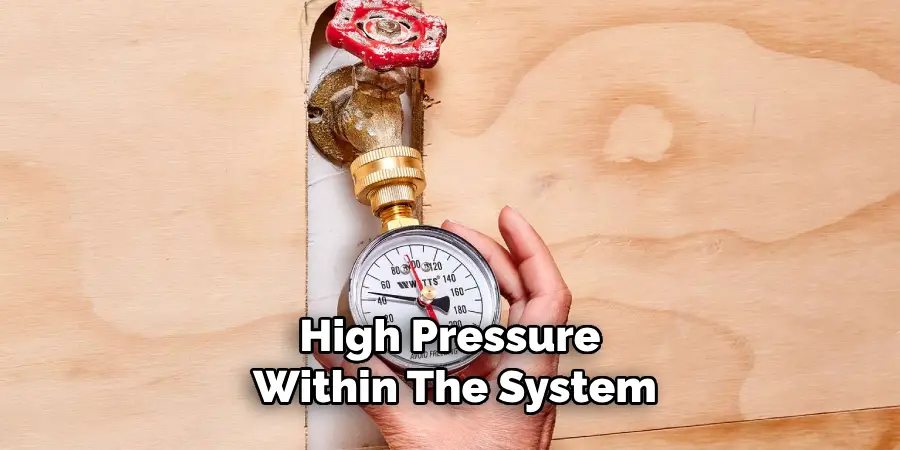
Lastly, high pressure within the system, often due to blockages or system malfunctions, can put undue strain on the AC lines, leading to leaks and breaks. Understanding these common causes can help in taking preventive measures and ensuring the longevity of your AC system.
10 Methods How to Repair Copper Ac Line
1. Identifying and Isolating the Leak
The first step in repairing a copper AC line is identifying and isolating the leak. Turn off the AC unit and disconnect the power supply to ensure safety. Use a leak detector or apply a soapy water solution to the suspected area. Bubbles forming will indicate the leak location.
Mark the spot with a marker. Once identified, isolate the affected section by cutting off the power supply to the AC unit and safely discharging any remaining refrigerant. Properly identifying and isolating the leak is crucial to ensure the repair is targeted and effective.
2. Using a Compression Fitting
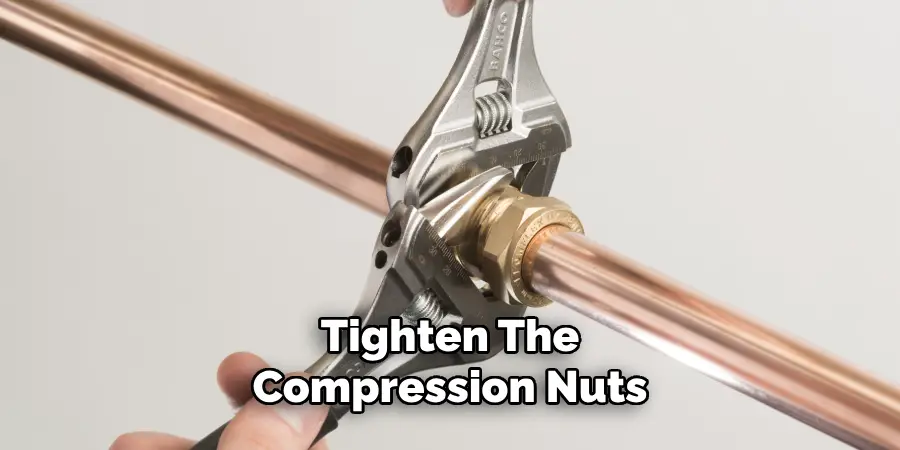
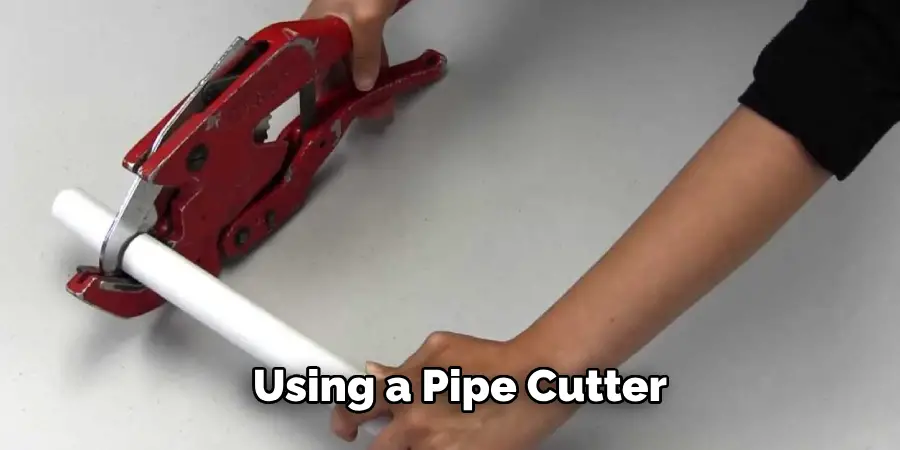
Compression fittings are a reliable method for repairing small leaks in copper AC lines. Begin by cutting out the damaged section of the copper line using a pipe cutter. Make sure the cuts are clean and straight. Slide the compression nut and ring onto the pipe ends.
Insert the replacement piece of copper pipe and tighten the compression nuts using two wrenches, ensuring a snug fit. Compression fittings provide a quick and efficient solution for small leaks without the need for soldering or specialized tools.
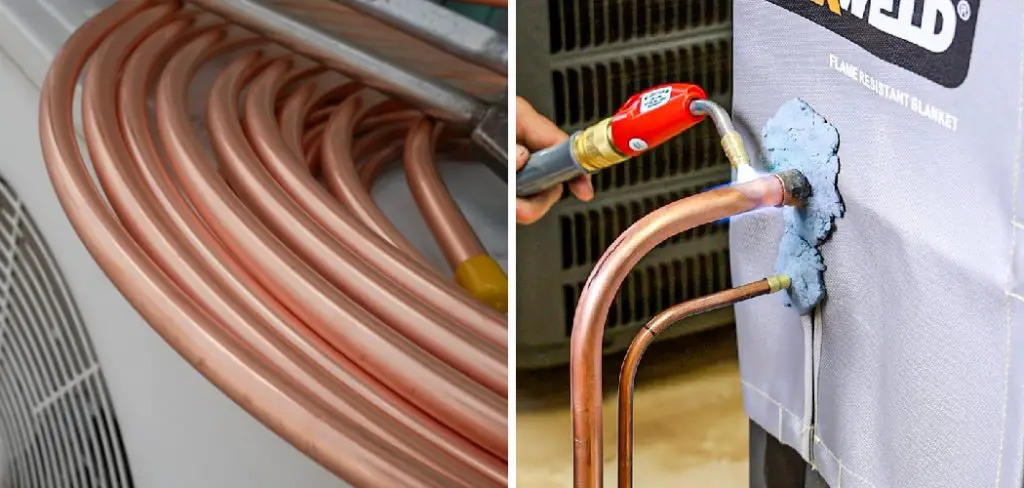
3. Soldering the Leak
Soldering is a traditional and effective method for repairing copper AC lines. First, clean the damaged area with emery cloth to remove any oxidation.
Apply flux to the cleaned area to prevent further oxidation and improve the bond. Heat the area with a propane torch until the flux bubbles, then apply solder until it melts and flows into the joint, sealing the leak.
Allow the area to cool naturally. Soldering provides a durable and permanent repair for copper lines but requires careful handling of the torch and materials to avoid additional damage.
4. Using a Pipe Repair Clamp
A pipe repair clamp is a quick and straightforward solution for sealing leaks in copper AC lines. Select a clamp that matches the diameter of the copper pipe. Open the clamp and place it over the leak, ensuring the rubber gasket inside the clamp covers the damaged area.
Tighten the screws on the clamp evenly until it is secure. The rubber gasket compresses against the pipe, sealing the leak. This method is ideal for temporary repairs or situations where more permanent fixes are not immediately possible.
5. Replacing the Damaged Section
For severe damage, replacing the affected section of the copper AC line is often the best solution. Cut out the damaged section using a pipe cutter. Clean and deburr the ends of the remaining pipe.
Measure and cut a new section of copper pipe to fit the gap. Join the new section using either compression fittings or soldering, ensuring a secure and leak-free connection. Replacing the damaged section ensures the integrity of the AC line and restores the system’s functionality.
6. Using Epoxy Putty
Epoxy putty can be used for quick and temporary repairs on copper AC lines. Mix the epoxy putty according to the manufacturer’s instructions until it reaches a uniform color. Apply the putty over the leak, pressing it firmly into place and smoothing it out to cover the entire area.
Allow the putty to cure as per the instructions. Once hardened, the epoxy putty forms a durable seal over the leak. This method is useful for temporary repairs or in situations where immediate replacement is not feasible.
7. Applying a Refrigerant Sealant
Refrigerant sealants can be used as an internal repair method for minor leaks. Add the sealant to the AC system following the manufacturer’s instructions. The sealant circulates with the refrigerant and reacts with moisture at the leak site, forming a seal.
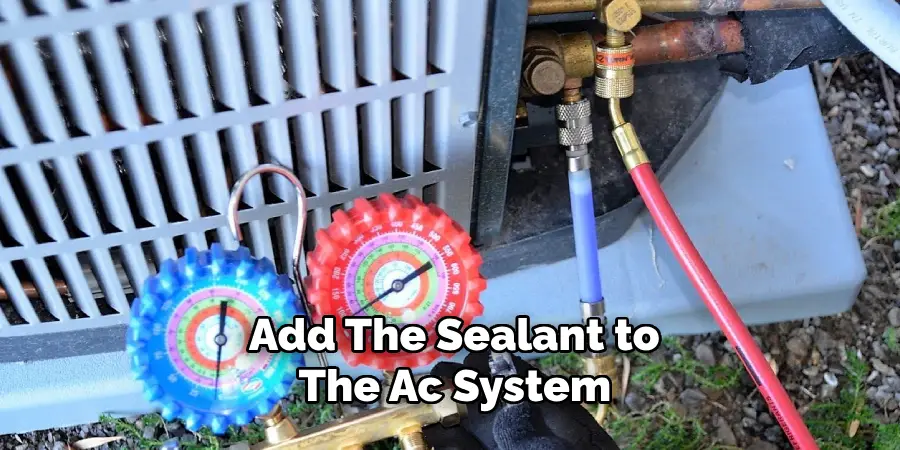
This method is effective for small, hard-to-reach leaks and can extend the life of the AC unit without the need for extensive disassembly. However, it is essential to use the correct type of sealant compatible with the AC system.
8. Using a Heat Shrink Sleeve
Heat shrink sleeves can provide a quick and effective repair for small leaks in copper AC lines. Select a heat shrink sleeve that fits snugly over the damaged area. Slide the sleeve over the leak and use a heat gun to shrink the sleeve in place.
The heat causes the sleeve to contract and form a tight seal around the pipe. This method is easy to apply and provides a durable, waterproof seal. Heat shrink sleeves are ideal for temporary repairs and can be used in conjunction with other methods for added security.
9. Installing a Copper Coupling
Copper couplings are useful for repairing breaks or cracks in copper AC lines. Cut out the damaged section of the pipe using a pipe cutter.
Clean and deburr the ends of the remaining pipe. Slide the coupling over one end of the pipe and then align the other end with the remaining section. Push the coupling into place until it covers the gap.
Secure the coupling with solder or compression fittings to ensure a leak-free connection. This method restores the integrity of the pipe and is suitable for both temporary and permanent repairs.
10. Consulting a Professional Technician
If the leak is severe or the repair methods seem challenging, consulting a professional technician is advisable. A licensed HVAC technician has the expertise and tools to diagnose and repair leaks in copper AC lines effectively.
They can assess the damage, recommend the best repair method, and ensure the system is restored to optimal functionality. Professional repairs may also come with warranties, providing peace of mind and ensuring the longevity of the AC unit.
Things to Consider When Repairing Copper AC Lines
Repairing copper AC lines requires careful consideration of several factors to ensure a successful and lasting fix. Here are some critical points to keep in mind:
- Identify the Cause of the Leak: Understanding what caused the leak in the first place can help prevent future issues. Common causes include corrosion, physical damage, and faulty connections.
- Safety Precautions: Always prioritize safety. Wear protective gear such as gloves and safety goggles, and ensure you are working in a well-ventilated area, especially when using chemicals or a propane torch.
- Type of Repair Needed: Assess the severity of the leak to determine the most appropriate repair method. Minor leaks can often be fixed using methods like epoxy putty or compression fittings, while more severe damage might require soldering or replacing sections of the pipe.
- Tool Availability: Make sure you have the necessary tools and materials on hand before beginning any repairs. This can include pipe cutters, wrenches, a propane torch, solder, flux, and protective gear.
- Pipe Compatibility: Ensure the materials used for the repair are compatible with the existing copper pipe. Incompatible materials can lead to further leaks or corrosion.
- System Shutdown: Turn off the AC system and release any refrigerant pressure before starting repairs. This is crucial for both your safety and the integrity of the system.
Conclusion
Repairing a copper AC line requires careful attention to detail and the right tools and materials. From identifying and isolating the leak to employing various repair methods like soldering, using compression fittings, or applying epoxy putty, each method has its advantages and specific applications.
Temporary solutions like pipe repair clamps or heat shrink sleeves can provide quick fixes, while more permanent repairs may involve replacing damaged sections or consulting a professional technician. Thanks for reading, and we hope this has given you some inspiration on how to repair copper ac line!
Edmund Sumlin is a skilled author for Metal Fixes, bringing 6 years of expertise in crafting a wide range of metal fixtures. With a strong background in metalwork, Edmund’s knowledge spans various types of fixtures, from decorative pieces to functional hardware, blending precision with creativity. His passion for metalworking and design has made him a trusted resource in the industry.
Professional Focus:
- Expert in Metal Fixtures : Edmund aesthetic specializes in creating durable and innovative metal fixtures, offering both appeal and functionality. His work reflects a deep understanding of metalworking techniques and materials.
- Sustainability Advocate : He is dedicated to using sustainable practices, ensuring that every fixture is crafted with eco-friendly methods while maintaining high-quality standards.
In his writing for Metal Fixes, Edmund provides valuable insights into the latest trends, techniques, and practical advice for those passionate about metal fixtures, whether they are professionals or DIY enthusiasts. His focus on combining artistry with engineering helps others discover the true potential of metal in design.