

Stainless steel is renowned for its resistance to rust, thanks to the protective chromium oxide layer that forms on its surface. However, there are times when a weathered or rustic look is desired for aesthetic purposes, architectural designs, or artistic projects.
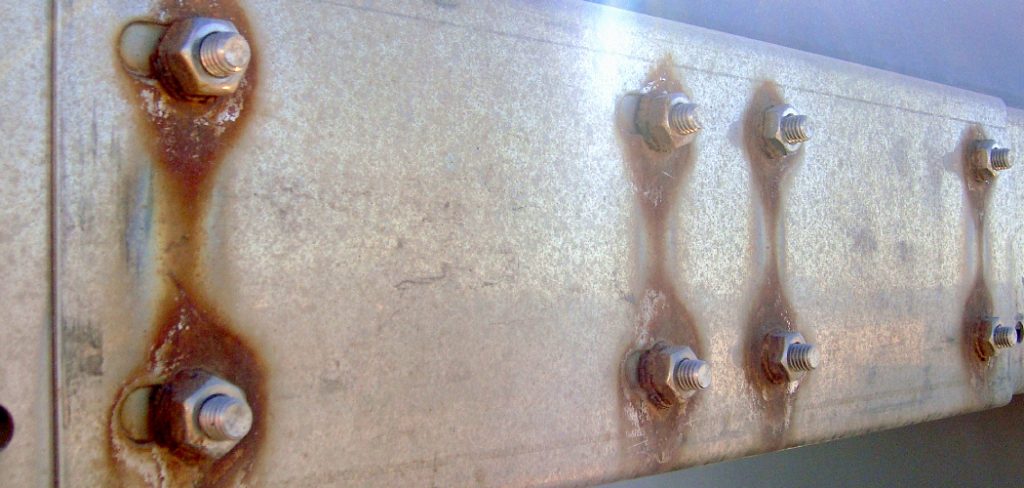
Achieving this effect requires carefully controlled techniques to break down this protective layer and induce a rusted appearance. Whether you’re looking to give stainless steel an antiqued finish or simply want to experiment with different textural effects, it’s important to follow a methodical process to ensure both the safety and success of your project.
This guide on how to rust stainless steel will take you through the necessary steps and considerations to effectively rust stainless steel.
Why Rust Stainless Steel?
Before diving into the process of rusting stainless steel, it’s important to understand why someone would want to do it in the first place. As mentioned earlier, for some projects or designs, a weathered or aged look is desired.
This can add character and uniqueness to an otherwise modern material. Additionally, rusted stainless steel can provide a more affordable option compared to using actual rust-prone metals such as iron or copper.
Safety First
It’s crucial to prioritize safety when working with stainless steel. The process of inducing rust involves using corrosive materials that can be harmful if not handled properly. Make sure to wear protective gear such as gloves, goggles, and a respirator to avoid any accidents or inhalation of fumes.
Additionally, work in a well-ventilated area and dispose of any used materials properly according to local regulations.
8 Simple Steps on How to Rust Stainless Steel
Step 1: Clean the Stainless Steel Surface
Begin by thoroughly cleaning the stainless steel surface to remove any dirt, grease, or debris. This is an essential first step as it ensures that the rusting process occurs evenly and effectively. Use a mild soap or detergent along with a soft cloth or sponge to gently scrub the surface.
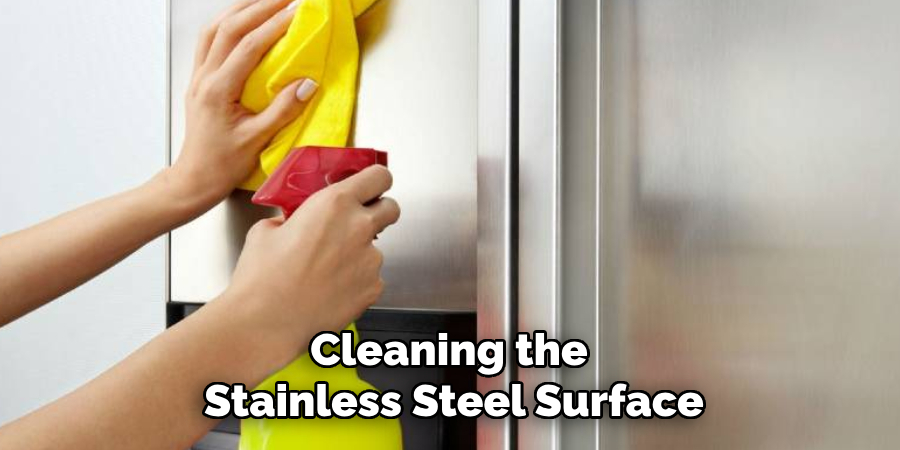
Rinse the stainless steel thoroughly with clean water and dry it completely with a lint-free cloth to prevent any streaks or residue. By starting with a clean surface, you’ll create an ideal base for the subsequent rusting process steps.
Step 2: Prepare the Metal Rusting Solution
The key to rusting stainless steel effectively is using a solution that contains an acidic component. This helps break down the protective chromium oxide layer and allows rust to form on the surface. There are many different solutions you can use such as vinegar, hydrochloric acid, or muriatic acid.
It’s important to follow safety precautions when handling these substances and carefully read the instructions before use.
Step 3: Apply the Solution to the Stainless Steel Surface
Using a brush or spray bottle, apply the metal rusting solution onto the clean stainless steel surface. Ensure that it covers the entire area evenly for uniform results. You can also use a sponge or rag to spread the solution if necessary.
Note that the more coats you apply, the darker and deeper the rust color will be.
Step 4: Allow Time for Rusting
After applying the rusting solution, let it sit on the stainless steel surface for at least 24 hours. This allows enough time for the chemical reaction to occur and for rust to form. Keep an eye on the metal during this time and monitor its progress.
But be patient, as the process can take up to a week, depending on the solution used and the desired level of rusting.
Step 5: Rinse Off Excess Solution
Once you’re satisfied with the level of rust on your stainless steel surface, rinse it off thoroughly with water. This will stop the rusting process from continuing and also remove any excess solution that may cause further corrosion if left on for too long.
The solution can also be neutralized by using a baking soda and water mixture.
Step 6: Dry the Surface
After rinsing off the excess solution, it’s important to dry the stainless steel surface thoroughly to prevent any unwanted further rusting. Use a clean, lint-free cloth to gently pat the surface dry, ensuring that there are no wet spots left.
You can also use a hairdryer or place the metal in a well-ventilated area to speed up the drying process. By ensuring the surface is completely dry, you’ll preserve the desired level of rusting and halt the corrosion process from progressing unintentionally.

Step 7: Seal the Rust
To achieve a more permanent rusted look and to prevent any further corrosion, you can seal the rust by using a clear acrylic sealer. This will also protect the surface from any environmental factors such as moisture or sunlight that may affect the level of rusting over time.
Be sure to follow the instructions on the sealer and apply it evenly on the entire surface for best results.
Step 8: Enhance with Sandpaper
To add texture and further enhance the rustic appearance of your stainless steel, gently sand the surface using fine-grit sandpaper. This step will help create a more aged and worn look by smoothing out any excessively rough areas caused by rust and adding subtle variations in texture. Start by lightly sanding along the grain of the metal, applying even pressure throughout the process. Make sure to work slowly and carefully to avoid removing too much rust.
Once you’ve achieved the desired appearance, wipe away any dust or residue with a clean, dry cloth. This finishing touch adds dimension to the rusted effect and complements the overall aesthetic of the project.
Do You Need to Get Help From Professionals?
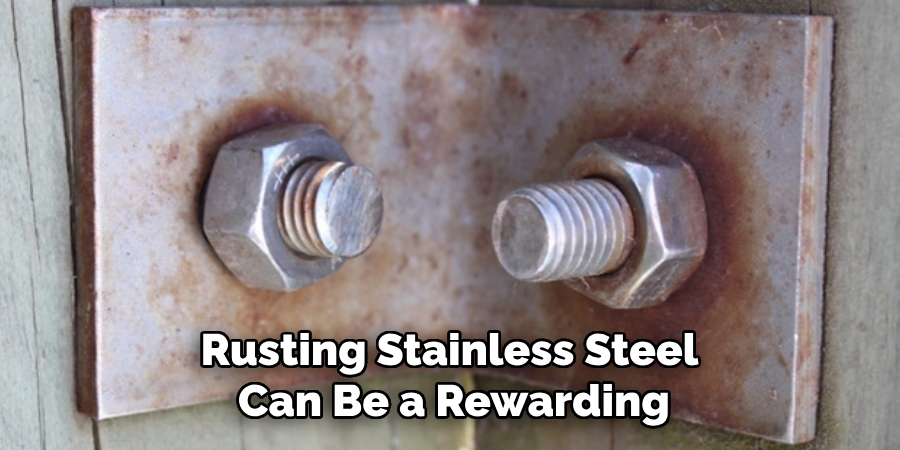
While rusting stainless steel can be a rewarding DIY project, it’s important to assess whether you should seek professional assistance. Factors such as the scale of your project, your familiarity with handling corrosive materials, and your ability to comply with safety protocols play a crucial role in this decision. If you’re working on a large project or if the intended use of the rusted material demands a consistent and high-quality finish, consulting with professionals might be beneficial. They bring expertise in achieving specific aesthetic outcomes while ensuring safety and environmental compliance.
Moreover, professionals may offer insights into modern techniques or alternative materials that could achieve similar results with less risk. Ultimately, determining whether to engage professionals will depend on the specifics of your project and your comfort level with the rusting process.
Frequently Asked Questions
Q: Is It Possible to Rust Stainless Steel Without Using Chemicals?
A: Yes, there are alternative methods such as exposing the metal to saltwater and oxygen for an extended period of time. However, these methods may take longer to achieve the desired level of rusting and may not be as effective.
Q: Can I Control the Shade of Rust on My Stainless Steel?
A: Yes, by adjusting the number of coats and the type of rusting solution used, you can achieve a lighter or darker shade of rust. Experiment with different techniques to find the one that gives you the desired result.
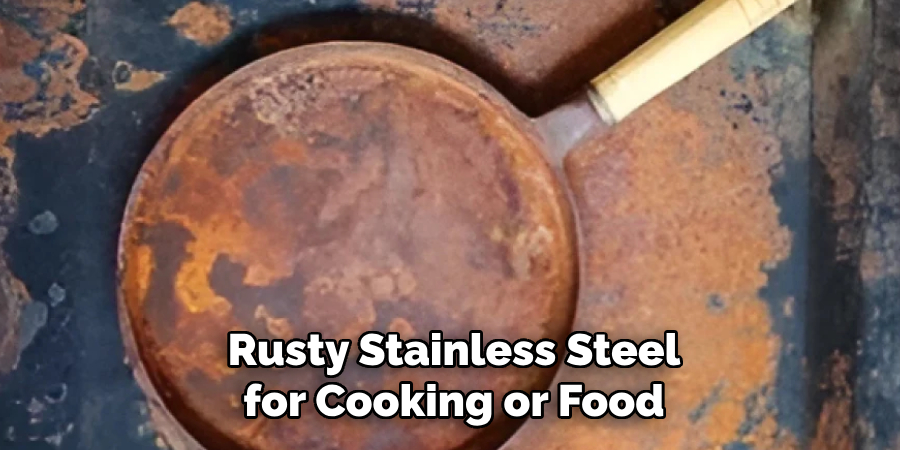
Q: Is It Safe to Use Rusty Stainless Steel for Cooking or Food Prep?
A: No, it’s not recommended to use rusty stainless steel for cooking or food prep as the rust can potentially contaminate your food. It’s best to reserve these pieces for decorative or non-food related purposes.
Q: How Can I Maintain the Rusted Finish on My Stainless Steel?
A: To maintain the rusted finish, regularly clean the surface with a mild soap and water solution. Avoid using abrasive cleaners or materials that can damage the sealant and cause further rusting. If necessary, you can also reapply a clear acrylic sealer to protect against environmental factors. Additionally, avoid leaving the metal in damp or humid conditions for extended periods of time as this can accelerate corrosion.
Q: How Can I Incorporate Rusted Stainless Steel Into My Home Decor?
A: Rusty stainless steel can add a unique and rustic touch to any home decor. Consider incorporating it into pieces such as accent tables, light fixtures, or wall art. You can also use it in outdoor spaces as garden sculptures or patina-ed planters. The possibilities are endless – get creative and have fun with it! So go ahead and try out this rusting technique on your next DIY project for a one-of-a-kind finish that adds character and charm to any space. Just remember to prioritize safety and follow the necessary precautions, and you’ll be on your way to achieving a beautiful rusted look on stainless steel. Happy creating!
Conclusion
Rusting stainless steel might seem like a daunting task, but by following the outlined steps, you can effectively achieve a unique and rustic look for your project. The key lies in preparing the surface properly, safely applying the appropriate rusting solution, and taking the necessary measures to ensure a durable finish. Remember to exercise caution and always prioritize safety, especially when handling chemical solutions.
Whether you’re transforming an everyday item for decorative purposes or aiming for a specific aesthetic in your design, this guide on how to rust stainless steel offers a structured approach to mastering the art of rusting stainless steel. With patience and attention to detail, you can create stunning pieces that exude character and a vintage appeal.
Edmund Sumlin is a skilled author for Metal Fixes, bringing 6 years of expertise in crafting a wide range of metal fixtures. With a strong background in metalwork, Edmund’s knowledge spans various types of fixtures, from decorative pieces to functional hardware, blending precision with creativity. His passion for metalworking and design has made him a trusted resource in the industry.
Professional Focus:
- Expert in Metal Fixtures : Edmund aesthetic specializes in creating durable and innovative metal fixtures, offering both appeal and functionality. His work reflects a deep understanding of metalworking techniques and materials.
- Sustainability Advocate : He is dedicated to using sustainable practices, ensuring that every fixture is crafted with eco-friendly methods while maintaining high-quality standards.
In his writing for Metal Fixes, Edmund provides valuable insights into the latest trends, techniques, and practical advice for those passionate about metal fixtures, whether they are professionals or DIY enthusiasts. His focus on combining artistry with engineering helps others discover the true potential of metal in design.