

Sanding stainless steel can be a precise and rewarding process when done correctly. Whether you’re looking to remove scratches, prepare the surface for polishing, or achieve a smooth finish, understanding the proper techniques and tools is essential.

This guide on how to sand stainless steel will provide step-by-step instructions to help you achieve professional results while preserving the integrity of the stainless steel surface.
Why Sand Stainless Steel?
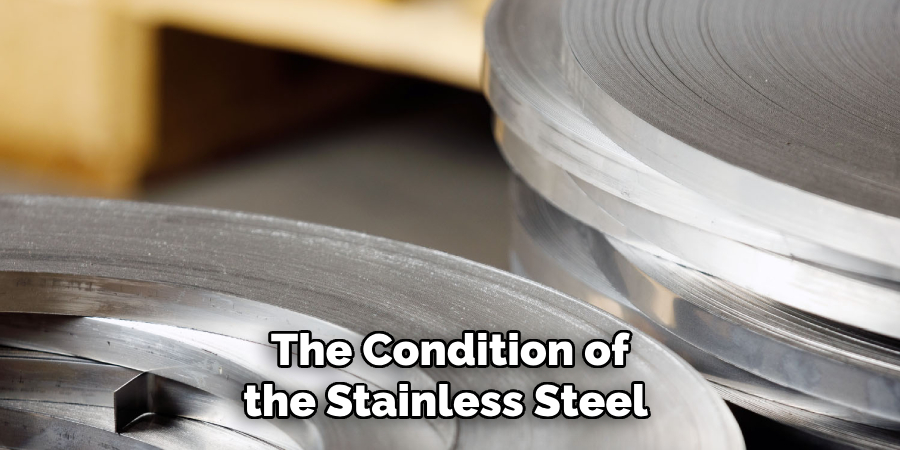
Before diving into the steps of sanding stainless steel, it’s important to understand why it’s necessary. Stainless steel is known for its durability and corrosion resistance, making it a common choice for a variety of applications such as kitchen appliances, medical equipment, and construction materials. However, over time, stainless steel can become scratched or dull due to daily wear and tear or exposure to harsh chemicals. Sanding helps to remove these imperfections and restore the surface to its original shine.
But why not just use a cleaner or polish? While these may temporarily improve the appearance of stainless steel, they don’t address deeper scratches or imperfections. Sanding can also be used as a preparation step before polishing, ensuring that the surface is smooth and free of any debris.
Safety First
Before starting any sanding project, it’s crucial to prioritize safety. Working with stainless steel can produce fine metal particles, which may be hazardous if inhaled or come into contact with your skin or eyes. To protect yourself, always wear safety goggles to shield your eyes and a dust mask or respirator to avoid breathing in metal dust. Additionally, wearing gloves can prevent cuts or abrasions and provide a better grip on tools.
Make sure you work in a well-ventilated area to reduce the concentration of airborne particles and keep your workspace clear of clutter to avoid accidents. If you’re using power tools, ensure that they are in good working condition and read the manufacturer’s instructions carefully to minimize risks. By taking these precautions, you can ensure a safe and successful sanding process.
Tools and Materials You’ll Need
To sand stainless steel effectively, you’ll need the right tools and materials. Here are some of the essentials:
Sandpaper:
Choose a high-quality sandpaper with a grit suitable for your project. For light scratches or surface imperfections, start with a finer grit (around 220). For deeper scratches or more significant imperfections, use a coarser grit (around 120) and gradually work your way up to a finer grit.
Sanding block or electric sander:
A sanding block provides manual control and is ideal for smaller areas. An electric sander can save time and effort, but be aware of its power and use it carefully to avoid over-sanding.
Polishing compound:
If you’re looking to achieve a shiny finish after sanding, a polishing compound can help bring out the luster of stainless steel. Make sure to choose one specifically designed for stainless steel surfaces.
8 Step-by-step Guides on How to Sand Stainless Steel
Step 1: Prepare the Surface
Before beginning the sanding process, it is essential to prepare the stainless steel surface properly. Start by cleaning the surface thoroughly to remove any dirt, grease, or residue that could interfere with sanding.
Use a soft cloth or sponge with a mild soap or stainless steel cleaner, and ensure the surface is completely dry before proceeding. Inspect the stainless steel to identify areas with scratches, dents, or imperfections that require attention. This preparation step ensures a clean canvas for sanding, enabling you to achieve a uniform finish while avoiding contamination or uneven sanding.
Step 2: Choose the Right Grit and Sandpaper
As mentioned earlier, the grit of the sandpaper you choose will depend on the severity of scratches or imperfections. Start with a finer grit (around 220) for light scratches and gradually work your way up to coarser grits (around 120) for deeper scratches. You can also use different types of sandpaper, such as wet/dry sandpaper, depending on your preference.
Fold the sandpaper into a smaller size to fit comfortably in your hand or attach it to a sanding block if using one. Make sure it is secured firmly for efficient sanding.
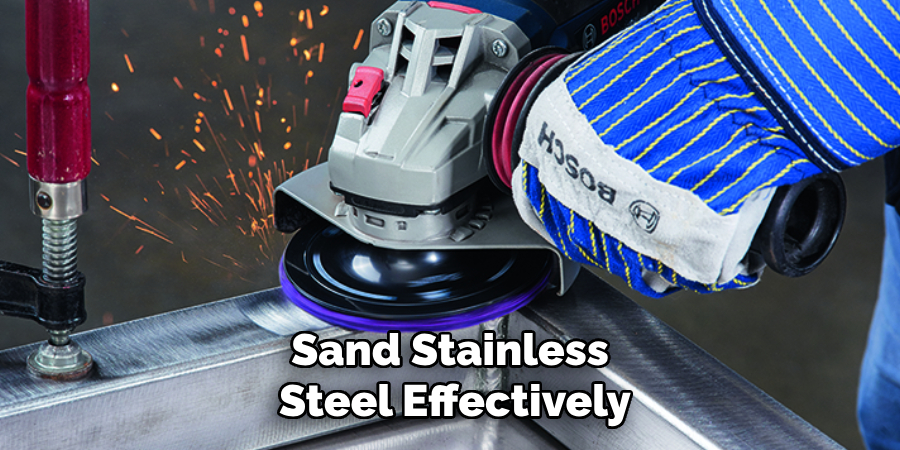
Step 3: Begin Sanding
Hold the sandpaper or sanding block firmly and apply light pressure while moving it in a straight back-and-forth motion along the grain of the stainless steel. Avoid using circular motions, as this can create uneven scratches on the surface. If you’re using an electric sander, be careful not to over-sand one area as it can remove more material than intended.
Continue sanding until you’ve covered the entire surface and have achieved your desired level of smoothness. Remember to change grits gradually for a consistent finish.
Step 4: Inspect and Repeat
After completing the initial round of sanding, carefully inspect the stainless steel surface under good lighting. Look for any remaining scratches, uneven spots, or areas that require further attention. Running your hand gently over the surface can also help to identify any rough patches or imperfections.
If you notice areas that still need improvement, repeat the sanding process with the appropriate grit of sandpaper. Start with the same grit you were using and then gradually move to finer grits for a smoother finish. This step may need to be repeated multiple times, depending on the condition of the stainless steel and your desired results. Taking the time to inspect and repeat ensures that the end result is as flawless and polished as possible.
Step 5: Clean the Surface
Once you’ve achieved your desired level of smoothness and removed all visible scratches, clean the surface again to remove any metal dust or debris. Use a microfiber cloth or a soft towel with stainless steel cleaner to wipe away any remaining particles. This step helps to ensure that the surface is free of dust and ready for polishing.
It’s crucial to remove all metal dust before polishing, as it can scratch the surface if not removed properly.
Step 6: Apply Polishing Compound
If you want to achieve a polished finish, apply a small amount of polishing compound on a clean cloth and rub it onto the stainless steel in circular motions. Make sure to cover the entire surface evenly and reapply more compound if needed.
Note: If you’re working with a large area, use an electric polishing tool to cover the surface more efficiently.
Step 7: Clean and Inspect Again
After applying the polishing compound, clean the surface again with a soft cloth or towel. This step removes any excess compound and helps to reveal the final finish of your stainless steel.
Inspect the surface under good lighting once more to ensure that all scratches have been removed, and you’re satisfied with the overall smoothness and polish achieved. If needed, repeat steps 6 and 7 until you achieve your desired results.
Step 8: Apply Protective Coating (Optional)
If you want to maintain the polished finish for a longer time, consider applying a protective coating to the stainless steel surface. This step is optional but can help prevent scratches and maintain the shine of your stainless steel. There are various types of protective coatings available, so make sure to choose one suitable for your specific application.
Congratulations! You now have a smooth, polished stainless steel surface ready to be admired and enjoyed. Remember to always take your time and follow these steps on how to sand stainless steel carefully for the best results. Happy sanding!
Tips for Sanding Stainless Steel
- Use a sharp sandpaper for more effective sanding.
- Keep the surface wet while sanding if using wet/dry sandpaper.
- Avoid pressing too hard as it can create uneven scratches.
- Always inspect and clean the surface before and after sanding.
- Take breaks to avoid over-sanding one area.
- Use protective gear, such as gloves and goggles, when sanding to protect yourself from metal dust.

Frequently Asked Questions
Q: Can I Use an Electric Sander for Sanding Stainless Steel?
A: Yes, but be cautious not to over-sand one area as it can remove more material than intended. It’s also important to regularly inspect the surface for any remaining scratches or imperfections.
Q: Can I Sand Stainless Steel by Hand?
A: Yes, but it may take longer and require more effort compared to using an electric sander. Make sure to use a sanding block and start with lighter grit before moving on to coarser ones.
Q: Is There a Difference Between Wet/Dry Sandpaper and Regular Sandpaper?
A: Wet/dry sandpaper can be used either wet or dry, while regular sandpaper should only be used dry. Wet/dry sandpaper is often preferred for stainless steel as it helps to keep the surface cool and prevent overheating.
Q: Can I Use Sandpaper to Remove Deep Scratches on Stainless Steel?
A: Yes, but it may take multiple rounds of sanding with coarser grits to completely remove deep scratches. Remember to start with lighter grits and gradually move to coarser ones for a smooth finish.

Conclusion
Sanding stainless steel may seem like a daunting task, but with the right techniques, tools, and patience, you can achieve smooth and polished results. Remember to take your time and follow these step-by-step guides on how to sand stainless steel carefully for the best possible outcome.
With proper maintenance and care, your stainless steel surfaces will continue to shine for years to come. So next time you notice scratches on you.
Edmund Sumlin is a skilled author for Metal Fixes, bringing 6 years of expertise in crafting a wide range of metal fixtures. With a strong background in metalwork, Edmund’s knowledge spans various types of fixtures, from decorative pieces to functional hardware, blending precision with creativity. His passion for metalworking and design has made him a trusted resource in the industry.
Professional Focus:
- Expert in Metal Fixtures : Edmund aesthetic specializes in creating durable and innovative metal fixtures, offering both appeal and functionality. His work reflects a deep understanding of metalworking techniques and materials.
- Sustainability Advocate : He is dedicated to using sustainable practices, ensuring that every fixture is crafted with eco-friendly methods while maintaining high-quality standards.
In his writing for Metal Fixes, Edmund provides valuable insights into the latest trends, techniques, and practical advice for those passionate about metal fixtures, whether they are professionals or DIY enthusiasts. His focus on combining artistry with engineering helps others discover the true potential of metal in design.