

When it comes to mobile homes, incorporating metal pipes is essential for various applications such as plumbing, venting, and structural support. Understanding the proper installation techniques is crucial to ensure functionality and long-term durability. In this guide, we will explore the process of how to set metal pipe on mobile home, addressing the unique challenges posed by these structures.

From navigating limited space to accommodating structural flexibility, we will provide insights and practical tips for a successful installation. Whether you are undertaking a plumbing project or reinforcing the structure, securing metal pipes correctly is vital for the safety and functionality of your mobile home. Let’s dive into the details of this comprehensive guide on how to set metal pipes on a mobile home.
Tools and Materials Needed
Before starting the pipe installation process on your mobile home, gather the necessary tools and materials to ensure a smooth and efficient installation. Here are the essential tools and materials you’ll need:
Tools
- Pipe wrench: Used for tightening and loosening pipe connections.
- Hacksaw or pipe cutter: Necessary for cutting the metal pipes to the required lengths.
- Measuring tape: Essential for precise measurements during pipe layout and cutting.
- Drill: Required for making holes in the mobile home structure for pipe installation.
- Level and marking tools: Ensures accurate alignment and positioning of the pipes.
Materials
- Metal pipes: Based on the specific application and requirements, select the appropriate type of metal pipe (galvanized, steel, or aluminum).
- Pipe fittings: Include elbows, couplings, and brackets to connect and support the pipes as needed.
- Sealant: Use sealant to create watertight connections between pipes and fittings.
- Screws and mounting hardware: Required for securely fastening the pipes and fittings to the mobile home structure.
Having these tools and materials readily available will enable you to proceed with confidence during the pipe installation process on your mobile home.
Preparing the Mobile Home for Pipe Installation
Before starting the pipe installation process on your mobile home, it is essential to adequately prepare the area to ensure a smooth and safe procedure. This involves assessing the layout and clearing the work area.
Assessing the Layout
- Begin by identifying the purpose of the pipe, whether it is for plumbing, venting, or support. Understanding the intended function will guide the routing and placement decisions.
- Plan the pipe’s route carefully, considering any obstacles such as electrical wiring, HVAC ducts, or structural components. Avoiding these obstacles is vital for maintaining the integrity of the mobile home’s infrastructure.
Clearing the Work Area
- Before starting the installation, clear the work area of any furniture, panels, or other obstructions that may impede access. This will provide ample space for maneuvering and ensure efficiency during installation.
- Prioritize safety by turning off the water supply, power, or any utilities associated with the area where the installation will take place. This precautionary measure will prevent accidents and potential damage to existing systems.
Measuring and Cutting the Pipe
Accurate measurements and precise cuts are essential for successfully installing a metal pipe. Here’s how to take accurate measurements and cut the pipe with precision:

Taking Accurate Measurements:
Before cutting the pipe, measuring the required length accurately is crucial. Use a measuring tape or ruler to determine the exact length needed. Take into account any fittings or connections that will be added and allow extra length accordingly. Mark the pipe clearly at the measured point to ensure a clean and precise cut.
Cutting the Pipe:
Once you have marked the pipe, it’s time to cut. Use a hacksaw or pipe cutter to slice through the metal. Follow the marked line closely to achieve a clean and accurate cut. After cutting, inspect the edges for any burrs or roughness. Smooth out the edges with a file or sandpaper to prevent damage to seals or fittings when connecting the pipe.
By measuring accurately and cutting the pipe precisely, you will ensure a proper fit and tight connections during installation. Taking these extra steps will contribute to your metal pipe installation’s overall success and durability.
How to Set Metal Pipe on Mobile Home: Securing the Metal Pipe
Properly securing the metal pipe is essential to ensure its stability and durability throughout its lifespan. Follow these steps to effectively secure the pipe during the installation process:
Positioning the Pipe
Begin by aligning the metal pipe with the pre-planned route, ensuring it follows the designated path for plumbing or venting. Maintaining a proper slope for drainage is important, especially for plumbing installations. Use a level to ensure the pipe is positioned correctly. To temporarily hold the pipe in place, use clamps or supports that provide stability during installation.
Attaching the Pipe
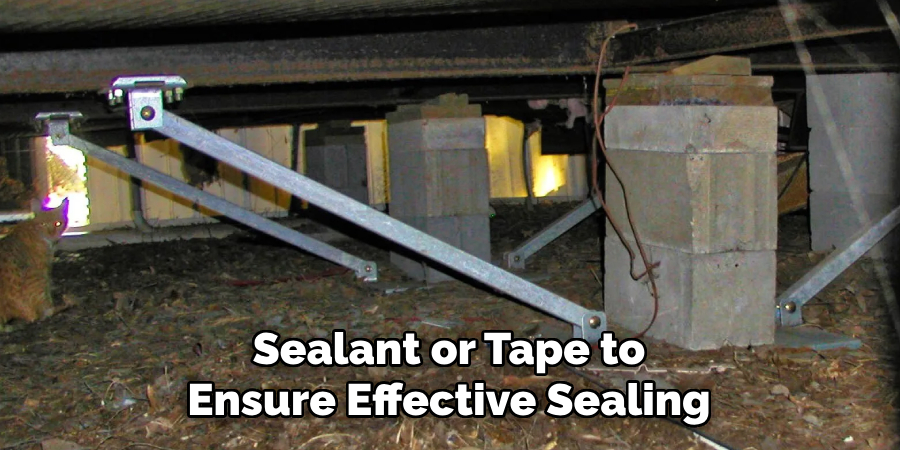
To secure the metal pipe in place, it’s crucial to properly attach it to the mobile home’s frame or walls. Start by fastening the pipe at regular intervals using brackets, straps, or screws. These attachments will help keep the pipe stable, preventing movement or vibration that could lead to leaks or damage. Consider the type of mobile home construction and ensure that the attachment method is suitable for the specific installation.
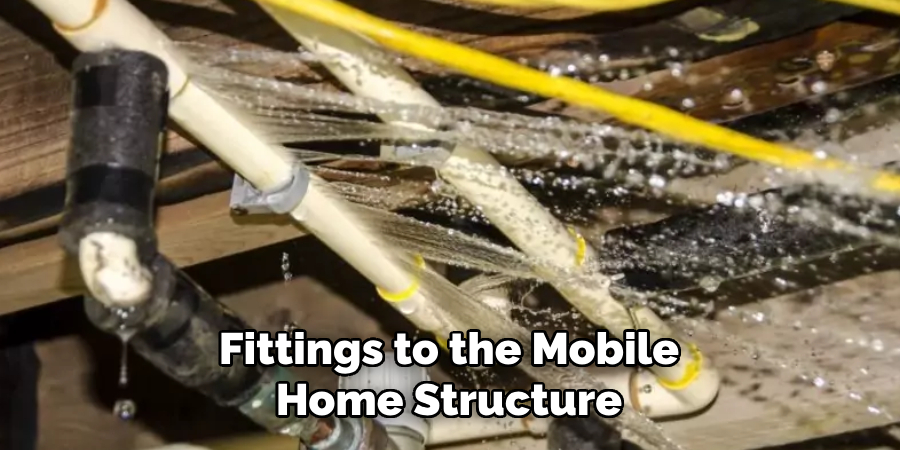
Sealing Connections
Properly sealing joints and connections prevents potential leaks. Apply pipe sealant or Teflon tape to threaded joints before connecting them. This creates a tight seal and helps prevent leaks over time. Remember to follow the manufacturer’s instructions on the proper application of sealant or tape to ensure effective sealing.
You can ensure a sturdy and reliable installation by following these steps to secure the metal pipe. A securely fastened pipe will withstand movement, vibrations, and other stresses, ensuring the longevity and efficiency of your plumbing or venting system.
Testing and Adjusting the Installation
Before considering the installation complete, it is essential to thoroughly test and adjust the system to ensure optimal functionality and stability. This step helps identify any potential issues or areas that require further attention.
Testing Functionality
To test the installation’s functionality, run water through the pipes or activate the vent system, depending on its purpose. Observe for any signs of leaks, such as dripping water or unusual airflow. Additionally, inspect the pipe’s stability under normal use conditions to ensure it can withstand movement, vibrations, or other stresses.
Making Necessary Adjustments
If any issues or concerns arise during testing, it’s important to address them promptly. This may involve tightening loose fittings or realigning the pipe to ensure proper connections. Additionally, for long or heavy sections of pipe, consider adding additional brackets or supports to enhance stability and prevent sagging or strain on the system. Taking the time to make these necessary adjustments will contribute to the long-term reliability and efficiency of the installation.
By testing and adjusting the installation, you can have confidence in its functionality and durability, ensuring that your plumbing or venting system performs optimally for years to come.
Tips for Long-Term Maintenance
Proper maintenance is key to ensuring the longevity and reliability of your metal pipe installation in a mobile home. Here are some essential tips for maintaining your plumbing or venting system for the long term:
Regular Inspections:
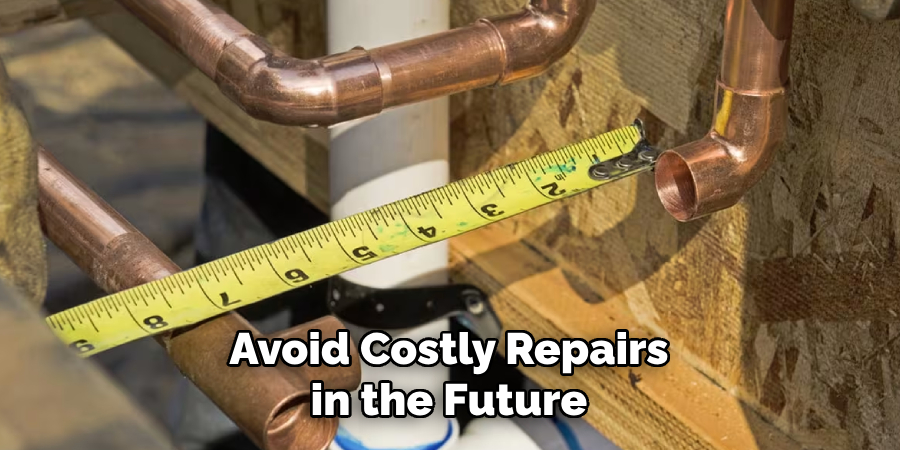
Conduct routine inspections to check for any signs of rust, corrosion, or wear on the pipes and fittings. Be vigilant in identifying any damage or deterioration and address it promptly to prevent further issues. Timely replacements of damaged parts can help avoid costly repairs in the future.
Protective Measures:
Apply coatings or wraps to the metal pipes to provide an extra layer of protection against rust and corrosion. These protective measures can help extend the lifespan of the pipes, especially in areas prone to moisture or harsh environmental conditions. Additionally, proper insulation should be ensured in cold climates to prevent freezing pipes, which can lead to leaks or burst pipes.
By implementing these maintenance practices, you can ensure the optimal performance and longevity of your mobile home’s plumbing or venting system. Regular inspections and protective measures will help prevent potential issues and provide peace of mind, allowing your installation to function reliably for years to come. Remember, a little maintenance goes a long way in preserving the efficiency and durability of your metal pipe system.
Common Mistakes to Avoid
When setting metal pipes on a mobile home, it’s crucial to be aware of common mistakes to prevent costly errors and ensure a successful installation. Here are two critical mistakes to avoid:
- Skipping Measurements: Precise measurements are vital to avoid an improper fit or wasted materials. Neglecting to measure accurately can lead to misaligned pipes, leaks, and compromised system integrity. Take the time to measure carefully and double-check your calculations before cutting and installing the pipes.
- Using Incompatible Materials: It’s essential to use pipes and fittings that are specifically designed for mobile home applications. Using incompatible materials can lead to leaks, corrosion, and structural damage over time. Ensure that the pipes and fittings you choose are suitable for mobile home use, resistant to environmental factors, and comply with industry standards.
By avoiding these common mistakes and following the recommended guidelines for setting metal pipes on a mobile home, you can ensure a reliable and efficient plumbing or venting system that will serve you well for years to come.
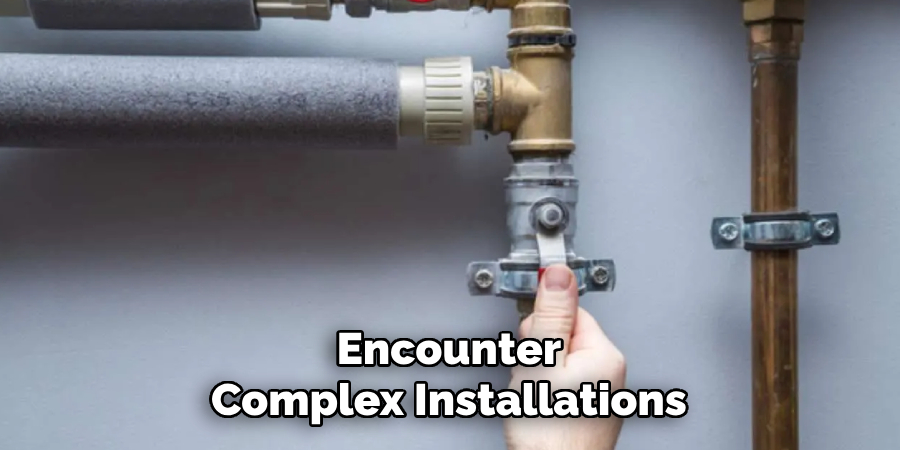
Remember, if you encounter complex installations or are unsure about any step in the process, it’s always best to seek professional help to ensure the job is done properly and safely. Your mobile home’s plumbing and venting system is an essential component, and investing in its proper installation is a worthwhile endeavor.
Conclusion
In conclusion, setting metal pipes on a mobile home requires careful planning, the use of proper tools, and regular maintenance to ensure a reliable and efficient plumbing or venting system. You can ensure a long-lasting and functional system by following the recommended guidelines and avoiding common mistakes such as improper support and using incompatible materials. It is essential to invest time and effort in the installation process, as well as to seek professional help for complex installations.
Remember, properly installing your mobile home’s plumbing and venting system is crucial for the safety and functionality of your home. Regular maintenance and inspections are also vital to identify and address any issues promptly. Following these steps lets you enjoy a well-functioning and efficient plumbing system in your mobile home. Thanks for reading our post about how to set metal pipe on mobile home.
Edmund Sumlin is a skilled author for Metal Fixes, bringing 6 years of expertise in crafting a wide range of metal fixtures. With a strong background in metalwork, Edmund’s knowledge spans various types of fixtures, from decorative pieces to functional hardware, blending precision with creativity. His passion for metalworking and design has made him a trusted resource in the industry.
Professional Focus:
- Expert in Metal Fixtures : Edmund aesthetic specializes in creating durable and innovative metal fixtures, offering both appeal and functionality. His work reflects a deep understanding of metalworking techniques and materials.
- Sustainability Advocate : He is dedicated to using sustainable practices, ensuring that every fixture is crafted with eco-friendly methods while maintaining high-quality standards.
In his writing for Metal Fixes, Edmund provides valuable insights into the latest trends, techniques, and practical advice for those passionate about metal fixtures, whether they are professionals or DIY enthusiasts. His focus on combining artistry with engineering helps others discover the true potential of metal in design.