

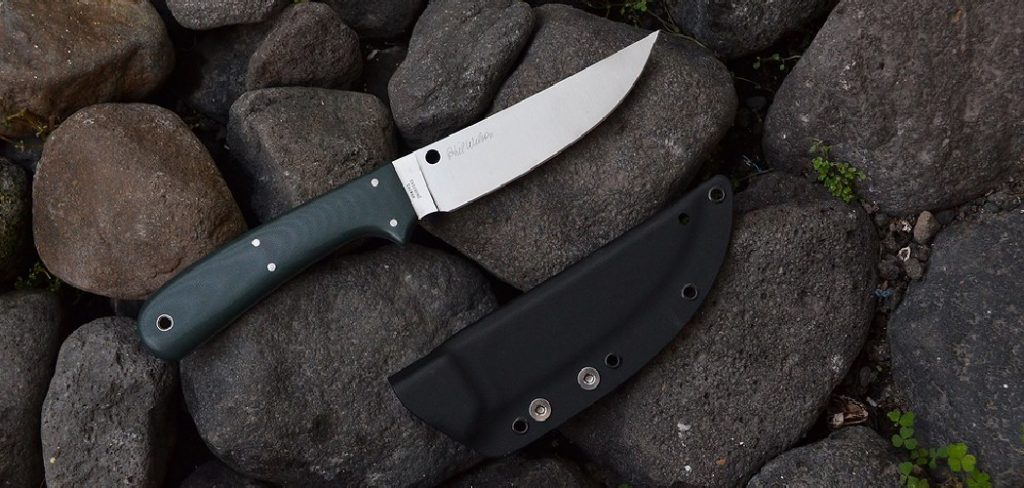
A fillet knife is essential for any culinary enthusiast, particularly when preparing fish and meat. This specialized knife is designed with a flexible, narrow blade that allows for precise, delicate cuts, making it perfect for filleting and deboning tasks. Maintaining a sharp fillet knife cannot be overstated, as it ensures improved control over your slicing, resulting in smoother, more efficient cuts.
Additionally, a sharp knife enhances safety by reducing the likelihood of slips and mishaps, which can occur more frequently with a dull blade. This article aims to offer readers a comprehensive guide on how to sharpen a fillet knife, ensuring it performs optimally. Whether you’re a professional chef or an avid home cook, learning this skill will enhance your kitchen experience by keeping your fillet knife in prime condition for any culinary challenge.
Why a Sharp Fillet Knife is Essential
Precision and Control
A sharp fillet knife is indispensable for achieving smooth, precise cuts without tearing or damaging delicate meat or fish. Its sharpness allows for gentle and exact slicing, which is crucial when dealing with tasks like skinning fish, deboning, and filleting. With a keen blade, the knife can glide effortlessly through the flesh, necessitating less force and thereby ensuring cleaner cuts. This ability to make accurate cuts not only preserves the integrity of the meat or fish but also enhances the dish’s quality, reflecting the user’s skills and attention to detail.
Safety
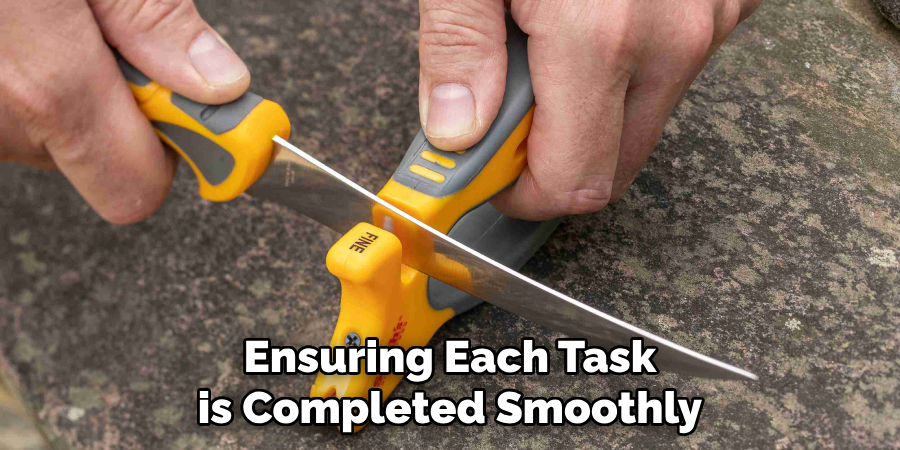
Contrary to common belief, a dull knife poses more danger than a sharp one. Dull blades require more pressure to cut through materials, increasing the likelihood of accidental slips, which can lead to injuries. When a knife encounters resistance, it’s more prone to slipping, potentially harming the user or causing inefficient cuts. On the other hand, a sharp fillet knife allows for reduced cutting force, providing greater control and minimizing safety risks. This heightened control safeguards the user and enhances the cooking process, ensuring each task is completed smoothly and safely.
Tools You Need to Sharpen a Fillet Knife
Sharpening Stones
Sharpening stones are fundamental for restoring the edge of a fillet knife. There are various types of stones available, each suited for different needs: whetstones, diamond stones, and ceramic stones. Whetstones are traditional water or oil stones that offer precise control and are favored by many professionals. Diamond stones are coated with diamond dust, providing fast sharpening for hard blades. Ceramic stones are excellent for fine-tuning and finishing touches.
Grit levels play a crucial role in the sharpening process, categorized into coarse, medium, and fine. Coarse grit (around 200-600) is for repairing or reshaping the blade, medium grit (800-1500) smoothens and refines the edge, and fine grit (3000-8000) polishes the blade to achieve a razor-sharp finish. Understanding these differences assists in choosing the right stone for each sharpening stage.
Other Tools
Beyond sharpening stones, other tools assist in maintaining and sharpening a fillet knife. Honing rods, typically made from steel or ceramic, are vital for regular maintenance, helping realign the blade and preserve its edge between sharpening sessions. Electric sharpeners offer a convenient and quick method to sharpen blades, though they may lack the precision of manual stones. Finally, a leather strop is essential for polishing the knife’s edge, removing any remaining burrs and achieving a mirror-like finish. For those new to sharpening, optional tools like a sharpening guide or angle tool can ensure the correct sharpening angle, providing consistency and improving results.
Preparing to Sharpen the Fillet Knife
Setting Up a Safe Workspace
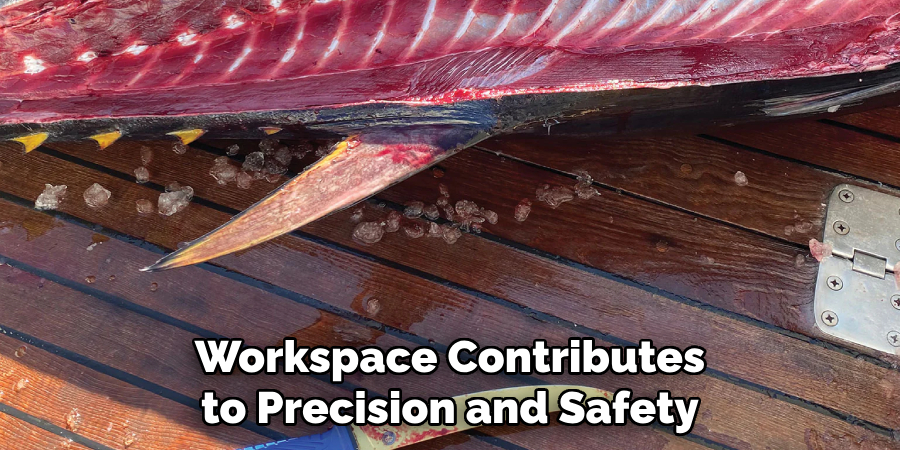
Creating a secure environment is crucial for effectively sharpening a fillet knife. Choose a stable surface like a countertop or cutting board to set up your workspace. It’s important to ensure that the sharpening stone or surface doesn’t slide or move during the process. Place a towel or non-slip mat underneath the stone to achieve this stability. This precaution provides a safe working area and prevents potential accidents by keeping the stone firmly in place. A well-prepared workspace contributes to precision and safety while sharpening.
Cleaning the Knife
Before the sharpening process, ensure the fillet knife is thoroughly cleaned. Remove any debris or residue that might have accumulated on the blade, as these can interfere with sharpening and potentially damage the edge. Cleaning the knife ensures that it is ready for effective honing and helps prolong the lifespan of both the blade and the sharpening tools. Inspect the knife for visible damage, such as nicks or bends. Identifying and addressing any such issues prior to sharpening safeguards against further damage ensures optimal results during the process.
How to Sharpen a Fillet Knife: Sharpening the Fillet Knife Using a Whetstone
Choosing the Right Grit
Selecting the appropriate grit for sharpening your fillet knife is essential in achieving the desired edge. Start with a coarse grit, typically around 200-600, for a dull blade to repair or reshape the edge. This grit level effectively removes material, quickly re-establishing the blade’s form. For routine sharpening, a medium grit, approximately 800-1500, is suitable to refine the edge and maintain sharpness. Once a suitable initial edge is achieved, moving to finer grits is crucial to hone and polish the blade, resulting in a razor-sharp finish ready for precision tasks.
Sharpening Technique
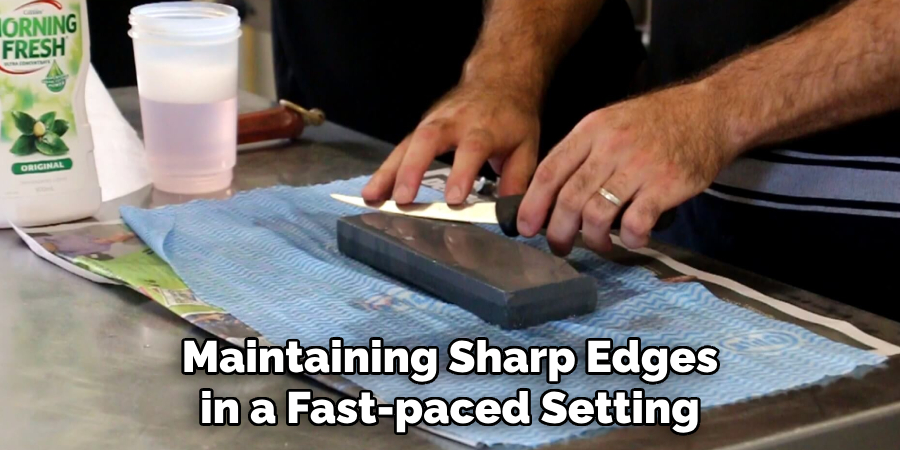
To sharpen your fillet knife effectively using a whetstone, begin by ensuring the stone is wet, which helps reduce friction and wear. Hold the knife at a consistent angle, typically 15-20 degrees, which is optimal for fillet knives. It might help to use a sharpening guide or angle tool for accuracy. With the knife held firmly, move the blade in a fluid motion across the stone, from the base to the tip, ensuring even coverage. Apply light and consistent pressure, and maintain the angle throughout the process. Make sure to sharpen both sides of the blade equally.
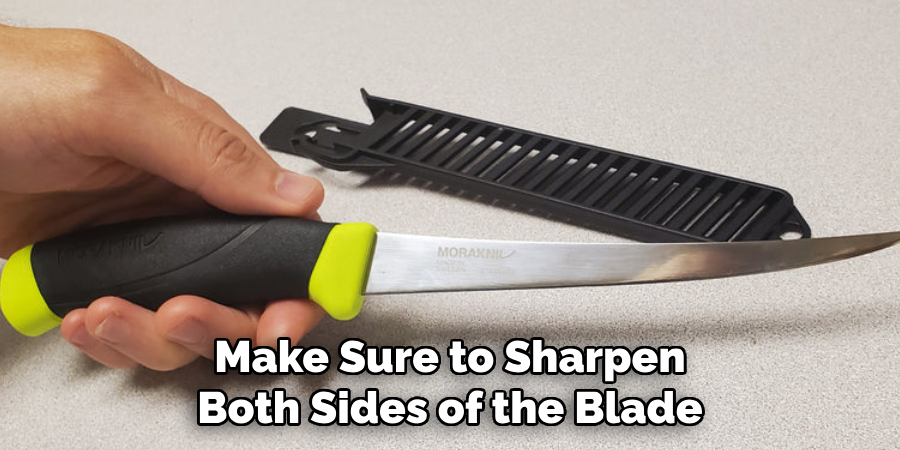
After several strokes on one side, check for burrs—tiny metal shavings that form on the edge of the blade. These can be felt by gently running your fingers along the opposite edge from your sharpened side. To remove burrs, switch to the other side of the blade and continue the sharpening process. Alternate sides frequently to ensure the burrs are effectively removed, leading to a balanced, sharpened edge.
Finishing with a Fine Grit Stone
Once the blade is sharpened, finish using a fine grit stone, typically 3000-8000, to polish the edge. This final step smooths out any remaining roughness and refines the cutting edge, readying your fillet knife for a precision, razor-sharp performance in the kitchen.
Honing the Edge with an Honing Rod
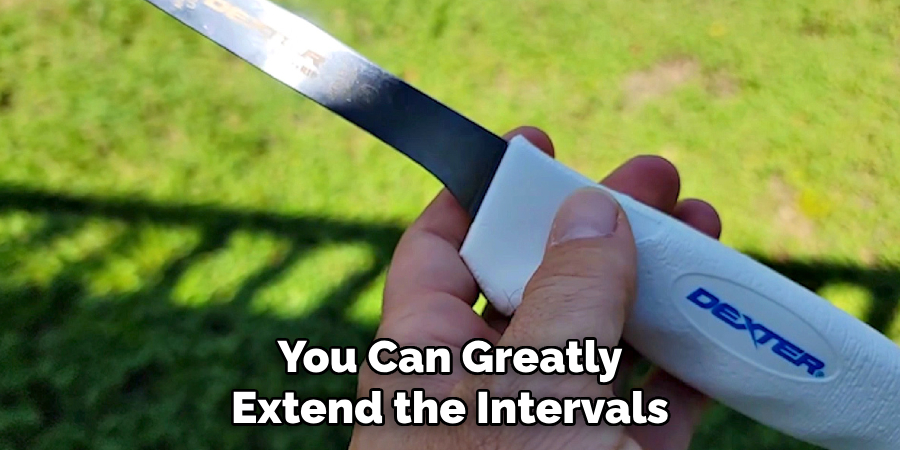
What Honing Does
Honing is an essential maintenance technique that helps keep your fillet knife in optimal condition between major sharpenings. Unlike sharpening, which removes metal to create a new edge, honing realigns the existing edge without removing significant material. Over time, regular use of a knife can cause its edge to bend and deform microscopically, which can make the knife feel dull. Honing corrects this by straightening the edge, restoring its cutting efficiency. By incorporating regular honing into your routine, you can greatly extend the intervals between comprehensive sharpening sessions, ensuring consistent performance.
Honing Technique
To effectively hone your fillet knife, first, choose a honing rod, typically made of steel or ceramic. Hold the rod vertically with the tip resting on a stable surface. Next, position the knife’s edge at a 15-20 degree angle against the rod. Start by drawing the knife down and across the rod in a sweeping motion, from the base to the tip, maintaining a consistent angle. Repeat this motion for both sides of the blade, alternating after each stroke. Typically, five to ten strokes per side are sufficient to realign the edge. Consistent honing with proper technique will maintain the sharpness of your fillet knife and enhance its longevity.
Using an Electric Sharpener for Quick Sharpening
How Electric Sharpeners Work
Electric sharpeners employ rotating abrasive wheels to quickly and efficiently hone the blade of your fillet knife. As the knife is drawn through the sharpener, these wheels gently grind the metal to sharpen the edge. This mechanism allows for fast sharpening, providing a smooth and consistent result without intensive manual effort. Electric sharpeners are convenient and especially beneficial in busy kitchens where efficiency matters.
Advantages
The primary advantages of electric sharpeners include their convenience, ease of use, and speed, making them ideal for regular use or busy culinary environments. Users can quickly sharpen their knives without extensive knowledge or experience, and the electric operation drastically reduces the time needed compared to manual sharpening techniques. Electric sharpeners are valuable for maintaining sharp edges in a fast-paced setting.
Step-by-Step Instructions
To use an electric sharpener safely, start by gently guiding your fillet knife into the sharpening slot at the designated angle. Maintain steady but light pressure as you draw the knife through the sharpener. Be vigilant not to apply too much force, which can damage the blade or sharpener. After each pass, check the edge for sharpness and repeat the process until the desired sharpness is achieved. Always follow the manufacturer’s instructions for optimal results and safety.
Polishing the Blade with a Leather Strop
Purpose of a Leather Strop
A leather strop serves as the final step in sharpening a fillet knife, enhancing the blade’s sharpness by polishing and smoothing the edge. It effectively removes any remaining burrs and refines the finish, resulting in a razor-sharp and mirror-like edge.
How to Use a Strop
To use a leather strop, hold the blade against the strop at a consistent angle. Pull the knife smoothly across the leather, moving from the base to the tip. Repeat this action several times on both sides to achieve a polished edge.
Conclusion
In summary, understanding how to sharpen a fillet knife begins with selecting the right tools, such as a whetstone or electric sharpener, to suit your sharpening needs. Employ the proper technique by maintaining a consistent angle during sharpening and alternating sides for evenness. Regular honing realigns the blade and extends the knife’s edge between sharpening while polishing with a leather strop to ensure a fine finish. Regular maintenance is crucial for keeping your fillet knife in optimal condition. A sharp, well-maintained knife not only improves precision in culinary tasks but also enhances safety and efficiency in the kitchen.
Edmund Sumlin is a skilled author for Metal Fixes, bringing 6 years of expertise in crafting a wide range of metal fixtures. With a strong background in metalwork, Edmund’s knowledge spans various types of fixtures, from decorative pieces to functional hardware, blending precision with creativity. His passion for metalworking and design has made him a trusted resource in the industry.
Professional Focus:
- Expert in Metal Fixtures : Edmund aesthetic specializes in creating durable and innovative metal fixtures, offering both appeal and functionality. His work reflects a deep understanding of metalworking techniques and materials.
- Sustainability Advocate : He is dedicated to using sustainable practices, ensuring that every fixture is crafted with eco-friendly methods while maintaining high-quality standards.
In his writing for Metal Fixes, Edmund provides valuable insights into the latest trends, techniques, and practical advice for those passionate about metal fixtures, whether they are professionals or DIY enthusiasts. His focus on combining artistry with engineering helps others discover the true potential of metal in design.