

Curved knives are specialized tools commonly employed for carving, filleting, and other specific purposes in the kitchen and outdoor activities. Their unique blade shape allows for enhanced cutting precision and control, making them indispensable for these tasks. However, regular sharpening is crucial to maintain their effectiveness and precise cutting capabilities. A dull curved knife can not only impede your work by causing rough cuts but can also pose safety risks due to slipping.
This article is designed to guide you effectively on how to sharpen curved knife, ensuring that your tool remains in optimal condition for smooth and safe operation. By understanding the proper techniques and tools required for sharpening, you can extend the life of your knife and enhance its performance significantly.
Understanding the Curved Knife
Blade Design and Purpose
Curved knives are uniquely crafted with a sweeping, convex edge that excels in slicing and carving tasks. This design is especially beneficial for jobs that demand precision and control, such as boning, filleting, or skinning. The blade’s curve allows for more contact with the material being cut, improving efficiency and ease of use. The gentle arc enables the user to maneuver the knife with fluidity and accuracy, making it an indispensable tool for intricate cuts that require finesse. The contour of the knife is specifically engineered to adapt to these tasks, which makes understanding its structure essential for optimal use.
Challenges in Sharpening Curved Knives
Sharpening a curved knife presents more challenges than maintaining a straight-edged knife due to its continuous curve and the need to preserve an even angle along the entire blade. This requires a nuanced approach to ensure the blade remains uniformly sharp, retaining its natural curve and functionality. Traditional flat sharpening stones are often ineffective, as they are not designed to follow the knife’s arc. Instead, specialized tools and techniques must accommodate the shape without compromising the blade’s integrity. Understanding the specific curve and requirements of the knife is crucial in achieving a sharp and precise edge.
Tools Needed to Sharpen a Curved Knife
Sharpening Stones
Sharpening stones are fundamental for honing the edge of a curved knife, employing different grits for varying stages of sharpening. Coarse stones are used initially to shape the edge and correct any chips or imperfections. Medium-grit stones follow to refine the edge and smooth out the roughness left by the coarse stone. Finally, fine grit stones polish the blade’s edge to a razor-sharp finish. It’s crucial to select sharpening stones that are appropriately sized to match the curve of your knife to maintain an even sharpening surface, ensuring that the entire length of the curved blade is evenly sharpened.
Honing Rods
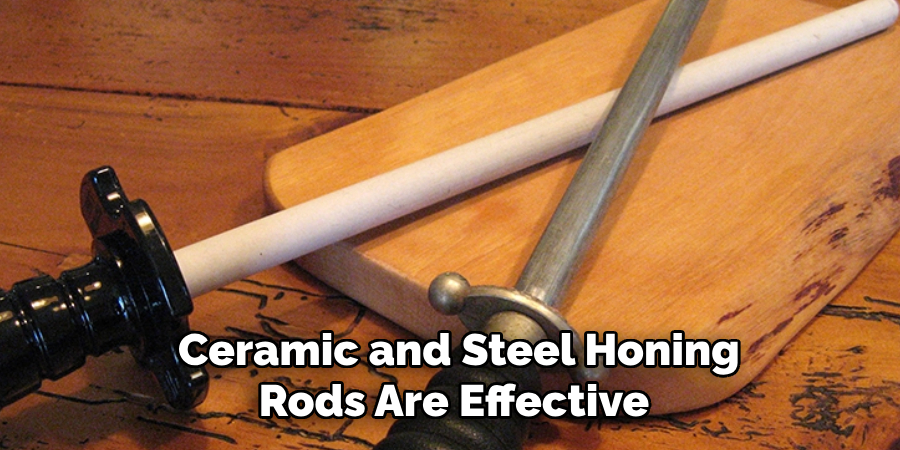
Honing rods are essential for maintaining the sharpness of a curved knife between sharpening sessions. Regularly using a honing rod can realign the blade’s edge and keep it in optimal condition. Both ceramic and steel honing rods are effective; ceramics are favored for light touch-ups due to their gentle abrasion, while steel rods provide a more robust alignment option.
Other Sharpening Tools
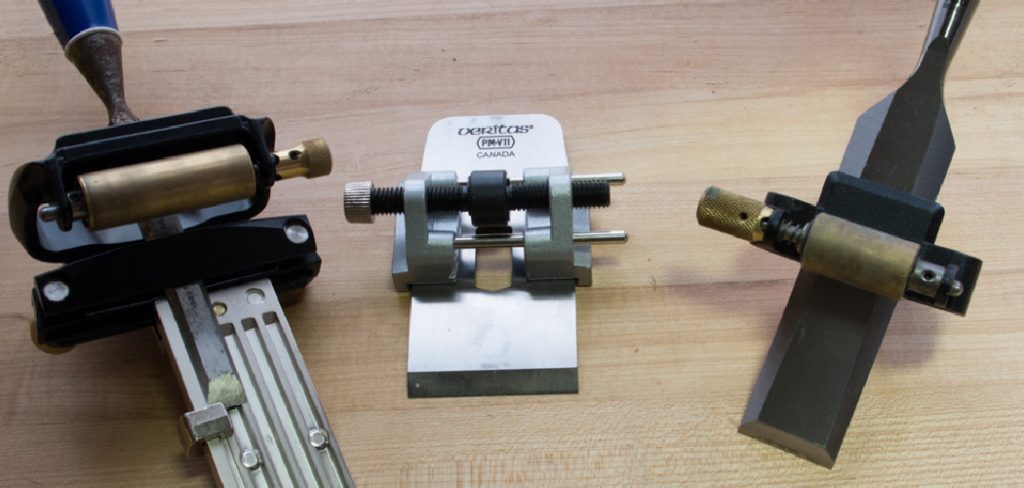
Beyond traditional stones and rods, other tools, such as sharpening systems or electric sharpeners, can help maintain a curved knife. These systems can offer speed and convenience, but they may lack the precision necessary for intricate curves, potentially leading to uneven sharpening if not used properly.
Preparing the Curved Knife for Sharpening
Safety First
Handling a curved knife carefully is paramount to ensure safety during sharpening. Hold the knife firmly by the handle, keeping your fingers away from the blade. Inspect the edge to ensure it is free from any materials or debris that may have accumulated, as these can interfere with the sharpening process and increase the risk of injury. Protective gloves are highly recommended while handling sharp tools; they offer an extra layer of protection, reducing the likelihood of cuts during inspection and sharpening. Prioritizing safety measures will help create a secure environment, minimizing the risks associated with knife sharpening.
Clean and Dry the Blade
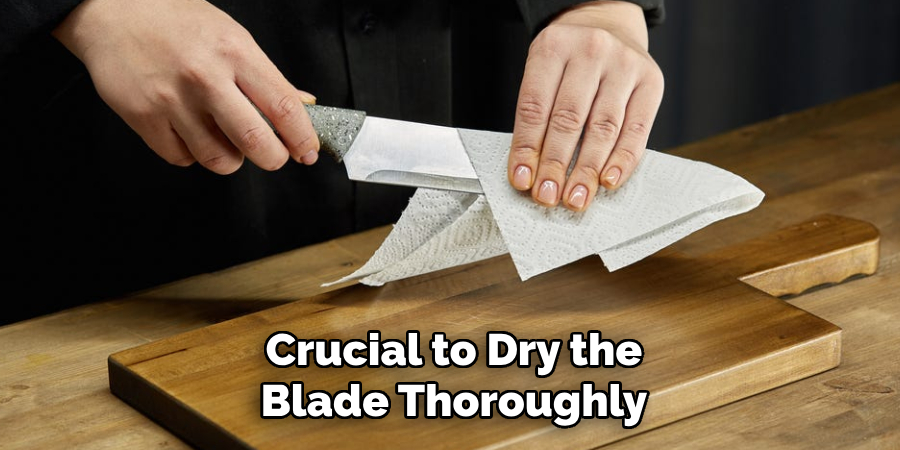
Before you start sharpening your curved knife, it’s essential to thoroughly clean the blade. This involves removing any oils, food particles, or rust that may be present. Washing the knife with warm, soapy water and using a soft brush or cloth to gently scrub the surface can help eliminate residues effectively. After cleaning, it is crucial to dry the blade thoroughly. Use a clean, dry towel to wipe away all moisture, as water can cause rust or tarnish, which may damage the blade during sharpening. Ensuring that the knife is clean and dry protects the blade and enhances the sharpening process’s effectiveness.
How to Sharpen Curved Knife: Sharpening a Curved Knife with a Sharpening Stone
Positioning the Knife on the Stone
To effectively sharpen a curved knife with a sharpening stone, it’s crucial to position the knife so that the curve faces down, ensuring the blade is flat against the stone’s surface. This positioning allows for full contact with the stone, ensuring the entire edge receives consistent sharpening. Finding the correct angle is vital; typically, this means maintaining a 15-20-degree angle, depending on the specific type and intended use of the knife. This angle lets you maintain the edge’s sharpness while preserving the blade’s structural integrity. Achieving and maintaining the correct angle requires a steady hand and keen observation, as even slight deviations can lead to uneven sharpening.
Using Circular or Rocking Motions
Once the knife is correctly positioned, begin sharpening by gently rocking or employing circular motions across the stone. These motions help maintain the blade’s natural curve, ensuring a consistent edge along the entire length. Start from the blade’s heel and move towards the tip, applying consistent pressure. This technique allows for a smooth transition across the blade’s curve, ensuring uniform sharpening. Maintaining consistent pressure and motion is essential, as haphazard movements can result in an uneven edge, diminishing the knife’s efficiency in cutting tasks.
Sharpening Both Sides
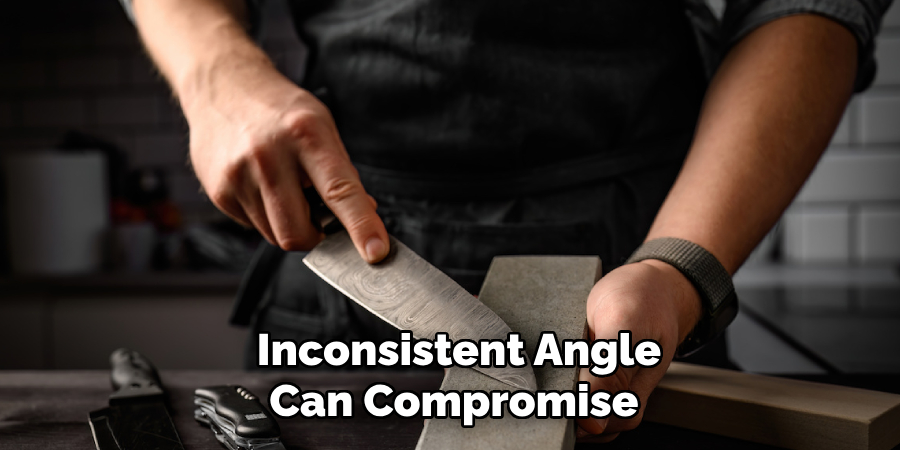
To achieve an evenly sharp edge, it’s important to alternate between both sides of the blade. After making passes on one side, flip the knife over and repeat the process, focusing intently on the bevel and curve of the blade. Maintaining the correct angle on each side is critical to preventing an uneven edge. An inconsistent angle can compromise the blade’s structural balance, leading to reduced effectiveness and a higher risk of damaging the edge. By carefully observing and adjusting your technique as needed, you can ensure a finely honed blade that performs brilliantly.
Using a Honing Rod for Curved Knives
Why Honing is Important
Honing is crucial in maintaining a knife’s sharpness as it realigns the blade’s edge after regular use, preventing dullness and prolonging the knife’s cutting performance. Regular honing keeps your curved knife efficient and reduces the frequency of extensive sharpening sessions.
Honing Techniques
To effectively use a honing rod on a curved knife, secure the rod vertically with the tip resting on a stable surface. Hold the knife at the proper angle, usually around 15-20 degrees, and gently draw the blade across the rod, starting from the base and moving towards the tip. Employ smooth strokes, alternating sides for a balanced edge. Ideally, honing should be performed regularly, such as before each use, to keep the blade sharp and aligned, minimizing the need for frequent, more intensive sharpening.
Sharpening a Curved Knife with a Sharpening System
Overview of Sharpening Systems
Sharpening systems for curved knives are specifically designed to accommodate these blades’ unique contours and angles. Many feature adjustable angles and built-in guides, ensuring that the blade is consistently held at the optimal sharpening angle. These systems are particularly beneficial for those who find freehand sharpening challenging, as they provide stability and precision that can be difficult to achieve manually. By facilitating a guided sharpening process, these systems help maintain an even edge and extend the life of the knife, making them an invaluable tool for both novice and experienced users alike.
Using the Sharpening System
To begin sharpening a curved knife with a sharpening system, first set the adjustable guide to the recommended angle, typically between 15-20 degrees, according to the knife type. Secure the knife in the designated slot or holder and gently draw the blade through, maintaining steady pressure and ensuring consistent contact between the blade and the sharpening surface. Repeat this motion several times, alternating sides to ensure an evenly sharpened edge. Follow the manufacturer’s instructions closely and periodically check the blade’s sharpness for best results. Regular maintenance with the system will keep your curved knife in prime-cutting condition, offering both precision and ease of use.
Testing the Sharpness of a Curved Knife
Visual Inspection
Begin testing the sharpness of a curved knife by conducting a close visual inspection. Look for a clean, smooth edge along the blade with no visible nicks or dull spots. Examining the curve meticulously is crucial, ensuring a consistent bevel throughout the entire blade. A uniform bevel indicates even sharpening, which is essential for optimal cutting performance. The blade should appear reflective and even, showcasing the effectiveness of your sharpening technique.
Physical Testing
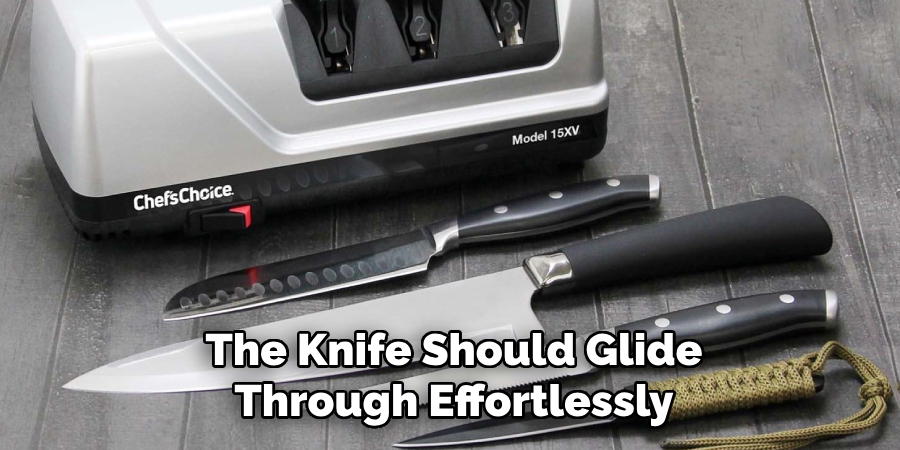
To physically test the sharpness, slice through soft materials like paper or a tomato, observing if the cuts are smooth and clean. This test reveals whether the edge is sharp enough to handle fine-slicing tasks. For a more functional test, slice through a tougher material such as fish or meat. The knife should glide through effortlessly, confirming that the sharpness is ideal for practical kitchen applications, reflecting readiness for daily use.
Conclusion
Maintaining the proper angle, using the right tools, and honing regularly are crucial in understanding how to sharpen curved knife effectively. Throughout this guide, we’ve covered essential techniques, from selecting the correct sharpening system to practicing honing for optimal blade alignment. By focusing on these key points, you ensure your knife’s precision and longevity. Regular practice is vital; mastering sharpening techniques will keep your curved knife in peak condition, ready to handle any culinary challenge. Embrace these practices, and your knives will remain sharp, effective, and a reliable kitchen tool.
Edmund Sumlin is a skilled author for Metal Fixes, bringing 6 years of expertise in crafting a wide range of metal fixtures. With a strong background in metalwork, Edmund’s knowledge spans various types of fixtures, from decorative pieces to functional hardware, blending precision with creativity. His passion for metalworking and design has made him a trusted resource in the industry.
Professional Focus:
- Expert in Metal Fixtures : Edmund aesthetic specializes in creating durable and innovative metal fixtures, offering both appeal and functionality. His work reflects a deep understanding of metalworking techniques and materials.
- Sustainability Advocate : He is dedicated to using sustainable practices, ensuring that every fixture is crafted with eco-friendly methods while maintaining high-quality standards.
In his writing for Metal Fixes, Edmund provides valuable insights into the latest trends, techniques, and practical advice for those passionate about metal fixtures, whether they are professionals or DIY enthusiasts. His focus on combining artistry with engineering helps others discover the true potential of metal in design.