

Sharpening a metal nail file might seem like a daunting task, but with the right approach, it can be done effectively and easily at home. Over time, metal nail files can become dull and less efficient, making it difficult to shape and smooth your nails.
This guide on how to sharpen metal nail file will provide you with step-by-step instructions to restore your metal nail file to its original condition, ensuring a precise and smooth manicure or pedicure experience. With the proper tools and techniques, you can extend the life of your favorite metal nail file and maintain perfectly shaped nails with ease.
What is a Metal Nail File?
A metal nail file is a manicure or pedicure tool typically made from high-quality stainless steel or other durable metal. It features a ridged surface designed to precisely shape and smooth the edges of your nails. Unlike their emery board counterparts, metal nail files are known for their longevity and sturdy construction, making them a preferred choice for many nail care enthusiasts and professionals.
They efficiently tackle even the toughest nails, providing a smooth finish without the risk of shredding or splitting. Metal nail files are also easy to disinfect, ensuring safe and hygienic use with every manicure or pedicure session.
Needed Materials
To sharpen your metal nail file, you will need the following materials:
A Metal Nail File
Of course, you’ll need a metal nail file that needs sharpening. If you’re not sure whether your nail file is made of metal or not, check the material with a magnet – if it sticks to the surface, then it’s definitely metal.
A Sandpaper
Choose a fine-grit sandpaper (around 240-320 grit) for optimal results. This type of sandpaper is ideal for smoothing and shaping metal surfaces without causing damage.
A Flat Surface
You will need a flat surface to lay your sandpaper on while sharpening your metal nail file. A table or countertop will work just fine.
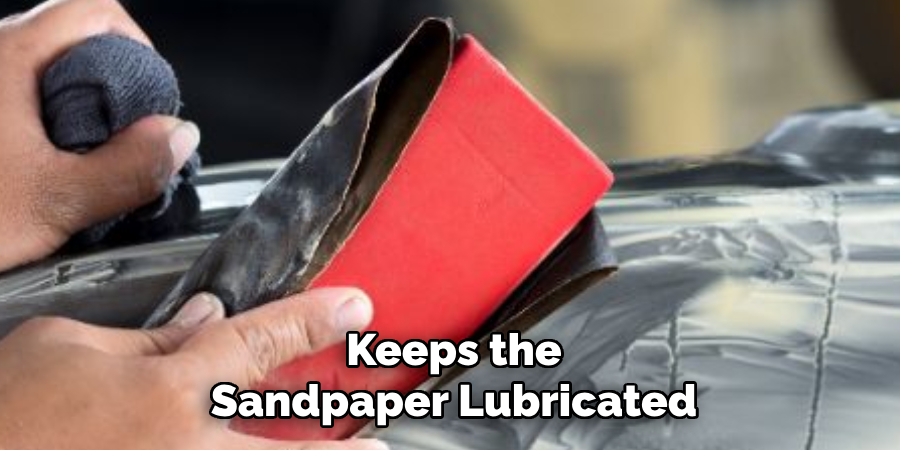
Water
Water is essential for this method as it keeps the sandpaper lubricated, preventing it from getting clogged with metal particles and ensuring a smoother sharpening process.
8 Step-by-step Guidelines on How to Sharpen Metal Nail Files
Step 1: Clean Your Nail File
Before you begin sharpening, it’s important to thoroughly clean your metal nail file to remove any accumulated dirt, oil, or nail residues. Rinse the nail file under warm running water and use a small brush, like a toothbrush, to gently scrub the surface.
This will help ensure that your nail file is free of any debris that could interfere with the sharpening process. Once cleaned, dry the nail file completely with a clean cloth or paper towel to prevent any rust or water spots from forming.
Step 2: Prepare Your Work Area
To ensure you have a safe and efficient sharpening session, it’s crucial to prepare your work area properly. Begin by choosing a well-lit location with sufficient space to arrange your materials. Cover your chosen flat surface with a protective layer, such as an old cloth or newspaper, to catch any metal filings or sandpaper residue.
Place your fine-grit sandpaper on top of this protective layer, ensuring it lies flat and stable. Keep a small container of water nearby for easy access during the sharpening process. By setting up a tidy and well-organized workspace, you can focus on sharpening your nail file without unnecessary distractions or interruptions.
Step 3: Begin Sanding
Take your metal nail file and hold it at a comfortable angle on the sandpaper. Slowly move the nail file back and forth along the entire length of the paper using light pressure. Make sure to sand both sides of the nail file evenly, following its natural curve.
Avoid pressing too hard, as this can cause uneven sharpening or even damage to your nail file. It’s better to make multiple passes with gentle pressure than to try and force a heavy-handed approach.
Step 4: Check Your Progress
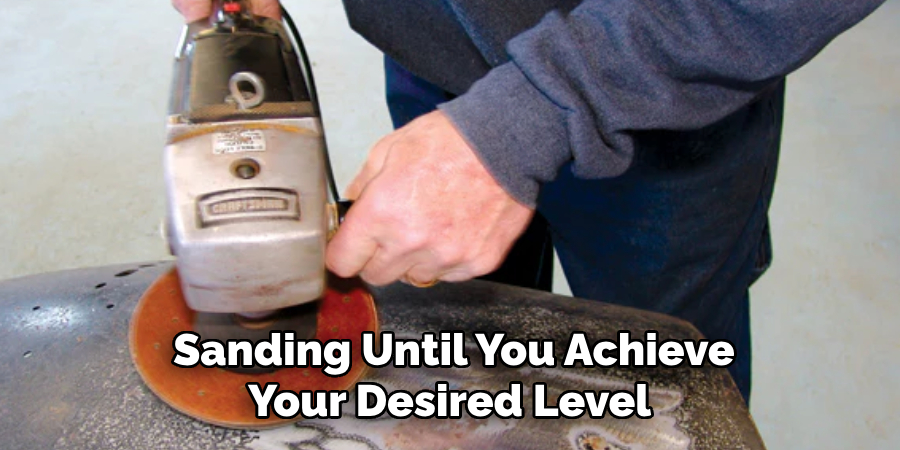
After a few passes on each side, stop and examine your progress. You should notice that the surface of your nail file is starting to look smoother and more even, with any visible ridges or rough spots becoming less apparent.
If you’re satisfied with the results so far, move on to the next step. If not, continue sanding until you achieve your desired level of sharpness.
Step 5: Rinse and Repeat
Once you’ve reached a satisfactory level of sharpness with your initial sanding, it’s time to rinse your nail file to remove any metal particles or sandpaper residue. Hold the file under running water, gently scrubbing the surface with your fingers if necessary to ensure it is completely clean. This step is crucial because leftover particles can interfere with further sharpening or leave unwanted marks on your nails. After rinsing, dry the nail file thoroughly.
If you feel that your nail file still requires more sharpening, repeat the sanding process, taking care to maintain consistent pressure and strokes to avoid unevenness. Continue this cycle of sanding, rinsing, and drying until your metal nail file is restored to its optimal sharpness.
Step 6: Smooth the Edges
Once your nail file is sufficiently sharp, you may notice some roughness or jagged edges around the outer edges of the file. To smooth these out and ensure a flawless finish, take a fine-grit sandpaper (around 400-600 grit) and gently go over the edges in a circular motion. This will help remove any sharp burrs and provide a smooth surface for safe and effective use.
You can also use a nail buffer to further refine the edges and add shine to your newly sharpened metal nail file.
Step 7: Disinfect Your Nail File
Before putting your newly sharpened nail file away, it’s essential to disinfect it thoroughly. Soak the nail file in a solution of water and isopropyl alcohol for at least 15 minutes, then rinse and dry as usual. This will help remove any lingering germs or bacteria that may have accumulated on your file during the sharpening process.

The alcohol solution can also help remove any remaining metal particles or sandpaper residue, ensuring a clean and sanitary tool for your next manicure or pedicure.
Step 8: Properly Store Your Nail File
Now that your nail file is sharpened and disinfected, it’s important to store it correctly to maintain its sharpness. Avoid storing your metal nail file in a damp environment, as this can lead to rusting and dullness over time. Instead, find a dry and well-ventilated area, such as a drawer or cabinet, to keep your nail file safe until its next use.
You can also invest in a protective case or sleeve specifically designed for nail files to prevent any accidental damage or dulling. By properly storing your sharpened nail file, you can ensure it stays in top condition for many uses to come.
Following these step-by-step guidelines on how to sharpen metal nail file, you can easily and effectively sharpen your metal nail file at home with just a few simple materials. Regularly sharpening your nail file will not only save money on constantly buying new ones but also ensure that your manicures and pedicures are done with precision and ease.
Frequently Asked Questions
Q: How Often Should I Sharpen My Metal Nail File?
A: It is recommended to sharpen your metal nail file every few months or when you notice it becoming dull. However, this may vary depending on how often you use your nail file. The more frequently you use it, the sooner it may require sharpening.
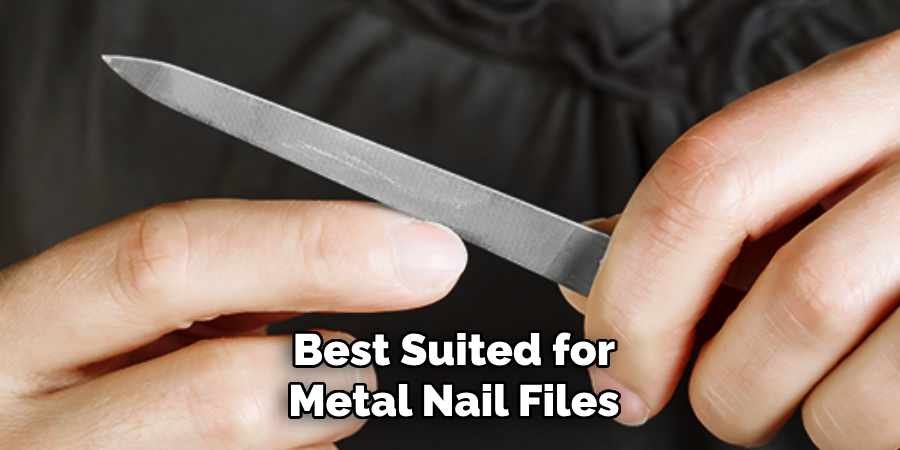
Q: Can I Sharpen Any Type of Metal Nail File?
A: This method is best suited for metal nail files. If your nail file is made of a different material such as glass or crystal, refer to the manufacturer’s instructions on how to properly sharpen it.
Q: What if My Metal Nail File Has Coarse and Fine Sides?
A: If your nail file has both coarse and fine sides, follow the same steps, but begin with the coarse side first. Once that side is sufficiently sharpened, repeat the process on the fine side for a smooth finish.
Q: Is It Necessary to Use Water During the Sharpening Process?
A: While it is not necessary, using water can help remove any metal particles or residue and prevent clogging on your sandpaper. It also helps keep the surface of your nail file cool to avoid overheating and warping.
Conclusion
Sharpening a metal nail file may seem like a daunting task, but with the right tools and techniques, it can easily be done at home. Remember to keep your work area well-organized and use gentle pressure when sanding to avoid damage to your file. Regularly cleaning and disinfecting your nail file is also essential for maintaining its sharpness and hygiene.
By following these steps on how to sharpen metal nail file, you can ensure that your metal nail file stays in top condition for all your future manicures and pedicures. So, don’t throw away those dull nail files just yet – give them a new life with this simple sharpening process! So, keep sharpening and keep filing for beautiful nails every time! Happy grooming!
Edmund Sumlin is a skilled author for Metal Fixes, bringing 6 years of expertise in crafting a wide range of metal fixtures. With a strong background in metalwork, Edmund’s knowledge spans various types of fixtures, from decorative pieces to functional hardware, blending precision with creativity. His passion for metalworking and design has made him a trusted resource in the industry.
Professional Focus:
- Expert in Metal Fixtures : Edmund aesthetic specializes in creating durable and innovative metal fixtures, offering both appeal and functionality. His work reflects a deep understanding of metalworking techniques and materials.
- Sustainability Advocate : He is dedicated to using sustainable practices, ensuring that every fixture is crafted with eco-friendly methods while maintaining high-quality standards.
In his writing for Metal Fixes, Edmund provides valuable insights into the latest trends, techniques, and practical advice for those passionate about metal fixtures, whether they are professionals or DIY enthusiasts. His focus on combining artistry with engineering helps others discover the true potential of metal in design.