

The Santoku knife is a versatile Japanese kitchen tool celebrated for its precision in slicing, dicing, and chopping. With its unique design featuring a flat edge and a gently curved tip, this knife delivers clean and accurate cuts, making it indispensable in modern kitchens. Maintaining the sharpness of the Santoku knife is paramount to enhance its performance and ensure safety during use. A dull blade requires more force, increasing the risk of accidents.
This article aims to provide a detailed guide on how to sharpen santoku knife, ensuring that its edge remains razor-sharp for intricate culinary tasks. By understanding the techniques and tools needed, you’ll be able to extend the lifespan of your Santoku knife, maintaining its efficiency and reliability for years to come.
Understanding the Santoku Knife Blade Design
Unique Features of the Santoku Blade
The Santoku knife is distinctively designed with a flat edge and a slightly curved tip, which allows for precision in various kitchen tasks. This configuration makes the knife adaptable to both straight and rocking cuts, easily accommodating a range of slicing, dicing, and chopping techniques. The blade is typically honed to an angle between 12 to 15 degrees, which is sharper than most Western-style knives. This acute angle contributes to the sharpness and fine cutting ability associated with Santoku knives, enabling cooks to achieve clean, effortless slices in the kitchen.
Why Blade Design Impacts Sharpening
Due to the Santoku knife’s use of thinner, harder steel, specialized sharpening techniques are required to maintain its performance and longevity. These knives require a precise approach to sharpening, ensuring the blade angle and sharpness are preserved without compromising the knife’s structural integrity. Using tools specifically designed for Japanese knives helps maintain the blade’s unique geometry, which is crucial for optimal cutting efficiency. Proper sharpening keeps the knife in top condition and extends its lifespan, allowing home cooks and professionals alike to enjoy its versatile functionality in their culinary endeavors.
Tools Needed for Sharpening a Santoku Knife
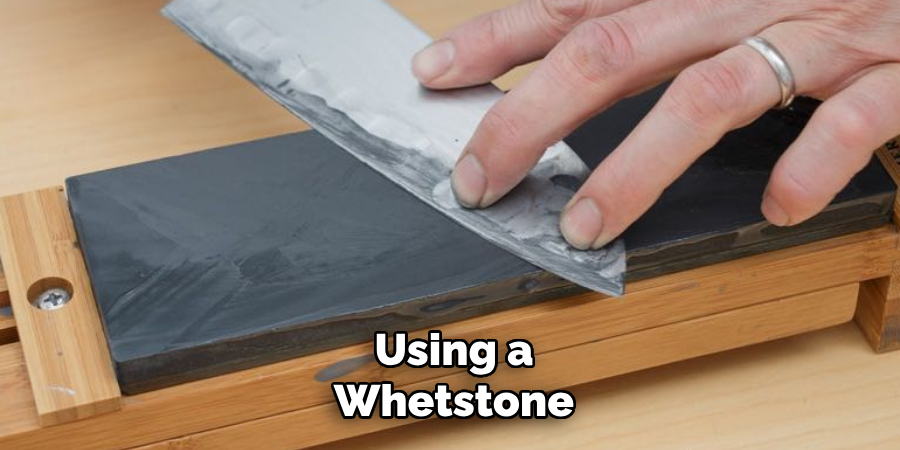
Whetstone
A whetstone is an essential tool for sharpening a Santoku knife due to its ability to precisely control the sharpening process. The ideal grit levels for a whetstone include coarse grit (1000–2000) for dull knives and fine grit (3000–6000) for achieving a polished edge. Using a whetstone allows you to maintain the Santoku knife’s sharpness while preserving its structural integrity. Unlike other sharpening devices, whetstones provide the flexibility to adjust angles and pressure during sharpening, making them perfect for Japanese knives’ thin, delicate blades. This results in optimal cutting performance and increased longevity of the knife.
Optional Tools
While a whetstone is the primary tool for sharpening, other tools can assist in maintaining your Santoku knife. A ceramic honing rod is perfect for minor touch-ups between sharpening sessions, helping to realign the edge and maintain sharpness. Electric sharpeners designed specifically for Japanese knives can offer convenience and efficiency, quickly restoring the blade’s edge. A knife angle guide can also be invaluable, ensuring consistent sharpening at the correct angle, which is crucial for achieving the desired sharpness. These optional tools complement the whetstone, helping to keep your Santoku knife in pristine condition.
Preparing Your Knife and Whetstone
Soaking the Whetstone
Before sharpening your Santoku knife, it is crucial to properly soak your whetstone. Immerse the stone in water for 10–15 minutes to ensure it is thoroughly saturated. This step is vital as the water helps create a slurry on the stone’s surface, facilitating a smoother sharpening process. Additionally, maintain moisture throughout sharpening by occasionally sprinkling more water onto the stone. This lubrication will enhance the stone’s effectiveness and prevent any potential damage to the blade.
Cleaning and Inspecting the Knife
Begin by cleaning your Santoku knife thoroughly to remove any debris and oils, as these can impede the sharpening process. Use warm, soapy water and a soft cloth or sponge to cleanse the blade, then carefully dry it with a towel. Once cleaned, inspect the knife for any chips or damage. These imperfections should be addressed before sharpening to ensure a flawless edge. Properly inspecting the knife helps maintain its integrity and ensures effective sharpening results.
How to Sharpen Santoku Knife: Sharpening with a Whetstone
Setting the Correct Angle
When sharpening a Santoku knife, the ideal angle to maintain is between 12 to 15 degrees. This acute angle is crucial for preserving the knife’s sharpness and precision, enabling clean cuts and effortless slicing. To help maintain this angle consistently, consider using a knife angle guide, which offers a stable reference point during sharpening. Alternatively, visual indicators can also be employed; imagine the angle as slightly wider than a dime when the blade is placed against the stone. Consistent practice will help develop the muscle memory needed to hold the angle steadily, ensuring that the knife’s edge achieves optimal and effective sharpness while preventing unnecessary wear on the blade.

Sharpening the Blade
Start by placing the whetstone on a stable surface, ensuring it remains secure throughout the process. Hold your Santoku knife at the correct angle, using your dominant hand to maintain the grip on the handle while your other hand applies even pressure towards the tip of the blade. Move the blade from the heel to the tip across the stone with smooth, controlled strokes, maintaining consistent pressure and angle.
Aim to complete this motion 10 to 15 times for a uniformly sharpened edge. After sharpening one side, flip the knife over and repeat the process on the other side, ensuring the pressure and strokes are mirrored to achieve an evenly sharpened blade. Always adjust your positioning to maintain the correct angle, and continue until the desired sharpness is reached.
Finishing Touches
Use a finer grit whetstone to polish the knife’s edge, smoothing out any roughness for a razor-sharp finish. Check for burrs by lightly running your fingers along the edge; a smooth, even feel indicates a successful sharpening. Finishing these steps ensures a precise and effective cutting tool is ready for use.
How to Sharpen Santoku Knife: Alternate Methods
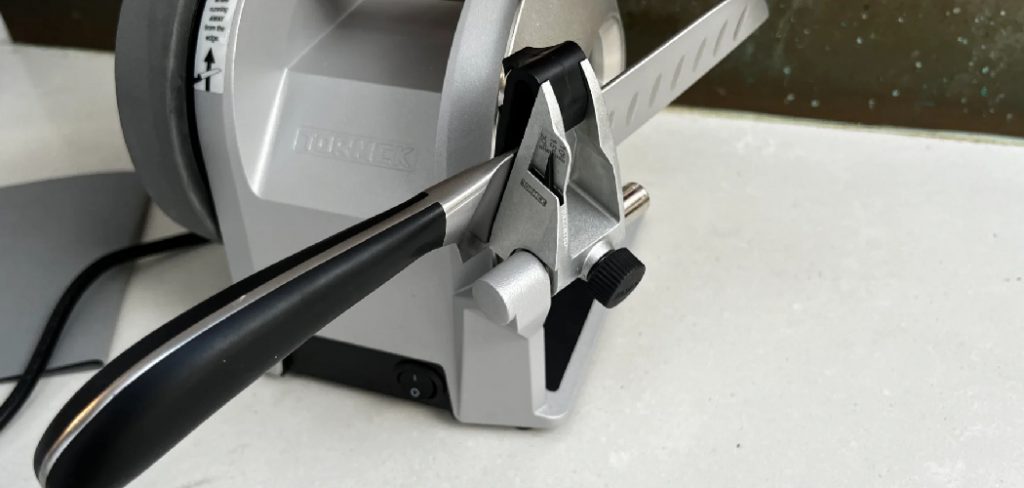
Electric Sharpeners
Electric sharpeners designed specifically for Japanese knives offer several benefits, including speed and convenience in achieving a professional-level edge. These sharpeners are equipped with slots angled to maintain the delicate edges of Santoku knives, ensuring minimal wear on the blade while restoring sharpness effectively. Select the appropriate setting for your Santoku knife to use an electric sharpener. Insert the blade into the designated slot, maintaining a gentle hold as the sharpener motor runs. This guided system allows for a consistent sharpening process, making it an ideal choice for those seeking efficiency without sacrificing quality. After sharpening, test the knife’s edge on a piece of paper to confirm its sharpness, and repeat the process if necessary.
Ceramic Honing Rod
A ceramic honing rod is a valuable tool for maintaining the knife’s edge between full sharpening sessions, keeping the blade in peak condition, and extending the time between sharpening. Hold the rod vertically on a secure surface to hone your Santoku knife one your Santoku knife, hold the rod vertically on a secure surface. Position the knife at a 15-degree angle to the rod, focusing on light, even strokes. Draw the blade down and across the rod from heel to tip, alternating sides with each stroke. Perform this technique a few times on each side to realign the edge and maintain optimal sharpness. Regular honing ensures prolonged cutting efficiency and preserves the precision of your knife.
Maintaining Your Santoku Knife for Longevity
Regular Honing and Touch-Ups
Honing your Santoku knife regularly is crucial for maintaining its sharpness and minimizing the need for frequent sharpening. By realigning the blade’s edge, honing ensures that your knife remains effective for precise cutting. If used frequently, it is recommended to hone your knife once a week, while sharpening should be done less often, approximately every few months, depending on usage. This balance helps preserve the blade’s longevity and cutting performance.
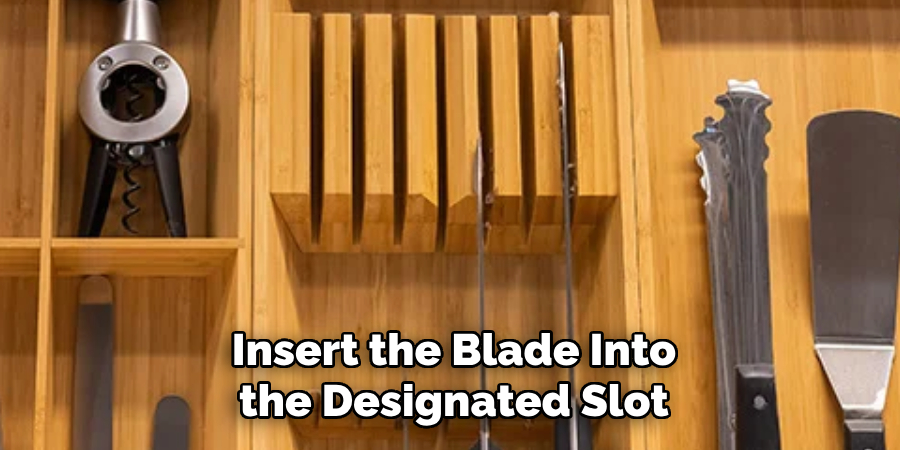
Cleaning and Storage Tips
Always clean your Santoku knife by hand using warm, soapy water and a soft cloth to prevent dulling, avoiding abrasive materials. Dry thoroughly with a towel to prevent rust. Proper storage is equally important; use a sheath, knife block, or magnetic strip to protect the blade’s edge from damage. Ensuring your knife is stored safely not only prolongs its life but also maintains its sharpness, making it ready for the next use.
Troubleshooting Common Sharpening Issues
Uneven Edge
An uneven edge can result from inconsistent pressure or strokes during sharpening. To remedy this, focus on applying equal pressure along the entire blade length, ensuring smooth, uniform movements. Check the sharpness on both sides frequently to maintain symmetry. Employing visual and tactile inspections after sharpening can highlight areas needing more attention. Adjust your technique by varying pressure or reducing stroke repetitions in specific areas to achieve a balanced edge.
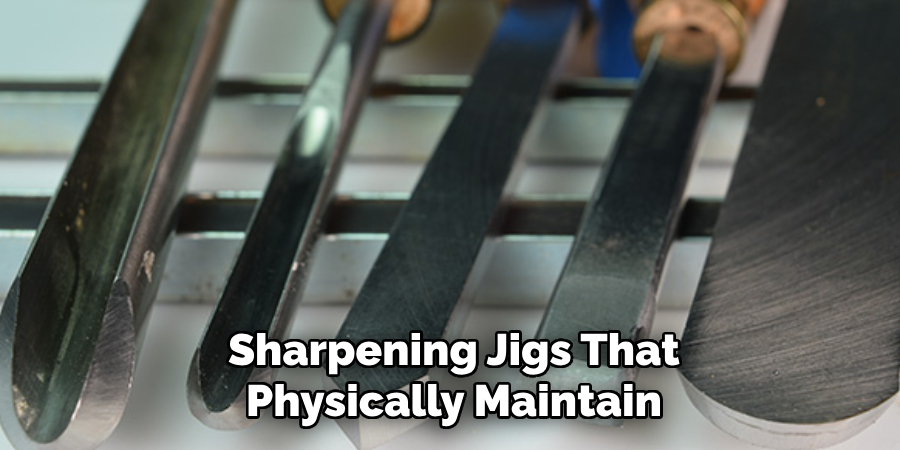
Difficulty Maintaining the Angle
Consistent practice is essential to mastering the sharpening angle, which is crucial for achieving a sharp and precise edge. To simplify the process, consider using angle guides or sharpening jigs that physically maintain the correct angle, allowing you to focus solely on your technique. These tools benefit beginners, providing assurance and reducing the learning curve. Over time, your muscle memory will improve, and maintaining the correct angle will become more intuitive.
Conclusion
In mastering how to sharpen Santoku knife effectively, it’s essential to follow the precise steps of using the correct angle and applying consistent pressure during sharpening. Utilizing proper tools such as whetstones, electric sharpeners, and honing rods ensures optimum sharpness and longevity. Regular maintenance, including honing and cleaning, enhances the knife’s performance, making every cut more satisfying. By dedicating time to upkeep, you preserve your knife’s edge and enjoy the benefits of a reliable, well-maintained blade. Remember, investing in care today leads to consistent culinary precision and enjoyment in the future.
Edmund Sumlin is a skilled author for Metal Fixes, bringing 6 years of expertise in crafting a wide range of metal fixtures. With a strong background in metalwork, Edmund’s knowledge spans various types of fixtures, from decorative pieces to functional hardware, blending precision with creativity. His passion for metalworking and design has made him a trusted resource in the industry.
Professional Focus:
- Expert in Metal Fixtures : Edmund aesthetic specializes in creating durable and innovative metal fixtures, offering both appeal and functionality. His work reflects a deep understanding of metalworking techniques and materials.
- Sustainability Advocate : He is dedicated to using sustainable practices, ensuring that every fixture is crafted with eco-friendly methods while maintaining high-quality standards.
In his writing for Metal Fixes, Edmund provides valuable insights into the latest trends, techniques, and practical advice for those passionate about metal fixtures, whether they are professionals or DIY enthusiasts. His focus on combining artistry with engineering helps others discover the true potential of metal in design.