

Are you struggling to till your garden because your blades aren’t sharp enough? Sharpening your tiller blades can make a big difference in your gardening efficiency and effectiveness.
How to sharpen tiller blades is an essential maintenance task that ensures your garden tiller operates effectively and efficiently. Over time, tiller blades can become dull due to regular contact with rocks, roots, and soil, hindering the tiller’s performance. A sharp blade makes tilling easier and ensures better aeration and mixing of the soil, leading to healthier garden beds.
This guide will walk you through the necessary steps to sharpen your tiller blades safely and effectively. It will help you extend the life of your equipment and improve your gardening results.
What Will You Need?
Before you start sharpening your tiller blades, make sure you have the following tools and materials on hand:
- A pair of heavy-duty gloves to protect your hands during the process.
- Safety goggles or glasses to shield your eyes from any flying debris.
- A flat, sturdy surface such as a workbench or table for sharpening the blades.
- A metal file or grinding wheel designed explicitly for sharpening garden tool blades.
- A wire brush to remove any rust or debris from the blades before sharpening.
Once you have gathered all the necessary items, it’s time to start!
10 Easy Steps on How to Sharpen Tiller Blades
Step 1. Safety First
Before beginning the sharpening process, it is essential to prioritize safety. Start by ensuring that your work area is well-lit and free from any clutter that might cause accidents. Wearing heavy-duty gloves and safety goggles is crucial to protect your hands and eyes from sharp edges and metal debris. It is also recommended to wear long sleeves and pants to safeguard against any potential injuries. Before working on the blades, ensure the tiller is turned off and disconnected from any power source to prevent accidental activation. Setting up a safe working environment and taking appropriate precautions reduce the risk of injuries and ensure a smooth sharpening process.
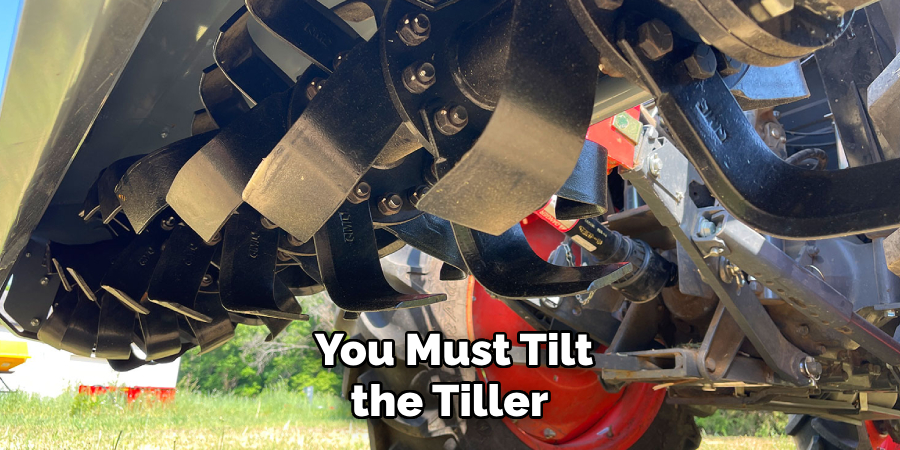
Step 2. Remove the Blades
To effectively sharpen the tiller blades, they must first be detached. Consult your tiller’s manual for specific instructions on removing the blades, as different models might have varying mechanisms. Generally, you must tilt the tiller onto its side to access the underside where the blades are attached. Use the appropriate tool, often a wrench, to carefully loosen and remove the bolts or screws securing the blades. Be mindful of their positioning and orientation; you’ll need to reattach them correctly after sharpening. Once removed, set the blades on your prepared work surface, ready for the next steps in the sharpening process.
Step 3. Clean the Blades
Now that the blades are removed, it’s time to clean them thoroughly. Use a wire brush to scrub off any dirt, rust, or debris that might have accumulated on the blades during use. Removing these particles is essential as they can interfere with the sharpening process and affect the efficiency of the blades. Pay particular attention to areas where rust is prevalent, as these spots can weaken the metal over time. Once the blades are clean, inspect them for any signs of damage, such as cracks or chips. If you notice any significant damage, replacing the blades rather than sharpening them might be necessary.
Step 4. Secure the Blades
With the blades clean and ready for sharpening, the next step is to secure them safely on a sturdy work surface. Position each blade so the edge is sharpened, easily accessible, and supported. You can use a clamp to hold the blade firmly in place and prevent it from moving during sharpening. Ensuring the blade is stable makes sharpening more accessible and minimizes the risk of injury. Double-check that the blade is positioned correctly and that the work area is clear of any distractions before proceeding. A secure setup will allow for more precise sharpening, leading to a more effective cutting edge for your tiller blades.
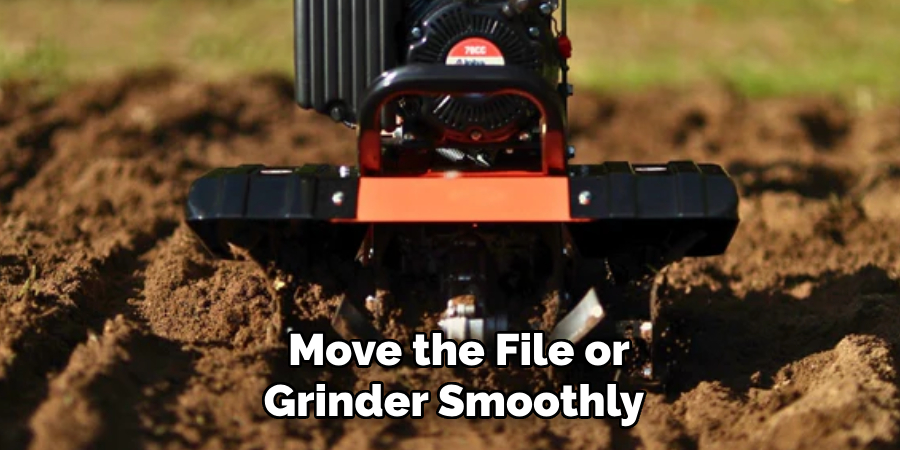
Step 5. Sharpen the Blades
With the blades securely clamped, you can now begin the sharpening process. Use a metal file or a grinding wheel appropriate for garden tools. Hold a file at a consistent angle against the blade’s edge—typically, 30 to 45 degrees is recommended for optimal sharpening. Move the file or grinder smoothly along the blade’s edge, applying moderate pressure to sharpen it gradually.
Take care to maintain the same angle and pressure throughout to ensure a uniform edge. After a few passes, check the sharpness using a gentle brush of your thumb (run parallel, not across the edge) to feel for a burr, indicating the blade is sharp. Once satisfied with the sharpness, flip the blade and repeat the process on the opposite edge if necessary. Remember to periodically clean the file or grinding wheel to maintain sharpening efficiency.
Step 6. Balance the Blades
After sharpening, it’s essential to ensure the blades are balanced. Unbalanced blades can cause excessive vibrations during operation, leading to uneven tilling and potential damage to the tiller. To check their balance, place the center hole of the blade on a nail or specialized blade balancer. If one side dips lower than the other, it indicates an imbalance. Remove material gradually from the heavier side using a file until the blade remains level when balanced. This step is crucial for your tiller’s smooth and efficient functioning and should not be overlooked, even if the blades appear visually.
Step 7. Reattach the Blades
Once the blades are sharpened and balanced, it’s time to reattach them to the tiller. Carefully position the blades in the same orientation as they were initially installed. If necessary, refer to your tiller’s manual to ensure the correct alignment for optimal performance. Use the appropriate tool, typically a wrench, to secure the blades with bolts or screws. Make sure they are tightened adequately to prevent any loosening during use. Double-check all attachments for security and stability before proceeding to test the tiller. Proper reattachment is critical to ensuring safety and efficiency when operating your equipment.
Step 8. Test the Tiller
With the blades reattached, testing the tiller is crucial to ensure everything is functioning properly. Begin by moving the tiller to an open, clear space without any obstacles or debris. Before starting the engine, perform a quick visual inspection to confirm that all parts are securely fastened and that there are no loose components. Once satisfied, start the tiller and allow it to run for a few minutes.
Listen for any unusual noises or vibrations, which might indicate an issue with the blade installation or balance. If the tiller operates smoothly, conduct a brief tilling test on a patch of soil to assess the effectiveness of the newly sharpened blades. Monitor the tiller’s performance closely and ensure the blades cut the soil evenly and efficiently.
Step 9. Maintain the Tiller Blades
Regular maintenance of your tiller blades is essential to ensure they remain sharp and effective. After each use, take a few moments to clean off any clinging soil or plant material. This will help prevent rust and reduce wear over time. Periodically, inspect the blades for any signs of damage or dulling. Sharpen or replace blades as needed to maintain peak performance. Storing the tiller in a dry, sheltered location will protect the blades and other components from weather-related wear. By incorporating these maintenance practices, you can extend the life of your tiller and keep it running smoothly.
Step 10. Store the Tiller Properly
Proper tiller storage is the final step in ensuring its longevity and reliability. Clean the entire machine thoroughly before putting the tiller away, removing any soil or debris that might have accumulated on the blades, tines, and housing. Pay attention to all moving parts and ensure they are dirt-free to prevent rust and mechanical issues.
After cleaning, check all bolts and screws to make sure they are tightened securely, as vibrations during operation can often loosen them over time. Choose a storage location that is dry and sheltered from environmental elements such as rain or direct sunlight, which can cause rust or fade plastics. Cover the tiller with a protective cover or tarp to provide an extra layer of protection.
By following these ten steps, you can keep your tiller blades sharp and efficient, ultimately saving time and effort in the long run.
Conclusion
Sharpening tiller blades is a crucial maintenance task that directly impacts the performance and efficiency of your gardening equipment.
By following a structured approach on how to sharpen tiller blades—from safely removing and securing the blades, to sharpening, balancing, and reattaching them—you ensure that your tiller operates smoothly and effectively. Regular maintenance, including periodic sharpening and proper storage, not only extends the life of the blades but also improves the overall longevity of the tiller.
Investing a little time in these maintenance practices enhances the productivity of your gardening tasks, making tilling easier and more effective. Remember, well-maintained tools are key to successful gardening.
Edmund Sumlin is a skilled author for Metal Fixes, bringing 6 years of expertise in crafting a wide range of metal fixtures. With a strong background in metalwork, Edmund’s knowledge spans various types of fixtures, from decorative pieces to functional hardware, blending precision with creativity. His passion for metalworking and design has made him a trusted resource in the industry.
Professional Focus:
- Expert in Metal Fixtures : Edmund aesthetic specializes in creating durable and innovative metal fixtures, offering both appeal and functionality. His work reflects a deep understanding of metalworking techniques and materials.
- Sustainability Advocate : He is dedicated to using sustainable practices, ensuring that every fixture is crafted with eco-friendly methods while maintaining high-quality standards.
In his writing for Metal Fixes, Edmund provides valuable insights into the latest trends, techniques, and practical advice for those passionate about metal fixtures, whether they are professionals or DIY enthusiasts. His focus on combining artistry with engineering helps others discover the true potential of metal in design.