

Are you trying to replace an old part on your car or bike but can’t seem to loosen the rusted bolts? Don’t worry, we’ve got you covered!
How to spray rusted bolts is an essential maintenance task that can save time and effort when dealing with stubborn fasteners. Rust often forms due to moisture exposure, making bolts difficult to remove. However, using the correct procedure and materials, such as penetrating oil or rust dissolvers, can effectively loosen rust and make the removal process much smoother. This guide will provide step-by-step instructions on properly spraying rusted bolts to ensure they can be loosened and removed with minimal hassle.
Whether you’re a seasoned mechanic or a DIY enthusiast, understanding how to tackle rusted bolts can make your projects more efficient and successful.
What Will You Need?
Before you start, make sure to gather all the necessary materials and tools. Here’s a list of items you will need:
- Penetrating oil or rust dissolver
- Spray bottle or applicator brush
- Protective gear, such as gloves and goggles
- Wire brush or steel wool
- Adjustable wrench or socket set
Once you have all the necessary supplies, follow these steps to spray rusted bolts properly.
10 Easy Steps on How to Spray Rusted Bolts
Step 1: Prepare the Area
Before applying any products, it’s crucial to ensure the area surrounding the rusted bolts is ready. Start by cleaning the workspace to prevent any dust, dirt, or debris from interfering with the process. Use a wire brush or steel wool to scrub the surface of the bolt gently, removing any loose rust and buildup that may obstruct the penetration of the oil. This step helps the penetrating oil reach deeper into the threads and gives you a clearer sightline to the bolt, allowing for more precise application. Ensure you wear your protective gear, such as gloves and goggles, during this process to prevent any potential injury or exposure to harmful rust particles.
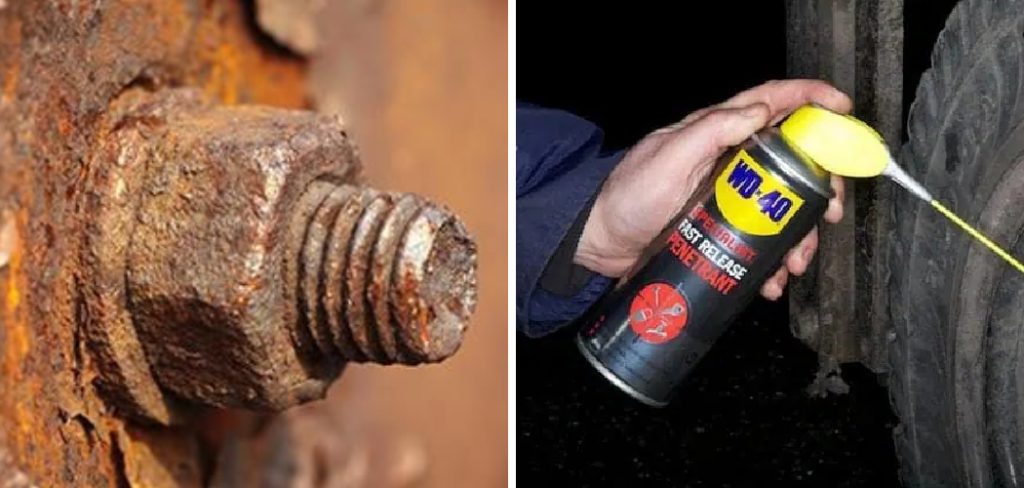
Step 2: Apply the Penetrating Oil
Once the area is prepared, it’s time to apply the penetrating oil. Shake the can or bottle well before use to ensure the contents are well mixed. Using a spray bottle or applicator brush, coat the rusted bolt thoroughly with the penetrating oil. Be sure to cover the exposed threads and areas where the nut meets the bolt. Let the oil sit for a few hours, or as long as the manufacturer’s instructions suggest, to allow it to penetrate deeply and break down the rust. For severely rusted bolts, multiple applications may be necessary to achieve the desired effect. Patience is key, as giving the oil enough time to work can make the task of loosening the bolt significantly easier.
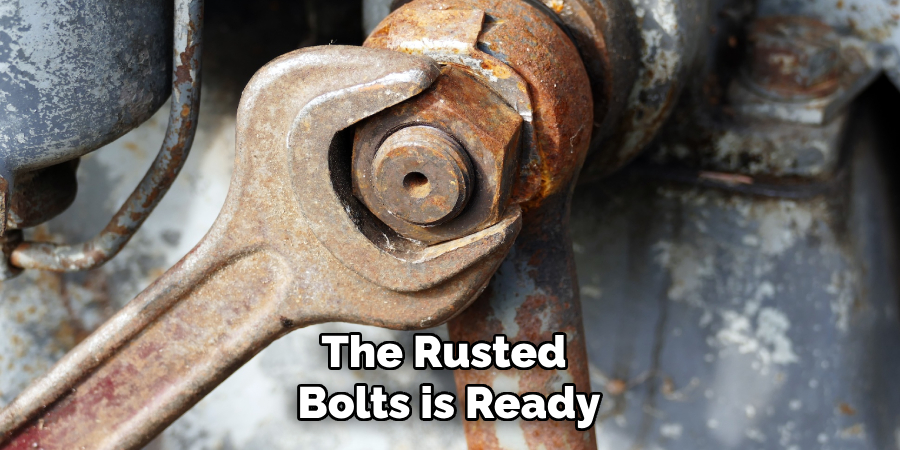
Step 3: Loosen the Bolt
After the penetrating oil has had adequate time to work on the rusted bolt, it’s time to attempt loosening it. Begin by gently tapping the bolt head with a hammer to help the oil penetrate further. Then, use an adjustable wrench or socket set to turn the bolt counterclockwise. Apply steady, even pressure to avoid snapping the bolt. If the bolt resists, try using a breakover bar for additional leverage. In some cases, gently heating the bolt with a heat source like a hairdryer or heat gun can help expand the metal and break the rust bond. Be cautious with heat around flammable materials and always prioritize safety by wearing protective gloves and goggles.
If the bolt still doesn’t budge, consider repeating the application of the penetrating oil and give it more time before making another attempt.
Step 4: Reapply and Repeat if Necessary
If the bolt remains stubborn after your initial attempts, it may require another application of penetrating oil. Spray or brush on a second layer of oil to the bolt’s threads, ensuring thorough coverage. Allow the oil to sit for an extended period per the instructions, which might mean leaving it overnight for the best results. In the interim, ensure your protective gear remains intact and ready for further efforts. Patience during this stage can be crucial, as continued exposure to penetrating oil often succeeds in breaking down stubborn rust. Once the oil has had ample time to work, proceed once more to attempt loosening the bolt with your wrench or socket set, applying consistent pressure to maneuver the bolt free.

Step 5: Clean and Inspect the Threads
Once you successfully loosen and remove the rusted bolt, cleaning and inspect the bolt and nut threads is important before proceeding with reassembly. Use a wire brush or steel wool to thoroughly clean off any rust or debris from the bolt. Pay special attention to the threads to ensure they are free of obstructions, which is crucial for smooth reinstallation or replacement. Inspect the bolt for any signs of severe wear, cracks, or deformation that could affect its future performance.
If the bolt or nut is too damaged, it is advisable to replace them altogether rather than risk compromising the integrity of your project. Properly cleaning and inspecting will ensure a secure fit and prevent future issues related to rust or misalignment.
Step 6: Lubricate the Bolt Before Reinstallation
After cleaning and inspecting the threads, apply a suitable lubricating compound to the bolt before reinstallation. This step is crucial for preventing future rust formation and ensuring smooth operation. Use a high-quality anti-seize or lubricant designed for metal threads to coat the bolt and nut. This will protect the metal surfaces from moisture and reduce the risk of seizing due to corrosion during future removal efforts. Ensure the lubricant is evenly applied along the threads to maximize its protective effect. Once lubricated, reinstall the bolt, ensuring it is securely fastened without exerting excessive force. This preventive measure will enhance the longevity and reliability of your mechanical systems, saving you time and effort in the long run.
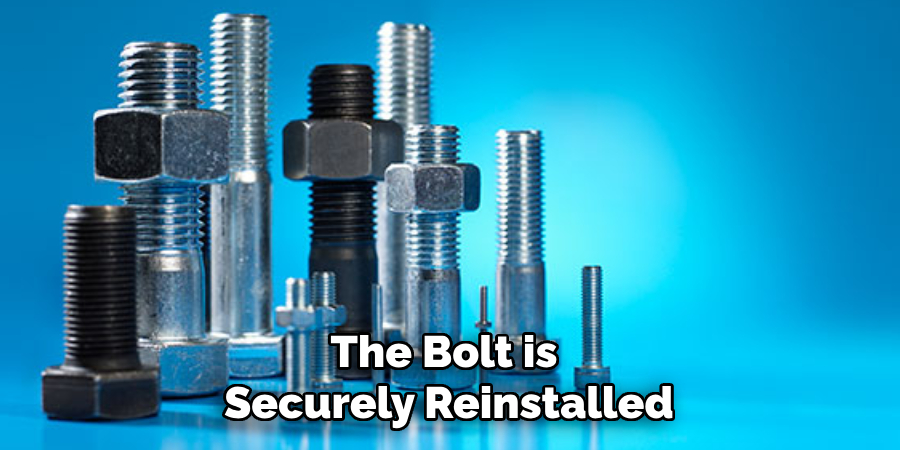
Step 7: Reinstall the Bolt Securely
With the bolt properly lubricated, you can now proceed to reinstall it. Begin by carefully aligning the bolt with the corresponding hole, ensuring it is straight to prevent cross-threading. Hand-tighten the bolt initially to ensure proper placement, then use a wrench or socket set to tighten it further. Apply steady, even pressure as you tighten to avoid overtightening, which can strip the threads or cause unnecessary stress on the bolt. Ensure the bolt is snugly fitted and securely holds the components together. After installation, check quickly to confirm that all parts are aligned correctly and the bolt is securely in place.
This careful attention to detail at this final step ensures that your machinery or structure remains stable and functional, minimizing the risk of future issues due to loose connections.
Step 8: Perform a Final Inspection
Once the bolt is securely reinstalled, conduct a final inspection to confirm everything is properly working. Ensure that all screws, bolts, and other fasteners are tightened to the appropriate levels according to the specifications. Check for any visible signs of wear, misalignment, or damage that may not have been noticeable earlier. Test the functionality of the reassembled components to ensure they operate smoothly and effectively. If everything checks out, your task is complete, and you can be confident that the repair or maintenance has been successfully completed.
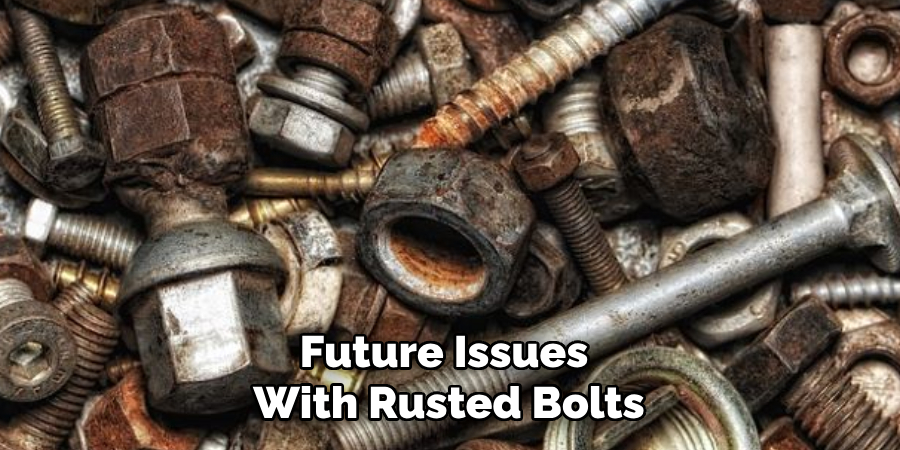
Step 9: Maintain Equipment Regularly
Regular maintenance is critical to preventing future issues with rusted bolts and ensuring your equipment’s longevity and optimal performance. Develop a maintenance schedule that includes periodic checks of all bolts and fasteners, especially those exposed to moisture or harsh environmental conditions. Clean the equipment regularly to remove dirt and debris that may contribute to rust. Apply corrosion inhibitors or protective coatings to susceptible parts, particularly during seasonal changes or in humid environments. Additionally, ensure all moving parts are properly lubricated to facilitate smooth operation and reduce wear.
Step 10: Document the Maintenance Process
Documenting the maintenance process is essential to ensure consistency and improve future maintenance routines. Begin by recording all steps taken during the maintenance or repair, including any specific challenges encountered and how they were resolved. Note the dates of maintenance activities, parts replaced if any, and the condition of the components inspected. Keeping detailed records allows for better tracking of wear patterns and helps in planning future maintenance schedules effectively. Share this documentation with relevant team members or stakeholders, ensuring that knowledge is communicated across the team.
By following these steps, you can effectively remove and prevent rusted bolts from causing significant disruptions or damage to your equipment and structures.
Conclusion
How to spray rusted bolts is a practical and effective method for managing corrosion issues in industrial and everyday applications.
By using high-quality penetrating oil or a rust dissolver, you can significantly ease the process of loosening stubborn bolts and prevent further damage to the threads and surrounding components. It is essential to select a product designed for penetrative action, allowing it to seep into the rust-laden areas and break down the corrosion. Proper spraying techniques and patience ensure that the solution has time to work before attempting removal. This approach minimizes the risk of shearing or snapping the bolt, safeguarding the integrity of the equipment.
In summary, by adopting well-documented and regular maintenance practices that incorporate spraying solutions, you significantly extend the lifespan of your machinery, reduce operational downtime, and promote a safer, more efficient work environment.
Edmund Sumlin is a skilled author for Metal Fixes, bringing 6 years of expertise in crafting a wide range of metal fixtures. With a strong background in metalwork, Edmund’s knowledge spans various types of fixtures, from decorative pieces to functional hardware, blending precision with creativity. His passion for metalworking and design has made him a trusted resource in the industry.
Professional Focus:
- Expert in Metal Fixtures : Edmund aesthetic specializes in creating durable and innovative metal fixtures, offering both appeal and functionality. His work reflects a deep understanding of metalworking techniques and materials.
- Sustainability Advocate : He is dedicated to using sustainable practices, ensuring that every fixture is crafted with eco-friendly methods while maintaining high-quality standards.
In his writing for Metal Fixes, Edmund provides valuable insights into the latest trends, techniques, and practical advice for those passionate about metal fixtures, whether they are professionals or DIY enthusiasts. His focus on combining artistry with engineering helps others discover the true potential of metal in design.