

Welding is a fundamental skill in many industries, from construction to automotive repair. And one of the most versatile methods of welding is stick welding or shielded metal arc welding (SMAW). This traditional method has been used for decades and remains popular due to its affordability, portability, and ability to join different types of metals. If you’re new to stick welding or looking to improve your skills, learning how to strike an arc correctly is crucial.
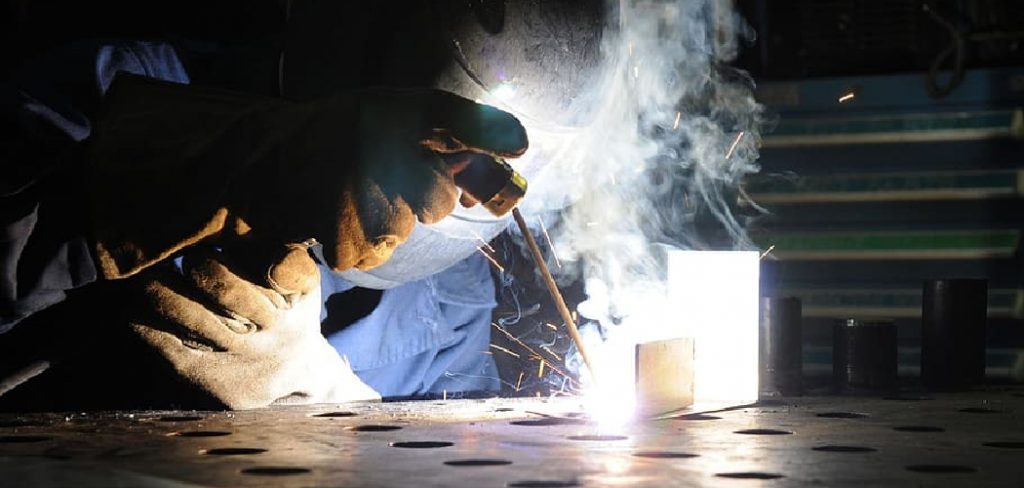
An improper technique can result in inconsistent welds, uneven bead appearance, and even damage to your equipment. In this blog post on how to strike an arc stick welding, we’ll explore the steps on how to properly strike an arc while stick welding and share some tips for achieving high-quality welds every time.
What is an Arc?
Before we dive into the process of striking an arc, let’s first understand what it is. An arc is essentially a discharge of electricity that occurs between two electrodes. During stick welding, the electrode rod or “stick” serves as one electrode and the metal being welded serves as the other. When you strike an arc, you are creating a high-heat electrical discharge that melts the metal and allows you to join two pieces together. The heat generated from the arc is what creates the weld pool, which solidifies to form a strong bond.
Equipment Needed
To strike an arc while stick welding, you’ll need some essential equipment. This includes:
Stick Welder:
This machine provides the electrical current needed for welding.
Welding Electrode:
The electrode is typically made of metal that melts and forms the weld.
Welding Mask:
Protects your face and eyes from bright light emitted during welding.
Welding Gloves:
These protect your hands from heat, sparks, and spatter.
Welding Jacket:
It’s essential to wear a welding jacket, as it provides additional protection from heat and sparks.
10 Step-by-step Guidelines on How to Strike an Arc Stick Welding
Step 1: Prepare the Metal Surface
Before striking an arc, it’s crucial to prepare the metal surface. Ensure that the area is clean and free of rust, paint, or any other contaminants that may affect the weld quality. If necessary, grind down any rough spots or edges. The surface should be clean, smooth, and dry. It’s also essential to have good ventilation in your workspace, as welding produces fumes that can be harmful if inhaled.

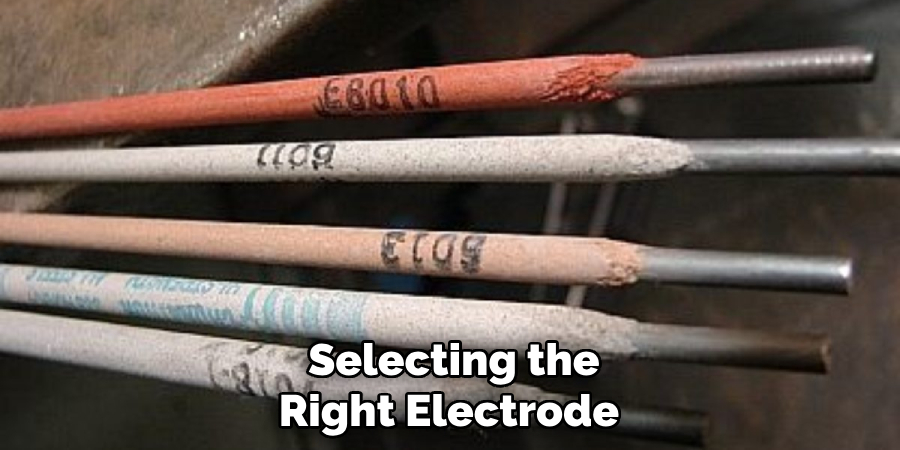
Step 2: Choose the Right Electrode
Different types of electrodes work best for different metals. Make sure to choose the appropriate electrode for the metal you’re welding. For instance, a low-hydrogen electrode is suitable for welding high-strength steel, while a stainless steel electrode is best for welding stainless steel. You can refer to the manufacturer’s recommendations for the appropriate electrode selection.
Step 3: Set up your Welder
To set up your welder, start by connecting the ground clamp to the metal you’re welding. Then, insert the electrode into the holder of your stick welder. Make sure it’s secure and tightened correctly. Set the amperage on your welder according to the electrode size and recommended settings. The amperage can vary depending on the metal thickness and electrode type.
Step 4: Put on Safety Gear
Before striking an arc, it’s crucial to put on safety gear. Wear a welding mask, gloves, and jacket for protection against heat and sparks. It’s also a good idea to wear earplugs to protect your hearing from the noise of the welding machine. However, make sure your earplugs don’t interfere with your ability to hear any safety warnings from others in the work area.
Step 5: Position Yourself Correctly
Position yourself correctly in front of the weld. Make sure you have a comfortable stance and can reach all areas that need to be welded. Otherwise, reposition yourself accordingly. It’s also essential to make sure that you have a clear line of sight to see the welding spot. The welding mask should have a clear lens that enables you to see the welding area.
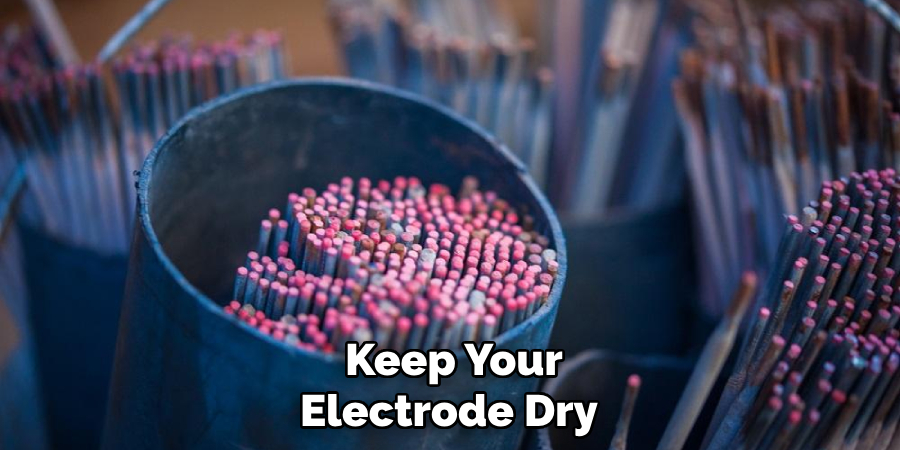
Step 6: Check your Electrode
Check the electrode for any defects or issues before striking an arc. Look for any cracks or inconsistencies in the coating and replace it if necessary. A damaged electrode can result in a poor-quality weld. It’s also essential to keep your electrode dry, as moisture can affect the welding process and cause cracking or porosity in the weld. But if you do notice any moisture, make sure to dry it out before use.
Step 7: Establish an Arcing Distance
The arcing distance is the space between the electrode and the metal. It’s essential to establish the correct arcing distance for consistent welds. The general rule of thumb is to maintain a gap between 1/8 inch to 3/16 inch, depending on your electrode size. You can use a gauge or ruler for accurate measurements. You can also practice maintaining the arcing distance without striking an arc to get a feel for it.
Step 8: Make Contact with the Metal
Once you’ve established the arcing distance, you’re ready to make contact with the metal. Hold your electrode at an angle of 15 to 20 degrees toward the direction that you’ll be welding. Touch the tip of the electrode to the metal and drag it along until you hear a steady sizzling sound. This means that you’ve successfully struck an arc.
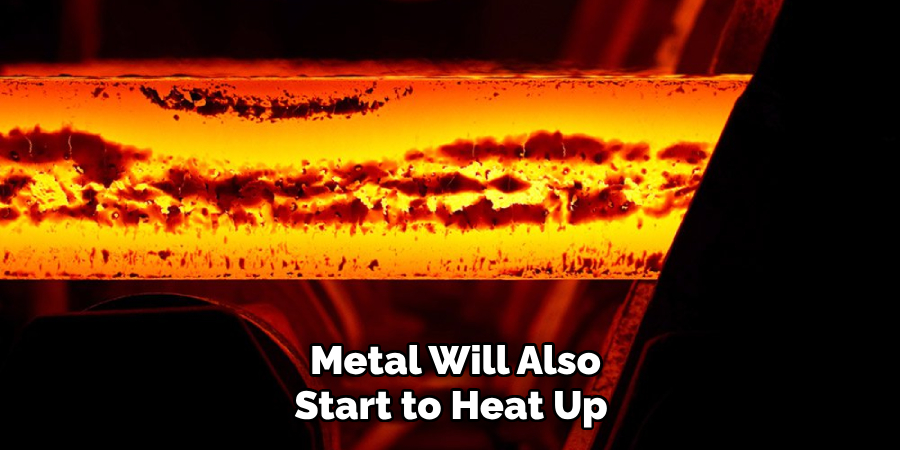
Step 9: Create a Pool of Molten Metal
As you drag the electrode along, the metal will start to heat up and melt. This melting process creates a pool of molten metal that fuses together as it cools. Make sure to maintain a consistent arcing distance and angle throughout this process to create a smooth and even weld. It’s also essential to keep the electrode moving along, as lingering in one spot can lead to burn-through or an uneven weld.
Step 10: Finish the Weld
Once you’ve reached the end of your welding area, slowly lift the electrode away from the metal to break the arc. Let it cool before proceeding to remove any slag (the residue that forms on top of the weld) with a chipping hammer or wire brush. Inspect your weld for any defects and make any necessary repairs before moving on to the next area.
Following these steps on how to strike an arc stick welding will help you strike an arc and create a strong and secure weld. Remember to always prioritize safety by wearing the appropriate gear and working in a well-ventilated area. With practice, you’ll be able to strike an arc with confidence and precision, making you a skilled stick welder. So keep practicing, stay safe, and be happy welding!
Frequently Asked Questions
Q1: Can I Use Any Electrodes for Stick Welding?
A1: No, it’s important to choose the appropriate electrode for the metal you’re welding. Different electrodes work best for different metals. The manufacturer’s recommendations can guide you in selecting the right electrode.
Q2: What Causes a Poor-quality Weld?
A2: A poor-quality weld can be caused by various factors, including improper electrode selection, incorrect arcing distance or angle, and lack of preparation of the metal surface. It’s important to follow all the necessary steps and guidelines to achieve a strong and secure weld.
Q3: Can I Strike an Arc with a Damp Electrode?
A3: No, moisture on the electrode can cause issues during the welding process and result in a poor-quality weld. If you notice any moisture, make sure to dry it out before use. So always remember to keep your electrodes dry for optimal results.
Q4: How Do I Know if I’ve Struck an Arc?
A4: You’ll know you’ve struck an arc when you hear a steady sizzling sound. The metal will also start to heat up and melt, creating a pool of molten metal for the welding process. Always make sure to maintain a consistent arcing distance and angle for a successful weld.
Conclusion
In conclusion on how to strike an arc stick welding, striking an arc while stick welding may seem like a daunting task, but with the right techniques and practice, it can become second nature. Remember to start off with proper safety precautions and equipment, including a welding mask and insulated gloves.
Then, make sure your machine is set to the correct amperage and electrode size for the type of metal you are working with. When ready to strike the arc, use a quick tapping motion with your electrode while simultaneously pulling back for a smooth and clean start. As you continue welding, be sure to maintain a consistent angle between your electrode and workpiece to ensure a strong and stable weld.
And lastly, don’t forget to keep your movements fluid and steady while constantly monitoring the size of your weld pool. With these tips in mind, you will be well on your way to mastering the art of striking an arc in stick welding. So go forth with confidence and create stunning metal creations that showcase your newfound skills! Remember, practice makes perfect, so keep at it and never stop learning new techniques to improve your abilities as a welder. Now get out there and let those sparks fly!
Edmund Sumlin is a skilled author for Metal Fixes, bringing 6 years of expertise in crafting a wide range of metal fixtures. With a strong background in metalwork, Edmund’s knowledge spans various types of fixtures, from decorative pieces to functional hardware, blending precision with creativity. His passion for metalworking and design has made him a trusted resource in the industry.
Professional Focus:
- Expert in Metal Fixtures : Edmund aesthetic specializes in creating durable and innovative metal fixtures, offering both appeal and functionality. His work reflects a deep understanding of metalworking techniques and materials.
- Sustainability Advocate : He is dedicated to using sustainable practices, ensuring that every fixture is crafted with eco-friendly methods while maintaining high-quality standards.
In his writing for Metal Fixes, Edmund provides valuable insights into the latest trends, techniques, and practical advice for those passionate about metal fixtures, whether they are professionals or DIY enthusiasts. His focus on combining artistry with engineering helps others discover the true potential of metal in design.