

Stripping latex paint from metal can seem like a daunting task, but with the right tools and techniques, it can be accomplished efficiently and effectively. Whether you’re restoring an old piece of furniture, refurbishing hardware, or simply cleaning up a painting project, removing paint properly is essential to achieve a smooth and polished finish.
This guide on how to strip latex paint from metal will provide step-by-step instructions to help you safely and successfully strip latex paint from metal surfaces.
What is Latex Paint?
Before we jump into the process of stripping latex paint, it’s important to understand what exactly latex paint is. Latex paint, also known as water-based paint, is a type of acrylic paint that uses water as a base instead of oil. It has become popular due to its low odor, quick drying time, and easy clean-up with soap and water.
It is commonly used for interior and exterior walls, furniture, and other household items. However, when it comes to metal surfaces, latex paint can be a bit tricky to remove due to its water-based properties.
Tools and Materials You Will Need
Before you get started on stripping the latex paint from your metal surface, make sure you have all the necessary tools and materials. Here’s a list of what you will need:
Protective Gear (Gloves, Safety Glasses, Mask):
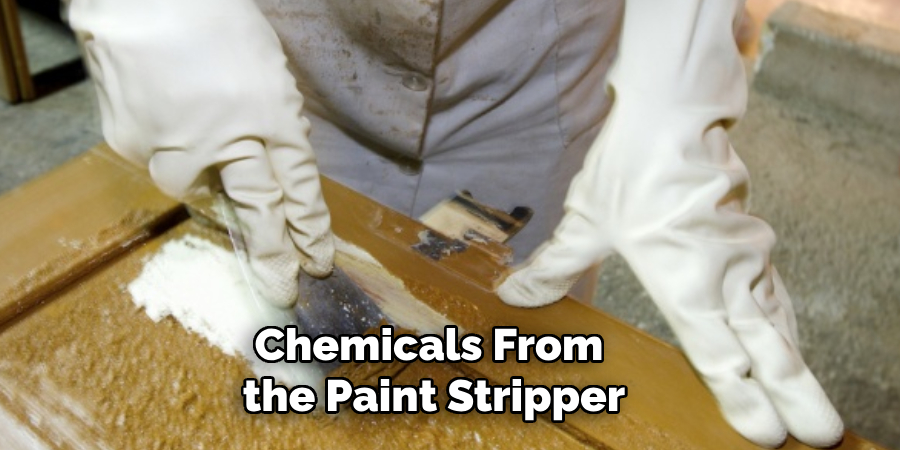
Safety should always be a top priority when working with any type of paint removers. Latex paint strippers can be harsh chemicals that may cause skin irritation, eye irritation, and respiratory problems if not handled carefully.
Paint Stripper:
There are various types of paint strippers available in the market – solvent-based, caustic, and biochemical. For removing latex paint from metal, we recommend using a solvent-based stripper as it is effective and less damaging to the metal surface.
Scraper or Wire Brush:
These tools will help you remove the softened paint from the metal surface. A scraper is ideal for flat surfaces, while a wire brush works well for detailed areas.
Sandpaper or Steel Wool:
After scraping off most of the paint, use sandpaper or steel wool to remove any remaining stubborn bits of paint and smooth out the surface.
Clean Cloth and Water:
A clean cloth and water will be used to wipe down the stripped surface and remove any residue from the paint stripper.
8 Step-by-Step Guidelines on how to strip latex paint from metal
Step 1: Prepare the Work Area
Before beginning the paint removal process, it’s crucial to set up a safe and organized workspace. Choose a well-ventilated area, preferably outdoors or in a space with good airflow, to avoid inhaling fumes from the paint stripper. Lay down a drop cloth or old newspapers to protect the surrounding surfaces from drips or spills.
Ensure all tools and materials are within easy reach, and put on your protective gear, including gloves, safety glasses, and a mask, to shield yourself from potential hazards. A clean and prepared work area will help ensure that the process is both safe and efficient.
Step 2: Test the Paint Stripper
Before applying the paint stripper to the entire surface, it’s essential to test it on a small, inconspicuous area first. This will help determine how long the stripper needs to sit before removing the paint and if there are any adverse reactions to the metal surface.
But if you already know the type of paint stripper to use and have used it before, feel free to skip this step.
Step 3: Apply the Paint Stripper
Once you’ve made sure that the chosen paint stripper is safe for your metal surface, apply it evenly across the painted area with a brush or roller. Make sure to follow the manufacturer’s instructions on how long to leave it on.
You may notice the paint starting to bubble and lift – this is a sign that the stripper is working. If the paint does not react, it might be necessary to try a different type of stripper.
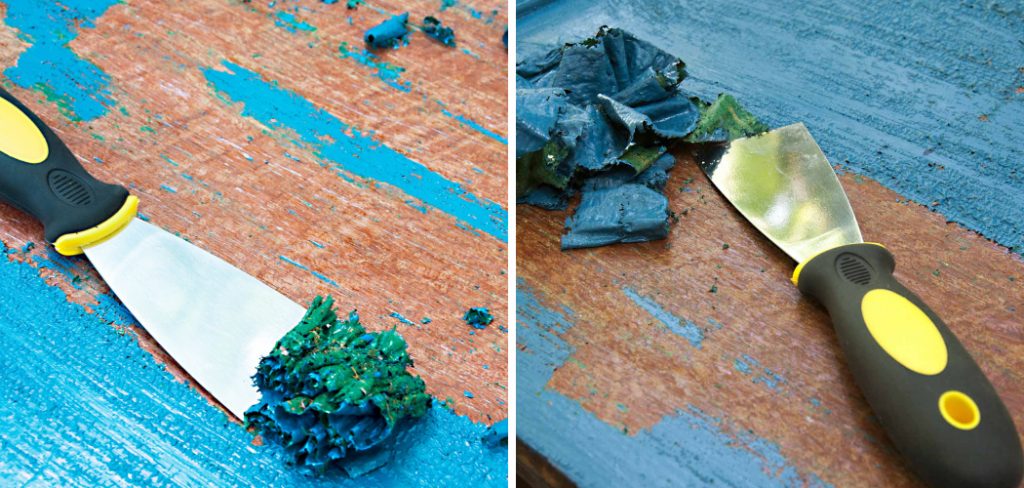
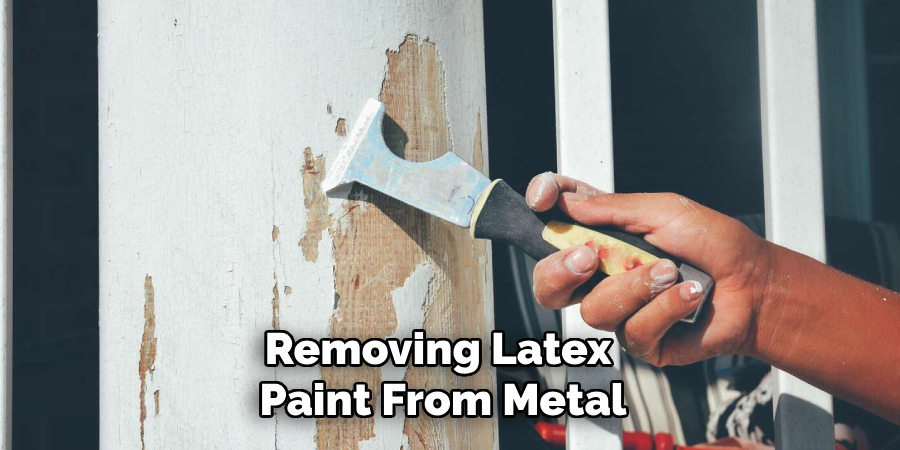
Step 4: Scrape Off the Paint
After the recommended time has elapsed, use a scraper or wire brush to remove the softened paint from the metal surface. Be sure to work carefully and avoid scratching or damaging the metal.
If there are multiple layers of paint, you may need to repeat this step until all layers have been removed.
Step 5: Cleanse with Water
Once you have scraped off the paint, it’s important to clean the metal surface thoroughly to remove any leftover paint stripper residue. Use a clean cloth dampened with water to wipe down the entire surface.
Pay close attention to any crevices or hard-to-reach areas to ensure all residue is removed. This step not only cleans the surface but also neutralizes any lingering chemicals from the paint stripper. Allow the metal to dry completely before proceeding to the next steps, such as sanding or applying a new coat of paint.
Step 6: Sand the Surface
After the metal has dried completely, the next step is to sand the surface to remove any remaining traces of paint and achieve a smooth finish. Use sandpaper or steel wool to gently sand the metal, focusing on areas where paint residue might still be present. Start with coarse-grit sandpaper to tackle stubborn spots, then switch to finer grit for a polished, even surface.
Be careful not to press too hard, as excessive force could damage or scratch the metal. This step is crucial to prepare the surface for any further treatments, such as priming or repainting, ensuring better adhesion and a professional-quality result. Once finished, wipe away any sanding dust with a clean cloth.
Step 7: Apply a Rust Inhibitor
After removing the paint, the metal surface may be left vulnerable to rust and corrosion. To prevent this, consider applying a rust inhibitor or primer to protect the metal from moisture and oxidation.
Look for a product specifically designed for metal surfaces and follow the manufacturer’s instructions for proper application. This will not only help keep your metal item in good condition but also ensure that any new paint applied will have a strong foundation to adhere to.
Step 8: Repaint if Desired
If you wish to repaint the metal surface after stripping off the latex paint, now is the time to do so. Make sure the surface is clean and dry before applying a new coat of paint. Follow the instructions on the paint can for best results, and allow sufficient drying time before using the item.
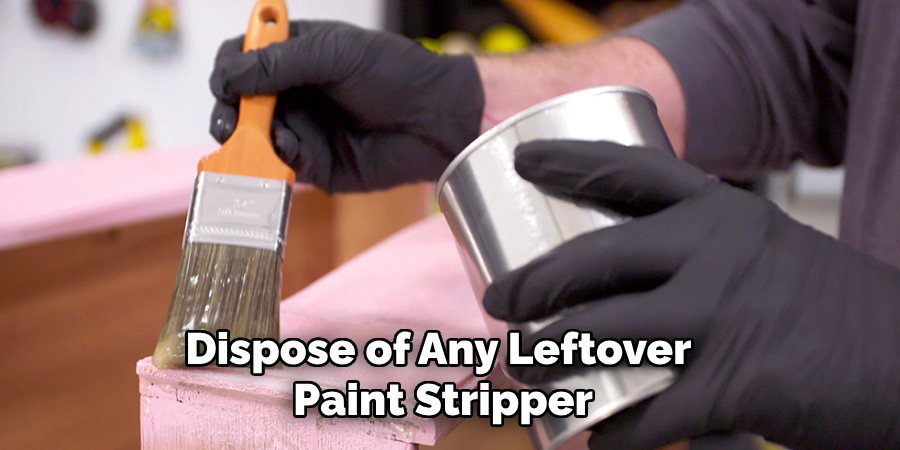
Congratulations – you have successfully stripped latex paint from metal! Remember to properly dispose of any leftover paint stripper and used materials according to local regulations. With these step-by-step guidelines on how to strip latex paint from metal, you can easily remove old, unwanted paint from metal surfaces and transform them into like-new items with just a little effort and patience. Happy painting!
Additional Tips
- Always read and follow the manufacturer’s instructions when using any type of paint stripper.
- Avoid using caustic or biochemical strippers on metal surfaces as they can cause damage.
- Consider wearing long sleeves and pants in addition to protective gear, as some paint strippers can irritate the skin.
- If possible, use a wire brush or scraper made of a non-metallic material to avoid scratching the metal surface.
- After using any chemical products, make sure to wash your hands and other exposed areas thoroughly.
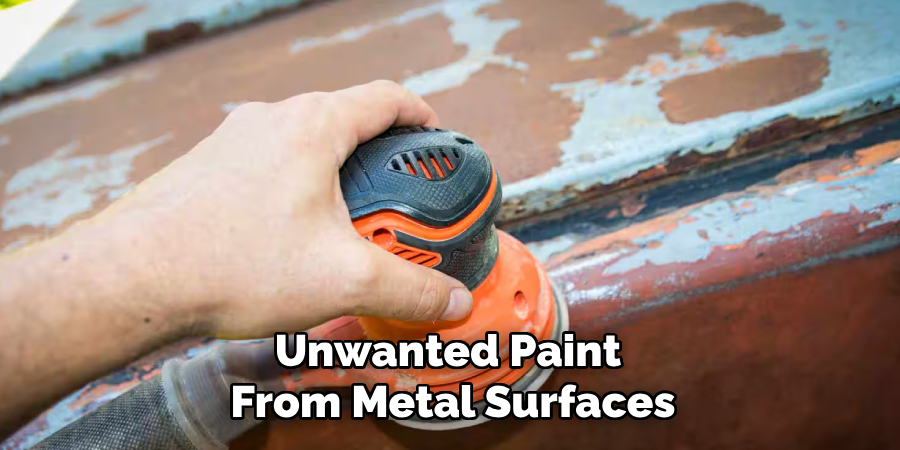
- For larger or more intricate metal items, it may be easier to use a power sander instead of sandpaper for the stripping process.
- Don’t forget to properly dispose of any leftover paint stripper and used materials according to local regulations.
Frequently Asked Questions
Q1: Can I Use the Same Paint Stripper for All Types of Metal Surfaces?
A1: It’s important to choose a paint stripper that is safe and suitable for the specific type of metal surface you are working with. Some strippers may be too harsh on certain metals and can cause damage, so always read the labels and instructions carefully.
Q2: Can I Use a Heat Gun or Blowtorch to Remove Paint from Metal?
A2: It is not recommended to use heat guns or blowtorches for paint stripping on metal surfaces as they can cause melting, warping, and other damage. These methods are also more dangerous and should only be used by experienced professionals.
Q3: How Do I Know If the Paint Stripper Is Working?
A3: The paint will start to bubble and lift when the stripper is working. If there is no reaction after the recommended time, it may be necessary to try a different type of stripper. It’s always best to test a small, inconspicuous area first before applying the stripper to the entire surface.
Conclusion
Stripping latex paint from metal surfaces may seem like a daunting task, but with the right tools, materials, and step-by-step guidance, it can be both manageable and rewarding. Taking the time to properly prepare, test, and follow safety precautions ensures a smooth and efficient process.
Whether you’re restoring an old piece of furniture, revamping hardware, or working on a DIY project, the guidelines on how to strip latex paint from metal provided will help you achieve a professional-quality result. By protecting and repurposing metal surfaces, you not only preserve their longevity but also contribute to sustainability. With patience and care, you can breathe new life into your metal items and enjoy the satisfaction of a job well done.
Edmund Sumlin is a skilled author for Metal Fixes, bringing 6 years of expertise in crafting a wide range of metal fixtures. With a strong background in metalwork, Edmund’s knowledge spans various types of fixtures, from decorative pieces to functional hardware, blending precision with creativity. His passion for metalworking and design has made him a trusted resource in the industry.
Professional Focus:
- Expert in Metal Fixtures : Edmund aesthetic specializes in creating durable and innovative metal fixtures, offering both appeal and functionality. His work reflects a deep understanding of metalworking techniques and materials.
- Sustainability Advocate : He is dedicated to using sustainable practices, ensuring that every fixture is crafted with eco-friendly methods while maintaining high-quality standards.
In his writing for Metal Fixes, Edmund provides valuable insights into the latest trends, techniques, and practical advice for those passionate about metal fixtures, whether they are professionals or DIY enthusiasts. His focus on combining artistry with engineering helps others discover the true potential of metal in design.