

Regular maintenance of your bicycle is essential for ensuring its optimal performance and longevity. One crucial aspect of this maintenance is keeping the bike chain properly tightened.
A loose chain can lead to inefficient pedaling, frequent chain drops, and increased wear on the drivetrain components. Conversely, an overly tight chain can create unnecessary friction, causing premature wear and tear. Whether you’re a seasoned cyclist or a casual rider, knowing how to adjust your bike chain can help you enjoy a smoother and safer riding experience.
In this guide on how to tighten bike chain, you’ll learn step-by-step how to tighten your bike chain efficiently and correctly.
Why Tighten Your Bike Chain?
Before we dive into the steps of how to tighten bike chain, let’s understand why it’s important to maintain the correct tension in your bike chain.
A loose chain can slip off the gears or even break while riding, causing accidents and potential injuries. It can also affect your pedaling efficiency by causing energy loss through unnecessary movement of the chain. Additionally, a tight chain can lead to premature wear on expensive drivetrain components such as chainrings and cassettes.
By regularly checking and tightening your bike chain, you can ensure a safer and more efficient ride while also prolonging the life of your bike’s drivetrain components.
What You’ll Need
To tighten your bike chain properly, you will need a few tools:
A Chain Checker Tool or Ruler:
This will help you determine if your chain is too loose or tight. A chain checker tool is more accurate, but a ruler can also work.
An Adjustable Wrench:
This will be used to loosen and tighten the bolts on your rear wheel.
Lubricant:
To keep your bike chain running smoothly and prevent unnecessary wear, it’s essential to use a bicycle-specific lubricant after tightening your bike chain.
8 Step-by-step Guidelines on How to Tighten Bike Chain
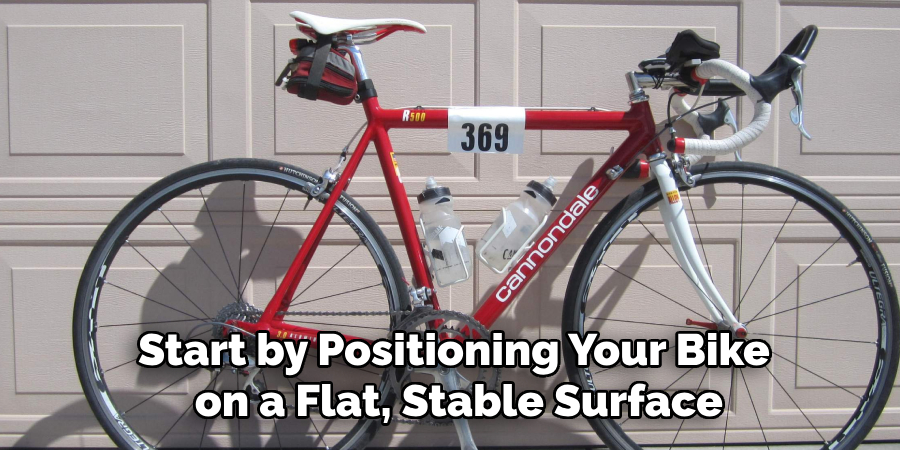
Step 1: Position Your Bike
Start by positioning your bike on a flat, stable surface to ensure safety and ease of adjustment. Ideally, use a bike stand to lift the rear wheel off the ground, allowing for free movement of the pedals and chain. If a stand is unavailable, consider flipping your bike upside down so it rests securely on the handlebars and seat.
Ensure that the bike is stable to avoid any risk of tipping over while you work on the chain. This setup will provide you with easy access to both the chain and the rear wheel, which are crucial for the tightening process.
Step 2: Check Chain Tension
Using a chain checker tool or ruler, check the tension of your bike chain. To do this, pull the bottom part of the chain downwards and measure its movement. A correctly tightened chain should have minimal play and move no more than half an inch in either direction. If it moves more than that, it’s too loose, and if it doesn’t move at all, it’s too tight.
You can also check the tension by pushing down on the chain with your fingers. A properly tightened chain should have a slight amount of slack but not so much that it hangs loosely from the bike.
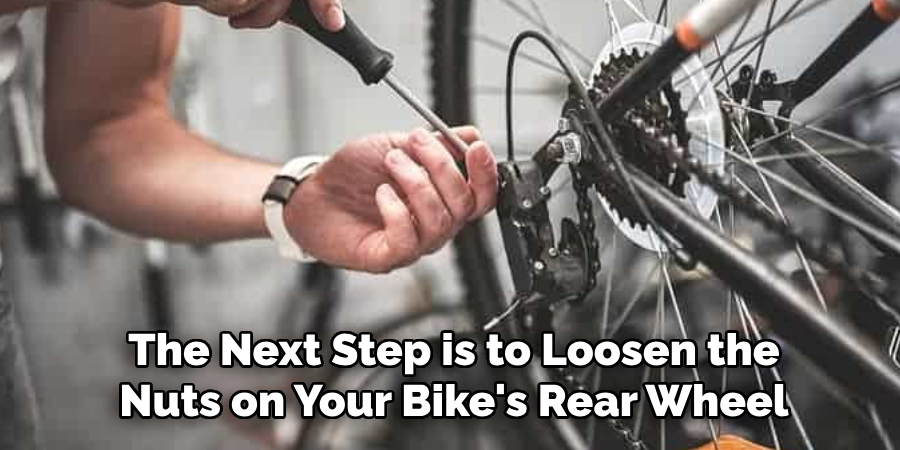
Step 3: Loosen Rear Wheel Nuts
Once you’ve identified the need to adjust your chain tension, the next step is to loosen the nuts on your bike’s rear wheel. Using an adjustable wrench, turn the wheel nuts counterclockwise until they are loose enough for the wheel to move within the dropouts but not completely detached. This will allow you to shift the wheel forward or backward to achieve the desired chain tension.
Take care not to loosen the nuts too much as the wheel needs to stay in place to make the necessary adjustments. Ensure you have a firm grip on the bike while performing this step to avoid any accidental slips or shifts.
Step 4: Align the Rear Wheel
Now that the rear wheel is loose, you can shift it forward or backward to adjust the chain tension. If your chain is too tight, move the wheel back slightly, and if it is too loose, move the wheel forward. Use your fingers to check the chain tension as you make these adjustments until you reach the desired tension.
It’s crucial to keep your rear wheel aligned with the frame of the bike while making these adjustments. Otherwise, it can affect your bike’s overall handling and performance.
Step 5: Tighten the Nuts on the Rear Wheel
Once you’ve achieved the correct tension in your bike chain, use an adjustable wrench to tighten the rear wheel nuts back into place. Ensure they are firmly tightened, but be careful not to over-tighten them as it can cause damage to the frame or axle of your bike.
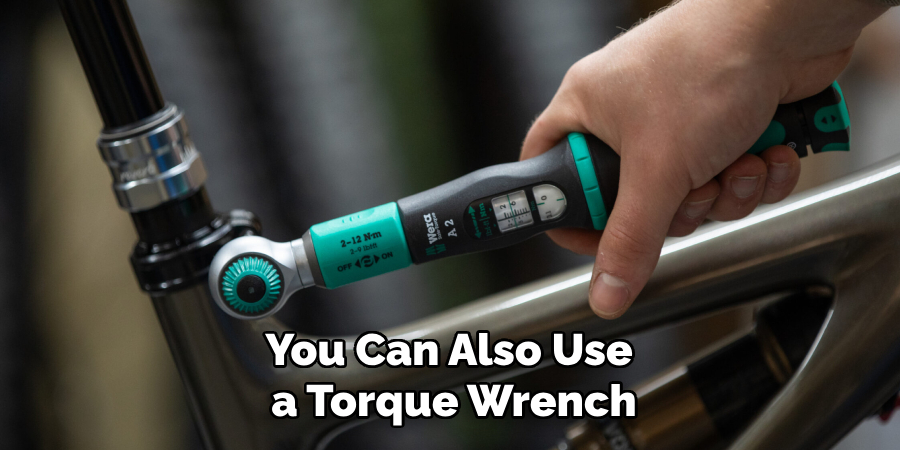
You can also use a torque wrench to tighten the nuts to the manufacturer’s recommended torque specifications for added accuracy and safety.
Step 6: Test Chain Tension
Before taking your bike out for a ride, it’s essential to double-check the chain tension. Using your chain checker tool or ruler, measure the amount of play in the chain again. It should now be within the recommended half-inch limit.
You can also test the tension by riding your bike around a flat area and observing how smoothly and quietly the chain runs. If you notice any excessive noise or skipping, it could indicate an incorrect tension that requires further adjustment.
Step 7: Lubricate Your Bike Chain
After tightening your bike chain, it’s essential to lubricate it to keep it running smoothly and prevent wear on the drivetrain components. Apply a small amount of bicycle-specific lubricant onto the chain and use a clean rag to wipe off any excess.
Ensure that the entire length of the chain is evenly coated with lubricant for optimal performance.
Step 8: Check and Retighten Regularly
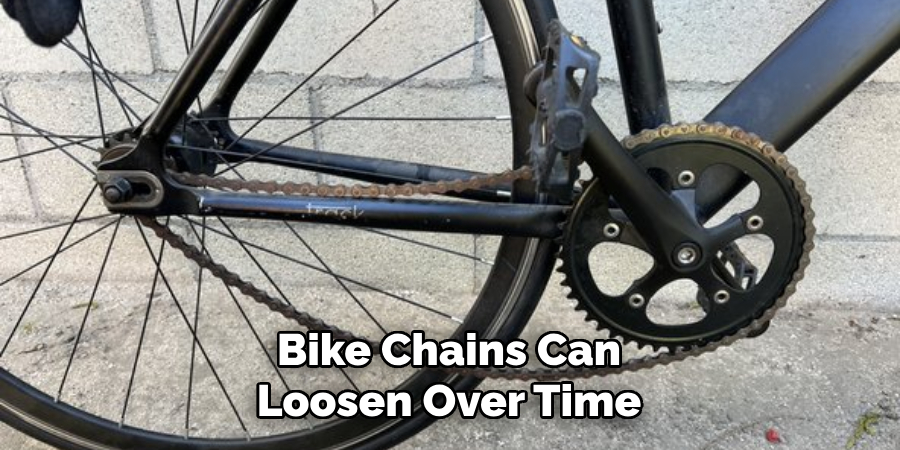
Even with proper maintenance, bike chains can loosen over time due to regular use. Therefore, it’s crucial to check the tension of your bike chain regularly and tighten it as needed. It’s recommended to do this every few weeks or before any long rides.
By following these steps on how to tighten bike chain and regularly maintaining your bike chain, you can ensure a safer, more efficient ride while prolonging the life of your bike’s drivetrain components. Happy riding!
Additional Tips
Inspect for Wear and Tear:
Regularly inspect your bike chain for any signs of wear and tear, such as rust, stiff links, or missing pins. Replacing a worn-out chain in time can prevent damage to the cassette and chainrings.
Avoid Over-Tightening:
While it’s essential to have the correct tension in your bike chain, over-tightening can cause unnecessary strain on the drivetrain components and affect your riding experience. Always aim for a slightly loose chain rather than an overly tight one.
Consider Getting a New Chain:
If your bike chain is old or severely worn, it may be more beneficial to replace it instead of trying to tighten it. A new chain will provide better performance and last longer, ultimately saving you time and money in the long run.
Seek Professional Help:
If you are not confident or comfortable adjusting your bike chain on your own, it’s always best to seek help from a professional bike mechanic. They have the expertise and tools to properly tighten your bike chain and ensure its safety and efficiency. Overall, regularly maintaining your bike chain is essential for a smooth and safe riding experience. Remember to follow these steps and additional tips for optimal results. Happy cycling!
Frequently Asked Questions
Q: How Do I Know When My Bike Chain Needs Tightening?
A: Determining when your bike chain needs tightening can vary based on factors such as your riding style, terrain, and maintenance routine. However, a general rule is to check the chain tension regularly and tighten it if there is more than half an inch of play in the chain or if it feels too loose when you push down on it with your fingers.
Q: Can I Tighten My Bike Chain Without Tools?
A: It’s possible to tighten your bike chain without tools in emergency situations by simply sliding the wheel back in the dropouts. However, this method is not recommended for proper maintenance as it may lead to uneven tension and potential damage to your bike’s components.
Q: How Often Should I Lubricate My Bike Chain?
A: It’s recommended to lubricate your bike chain every 100 miles or after riding in wet or dusty conditions. However, you can also visually inspect the chain and apply lubricant whenever it appears dry or dirty.
Q: Can Tightening My Bike Chain Affect Shifting Gears?
A: Yes, tightening your bike chain can affect shifting gears if the rear wheel becomes misaligned during the adjustment process. Ensure that you keep the wheel aligned with the frame while making any adjustments to prevent this issue. If you experience difficulties shifting gears after tightening your chain, check for any misalignment and realign as needed.
Conclusion
In conclusion, knowing how to tighten bike chain properly is an essential skill for any cyclist. By understanding the importance of correct chain tension and following these simple steps, you can maintain a smooth and safe ride while prolonging the life of your bike’s drivetrain components.
Remember to regularly check and tighten your chain, and always lubricate after making adjustments for optimal performance. With these tips in mind, you can confidently hit the road on your well-maintained bike. Happy riding!
Edmund Sumlin is a skilled author for Metal Fixes, bringing 6 years of expertise in crafting a wide range of metal fixtures. With a strong background in metalwork, Edmund’s knowledge spans various types of fixtures, from decorative pieces to functional hardware, blending precision with creativity. His passion for metalworking and design has made him a trusted resource in the industry.
Professional Focus:
- Expert in Metal Fixtures : Edmund aesthetic specializes in creating durable and innovative metal fixtures, offering both appeal and functionality. His work reflects a deep understanding of metalworking techniques and materials.
- Sustainability Advocate : He is dedicated to using sustainable practices, ensuring that every fixture is crafted with eco-friendly methods while maintaining high-quality standards.
In his writing for Metal Fixes, Edmund provides valuable insights into the latest trends, techniques, and practical advice for those passionate about metal fixtures, whether they are professionals or DIY enthusiasts. His focus on combining artistry with engineering helps others discover the true potential of metal in design.