

Are you worried about your car’s engine oil filter being loose? Changing the oil in your vehicle is an essential part of regular maintenance and ensuring that all parts are functioning correctly.
How to tighten oil filter is an essential step in maintaining the health and longevity of your vehicle’s engine. The oil filter plays a critical role in keeping the engine oil clean and free from contaminants, ensuring optimal lubrication and performance. Over time, the oil filter may become loose due to engine vibrations or improper installation.
This section will guide you through the step-by-step process of securely tightening the oil filter, ensuring a proper seal, and preventing potential oil leaks. By following these simple instructions, you can ensure efficient oil filtration and contribute to the overall health and performance of your vehicle.
What Are the Benefits of a Tightened Oil Filter?
Before we dive into the process of tightening an oil filter, let’s first understand why it is essential. An adequately tightened oil filter offers several benefits that ultimately contribute to your vehicle’s overall health and performance.
- Prevents Oil Leaks: A loose oil filter can cause oil to leak from your car’s engine, leading to potential damage and expensive repairs. You can avoid any possible leaks and maintain a clean garage floor by ensuring a tight seal.
- Improves Engine Performance: A loose oil filter can disrupt the oil flow, resulting in inadequate lubrication for crucial engine components. This can increase friction and wear, affecting your vehicle’s overall performance. A tightly secured oil filter ensures proper oil flow and optimal engine performance.
- Increases Engine Lifespan: Proper lubrication is crucial for the health and longevity of your vehicle’s engine. With a secure oil filter, you can ensure that all parts receive adequate lubrication, preventing premature wear and extending your engine’s lifespan.
Now that we understand the importance of a tightened oil filter, let’s move on to the steps involved in properly securing it.
What Will You Need?
Before you start the process, make sure you have the following items on hand:
- New oil filter
- Oil filter wrench or socket and ratchet
- Clean cloth or paper towel
Once you have these items, you can begin tightening the oil filter.
10 Easy Steps on How to Tighten Oil Filter
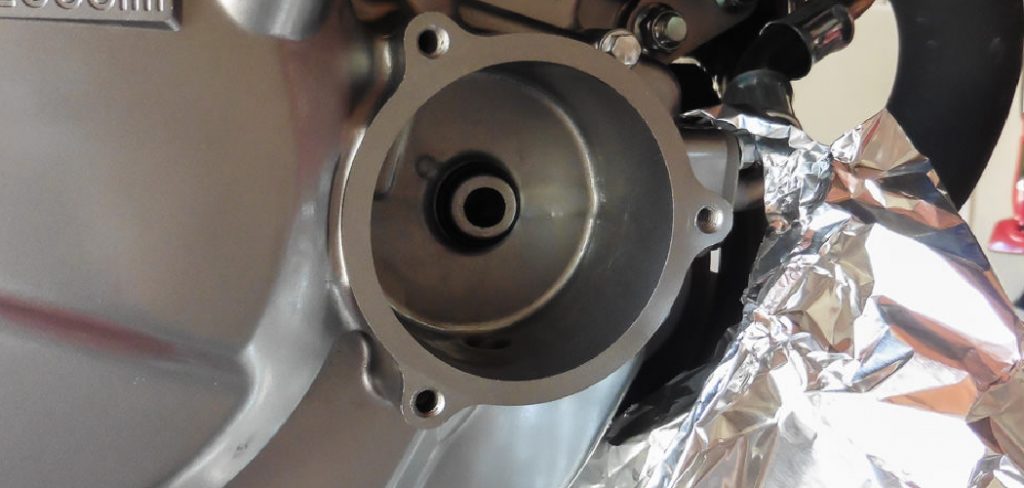
Step 1. Locate the Oil Filter
Start by locating the oil filter in your vehicle. The oil filter is typically cylindrical and located near the engine block. Depending on the make and model, it can be found either on the side of the engine or underneath the vehicle.
To locate the oil filter, consult your vehicle’s owner’s manual for specific instructions and diagrams. Different cars may have varying oil filter locations, so be sure to follow the manufacturer’s guidelines.
Once you have identified the oil filter’s location, ensure the engine is excellent before proceeding to the next steps. This will help prevent any accidental burns from hot engine components.
Step 2. Prepare the Area
Before removing the old oil filter, it is crucial to prepare the area by placing a clean cloth or paper towel underneath it. This will help catch any drips or spills and prevent them from spreading onto other engine parts. Use caution, as the oil filter may still contain hot oil. If the filter is in a hard-to-reach area, you may also need to use a catch pan to collect any oil that may spill out.
Step 3. Loosen the Oil Filter
Using an oil filter wrench or a proper-sized socket and ratchet, loosen the oil filter by turning it counterclockwise. Be gentle but firm, as applying too much force can damage surrounding components or cause the filter to break. If the filter feels stuck, avoid using excessive force – instead, double-check your grip or leverage and try again.
Once the oil filter starts to loosen, be prepared for residual oil to drip out. This is normal and can be caught with the cloth, paper towel, or catch pan you have prepared. Slowly unscrew the filter until it is completely removed from its housing. Set the old filter aside for proper disposal in accordance with local environmental regulations.
Before proceeding to the next step, ensure the oil filter’s mounting surface on the engine block is clean and free of old oil or debris. Wipe the area clean with a clean cloth to guarantee a secure and leak-free fit for the new oil filter.
Step 4. Prepare the New Oil Filter
Before installing the new oil filter, it is recommended to pre-fill it with fresh engine oil. This helps ensure that there is no dry start when you turn on your vehicle and allows for immediate oil flow through the engine. Simply pour some fresh oil into the filter, ensuring that the gasket is also lubricated.
Step 5. Install the New Oil Filter
Carefully screw the new oil filter onto its housing in a clockwise direction until it is hand-tightened. Refer to your owner’s manual for specific instructions on how much to tighten the filter. Generally, it should be tightened by hand until snug or about three-quarters of a turn after the gasket contacts the mounting surface. If the filter has a torque specification, it is best to use a torque wrench to ensure proper tightening.
Step 6. Clean Up Any Spills
After securing the new oil filter, inspect the surrounding area for oil spills or drips. Use a clean cloth or paper towel to wipe down the surface of the engine and surrounding components. This will help prevent potential hazards such as oil burning on hot engine parts or slipping dangers in your work area. Additionally, ensure that no debris or tools are left in the engine bay before proceeding to the next steps.

Step 7. Check the Oil Level
Once the new oil filter is installed and the area is cleaned, it is time to check the engine oil level. Use the dipstick to determine if additional oil needs to be added to compensate for any oil lost during the filter replacement process. If the oil level is low, carefully top it off with your vehicle’s recommended grade and type of oil. Reinsert the dipstick, then recheck the level to ensure it is within the appropriate range.
Step 8. Start the Engine
Start the engine and allow it to run for a few minutes. While the engine is running, check for any leaks around the oil filter to ensure it is securely tightened and sealed. Observe the oil pressure gauge (if your vehicle has one) to confirm normal oil pressure. If you notice any leaks or irregularities, turn off the engine immediately and inspect the oil filter to correct the issue.
Step 9. Recheck the Oil Level
After running the engine and verifying there are no leaks, turn off the vehicle and give the oil a moment to settle. Recheck the oil level using the dipstick and top off if necessary. Ensuring the correct oil level is crucial for proper engine lubrication and performance. Remember to replace the dipstick and securely close the hood before moving to the final step.
Step 10. Dispose of the Old Oil Filter
Finally, dispose of the old oil filter properly. Used oil filters contain hazardous materials and should not be thrown away with regular trash. Take the old filter to a recycling center or an auto parts store that accepts used oil and oil filters for proper disposal. This step is vital for protecting the environment and complying with local waste management regulations. Remember, never dump used oil or oil filters down drains, sewers, or onto the ground.

By following these steps, you can confidently replace and tighten your oil filter, ensuring your vehicle operates efficiently and maintains optimal engine health. Regular maintenance like this is essential for running your car smoothly and avoiding future issues.
5 Things You Should Avoid
- Over-tightening: While it is crucial to tighten the oil filter sufficiently, over-tightening can lead to damaging the filter or the sealing gasket. Use a torque wrench or follow the manufacturer’s recommended torque specifications to achieve the correct level of tightness.
- Using the Wrong Size Wrench: Using the wrong size wrench can result in slippage and potential damage to the oil filter. Ensure that you have the correct size wrench or socket that fits snugly around the filter.
- Not Lubricating the Filter Gasket: Applying a thin layer of clean oil to the rubber gasket before installing the new oil filter. This helps create a proper seal and prevents the gasket from sticking or tearing during future oil changes.
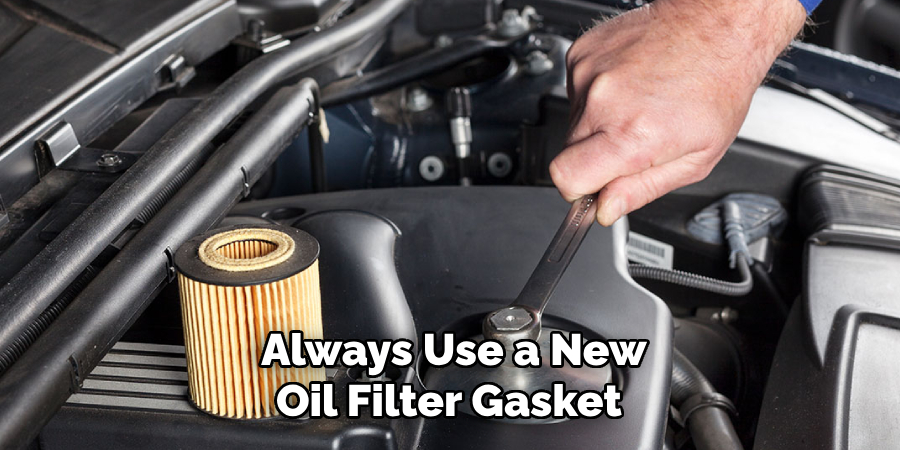
- Reusing Old Gaskets: Always use a new oil filter gasket with each oil change. Reusing the old gasket can compromise the seal, leading to oil leaks or filter failure.
- Ignoring the Filter Change Intervals: Following the manufacturer’s recommended oil and filter change intervals is essential. Neglecting to change the oil filter regularly can result in reduced engine performance, poor fuel efficiency, and potential engine damage.
By avoiding these common mistakes, you can ensure a proper and secure oil filter installation, promoting optimal engine performance and longevity.
Conclusion
In conclusion, how to tighten oil filter is crucial for the health and longevity of your vehicle’s engine.
Following these tips and avoiding common mistakes can ensure a secure and effective oil filter installation. Always refer to your owner’s manual or follow the manufacturer’s recommendations for torque specifications and filter change intervals. With proper maintenance, your engine will continue running smoothly and efficiently for years.
So, it is important to pay attention when changing the oil filters to avoid any potential issues that may arise from improper installation. Keep these tips in mind on how to tighten an oil filter during your next oil change, and you’ll be on your way to maintaining a
Edmund Sumlin is a skilled author for Metal Fixes, bringing 6 years of expertise in crafting a wide range of metal fixtures. With a strong background in metalwork, Edmund’s knowledge spans various types of fixtures, from decorative pieces to functional hardware, blending precision with creativity. His passion for metalworking and design has made him a trusted resource in the industry.
Professional Focus:
- Expert in Metal Fixtures : Edmund aesthetic specializes in creating durable and innovative metal fixtures, offering both appeal and functionality. His work reflects a deep understanding of metalworking techniques and materials.
- Sustainability Advocate : He is dedicated to using sustainable practices, ensuring that every fixture is crafted with eco-friendly methods while maintaining high-quality standards.
In his writing for Metal Fixes, Edmund provides valuable insights into the latest trends, techniques, and practical advice for those passionate about metal fixtures, whether they are professionals or DIY enthusiasts. His focus on combining artistry with engineering helps others discover the true potential of metal in design.