

Are you a handyman who loves to use power tools? A portable band saw is one of the most versatile and useful tools you can have in your workshop.
Using a portable band saw can significantly enhance your efficiency and precision when cutting various metal, wood, or plastic materials. This versatile tool is ideal for DIY enthusiasts and professionals alike, offering flexibility in handling different sizes and shapes of workpieces. The key to maximizing a portable band saw’s potential lies in understanding its basic components, mastering operational techniques, and adhering to safety guidelines.
In this guide on how to use a portable band saw, we will explore step-by-step instructions on how to set up and use a portable band saw effectively, ensuring smooth cuts and optimal performance in your projects.
What Will You Need?
Before we start, let’s review the essential tools and materials you will need to have on hand to use a portable band saw. Having these items ready will save you time and effort during your projects. Here’s what you’ll need:
- Portable band saw
- Appropriate blades for your project (refer to the manufacturer’s recommendations)
- Safety equipment such as goggles, gloves, and earplugs
- Clamps or vise grips to secure your workpiece in place
- Extension cord (if necessary)
Once you have gathered all the necessary tools and materials, you’re ready to get started!
10 Easy Steps on How to Use a Portable Band Saw
Step 1. Inspect the Band Saw:
Before operating your portable band saw, it’s crucial to thoroughly inspect the tool to ensure it’s in good working condition. Start by examining the power cord for any cuts or frays that could pose a safety hazard. If your saw is battery-powered, check that the battery is fully charged and functioning correctly. Next, look over the saw’s casing and handle for any visible signs of damage or wear that could affect its operation. Ensure that all bolts and screws are tightened and that the blade tension is set according to the manufacturer’s specifications.
Additionally, inspect the blade itself for any signs of wear, dullness, or damage. A sharp and intact blade is vital for clean, precise cuts and overall safety. Taking these precautions enhances safety and extends the lifespan of your band saw, ensuring optimal performance during your projects.
Step 2. Install the Appropriate Blade:
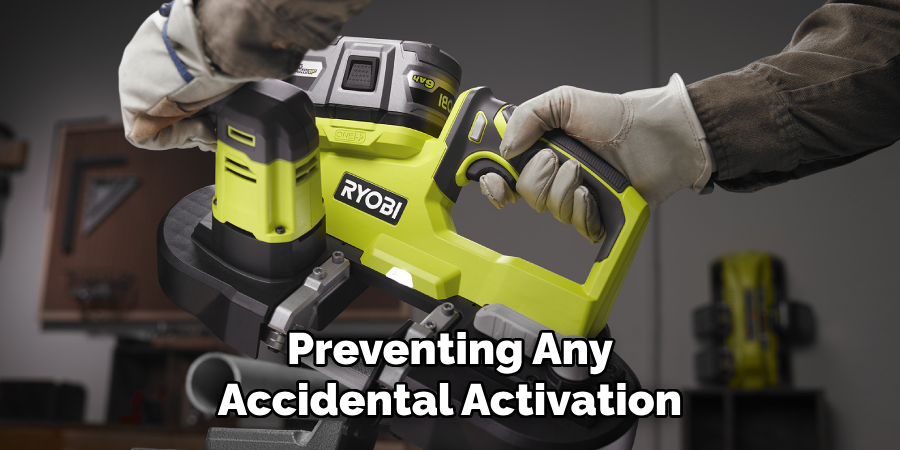
Choosing and installing the correct blade is essential, as different materials require specific blades for optimal cutting results. Begin by selecting a blade that matches the material you intend to cut, considering the manufacturer’s recommendations for the right tooth count and thickness. To install the blade, first, ensure the band saw is unplugged or the battery is removed, preventing any accidental activation.
Loosen the tension knob or lever to release the old blade if one is already installed. Carefully remove it from the wheels, then thread the new blade onto the wheels, ensuring it is appropriately centered within the guides. Once the blade is aligned correctly, re-tighten the tension knob to ensure the blade remains secure during operation. Finally, manually spin the wheels to verify that the blade is installed correctly and tracks smoothly without any obstructions.
Step 3. Secure the Workpiece:
To ensure safety and precision during your cutting process, it’s essential to secure your workpiece correctly. Use clamps or vise grips to hold the material firmly on a stable work surface. This prevents the workpiece from moving or shifting as you cut, which can lead to inaccurate cuts or even injuries. Use a guide or fence to keep your cut straight and ensure uniformity throughout the operation. Take a moment to double-check that the workpiece is securely fastened and aligned according to your cutting plan. A stable setup helps you achieve accurate and smooth cuts while minimizing potential hazards.
Step 4. Adjust the Cutting Speed:
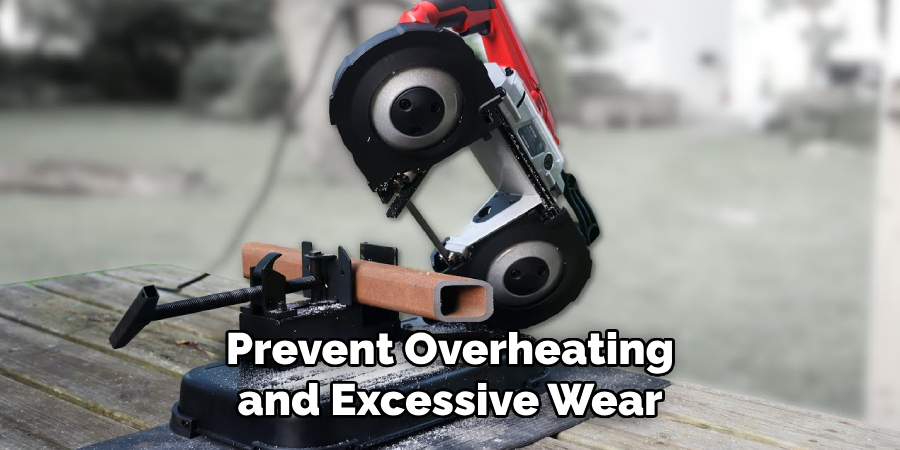
Adjusting the cutting speed of your portable band saw is vital for achieving optimal cutting performance and ensuring the longevity of your blade. Different speed settings may be necessary depending on the material you are working with. Softer materials like wood can typically be cut at higher speeds, while denser materials such as metal may require lower speeds to prevent overheating and excessive wear on the blade. Refer to your band saw’s manual for speed settings that are suitable for different materials.
Once you’ve determined the appropriate speed, adjust the settings on your band saw accordingly. It’s essential to monitor the cutting process and make any necessary adjustments to the speed during operation, ensuring a smooth and efficient cut while minimizing blade wear and reducing the risk of accidents or damage to your workpiece.
Step 5. Begin the Cutting Process:
With your workpiece securely fastened and the cutting speed appropriately set, you can begin cutting using your portable band saw. Hold the saw firmly with both hands, stabilizing your grip to maintain control throughout the cut. Position the blade just above where you want to make the initial incision. Once you’re ready, activate the saw and slowly lower the blade onto the workpiece, letting the saw do the work without excessive force. Guide the saw steadily along the desired cutting path, maintaining a consistent pace to ensure smooth and accurate results.
Step 6. Complete the Cut:
As you approach the end of your cut, remain attentive to ensure a smooth and clean finish. Gradually decrease the pressure and speed as you near the last portion of the material, avoiding any abrupt force that could cause the saw to bind or the material to splinter. Once the blade has fully passed through the workpiece, switch off the saw and lift it away from the cut.
Allow the blade to come to a complete stop before setting the tool down, maintaining safety and control throughout the process. Inspect the finished cut to verify its accuracy and quality, making any necessary adjustments or additional cuts if required. Completing the cut with care ensures precise and satisfactory results, contributing to the success of your project.
Step 7. Clean and Store the Band Saw:
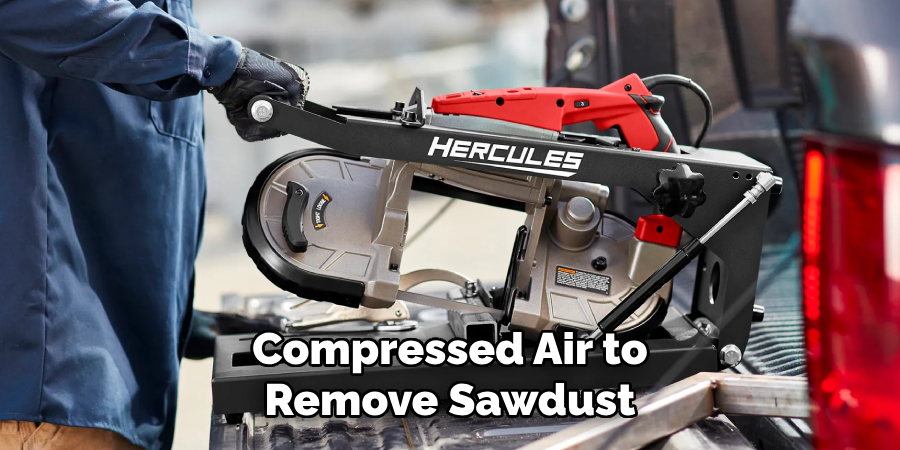
Once you’ve completed your cutting tasks, it’s essential to clean and properly store your portable band saw for its subsequent use. Begin by unplugging the saw or removing its battery to ensure it’s powered down. Use a brush or compressed air to remove sawdust, metal shavings, or debris from the blade and surrounding components.
Wipe down the surface and handle with a clean, dry cloth to keep the tool pristine. Examine the blade and other parts for any signs of wear or damage, replacing parts as necessary to maintain optimal performance. Finally, store the band saw in a dry, secure location, ideally in a protective case or on a shelf, to prevent damage or rusting.
Step 8. Perform Regular Maintenance:
Regular maintenance is essential to ensure your portable band saw continues to function effectively. Check the blade tension and alignment periodically to avoid issues affecting performance. Lubricate moving parts as recommended by the manufacturer to reduce friction and wear. Inspect the electrical components and power cord for any signs of damage, replacing them if necessary. Furthermore, clean and check the drive belts and pulleys to ensure they are debris-free and operating smoothly.
Step 9. Sharpen or Replace the Blade:
Over time, the blade of your portable band saw may become dull, decreasing its cutting efficiency and precision. It’s important to regularly inspect the blade for signs of dullness, such as increased resistance during cuts or visible jagged edges. If the blade is dull, sharpening it can restore its effectiveness. Use a sharpening tool designed explicitly for band saw blades, carefully following the manufacturer’s instructions to avoid damaging the teeth or altering the blade’s balance.
If the blade is beyond sharpening, or if it’s chipped or damaged, replacement is necessary. Consult your band saw’s manual to ensure you select the correct blade type and size for your tool.
Step 10. Follow Proper Safety Protocols:
Adhering to safety protocols is crucial when operating a portable band saw. Always wear appropriate personal protective equipment (PPE), such as safety goggles, gloves, and ear protection, to safeguard against potential hazards. Maintain a clean and organized workspace to reduce the risk of accidents, ensuring the area is free of clutter and obstructions.
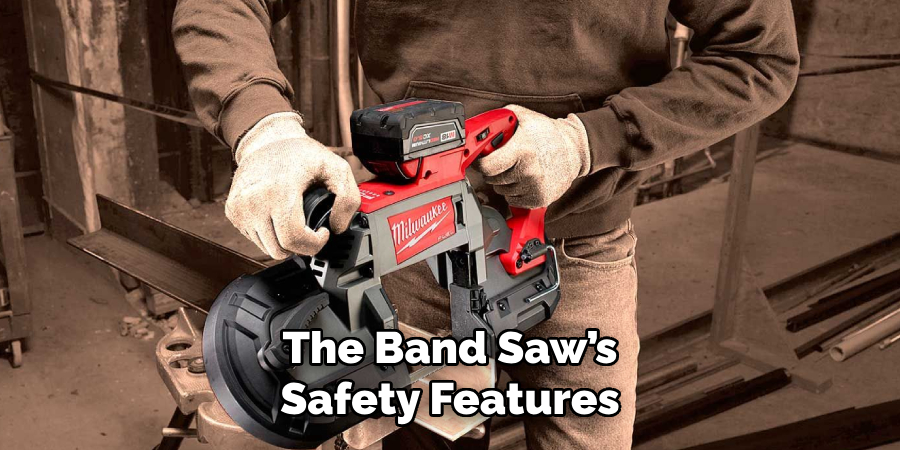
Be vigilant and focused while operating the saw, avoiding distractions that may lead to mishaps. Familiarize yourself with the band saw’s safety features, such as emergency stop and blade guard mechanisms, utilizing them as necessary. In addition, safety guidelines provided by the tool’s manufacturer should be regularly reviewed to stay informed about best practices.
Following these steps, you can effectively and safely use a portable band saw to make precise and accurate cuts for your woodworking or metalworking projects.
Conclusion
How to use a portable band saw efficiently and safely requires a combination of knowledge, preparation, and adherence to best practices.
By following the outlined steps—from selecting the appropriate blade and setting the correct speed to maintaining the equipment and observing safety protocols—you can achieve precise and accurate cuts, whether working with wood, metal, or other materials. Regular maintenance and a keen eye for detail contribute to the tool’s longevity and performance, ensuring it remains a reliable asset in your workshop.
Ultimately, mastering the operation of a portable band saw expands your capability to complete a wide range of projects with professionalism and confidence.
Edmund Sumlin is a skilled author for Metal Fixes, bringing 6 years of expertise in crafting a wide range of metal fixtures. With a strong background in metalwork, Edmund’s knowledge spans various types of fixtures, from decorative pieces to functional hardware, blending precision with creativity. His passion for metalworking and design has made him a trusted resource in the industry.
Professional Focus:
- Expert in Metal Fixtures : Edmund aesthetic specializes in creating durable and innovative metal fixtures, offering both appeal and functionality. His work reflects a deep understanding of metalworking techniques and materials.
- Sustainability Advocate : He is dedicated to using sustainable practices, ensuring that every fixture is crafted with eco-friendly methods while maintaining high-quality standards.
In his writing for Metal Fixes, Edmund provides valuable insights into the latest trends, techniques, and practical advice for those passionate about metal fixtures, whether they are professionals or DIY enthusiasts. His focus on combining artistry with engineering helps others discover the true potential of metal in design.