

Are you not sure how to use a utility knife? You’ve come to the right place! In this guide, we’ll cover everything you need to know about using a utility knife.
A utility knife is an essential tool for various tasks, from simple home repairs to intricate craft projects. Known for its versatility and precision, this tool can effortlessly cut through cardboard, carpet, and rope. Properly using a utility knife ensures your safety and helps you achieve clean and accurate cuts.
In this guide, we will cover the fundamental techniques, necessary precautions, and best practices for working confidently and efficiently with a utility knife. Let’s get started!
What Will You Need?
Before we delve into the steps to use a utility knife, let’s first go through the necessary materials you will need. Here’s a list of items you’ll need before using your utility knife:
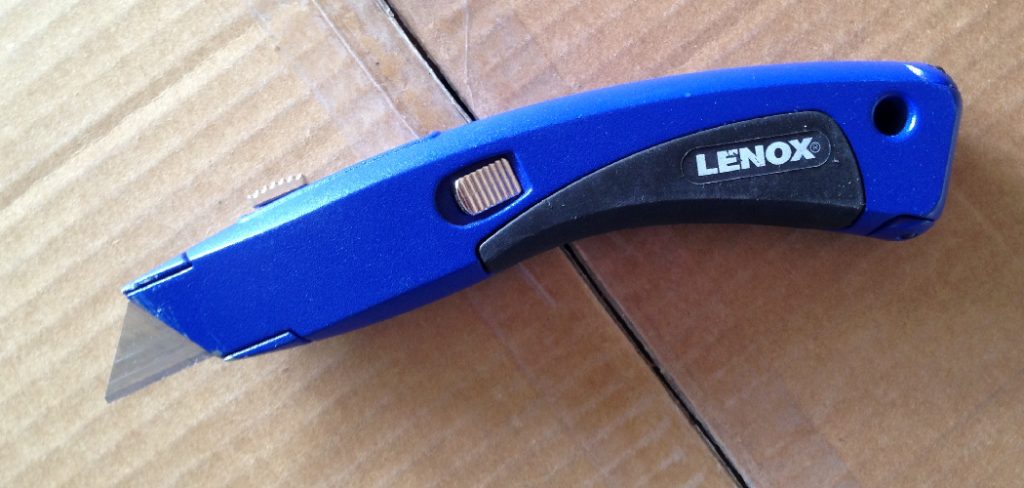
- A sharp and sturdy utility knife
- Replacement blades (make sure they are compatible with your specific utility knife)
- Protective gloves
- Safety glasses or goggles
- Cutting mat or surface (to protect your work area and prevent damage to your blade)
Once you have these materials, you’re ready to use your utility knife.
10 Easy Steps on How to Use a Utility Knife
Step 1: Choose the Right Blade
Selecting the appropriate blade for your utility knife is crucial to achieving optimal performance and precision in your cutting tasks. Utility knives typically offer various blade options tailored to different materials and applications. A straight-edge blade is ideal for general-purpose cutting and is suitable for tasks involving paper, cardboard, or thin plastics. For thicker or denser materials like carpeting or linoleum, a serrated edge blade may be more effective, as it sees through with ease.
A hooked blade is also excellent for slicing materials with a layered composition, such as vinyl flooring or roofing material, reducing the risk of slippage. Always ensure that the blade you choose is sharp, as this not only enhances efficiency but also minimizes the exertion required, thereby reducing the potential for accidents.
Step 2: Ensure Proper Handling and Grip
The manner in which you hold and handle your utility knife significantly impacts your control and the quality of your cuts. Start by holding the knife firmly but comfortably in your dominant hand, ensuring that your fingers have a secure grip. Position your thumb on the side of the knife handle or on a designated grip area, as this offers stability and assists in guiding the cut.

Your index finger should rest along the top of the knife handle or bolster to provide support and direct pressure during cutting. Avoid gripping the knife too tightly, which can lead to fatigue and reduce precision. Always cut away from your body and ensure your other hand is clear of the cutting path to prevent accidental injury.
Step 3: Secure the Material
Before proceeding with your cut, it is critical to ensure that the material you intend to cut is adequately secured. Stabilize your workpiece on a cutting mat or other appropriate surface to prevent accidental slips or movements that could compromise the accuracy of your cut or pose a safety risk. If you’re working with smaller items, consider using a clamp or weight to hold the material in place firmly. This allows you to make precise, clean cuts and protects your fingers by keeping them away from the cutting line.
Step 4: Extend the Blade to the Required Length
When you’re ready to start cutting, extend the utility knife blade to the appropriate length for your task. Most utility knives allow you to control the size of the blade, which is essential for maintaining both precision and safety. For thinner materials, extend the blade just enough to penetrate the material thoroughly, reducing the risk of breakage.
For thicker materials, you may need to extend the blade further, but always ensure that the blade remains stable and does not wobble during use. Extending the blade more than necessary can lead to decreased control and heightened danger. Once extended, lock the blade securely to ensure stability while cutting. Taking the time to adjust your blade correctly will facilitate a more accurate and safe cutting process.
Step 5: Make the Initial Cut
With your blade properly extended and secured, you can make the initial cut. Start by aligning the blade with your desired cutting line and applying gentle pressure to puncture the surface. Use a slow and steady motion as you guide the knife along the line, maintaining consistent pressure to ensure a clean cut. Avoid rushing the process, as this can cause uneven or jagged edges. For longer cuts, consider using a straight edge or ruler as a guide to keep your line straight. Make sure to maintain control and stability throughout the cut, pausing as needed to re-position your material or adjust your grip for enhanced precision.
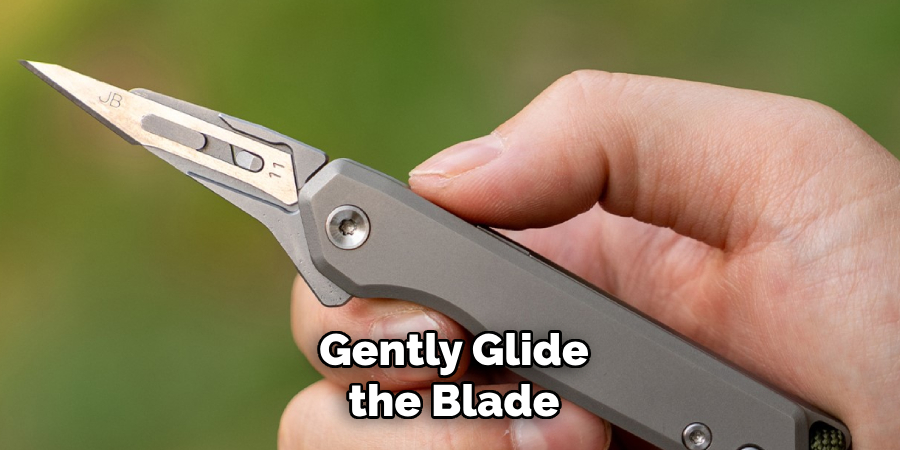
Step 6: Follow Through with Repeated Passes
Once the initial cut is successfully made, it’s essential to follow through with repeated passes to complete the cut. Gently glide the blade along the same line you initially cut, applying even and consistent pressure. This method is particularly useful for thicker materials that require more than one pass for a full cut-through. Always ensure that each stroke is smooth and aligned with the original incision, as this avoids rough edges and maintains the aesthetics of your work. Remember to check the blade’s sharpness periodically during these repeated passes, as a dull blade can lead to tearing and require more effort. By patiently completing multiple passes, you’ll achieve a clean and precise cut while minimizing the risk of accidents.
Step 7: Change the Blade Safely
Over time, the blade of your utility knife will become dull and require replacement to maintain cutting efficiency and safety. Start by retracting the blade fully into the handle to change the blade safely. Many utility knives have a quick-release mechanism or a simple screw that allows for easy blade replacement. If your knife uses a screw, carefully unscrew it to open the blade compartment. Remove the old blade, being cautious of its sharp edges, and dispose of it properly.
Insert the new blade into the designated slot, ensuring it is aligned and secured correctly. If your knife has a locking mechanism, ensure the new blade is locked in place before use. Reassemble the utility knife by securing any screws or fasteners, and test the blade’s stability by gently extending and retracting it a few times.
Step 8: Store the Utility Knife Properly
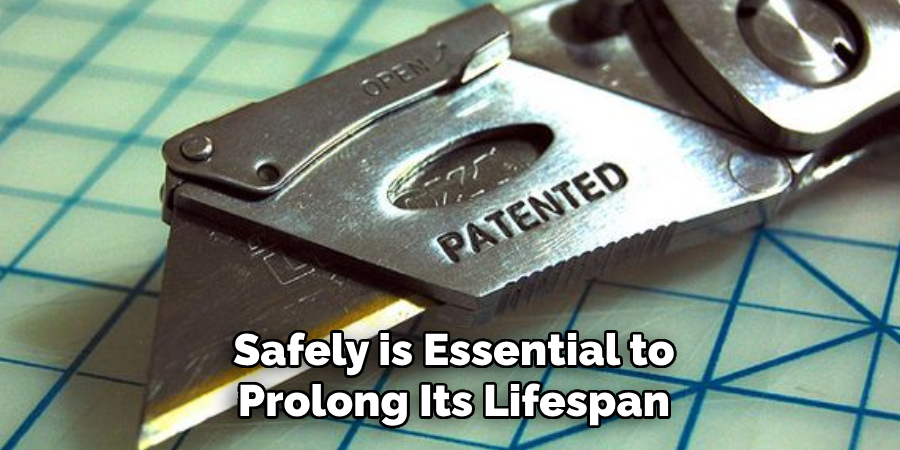
Once you’ve completed your cutting task, storing your utility knife safely is essential to prolong its lifespan and ensure safety. Retract the blade fully into the handle and engage any locking mechanism to keep it secure. If your utility knife comes with a case or sheath, use it to provide extra protection. Store the utility knife in a designated drawer or toolbox, away from children or those unfamiliar. If you regularly work in different locations, consider using a knife belt holster for easy and safe transport. Proper storage ensures the utility knife remains sharp and prevents accidents caused by exposed blades.
Step 9: Regularly Maintain Your Utility Knife
Regular maintenance is crucial to ensure your utility knife’s longevity and optimal performance. Begin by routinely checking the knife for any signs of wear or damage, particularly in the handle, blade compartment, and locking mechanisms. After each use, clean the knife with a damp cloth to remove any debris or residue that might accumulate. For more thorough cleaning, disassemble the knife carefully, ensuring all parts are free of dirt and moisture before reassembling. Lubricate the moving parts, like the blade slider, with a few drops of machine oil to keep the action smooth and prevent rust. Always make sure the knife is dry before storing it to avoid corrosion.
Step 10: Stay Informed About Safety Practices
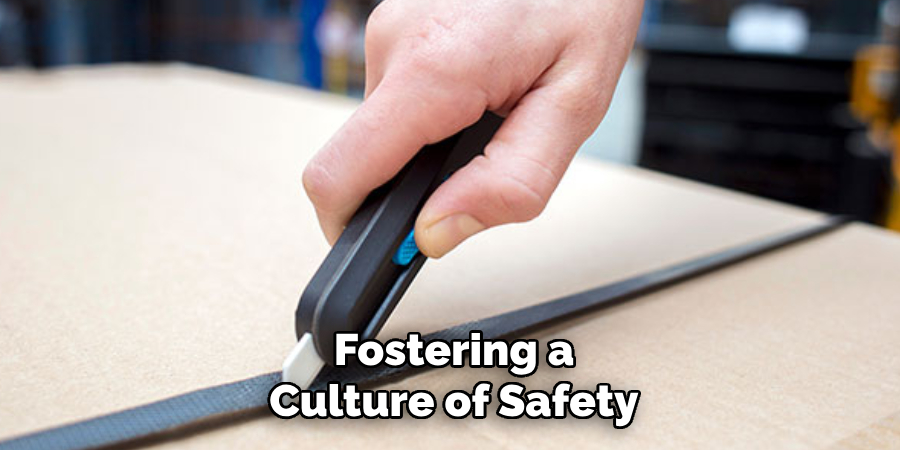
Even with regular maintenance, staying informed about the latest safety practices is essential for using a utility knife effectively. Keep abreast of new techniques or tools to enhance safety and efficiency in cutting tasks. This can involve attending workshops, reading instructional manuals, or exploring reputable online resources. Understanding advancements in utility knife technology and safety innovations can help prevent accidents and improve your cutting skills. It’s also beneficial to share this knowledge with others who may use utility knives in their work, fostering a culture of safety and expertise. Continuous learning is critical to maintaining proficiency and safety with any tool.
By following these ten essential steps, you can confidently and safely use a utility knife for various cutting tasks.
Conclusion
In conclusion, how to use a utility knife involves understanding its components, practicing proper cutting techniques, and prioritizing safety.
Each step is designed to optimize performance and reduce risk, from correctly extending and locking the blade to making precise cuts and ensuring regular maintenance. By adopting these practices, you not only enhance your cutting efficiency but also prolong the lifespan of your tool. Always remain informed about new safety innovations and share knowledge to foster a safe and productive work environment.
A utility knife can be a reliable and versatile asset across various tasks with diligence and care.
Edmund Sumlin is a skilled author for Metal Fixes, bringing 6 years of expertise in crafting a wide range of metal fixtures. With a strong background in metalwork, Edmund’s knowledge spans various types of fixtures, from decorative pieces to functional hardware, blending precision with creativity. His passion for metalworking and design has made him a trusted resource in the industry.
Professional Focus:
- Expert in Metal Fixtures : Edmund aesthetic specializes in creating durable and innovative metal fixtures, offering both appeal and functionality. His work reflects a deep understanding of metalworking techniques and materials.
- Sustainability Advocate : He is dedicated to using sustainable practices, ensuring that every fixture is crafted with eco-friendly methods while maintaining high-quality standards.
In his writing for Metal Fixes, Edmund provides valuable insights into the latest trends, techniques, and practical advice for those passionate about metal fixtures, whether they are professionals or DIY enthusiasts. His focus on combining artistry with engineering helps others discover the true potential of metal in design.