Are you planning to do some home improvement projects but need a nail gun? No need to worry!
When tackling a woodworking or home improvement project, you might find yourself in a situation where you need to use finishing nails but need access to a nail gun. Fortunately, using finishing nails by hand is a straightforward process that can be done with a few simple tools and the proper technique. This method not only allows for greater control over the placement of each nail but also helps avoid the potential damage that can occur with a powerful nail gun.

In this guide, we’ll walk you through the essential steps on how to use finishing nails without a nail gun, ensuring a neat and professional finish to your projects.
What Will You Need?
Before we get into the steps, let’s gather all the necessary tools and materials to ensure a smooth process. Here’s what you’ll need:
- Finishing Nails: These are slender and smaller in size compared to common nails, making them perfect for delicate projects such as hanging picture frames or installing trim work. They come in different sizes, so choose one appropriate for your project.
- Hammer: A regular claw hammer will do just fine for this job. Make sure it’s not too heavy, as too much weight can result in bent or overdriven nails.
- Nail Set: This tool helps set the finishing nail more deeply into the surface without damaging it. It has a small indentation on one end that perfectly fits the nail’s head.
- Pliers: These will come in handy for holding the finishing nails while hammering to avoid any accidental injuries.
Once you have all the necessary tools and materials, let’s move on to the steps for properly using finishing nails without a nail gun.
10 Easy Steps on How to Use Finishing Nails Without a Nail Gun
Step 1. Prepare the Surface:
Before starting, ensure the surface where you plan to drive the finishing nails is clean and smooth. Any debris or irregularities on the surface can hinder the nail’s entry or lead to an uneven finish. If the surface is painted or varnished, inspect for any loose fragments or chips that may require sanding or cleaning. This step is crucial, as a well-prepared surface ensures that the nails are driven straight and flush, preserving the integrity of your project. Moreover, preparing the surface can reveal any underlying problems, like cracks or flaws, which might affect the stability of the nailed components.
Taking these preparatory actions helps secure the best possible outcome for your woodworking or home improvement venture.
Step 2. Mark the Nail Placement:
Once the surface is prepared, determine where each finishing nail will be placed. Use a pencil or a light marking tool to make minor, visible marks on the surface. Ensure your marks are evenly spaced and align with your project’s design or structural requirements. Accurately marking the nail placements will guide you during the nailing process, helping maintain precision and consistency across your work. This step assists in planning and minimizes the risk of unnecessary holes or misaligned nails, ultimately contributing to a cleaner and more professional finish.

Step 3. Secure the Nail with Pliers:
With the nail placement marked, the next step is to position your finishing nail accurately before driving it in. Hold the nail near its head with pliers, ensuring your hand is kept safely away from the hammering area. This technique provides better control over the nail and reduces the risk of injury from a misplaced hammer strike. The pliers stabilize the nail, making it easier to start without bending, mainly when working with small or delicate nails. This level of precision and control is crucial for achieving your project’s polished, professional appearance.
Step 4. Start Hammering the Nail:
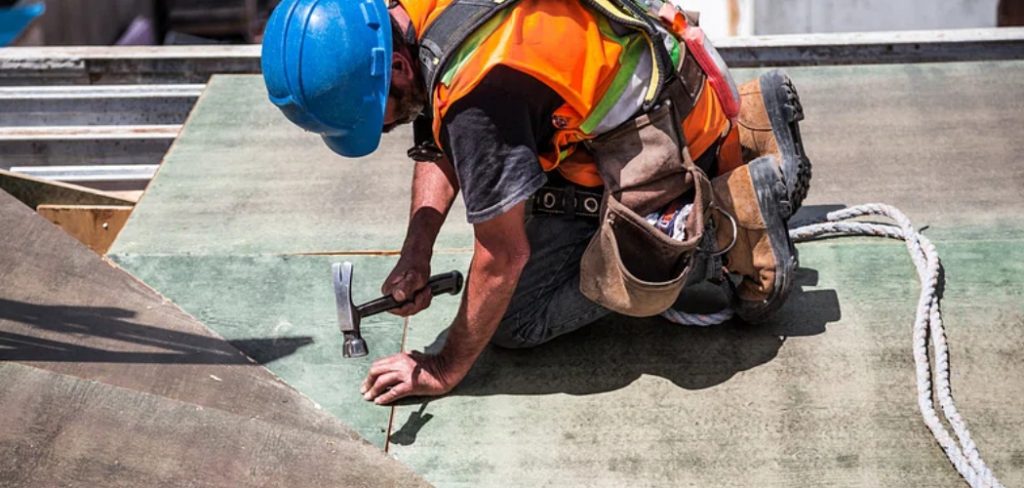
Once the nail is securely held with pliers, gently tap the nail head with your hammer. Use short, controlled taps to ensure the nail enters the surface at the correct angle. Be careful not to hit too hard, as it may bend the nail or mar the surface. Gradually increase the force of your hammer strikes as the nail penetrates deeper into the material. Maintaining a steady hand is vital for this step to prevent any deviation that could cause the nail to lean or damage the surrounding area. Take your time to ensure the nail is driven straight and evenly, which will help achieve a flawless outcome in your woodworking or home improvement project.
Step 5. Sink the Nail with a Nail Set:
Once the finishing nail is almost flush with the surface, it’s time to use a nail set to drive it ultimately in. Position the nail set over the head of the nail, ensuring it is centered and aligned. Lightly tap the end of the nail set with your hammer to sink the nail head just below the surface. This technique secures the nail and prevents damage to the surrounding area by dispersing the force. Proper usage of the nail set leads to a cleaner appearance, allowing room for filler, if needed, to cover the nail head and facilitate a seamless finish.

Step 6. Fill the Nail Holes:
After the finishing nails are set below the surface, the next step is to cover the nail holes. Use a wood filler or spackle that matches the color of your project’s material. Apply a small filler over each hole using a putty knife or finger. Smooth the surface with the filler, ensuring it is level with the surrounding area. Allow the filler to dry completely as per the manufacturer’s instructions. Once dry, gently sand the area with fine-grit sandpaper to blend seamlessly with the rest of the project. Correctly filling and sanding the nail holes will enhance the overall aesthetic of your work, ensuring a professional, finished look.
Step 7. Sand the Surface:
After filling the nail holes and allowing the filler to dry, it is essential to sand the surface for a smooth finish. Use fine-grit sandpaper to lightly sand the project area, focusing on the spots where the fillers were applied. This process helps remove any excess filler and ensures that the surface is even and smooth to the touch. Sand in the direction of the wood grain to prevent scratches and create a uniform appearance. Thorough sanding prepares the surface for any subsequent painting or finishing, providing a flawless base that enhances the overall appeal of your woodworking project. Remember to clean off any dust or residue left from sanding before moving on to the next step.

Step 8. Apply a Finish:
Once the surface is smoothly sanded and cleaned of any dust, it’s time to apply a finish to protect and enhance your project’s appearance. Choose a finish that suits your project’s material and intended use, such as varnish, stain, or paint. If using stain, apply it evenly with a brush or cloth, and let it soak into the wood before wiping any excess.
For paint or varnish, use a high-quality brush or roller to ensure an even coat, following the wood grain to avoid streaks. Allow the finish to dry completely as indicated by the product instructions, applying additional coats if necessary to achieve the desired coverage and protection. Properly finishing your project enhances its visual appeal and extends its longevity by protecting it from environmental wear and tear.
Step 9. Inspect Your Work:
After the finish has dried completely and your project is assembled, inspecting your work for any imperfections or areas needing touch-ups is crucial. Examine the surface for smoothness, ensuring no visible scratches, uneven patches, or unfilled nail holes. Check the durability of any joins or joints to confirm they are securely fastened. If you find any blemishes, lightly sand and refinish those areas as needed. Paying attention to these details in the final inspection will ensure your project meets aesthetic and functional standards and demonstrates a high level of craftsmanship. This step marks the completion of your woodworking or home improvement venture, preparing it for display or use with pride.
Step 10. Clean Up Your Workspace:
After completing your woodworking or home improvement project, cleaning up your workspace to maintain a safe and organized environment is essential. Begin by disposing of debris, such as wood shavings, sawdust, and leftover materials. Use a broom or vacuum to clean surfaces and the floor thoroughly.
Ensure that all tools and equipment are returned to their designated storage areas, inspecting them for any wear and tear that may need attention before their subsequent use. Proper maintenance and organization of your workspace promote safety and efficiency in future projects and contribute to the longevity and effectiveness of your tools and materials. Taking the time to clean up is the final, yet crucial, step in finishing your project on a professional note.
By following these steps, you can achieve a professional-looking finish for your woodworking or home improvement project.

Conclusion
How to use finishing nails without a nail gun may seem daunting at first, but with the right approach and care, you can achieve impeccable results.
Following the detailed steps outlined, from driving the nails with precision to filling and sanding the surface, each stage builds on the previous to ensure a seamless finish. The key lies in patience and attention to detail, ensuring you maintain control over the process without accelerating it at the cost of quality. Emphasizing precision over speed, this method of nailing bestows you a greater understanding of woodworking fundamentals, enhancing your skills and the quality of your work.
This manual method proves practical when resources are limited and fosters a deeper connection with craftsmanship, producing not just a functional piece but a work of art.
Edmund Sumlin is a skilled author for Metal Fixes, bringing 6 years of expertise in crafting a wide range of metal fixtures. With a strong background in metalwork, Edmund’s knowledge spans various types of fixtures, from decorative pieces to functional hardware, blending precision with creativity. His passion for metalworking and design has made him a trusted resource in the industry.
Professional Focus:
- Expert in Metal Fixtures : Edmund aesthetic specializes in creating durable and innovative metal fixtures, offering both appeal and functionality. His work reflects a deep understanding of metalworking techniques and materials.
- Sustainability Advocate : He is dedicated to using sustainable practices, ensuring that every fixture is crafted with eco-friendly methods while maintaining high-quality standards.
In his writing for Metal Fixes, Edmund provides valuable insights into the latest trends, techniques, and practical advice for those passionate about metal fixtures, whether they are professionals or DIY enthusiasts. His focus on combining artistry with engineering helps others discover the true potential of metal in design.


