

Aluminum is a versatile and widely used material known for its lightweight and durable properties. However, like any other metal, it can become damaged or develop cracks over time. JB Weld is a renowned bonding agent that provides a strong and durable solution for repairing aluminum surfaces. Understanding how to effectively use JB Weld on aluminum can save time and resources by extending the life of aluminum components.
This guide on how to use JB weld on aluminum will walk you through the necessary steps to ensure a successful repair, whether you’re addressing minor damages or sealing joints for added strength.
Why Use JB Weld on Aluminum?
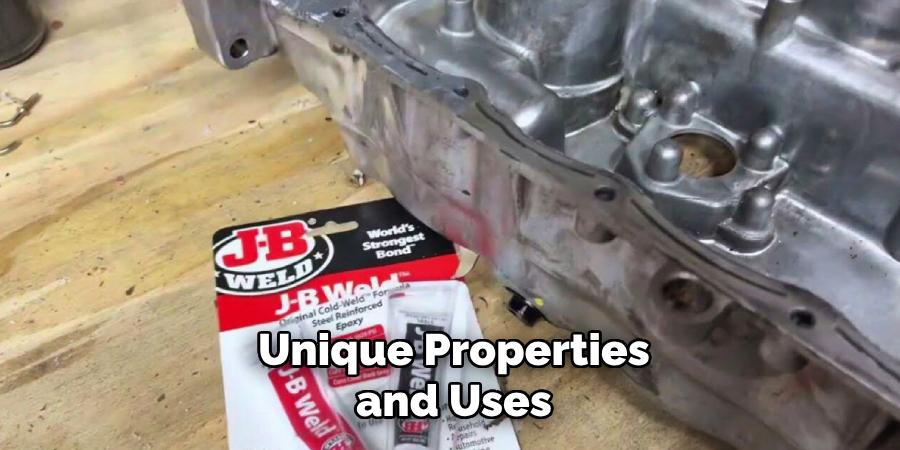
JB Weld is a two-part epoxy adhesive that creates a strong and permanent bond between surfaces. It works well with various materials, including metal, wood, plastic, and ceramics. When it comes to aluminum, JB Weld offers multiple benefits:
High Strength:
Once cured, JB Weld can withstand high pressure and heavy loads, making it ideal for repairing or reinforcing aluminum components. It can handle up to 3927 PSI and bond with a tensile strength of 5020 PSI.
Resistance to Heat:
JB Weld is heat resistant, making it suitable for repairing aluminum parts used in high-temperature environments. It can withstand temperatures up to 550°F (287°C) once fully cured.
Versatility:
JB Weld comes in various formulas, including original JB Weld, JB Waterweld, and JB MarineWeld. Each formula has its unique properties and uses, providing options for different repair needs on aluminum surfaces.
Precautions Before Using JB Weld on Aluminum
Before using JB Weld on aluminum, there are a few precautions to keep in mind:
Clean the Surface Thoroughly:
Any dirt, oil, or debris can interfere with the bonding process, leading to a weak bond. Use a degreaser and sandpaper to remove any impurities. It’s crucial to have a clean and smooth surface for JB Weld to bond correctly.
Roughen the Surface:
Aluminum has a smooth and non-porous surface, making it challenging for adhesives to adhere. To create a better bond, use sandpaper or steel wool to roughen the surface of the aluminum.
Wear Protective Gear:
JB Weld contains chemicals that can irritate the skin and eyes. Before using, ensure you are wearing gloves, safety glasses, and protective clothing. It’s also essential to work in a well-ventilated area.
8 Step-by-step Guides on How to Use Jb Weld on Aluminum
Step 1: Prepare the Surface
Proper surface preparation is crucial for ensuring that JB Weld adheres well to the aluminum. Begin by thoroughly cleaning the area that needs repair to remove any dirt, grease, or debris. Use a degreaser or rubbing alcohol to ensure the surface is entirely free from contaminants. Once clean, use sandpaper or an abrasive pad to roughen the aluminum.
This will create a textured surface for the epoxy to bond with effectively. After sanding, clean the surface again to remove any dust or sanding residue. Ensuring the surface is clean and rough will help maximize the bond strength of the JB Weld application.
Step 2: Select the Right Formula
As mentioned earlier, JB Weld comes in different formulas, each with its unique properties. For aluminum repairs, it is recommended to use the original JB Weld formula or the JB Waterweld formula for underwater applications. Make sure to read and follow the instructions on the packaging carefully to ensure proper application.

You may also consider using a specialized aluminum epoxy formula, such as JB Weld 8280 Original Professional Size Steel Reinforced Epoxy. This formula is designed specifically for bonding and repairing aluminum surfaces.
Step 3: Mix the Epoxy
JB Weld comes in two separate tubes – one with resin and the other with hardener. To use it, you will need to mix equal parts of both components. Use a disposable cup or mixing tray and mix thoroughly until the color is consistent.
Note: Make sure to mix only the amount that you can use within the recommended time frame, usually around 15 minutes.
Step 4: Apply the Mixed Epoxy
Using an applicator, apply the mixed epoxy onto the prepared aluminum surface. Ensure an even and consistent application, covering the damaged area or joint entirely.
Note: If you’re using JB Waterweld, you can apply it underwater for added convenience.
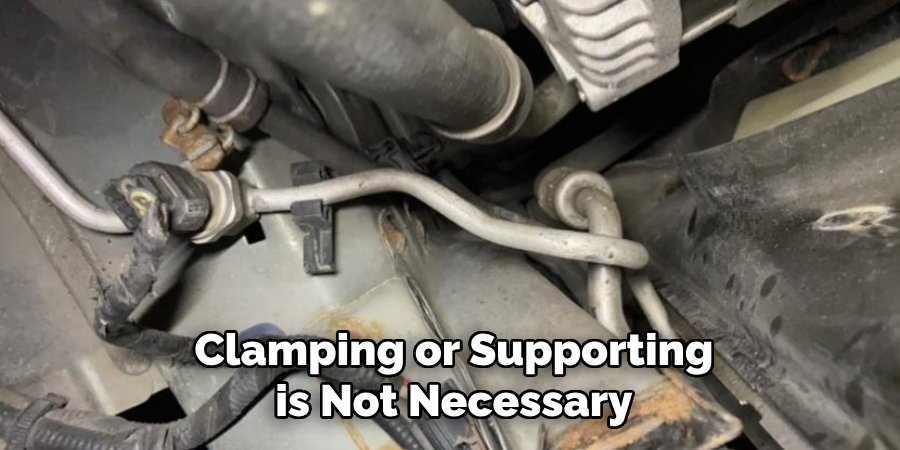
Step 5: Clamp or Support
To achieve a strong bond, it is recommended to clamp or support the repaired area while the epoxy cures. This will help keep the surfaces in place and ensure a tight fit between them. You can use clamps, tape, or any other supporting method as long as it holds the surfaces together securely.
But if you’re using JB Weld KwikWeld, clamping or supporting is not necessary as it sets in just 4-6 minutes.
Step 6: Let it Cure
JB Weld requires curing for at least 24 hours to reach its full strength. During this time, avoid moving or disturbing the repaired area. Keep it in a well-ventilated area with a temperature between 50°F and 90°F (10°C – 32°C) for best results.
Note: If you’re using JB Waterweld, make sure to cure underwater for at least an hour before exposing the repaired area to air.
Step 7: Finish and Sand
Once fully cured, you can remove any excess epoxy from the surface using a razor blade or sandpaper. You can also sand the repaired area to smooth out any unevenness and give it a clean finish.
It is recommended to wait for the epoxy to cure completely before sanding, usually around 24 hours after application.
Step 8: Paint (Optional)
If desired, you can paint over the repaired area once the epoxy has fully cured. This will not only give it a clean finish but also provide added protection against corrosion.
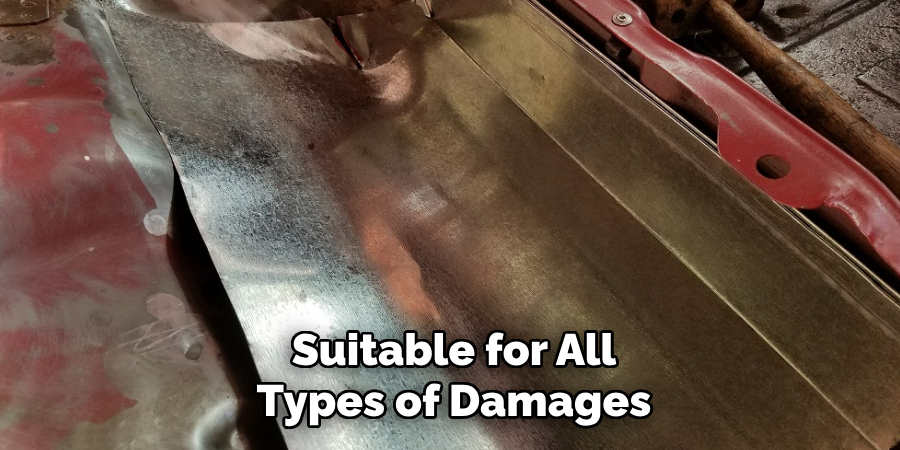
Following these steps on how to use JB Weld on aluminum will ensure a successful and long-lasting repair using JB Weld on aluminum surfaces. However, it is essential to note that while JB Weld offers high strength and durability, it may not be suitable for all types of damages or repairs on aluminum. If you’re unsure about the severity or type of damage, consult a professional for proper guidance.
Additional Tips
- Always wear gloves when handling epoxy to avoid skin irritation.
- Avoid getting JB Weld in your eyes or mouth.
- Dispose of any leftover mixed epoxy properly according to the manufacturer’s instructions.
- For larger repairs, it is recommended to apply multiple layers of epoxy, allowing each layer to cure completely before applying the next one.
- If possible, remove any paint or coating from the aluminum surface before applying JB Weld for a stronger bond. However, if removing the coating is not feasible, roughen the surface as much as possible for better adhesion.
Frequently Asked Questions
Q: How Long Does Jb Weld Take to Set?
A: JB Weld takes around 4-6 hours to set and 24 hours to fully cure. However, curing time may vary depending on temperature and humidity levels. It is recommended to leave the repaired area undisturbed for at least 24 hours before use.
Q: Can JB Weld Be Used on All Types of Aluminum?
A: JB Weld can be used on most types of aluminum, including cast, billet, and sheet aluminum. However, it may not be suitable for structural repairs or repairs on high-stress areas such as engine parts.
Q: Is JB Weld Waterproof?
A: Yes, once fully cured, JB Weld is waterproof and resistant to various fluids and chemicals. It can even withstand high temperatures, making it suitable for a wide range of applications.
Conclusion
Knowing how to use JB Weld on aluminum can be extremely beneficial in prolonging the life of aluminum components and saving time and resources. Proper surface preparation, selecting the right formula, and following the recommended steps for application and curing are key factors in achieving a successful repair.
With this guide, you can confidently use JB Weld on aluminum and make strong, lasting repairs. So, next time you encounter a damaged or broken aluminum part, consider using JB Weld for a reliable and effective solution.
Edmund Sumlin is a skilled author for Metal Fixes, bringing 6 years of expertise in crafting a wide range of metal fixtures. With a strong background in metalwork, Edmund’s knowledge spans various types of fixtures, from decorative pieces to functional hardware, blending precision with creativity. His passion for metalworking and design has made him a trusted resource in the industry.
Professional Focus:
- Expert in Metal Fixtures : Edmund aesthetic specializes in creating durable and innovative metal fixtures, offering both appeal and functionality. His work reflects a deep understanding of metalworking techniques and materials.
- Sustainability Advocate : He is dedicated to using sustainable practices, ensuring that every fixture is crafted with eco-friendly methods while maintaining high-quality standards.
In his writing for Metal Fixes, Edmund provides valuable insights into the latest trends, techniques, and practical advice for those passionate about metal fixtures, whether they are professionals or DIY enthusiasts. His focus on combining artistry with engineering helps others discover the true potential of metal in design.