

Are you tired of spending hours trying to clean hard-to-reach places? Say no more! The ultrasonic bath is here to make your life easier.
Ultrasonic baths are powerful tools used for cleaning various items, from jewelry and laboratory equipment to delicate electronics and surgical instruments. They use high-frequency sound waves that create microscopic bubbles in a cleaning solution. These bubbles implode with intense energy, effectively removing dirt, grime, and contaminants from the surfaces of the objects submerged within the bath. Using an ultrasonic bath can significantly enhance cleaning efficiency while minimizing the risk of physical damage to sensitive components, making it an ideal choice for precise cleaning needs.
In this guide, we will explore step-by-step instructions on how to use ultrasonic bath to ensure optimal cleaning results.
What Will You Need?
Before using an ultrasonic bath, gathering all the necessary materials and equipment is essential. Here is a list of items you will need:
- Ultrasonic bath
- Cleaning solution (specifically designed for use with ultrasonic baths)
- Items to be cleaned
- Protective gear (such as gloves and safety glasses)
Once you have all the required items, you can start cleaning!
10 Easy Steps on How to Use Ultrasonic Bath
Step 1: Preparing the Bath
First, ensure that the ultrasonic bath is placed on a stable, level surface to prevent accidental spills or vibrations during operation. Next, fill the ultrasonic bath with the appropriate cleaning solution. Using a cleaning solution designed explicitly for ultrasonic baths is crucial to maximize effectiveness and prevent damage to both the tub and the items being cleaned. The cleaning solution should reach the fill line typically indicated within the tank. Carefully follow the manufacturer’s instructions when mixing the solution, as an incorrect concentration could compromise the cleaning efficiency or harm the items.

After filling the bath, allow it to run for a few minutes without any items submerged. This process, known as “de-gassing,” helps to eliminate any trapped air within the solution, optimizing it for effective cleaning. Finally, check that the bath’s temperature settings are appropriate for the type of items you intend to clean, as different materials may require different temperatures for best results.
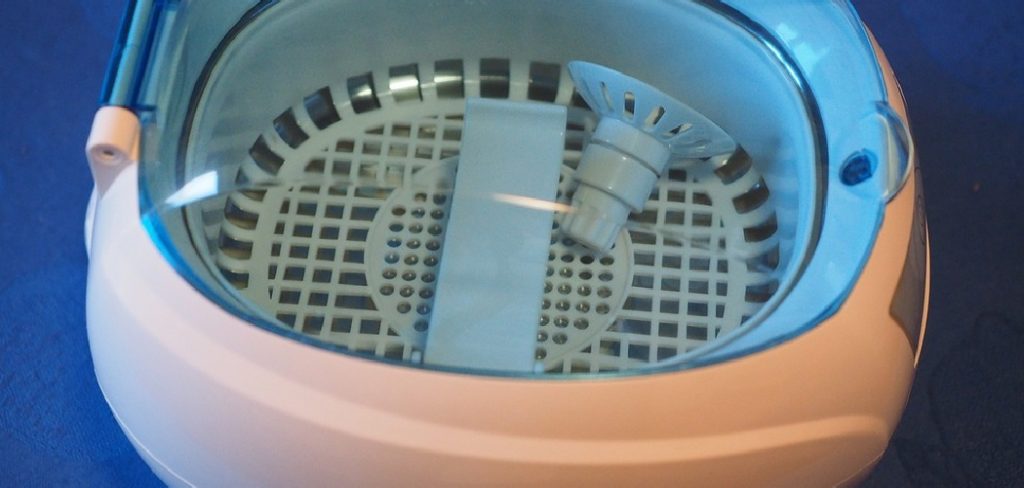
Step 2: Placing Items in the Bath
Once the bath is prepared and the cleaning solution is properly degassed, carefully place the items to be cleaned into the ultrasonic bath. Ensuring that each item is fully submerged in the cleaning solution is not overcrowded is essential. Overcrowding can prevent thorough cleaning as the items may block each other from exposure to the ultrasonic waves. For delicate or smaller parts, you might consider using a mesh basket to keep them securely in place and prevent them from coming into direct contact with the bath’s base, which could lead to damage.
Step 3: Setting the Cleaning Time
Now that the items are securely placed within the ultrasonic bath set the cleaning time according to the manufacturer’s recommendations. Cleaning times can vary depending on the material type and level of contamination. Typically, a cleaning cycle ranges from three to fifteen minutes. If you are unsure of the appropriate time, start with a shorter cycle to avoid potential damage to more sensitive items. Based on the results, you can gradually increase the cleaning duration if necessary.
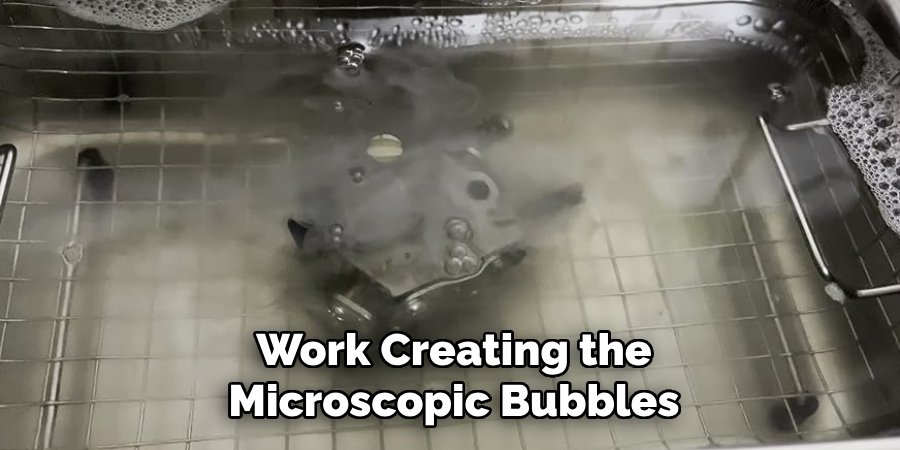
Step 4: Activating the Ultrasonic Bath
With the time set, you can activate the ultrasonic bath. Most units have a simple on/off switch or a start button that initiates the cleaning process. Once activated, you may notice a soft humming sound—this is normal, indicating that the ultrasonic waves are at work creating the microscopic bubbles needed for cleaning. Ensure you monitor the process, mainly when cleaning delicate items, to prevent overexposure.
Step 5: Monitoring the Process
As the ultrasonic bath works, keeping an eye on the cleaning process is crucial, especially if you are cleaning delicate or valuable items. During this stage, observe the behavior and condition of the items being cleaned. You might notice dirt particles detaching from the surfaces and floating in the solution—indicating that the ultrasonic action is effective. Be cautious of any unusual noises or vibrations, which might signal that an item is improperly placed or that the cleaning solution needs adjustment.
Regular monitoring also allows you to promptly adjust the cleaning time or conditions, ensuring optimal safety and results. If you notice any concerns, such as changes in the appearance of the items or increased noise levels, consider pausing the operation to inspect the situation further.
Step 6: Rinsing the Items
After the cleaning cycle, carefully remove the items from the ultrasonic bath. It is important to rinse them thoroughly with clean water to remove any residual cleaning solution. Depending on the material, you may want to use distilled water to prevent any potential mineral deposits or staining. Rinsing helps to ensure that no cleaning agents remain on the surface, which might cause issues over time. If the items are delicate or have intricate designs, you can use a gentle stream of water to reach into all crevices. Once rinsed, place the items on a clean, soft cloth or towel and let them air dry completely before handling or repacking.
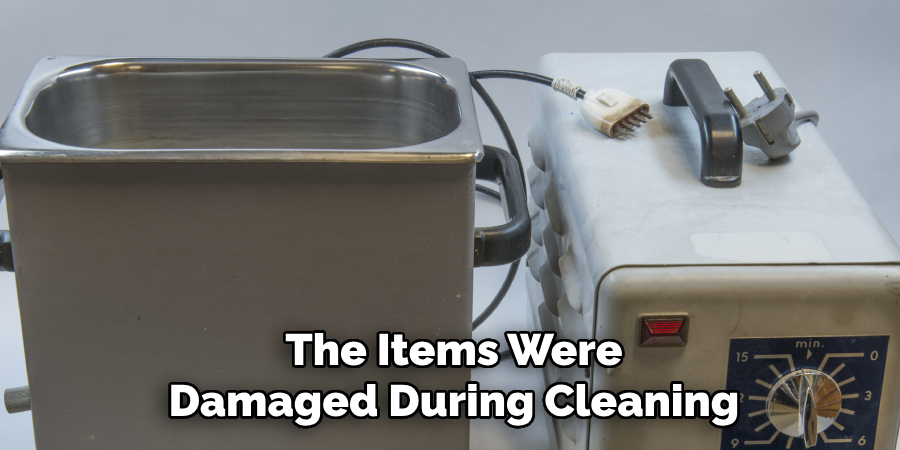
Step 7: Inspecting the Cleaned Items
Once the items have been rinsed and dried, it’s time to inspect them closely. Check each item thoroughly to ensure all dirt and contaminants are effectively removed. Pay special attention to any intricate areas or components that could harbor residual cleaning solution or debris. If any areas appear unresolved, you may consider repeating the cleaning process longer. Conducting a thorough inspection not only guarantees optimal cleanliness but also allows you to verify that none of the items were damaged during cleaning.
Step 8: Emptying and Cleaning the Ultrasonic Bath
After ensuring that all items have been cleaned, dried, and inspected, taking proper care of the ultrasonic bath is important. Begin by turning off the unit and unplugging it from the power source for safety. Carefully drain and discard the used cleaning solution according to the manufacturer’s instructions and applicable regulations. She was followed by thoroughly rinsing the bath’s interior with clean water to remove any residual solution or contaminants. Use a soft cloth or sponge to wipe down the tank, avoiding abrasive materials that could scratch or damage the surface.
Step 9: Storing the Cleaned Items
After ensuring that the items are impeccably clean and dry, it is essential to store them properly to maintain their condition. Find a clean, dry, and dust-free environment to store the items, away from direct sunlight or adverse temperature fluctuations. Consider using protective covers or cases, especially for delicate or valuable items, to prevent dust accumulation or accidental damage. Organizing items that allow for easy access while minimizing clutter will also help preserve their state over time.
Step 10: Reviewing the Ultrasonic Cleaning Process
After completing all steps and securely storing the items, take a moment to review the entire ultrasonic cleaning process. Reflect on what worked well and any challenges faced to improve your approach continually. Consider documenting any unique handling requirements or adjustments made during cleaning for future reference. This reflection helps ensure consistent results and enhances the longevity and effectiveness of the items and the ultrasonic cleaner. Furthermore, staying informed about advancements in cleaning techniques and solutions can contribute to more efficient and safer cleaning practices.
By following these steps and properly caring for the items and the ultrasonic bath, you can effectively remove dirt, grime, and contaminants without damaging or compromising the cleanliness of your valuable items.
5 Things You Should Avoid
- Overloading the Bath: It is crucial to ensure that the ultrasonic bath is not overcrowded. Overloading can prevent the effective cleaning of items, as the ultrasonic waves need ample space to oscillate freely and clean thoroughly.
- Using the Wrong Cleaning Solution: Not all cleaning solutions suit ultrasonic baths. Avoid using incompatible solutions, as they can damage the bath or the items being cleaned.
- Ignoring Regular Maintenance: Failure to perform regular maintenance on your ultrasonic bath can reduce efficiency and potential damage. To extend its lifespan, ensure that the bath is properly cleaned and maintained according to the manufacturer’s guidelines.
- Submerging Non-Waterproof Items: It’s vital to avoid submerging items that are not waterproof or could be damaged by liquid. Always verify the item’s tolerance to ultrasonic cleaning before proceeding to prevent any irreversible damage.
- Running the Bath Without Liquid: Operating an ultrasonic bath without the appropriate liquid can seriously damage the unit. The bath relies on the liquid to transmit the ultrasonic waves, so ensure it is adequately filled before turning the device on.

Conclusion
Ultrasonic baths are powerful tools for achieving meticulous cleaning results when used correctly.
To maximize their effectiveness, always select the appropriate cleaning solution that suits the cleaned items and is compatible with the bath. It’s essential to ensure that the tub is not overloaded and that all items inside are safe from submersion and ultrasonic waves. Regular maintenance, such as cleaning the bath and checking for wear and tear, will help prolong its service life. Finally, never operate the ultrasonic bath without sufficient liquid to prevent damage to the unit.
By adhering to these guidelines on how to use ultrasonic bath, you can ensure optimal cleaning performance from your ultrasonic bath while protecting your equipment and items.
Edmund Sumlin is a skilled author for Metal Fixes, bringing 6 years of expertise in crafting a wide range of metal fixtures. With a strong background in metalwork, Edmund’s knowledge spans various types of fixtures, from decorative pieces to functional hardware, blending precision with creativity. His passion for metalworking and design has made him a trusted resource in the industry.
Professional Focus:
- Expert in Metal Fixtures : Edmund aesthetic specializes in creating durable and innovative metal fixtures, offering both appeal and functionality. His work reflects a deep understanding of metalworking techniques and materials.
- Sustainability Advocate : He is dedicated to using sustainable practices, ensuring that every fixture is crafted with eco-friendly methods while maintaining high-quality standards.
In his writing for Metal Fixes, Edmund provides valuable insights into the latest trends, techniques, and practical advice for those passionate about metal fixtures, whether they are professionals or DIY enthusiasts. His focus on combining artistry with engineering helps others discover the true potential of metal in design.