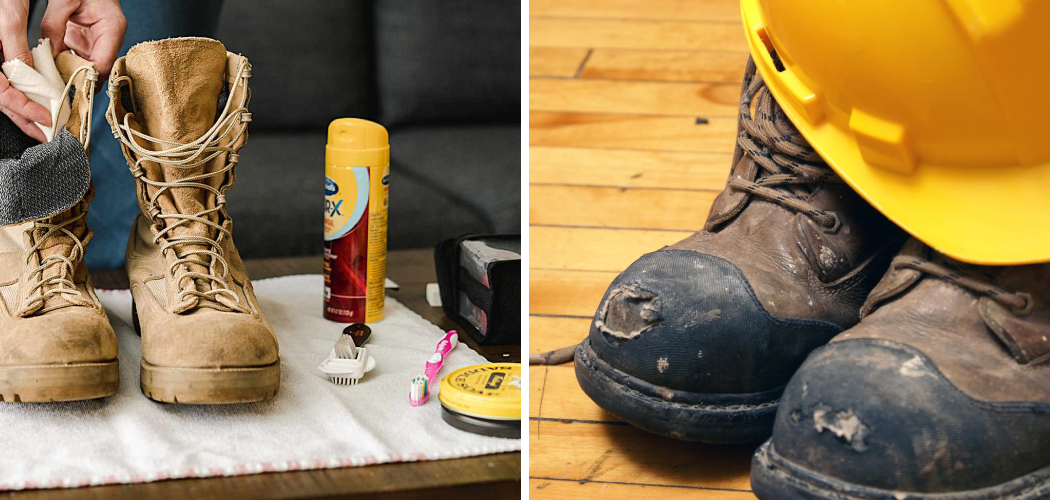
Are you tired of dirty and smelly steel-toe boots? Whether you use them for work or outdoor activities, it’s important to regularly clean and maintain your steel-toe boots.

Not only will this make them last longer, but it also ensures that they remain comfortable and safe to wear.
Steel toe boots are an essential piece of protective gear for many workers, offering both safety and durability. However, maintaining the cleanliness and condition of these boots is crucial to prolonging their lifespan and ensuring they perform effectively.
Properly washing steel-toe boots not only removes dirt and grime but also helps prevent the build-up of bacteria and odor.
In this guide, we’ll walk you through the steps necessary on how to wash steel toe boots, ensuring they remain in top condition for years to come.
What are the Benefits of Washing Steel Toe Boots?
Before we dive into the cleaning process, let’s talk about why it’s important to wash your steel-toe boots regularly. Apart from keeping them looking clean and sharp, washing your boots has several practical benefits.
- Prolong Lifespan: Regularly washing and maintaining your steel-toe boots can help extend their lifespan by preventing damage from dirt, grime, and bacteria.
- Prevents Odor: Steel toe boots are often worn in tough conditions, making them prone to sweat and moisture build-up. Washing your boots can help remove any odors that may develop over time.
- Maintains Safety Features: Properly washing your steel-toe boots ensures that they remain free from obstructions or damage, maintaining their protective features. This is especially important for workers in hazardous environments.
- Increases Comfort: Clean boots are more comfortable to wear, as they don’t have any dirt or debris rubbing against your feet. This can also help prevent blisters and other foot problems.
Now that you know the benefits of washing your steel-toe boots, let’s discuss the steps for doing it effectively.
What Will You Need?
Before you start washing your steel-toe boots, gather all the necessary materials. Here’s what you’ll need:
- Water: You’ll need plenty of water to rinse and clean your boots.
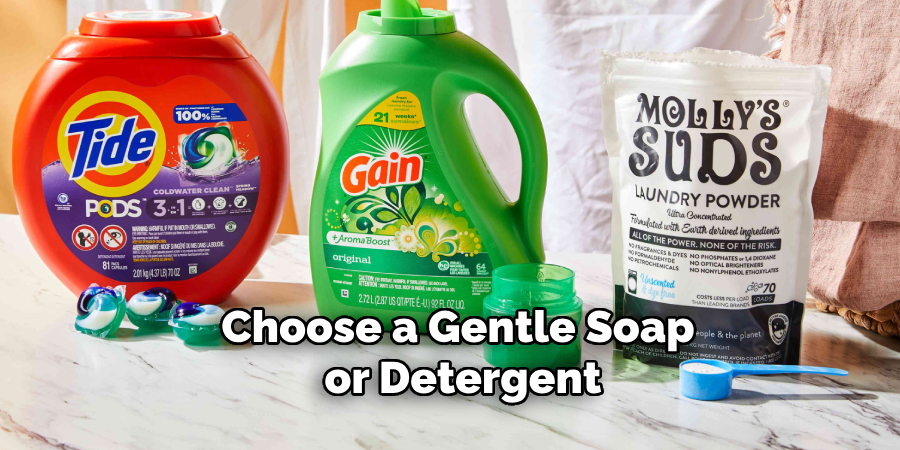
- Mild Soap or Detergent: Choose a gentle soap or detergent that won’t be too harsh on your boots’ material.
- Soft Brush or Cloth: A soft-bristled brush or cloth is essential for gently scrubbing and removing dirt.
- Old Toothbrush: An old toothbrush can be useful for cleaning hard-to-reach areas, such as the sole of your boots.
- Towels: Have a few clean towels on hand to dry your boots after washing.
- Optional: Leather Conditioner: If your steel-toe boots are made of leather, you may want to use a leather conditioner after washing to keep the material soft and supple.
Now that you have all your materials ready, it’s time to start cleaning your steel-toe boots.
9 Easy Steps on How to Wash Steel Toe Boots
Step 1. Remove Laces and Insoles:
Before you begin washing your steel-toe boots, remove the laces and insoles. This is essential for a thorough clean and prevents these components from getting damaged or tangled while you wash them.
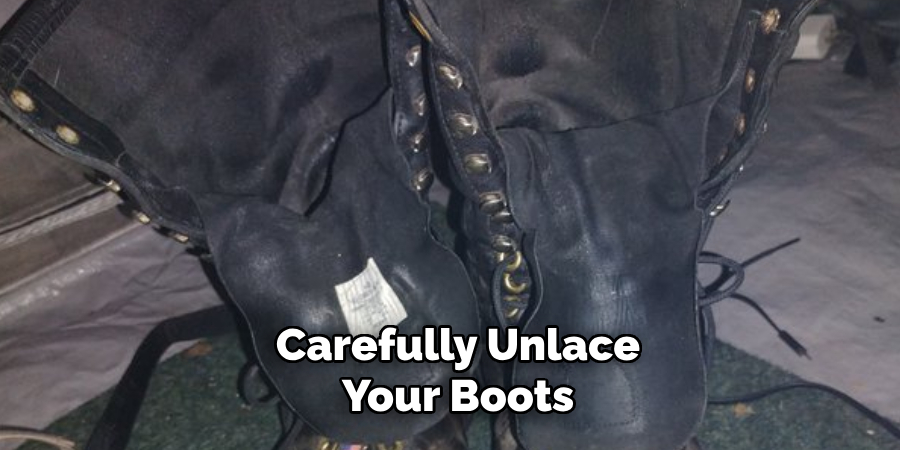
- Remove Laces: Carefully unlace your boots and set the laces aside. If the laces are particularly dirty, you can choose to wash them separately. Simply soak the laces in a mixture of warm water and mild detergent, gently scrub them, rinse thoroughly, and let them air dry.
- Take Out Insoles: Next, remove the insoles from your boots. The insoles can often accumulate a significant amount of sweat and odor, which can be harder to clean if left inside the boot. Check the care instructions for your insoles; many can be hand-washed with mild soap and warm water. For particularly stubborn odors, consider sprinkling baking soda on the insoles and letting them sit for a few hours before brushing off and washing.
Removing the laces and insoles also allows greater access to the interior of the boots, ensuring you can clean every part effectively. This detailed care will help keep your boots comfortable and hygienic for every use.
Step 2. Shake Off Loose Dirt and Debris:
Once you’ve removed the laces and insoles, the next step is to shake off any loose dirt and debris from your steel toe boots. This is a quick and easy way to remove surface-level grime and make the subsequent cleaning steps more effective.
- Shake Off Dirt: Hold each boot by the toe and the heel, and give it a good shake. You can also tap the soles together to dislodge any stubborn dirt.
- Brush Off Debris: Use a soft brush or cloth to brush off any remaining loose dirt from both the exterior and interior of the boots. Pay special attention to the seams and crevices where dirt can accumulate.
This step helps to prepare the boots for a more thorough wash by ensuring that loose particles don’t get in the way of cleaning deeper grime and stains.
Step 3. Clean the Exterior:
Now that you’ve removed the loose dirt, it’s time to clean the exterior of your steel-toe boots. This step focuses on getting rid of any dirt, stains, or grime that has built up on the outside of the boots, ensuring they look as good as new.
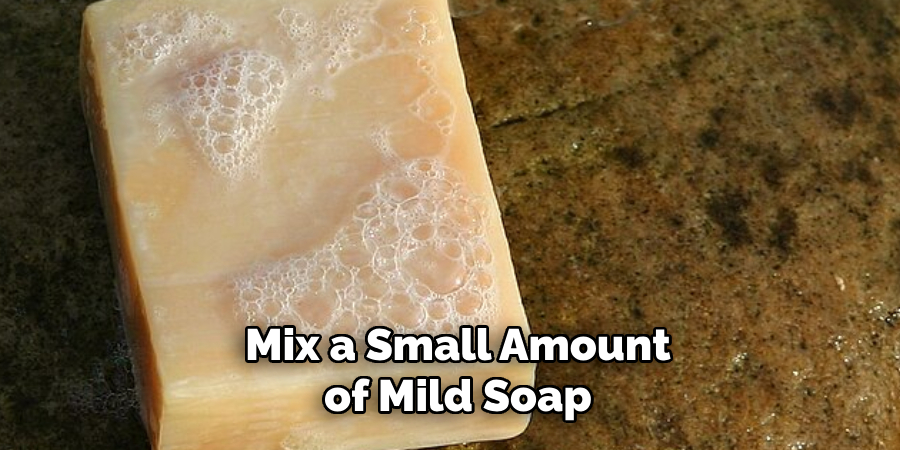
- Prepare Cleaning Solution: Mix a small amount of mild soap or detergent with warm water to create a gentle yet effective cleaning solution.
- Scrub the Exterior: Dip a soft brush or cloth into the cleaning solution and gently scrub the entire exterior surface of the boots. Be sure to pay attention to any stained or particularly dirty areas, seams, and toe area. Use circular motions to help lift dirt without damaging the boot’s material.
- Use a Toothbrush for Hard-to-reach Areas: For areas that are difficult to reach with a larger brush, such as the stitching or around the toe cap, use an old toothbrush dipped in the cleaning solution. This allows for more precise cleaning and helps ensure no part of the boot is left dirty.
- Rinse Thoroughly: Once you’ve scrubbed the exterior, rinse the boots with clean water to remove any remaining soap residue. You can use a damp cloth to wipe away the soap, making sure no detergent is left on the boots, which can cause damage over time.
Cleaning the exterior of your steel-toe boots not only enhances their appearance but also helps preserve the material, making them last longer and stay in better condition.
Step 4. Clean the Interior:
It’s important not to neglect the interior of your steel-toe boots, as they can accumulate sweat, dirt, and odor over time. Cleaning the inside ensures your boots remain comfortable and fresh.
- Prepare a Mild Cleaning Solution: Mix a little mild soap or detergent with warm water to create a gentle cleaning solution that won’t harm the interior materials.
- Wipe Down the Interior: Using a soft cloth, dip it into the cleaning solution and thoroughly wipe down the interior surfaces, including the toe and heel areas. Be gentle to avoid damaging the inside lining of the boots.
- Use a Toothbrush for Tight Spots: For areas that are harder to reach, such as the corners or seams inside the boot, use an old toothbrush dipped in the cleaning solution. This allows you to clean areas that are typically missed.
- Remove Excess Soap: After cleaning, take a damp cloth (dipped in clean water) and wipe down the interior again to remove any soap residue left behind.
- Air Dry: Finally, leave the boots in a well-ventilated area to air dry. Ensure they are completely dry before inserting the insoles and laces back in to prevent mold or mildew growth.
Cleaning the interior of your steel toe boots helps maintain hygiene and comfort, ensuring they stay pleasant to wear even after long hours on the job.
Step 5. Address Stains and Scuffs:
Even with regular cleaning, steel-toe boots can develop stains and scuffs that require special attention. Addressing these issues helps keep your boots looking pristine and well-maintained.
- Identify Stubborn Stains: Look for any areas on the boots that have persistent stains or scuffs. Common culprits include oil, mud, or other substances that are tougher to remove.
- Apply Stain Remover: For persistent stains, use a dedicated stain remover suitable for your boots’ material. Apply a small amount to a soft cloth or brush and gently rub it into the stained area. Follow the manufacturer’s instructions for the best results.
- Buff Out Scuffs: For scuffs, particularly on leather boots, you can use a leather conditioner or a mild abrasive like baking soda mixed with water. Apply it gently using a cloth or brush, and buff out the scuffs with circular motions.
By addressing stains and scuffs promptly, you can maintain the professional appearance and durability of your steel-toe boots, ensuring they remain in top condition for all your tasks.
Step 6. Condition and Protect the Leather:
Maintaining the leather on your steel-toe boots is essential for longevity and optimal condition. Conditioning and protecting the leather can prevent it from drying out, cracking, and losing its appeal.
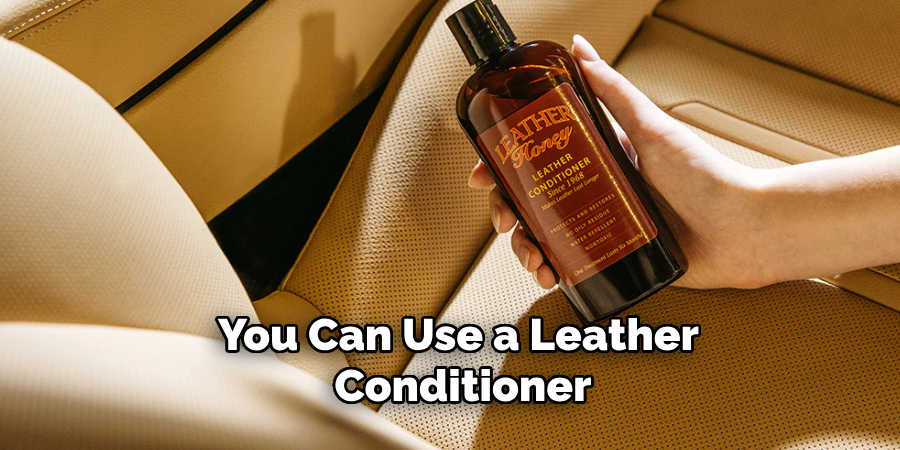
- Select a Quality Leather Conditioner: Choose a leather conditioner that’s appropriate for your boots. The right product will nourish the leather and keep it supple.
- Apply the Conditioner: Using a soft cloth, apply a small amount of the conditioner to the entire exterior of the boots. Rub it in gently using circular motions, making sure to cover the entire surface evenly.
- Pay Attention to Seams and Creases: Ensure that you apply the conditioner thoroughly to any seams, creases, or areas that experience heavy wear. These spots can dry out more quickly and are more prone to cracking.
- Let the Conditioner Absorb: Allow the conditioner to absorb into the leather for the recommended amount of time. Depending on the product instructions, this can range from a few minutes to a few hours.
- Buff the Boots: After the conditioner has been absorbed, use a clean, dry cloth to buff the leather. This will remove any excess product and give the boots a nice shine.
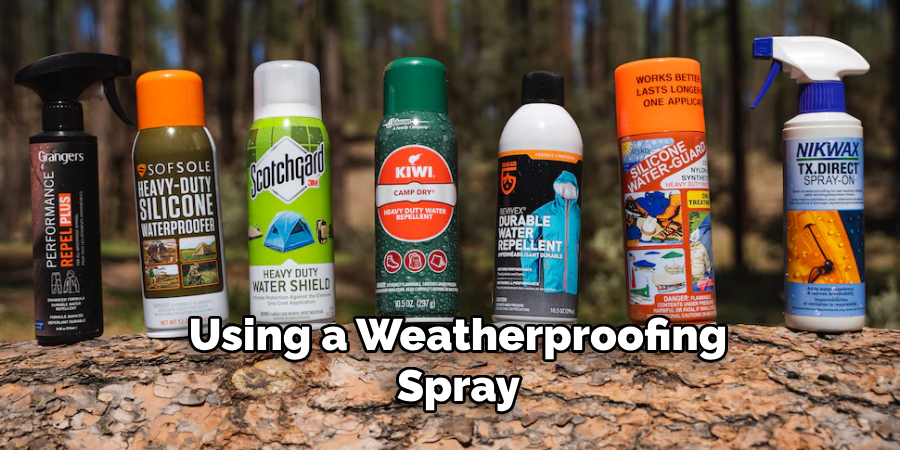
- Apply a Weatherproofing Spray: Once the leather is conditioned, consider using a weatherproofing spray to protect against water, snow, and other elements. Follow the manufacturer’s instructions for application.
By conditioning and protecting the leather, you’ll enhance the durability and appearance of your steel toe boots, ensuring they remain comfortable and resilient under various conditions.
Step 7. Store Your Boots Properly:
Proper storage of your steel toe boots can significantly extend their lifespan and maintain their quality. Incorrect storage can lead to deformities, mold, and overall degradation of the boots’ materials.
- Clean Before Storing: Always ensure that your boots are clean and dry before putting them away. Storing dirty or damp boots can lead to mold growth and unpleasant odors.
- Use Shoe Trees or Stuff Them: To help maintain the shape of your boots, insert shoe trees or stuff them with newspaper. This will prevent the leather from collapsing and developing creases.
- Keep in a Cool, Dry Place: Store your boots in a cool and dry location away from direct sunlight or extreme temperatures, which can cause the leather to crack or warp.
- Use a Breathable Bag: If you need to store your boots in a bag, opt for a breathable material like cotton. Avoid plastic bags as they can trap moisture inside, leading to mold and mildew growth.
- Regular Checks: Periodically check your stored boots to ensure they remain in good condition. This allows you to address any issues, such as mold or leather drying out before they become major problems.
By storing your steel toe boots properly, you’ll preserve their shape, integrity, and usability, ensuring they’re ready for use whenever you need them.
Step 8. Replace Worn-Out Components:
Over time, the components of your steel-toe boots can wear out, affecting both comfort and effectiveness. Replacing these parts as needed is crucial for maintaining the overall performance and safety of your boots.
- Inspect Regularly: Periodically examine your boots for signs of wear and tear. Pay special attention to the soles, insoles, laces, and any protective elements like steel toe caps.
- Replace Insoles: Insoles can degrade with heavy use, reducing comfort and support. If you notice the insoles are thin or losing their cushioning, replace them with new ones that provide the necessary support.
- Check and Replace Laces: Frayed or broken laces can compromise the fit and security of your boots. Invest in durable replacement laces to ensure they stay tied and your boots fit snugly.
- Assess the Soles: The soles of your boots bear the brunt of wear and can become smooth or cracked. If the tread is worn down or you notice any damage, have the soles professionally replaced to restore grip and stability.
- Examine the Steel Toe Caps: Make sure the steel toe caps are intact and securely in place. If they are damaged or loose, it might be time to replace the boots altogether, as this compromise can affect your safety.
- Repair or Replace the Stitching: Weak or broken stitching can cause your boots to fall apart. A cobbler can repair minor issues, but extensive damage may require a new pair of boots.
By proactively replacing worn-out components, you’ll ensure that your steel-toe boots continue to provide optimal comfort, performance, and protection, extending their lifespan and maintaining their functionality.
Step 9. Regularly Polish Your Boots:
Polishing your steel-toe boots enhances their appearance and provides an additional protective layer against the elements.
- Choose the Right Polish: Opt for a high-quality polish that matches the color of your boots. Using the correct hue ensures a uniform, polished look.
- Clean the Boots First: Before applying polish, make sure your boots are thoroughly cleaned and dried. This helps the polish adhere better and prevents dirt from being trapped under the polish.
- Apply the Polish: Using a soft cloth, apply a moderate amount of polish to the boots in small, circular motions. Ensure even coverage across the entire surface.
- Focus on Scuffs and Scratches: Pay extra attention to any areas with scuffs or scratches, applying a bit more polish to these sections to help mask imperfections.
- Let the Polish Set: Allow the polish to set for a few minutes to ensure it penetrates the leather and provides maximal protection.
- Buff to a Shine: Once the polish has set, use a clean, dry cloth or a polishing brush to buff the boots to a high shine. This will enhance the appearance and provide an extra layer of protection.
By regularly polishing your steel-toe boots, you’ll keep them looking their best and extend their lifespan, maintaining their professional appearance and protective qualities.
With proper maintenance and care, your steel-toe boots can last for years, providing reliable comfort and safety in various work environments. Make sure to follow these steps regularly to ensure they remain in optimal condition, ready for anything life throws your way.
Conclusion
How to wash steel toe boots is a vital practice to ensure their longevity, performance, and appearance.
By adhering to proper cleaning protocols—from removing dirt and stains, conditioning and waterproofing the leather to drying and storing them correctly—you can extend the lifespan of your boots and keep them comfortable and effective.
Regular inspection and replacement of worn-out components, as well as consistent polishing, further contribute to the durability and professional look of your footwear.
Following these detailed steps will guarantee that your steel toe boots remain in optimal condition, ready to provide the necessary protection and support you need in your daily tasks.