Welding cast alloy can be a challenging but rewarding skill to master, especially for those involved in automotive, industrial, or artistic metalworking projects.
Unlike standard metals, cast alloy contains a variety of metals that require careful handling and precise techniques. When welded correctly, cast alloy can offer remarkable strength and durability, making it an ideal choice for a range of applications.
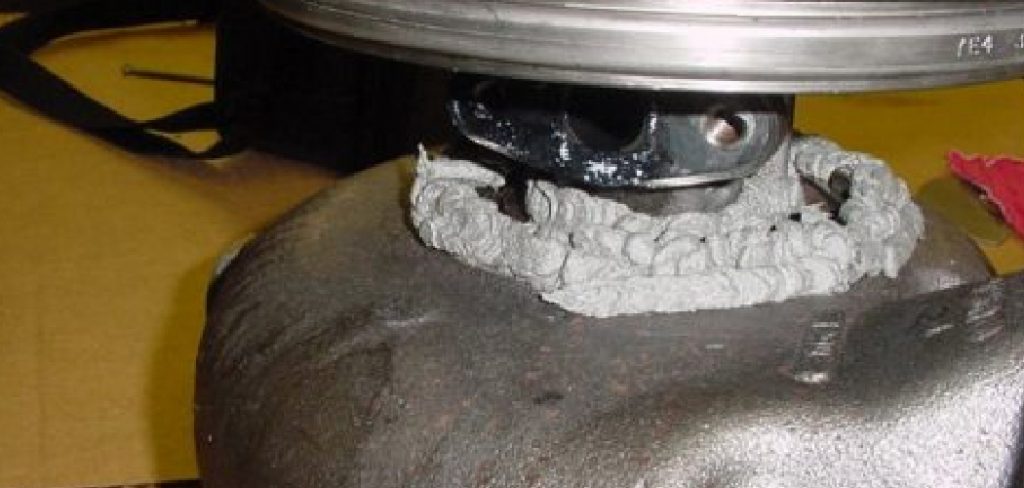
This guide on how to weld cast alloy will provide you with essential tips and techniques to successfully weld cast alloy, ensuring strong and lasting welds. Whether you are a novice or an experienced welder, understanding the properties and specific challenges of cast alloys is crucial for achieving optimal results.
What is Cast Alloy?
Cast alloy refers to a type of metal alloy that is produced through the process of casting, where molten metal is poured into a mold to solidify and take on the desired shape.
These alloys are typically composed of multiple metals, including aluminum, iron, magnesium, or nickel, combined to enhance certain properties such as strength, corrosion resistance, or heat stability. The unique composition of cast alloys makes them highly versatile, allowing them to be used in diverse industries ranging from automotive to aerospace.
Their ability to be molded into complex shapes makes them particularly valuable in scenarios where precision and durability are paramount. Understanding the specific characteristics and behaviors of the cast alloy you are working with is critical for successful welding and fabrication.
Needed Materials
To weld cast alloy, you will need a combination of tools and equipment to achieve clean and stable welds. Some of the essential items include:
Welding Machine:
Depending on your project, you may use different types of welding machines such as TIG (Tungsten Inert Gas) or MIG (Metal Inert Gas). Both options can be used for welding cast alloy, but TIG welding is generally preferred due to its ability to produce precise and clean welds.
Filler Metals:
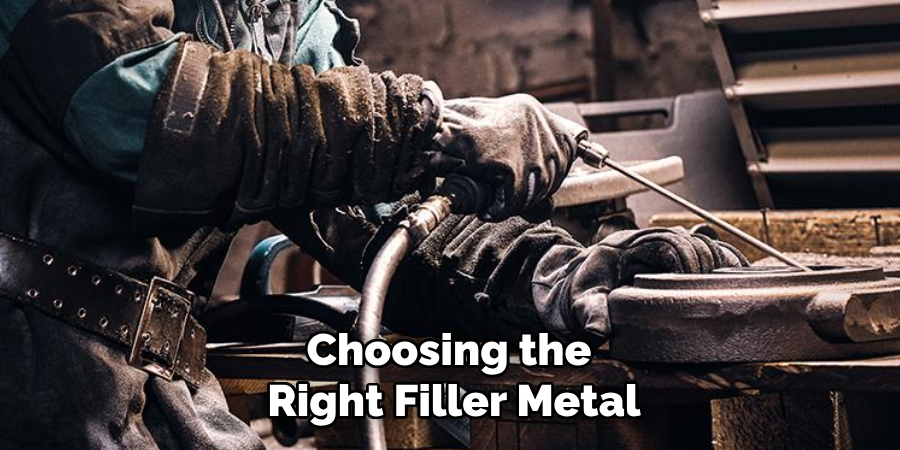
Choosing the right filler metal is crucial for welding cast alloy. Typically, nickel-based or high-nickel alloys are suitable for joining most types of cast alloys. These filler metals have a similar composition to the base metal and can provide strong and stable welds when used correctly.
Protective Gear:
Welding involves working with extremely hot temperatures and potentially harmful fumes, so it’s essential to protect yourself by wearing appropriate gear such as gloves, helmets, aprons, and respirators.
8 Step-by-step Guidelines on How to Weld Cast Alloy
Step 1: Prepare the Base Metal
Before beginning the welding process, it’s essential to prepare the base metal thoroughly to ensure a strong and defect-free weld.
Start by cleaning the surface of the cast alloy to remove any dirt, grease, oxide layers, or other contaminants that could interfere with the welding process. Use a wire brush, grinder, or appropriate chemical cleaners to achieve a clean surface.
Additionally, inspect the base metal for any cracks or porosity, as these imperfections can affect the welding outcome. If needed, repair any damages before proceeding. Ensuring a clean and prepared surface is foundational for a successful welding operation, as it allows for better adhesion and minimizes the risk of weld defects.
Step 2: Preheat the Base Metal
Preheating is a crucial step when welding cast alloy, as it helps to reduce thermal shock and minimize cracking. The preheating temperature will vary depending on the type of cast alloy you are working with, but generally, a range between 300-500°F (149-260°C) is recommended.
Use an oxy-acetylene torch or resistance heating for preheating, and maintain the desired temperature throughout the welding process.
The preheating temperature also helps to reduce the amount of shrinkage and distortion that can occur during welding, resulting in a more stable and aesthetically pleasing weld.
Step 3: Choose the Right Filler Metal
As mentioned earlier, nickel-based or high-nickel alloys are typically used as filler metals for welding cast alloys. However, the specific composition of the base metal will determine the appropriate filler metal to use.
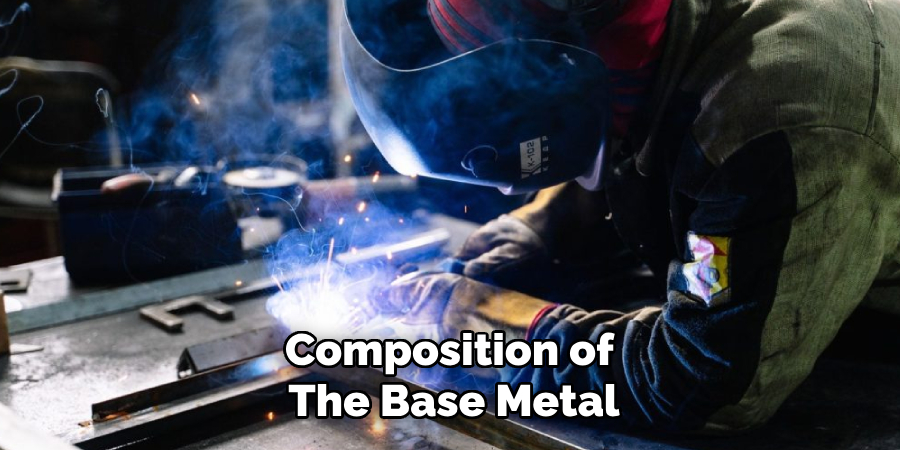
Refer to manufacturer guidelines or consult with a specialist to ensure you select the correct filler metal for your project.
The filler metal should have similar properties to the base metal, such as melting point, strength, and corrosion resistance, to achieve high-quality welds.
Step 4: Set Up Your Welding Machine
Once you have prepared the base metal and chosen the right filler metal, it’s time to set up your welding machine. Make sure you are using the appropriate settings for welding cast alloy, including adjusting the amperage and voltage according to manufacturer recommendations.
Ensure that all connections on your welding machine are secure before starting. A loose connection can cause an arcing effect that could damage both your equipment and weld quality.
Step 5: Position Your Workpiece
Position your workpiece in a secure and stable manner, preferably using a welding table or clamps. The proper positioning is crucial as it allows for comfortable access to the weld area and reduces the risk of distortion during the welding process.
Additionally, heat-resistant materials such as ceramic back-up tape or copper backing bars should be used to support the weld joint and prevent overheating.
Step 6: Begin Welding
Start by striking an arc on your base metal with the filler rod, then gradually move across the joint while maintaining a steady pace. Keep in mind that you should avoid excessive weaving or pausing during welding, as this can cause uneven bead formation and lead to weak welds.
Also, ensure that you are using enough filler metal to create a strong and stable weld. The amount will vary depending on the size of the joint, but consistently feeding the filler rod into the molten pool is key to achieving a high-quality weld.
Step 7: Allow for Proper Cooling
After completing each pass, allow for proper cooling before continuing with additional passes. This step is critical as it helps prevent overheating and warping of the base metal.
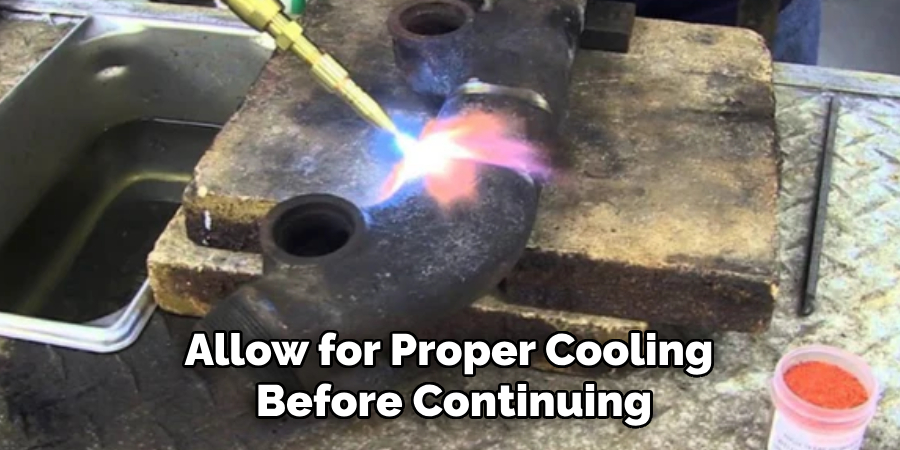
Typically, you can use air or water-cooling methods to speed up the cooling process, depending on your welding machine capabilities. Once cooled, inspect the weld for any potential defects and make necessary adjustments before proceeding.
Step 8: Post-weld Cleaning and Finishing
After completing the welding process, it’s essential to clean the weld area thoroughly. Use a wire brush or grinder to remove any slag or excess filler metal that can affect the appearance and strength of the weld.
You may also need to perform post-weld heat treatment for some types of cast alloys to improve the mechanical properties of the joint. Consult with a specialist or refer to manufacturer guidelines for specific instructions on post-weld treatments.
Once cleaned and treated (if needed), you can finish your project by sanding, polishing, or painting as desired.
Following these step-by-step guidelines on how to weld cast alloy can help you achieve strong and reliable welds when working with cast alloys. Remember to always prioritize safety by wearing appropriate protective gear and following all safety precautions. Happy welding!
Frequently Asked Questions
Q: Can I Weld Cast Alloy With a Tig Welding Process?
A: Yes, TIG welding is suitable for welding cast alloys, but it requires more skill and control compared to other methods. It’s essential to adjust the settings on your TIG welding machine accordingly, including using a higher amperage and selecting the correct filler metal.
Q: What Type of Gas Should I Use for Welding Cast Alloy?
A: For welding cast alloys, it’s recommended to use a shielding gas mixture of argon and helium or pure helium. These gases provide better heat control and reduce the risk of weld defects such as porosity or cracking.
Refer to manufacturer guidelines or consult with a specialist for specific gas recommendations based on the type of cast alloy you are working with.
Q: How Do I Know If My Weld Is Strong Enough?
A: The strength of a weld depends on various factors such as base metal type, welding technique, and filler metal composition. You can perform a visual inspection of the weld for any signs of defects or weak spots.
Additionally, you can conduct destructive testing on a sample weld to determine its strength and make necessary adjustments if needed. It’s always best to consult with a specialist for specific guidelines on determining weld strength in your project.
Q: Can I Weld Different Types of Cast Alloy Together?
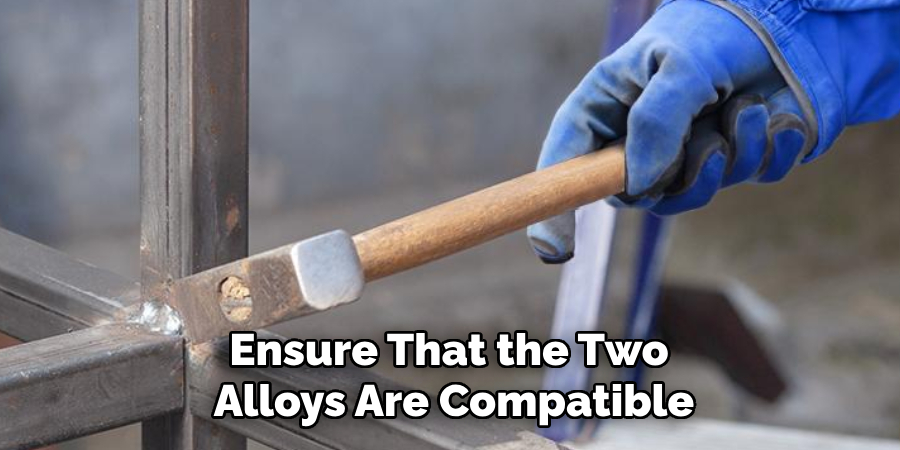
A: Yes, it is possible to weld different types of cast alloys together using appropriate methods and filler metals. However, it’s crucial to ensure that the two alloys are compatible and have similar properties to avoid potential issues with the weld joint. Consult with a specialist before attempting to weld two different types of cast alloys together to ensure the best results.
Conclusion
Welding cast alloy requires attention to detail and adherence to specific procedures to ensure the best possible results. By following the outlined step-by-step guidelines on how to weld cast alloy—from preparing the base metal to post-weld cleaning and finishing—you can achieve durable and high-quality welds.
Remember that safety is paramount throughout the process, so always wear the necessary protective gear and remain vigilant of potential hazards.
Each step plays a critical role in the overall weld integrity and performance, and understanding these techniques will empower you to tackle cast alloy projects more efficiently and confidently.
With practice and commitment to quality, you can master the art of welding cast alloys, creating reliable and aesthetically pleasing outcomes.
Edmund Sumlin is a skilled author for Metal Fixes, bringing 6 years of expertise in crafting a wide range of metal fixtures. With a strong background in metalwork, Edmund’s knowledge spans various types of fixtures, from decorative pieces to functional hardware, blending precision with creativity. His passion for metalworking and design has made him a trusted resource in the industry.
Professional Focus:
- Expert in Metal Fixtures : Edmund aesthetic specializes in creating durable and innovative metal fixtures, offering both appeal and functionality. His work reflects a deep understanding of metalworking techniques and materials.
- Sustainability Advocate : He is dedicated to using sustainable practices, ensuring that every fixture is crafted with eco-friendly methods while maintaining high-quality standards.
In his writing for Metal Fixes, Edmund provides valuable insights into the latest trends, techniques, and practical advice for those passionate about metal fixtures, whether they are professionals or DIY enthusiasts. His focus on combining artistry with engineering helps others discover the true potential of metal in design.


