

Have you ever dreamt of welding underwater? As it turns out, this unique and amazing art is now possible. With the right technique and devices, underwater welding can be mastered with relatively little experience on the part of the welder. Whether you are a professional welder looking to challenge yourself or an amateur who wants to learn something new, mastering how to weld in an aquatic environment is certainly worth your time.
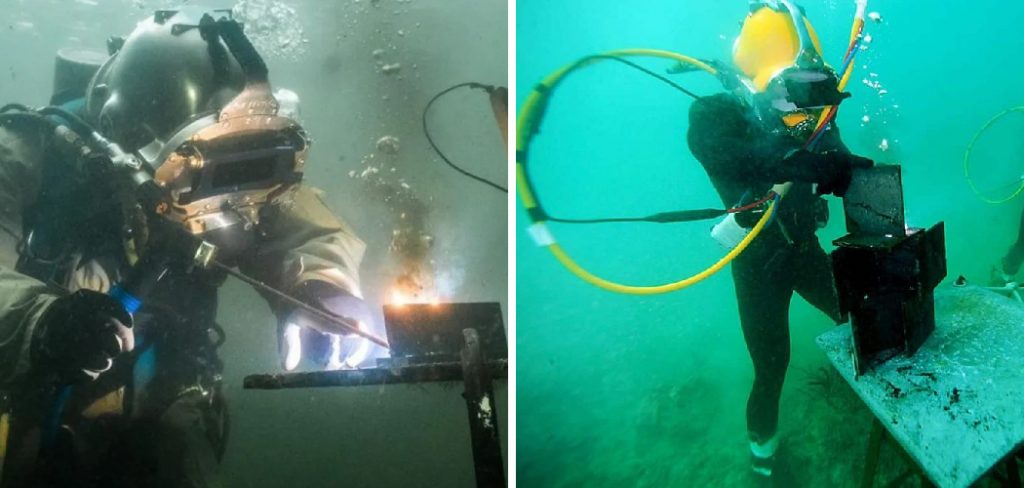
In this blog post on how to weld underwater, we will take you through all the steps needed for successful underwater welding – from understanding various techniques to finding appropriate safety considerations. So stay tuned if you want to explore an exciting area of welding!
Why Weld Underwater?
There are many reasons why someone might want to learn how to weld underwater. For starters, it is a unique skill that not many people have mastered. Being able to weld in an aquatic environment can open up new job opportunities, especially in marine construction and repair industries. Additionally, underwater welding can be a lucrative career option as it often pays higher wages compared to other types of welding.
Moreover, the underwater world is full of hidden treasures and wrecks that require periodic maintenance or repairs for preservation. This is where underwater welding comes in handy. It allows you to explore and work in the ocean while also contributing to its preservation.
Needed Materials
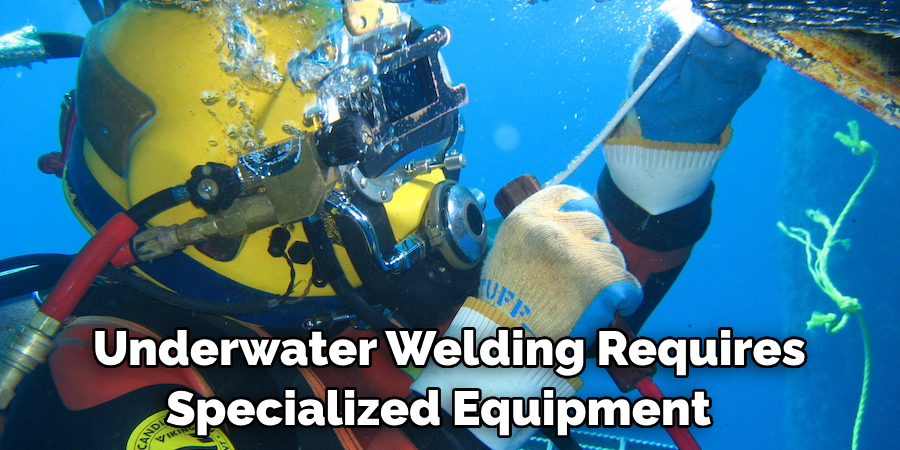
Before diving into the actual welding process, it is important to note that underwater welding requires specialized equipment. Here are some of the essential materials you will need for a successful underwater welding experience:
Diving Gear:
A must-have for any type of underwater activity, diving gear includes a full-face mask, fins, and oxygen tank.
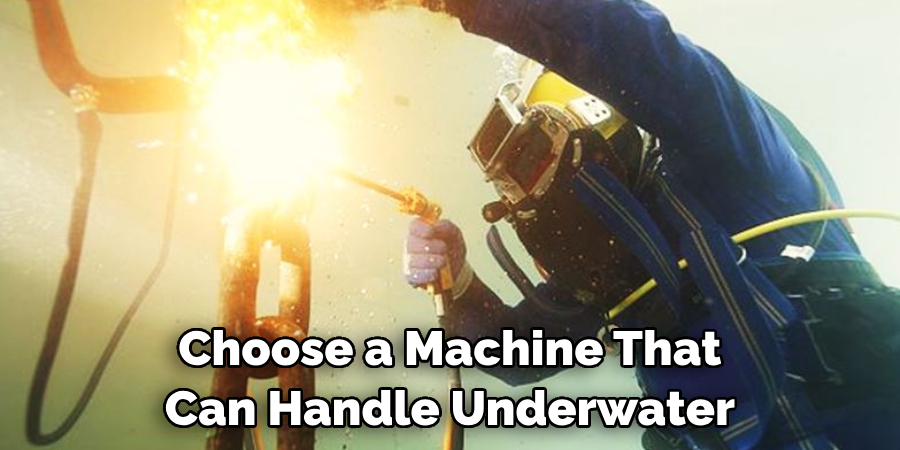
Welding Machine:
The most important equipment for any welder, a welding machine is used to create the heat needed to melt and fuse metal underwater. Make sure to choose a machine that can handle underwater conditions.
Welding Electrodes:
Different types of electrodes are used for different types of metal. Make sure to select the appropriate electrode according to the type of metal you will be working with.
Wet Welding Chamber:
A wet welding chamber is a waterproof enclosure that allows the welder to work in a dry environment while submerged underwater. It provides protection from the surrounding water and also maintains an appropriate atmosphere for welding.
Diving Umbilical:
This cable connects the welder’s equipment to the surface support team, providing power, air, and communication throughout the welding process.
9 Easy Step-by-step Guidelines on How to Weld Underwater
Step 1: Understand the Two Types of Underwater Welding
Before starting, it’s important to know that there are two main types of underwater welding – wet welding and dry welding. Wet welding is done directly in the water without any type of enclosure, while dry welding is performed within a chamber filled with gas. You will need to choose the right type of welding technique based on your specific needs and the environment. You can also opt for a combination of both techniques for more complex welding projects.
Step 2: Choose the Right Location
The location you choose for underwater welding is crucial to your safety and the success of the project. Ideally, it should be an area with minimal water flow, clear visibility, and no potential hazards or obstacles that could interfere with your work. You should also be aware of the depth of water you will be working in, as it can affect your diving gear and equipment.
Step 3: Wear Appropriate Protective Gear
As with any type of welding, safety should always be a top priority when welding underwater. You should wear a thick wetsuit, gloves, and boots to protect against electrical shock and extreme temperatures. It is also recommended to wear a helmet with a clear visor for better visibility and protection against debris or objects in the water. You should also have a backup oxygen tank in case of any emergencies.
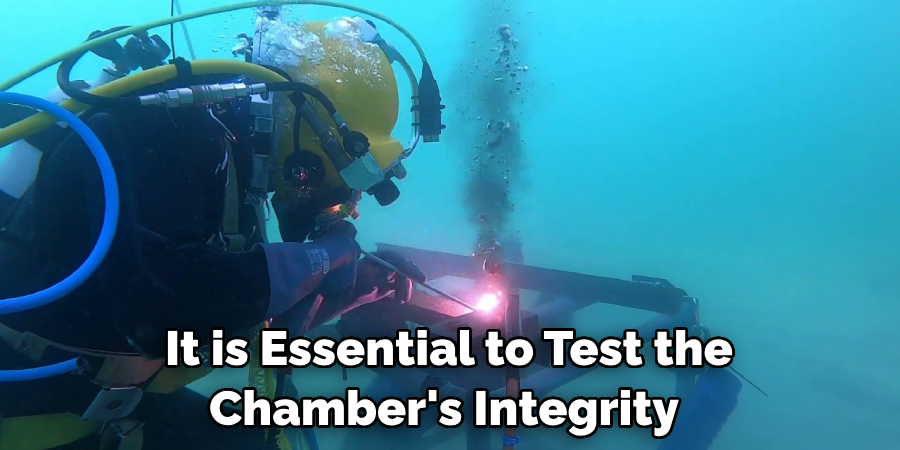
Step 4: Prepare the Welding Chamber
If you are using a wet welding chamber, you will need to set it up before starting the welding process. This includes attaching the chamber to the support team’s umbilical, creating a waterproof seal, and ensuring proper air circulation within the chamber. It is essential to test the chamber’s integrity before starting any welding work. You can also opt for a pre-made diving bell or chamber for added safety.
Step 5: Set Up the Welding Equipment
With your diving gear and protective gear on, it’s time to set up the welding equipment. This includes connecting your welding machine to the power source and attaching the appropriate electrode for the type of metal you will be working with. Make sure all connections are secure and test the equipment before bringing it into the water. Otherwise, any malfunctions could pose a serious risk to your safety.
Step 6: Enter the Water
Once you have all your gear and equipment set up, it’s time to enter the water. Make sure to follow proper diving protocols and communicate with your support team throughout the process. Take slow, controlled breaths to conserve oxygen and adjust yourself to working in a different environment. You may also need to equalize your ears as you descend. But most importantly, stay calm and focused on the task at hand.
Step 7: Start Welding
With everything in place, it’s time to start welding. Use your welding machine and electrode to create the necessary heat and fusion between metals. Take your time and focus on creating strong, consistent welds. Remember to take breaks as needed and communicate with your support team if any issues arise. You may also need to adjust your welding technique based on water conditions and visibility.
Step 8: Monitor and Inspect Your Welds
As you weld, it’s important to constantly monitor and inspect your work. Pay attention to the temperature of your welding machine and the quality of your welds. If any issues arise, make sure to address them immediately. It is also recommended to have a support team member observe your work from outside the water for a different perspective. You can also use underwater cameras or lights to improve visibility.
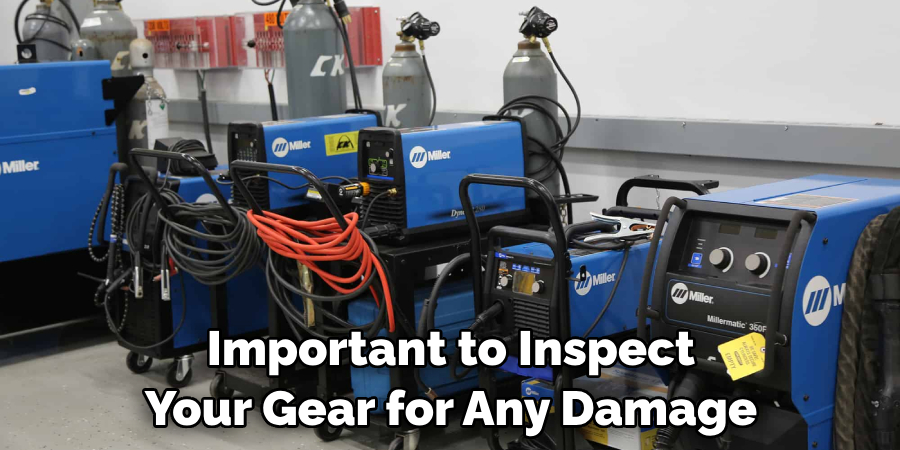
Step 9: Exit and Clean Up
Once you have completed all necessary welding, it’s time to exit the water. Make sure to follow proper diving protocols and communicate with your support team throughout the process. Once you are back on land, clean and properly store all equipment for future use. It is also important to inspect your gear for any damage or wear and tear.
With these easy step-by-step guidelines on how to weld underwater, you are now equipped with the knowledge and understanding to successfully weld underwater. Remember to always prioritize safety and make sure to choose the appropriate equipment and techniques for each project. Happy welding! So stay tuned, and keep practicing your skills to become an expert underwater welder. Happy diving!
Frequently Asked Questions
Q: Is Underwater Welding Dangerous?
A: As with any type of welding, there are risks involved. However, with proper training, equipment, and precautions, the dangers can be minimized. It is important to always prioritize safety and follow proper procedures when welding underwater.
Q: How Long Does It Take to Become a Certified Underwater Welder?
A: The time it takes to become a certified underwater welder can vary depending on the program and your individual skills. On average, it can take anywhere from 6 months to 2 years to complete training and obtain certification.
Q: How Much Do Underwater Welders Make?
A: The salary of an underwater welder can vary greatly depending on experience, location, and type of work. On average, underwater welders can make anywhere from $50,000 to $200,000 per year.
Q: Can I Use Regular Welding Equipment for Underwater Welding?
A: No, regular welding equipment is not suitable for use in water. Underwater welding requires specialized equipment that is designed to work in a submerged environment and handle the unique challenges of underwater welding. Make sure to always use equipment specifically designed for underwater welding to ensure safety and successful projects.
Conclusion
With the right knowledge and tools, welding underwater can be a challenging yet rewarding experience. We’ve gone over all of the important safety measures to ensure that any projects undertaken are done safely and correctly. Always double-check your equipment for potential leaks or weak spots before continuing with any project.
Find a certified mentor or take specialized courses to make sure you completely understand all of the fundamentals of welding. Investing in quality tools will also help you achieve optimal results while ensuring long-lasting welds.
Don’t let fear of being underwater stop you from taking on exciting new welding opportunities! Take action steps today and become one of the many successful welders who have conquered welds beneath the water’s depths! Thanks for reading this article on how to weld underwater.
Edmund Sumlin is a skilled author for Metal Fixes, bringing 6 years of expertise in crafting a wide range of metal fixtures. With a strong background in metalwork, Edmund’s knowledge spans various types of fixtures, from decorative pieces to functional hardware, blending precision with creativity. His passion for metalworking and design has made him a trusted resource in the industry.
Professional Focus:
- Expert in Metal Fixtures : Edmund aesthetic specializes in creating durable and innovative metal fixtures, offering both appeal and functionality. His work reflects a deep understanding of metalworking techniques and materials.
- Sustainability Advocate : He is dedicated to using sustainable practices, ensuring that every fixture is crafted with eco-friendly methods while maintaining high-quality standards.
In his writing for Metal Fixes, Edmund provides valuable insights into the latest trends, techniques, and practical advice for those passionate about metal fixtures, whether they are professionals or DIY enthusiasts. His focus on combining artistry with engineering helps others discover the true potential of metal in design.