

The Lincoln 225 Welder is a reliable and versatile piece of equipment widely appreciated by both professionals and hobbyists for its ease of use and welding capabilities. Proper wiring is a critical step to ensure safety, optimal performance, and longevity of the machine. This guide will walk you through how to wire a lincoln 225 welder correctly, whether you are setting it up for the first time or performing maintenance.

Importance of Proper Wiring
Proper wiring of the Lincoln 225 Welder is essential for both safety and functionality. Incorrect wiring can lead to electrical hazards, such as short circuits or overheating, putting both the operator and the equipment at risk. Additionally, improper connections can negatively impact the welder’s performance, resulting in inconsistent welds or equipment malfunction. Ensuring that the welder is wired correctly not only helps maintain its efficiency but also contributes to its longevity, reducing the likelihood of costly repairs or replacements. By following proper wiring practices, you can achieve reliable and high-quality results while safeguarding your work environment.
Tools and Materials Needed
Before wiring your Lincoln 225 Welder, gather all the necessary tools and materials to ensure a smooth and safe setup process. Here’s a list of what you’ll need:
- Screwdrivers (Flathead and Phillips) – For securing connections and panels.
- Wrenches – To tighten nuts and bolts on electrical terminals.
- Wire Strippers – For preparing the wires to make proper connections.
- Voltage Tester or Multimeter – To confirm proper voltage levels and ensure connections are safe.
- Electrical Tape – To insulate exposed wires securely.
- Heavy-Duty Power Cord – Compatible with the Lincoln 225 Welder to handle the required amperage.
- Circuit Breaker – Appropriately rated for the welder’s power requirements (usually 50 amps); check the manual for specifications.
- Wire Connectors – To create secure and durable connections.
- Protective Gloves and Safety Glasses – For ensuring personal safety while handling electrical components.
Having these tools and materials ready will help streamline the wiring process and minimize the risk of errors or accidents. Always double-check that all components and tools are in good condition before you begin.
Understanding Electrical Requirements
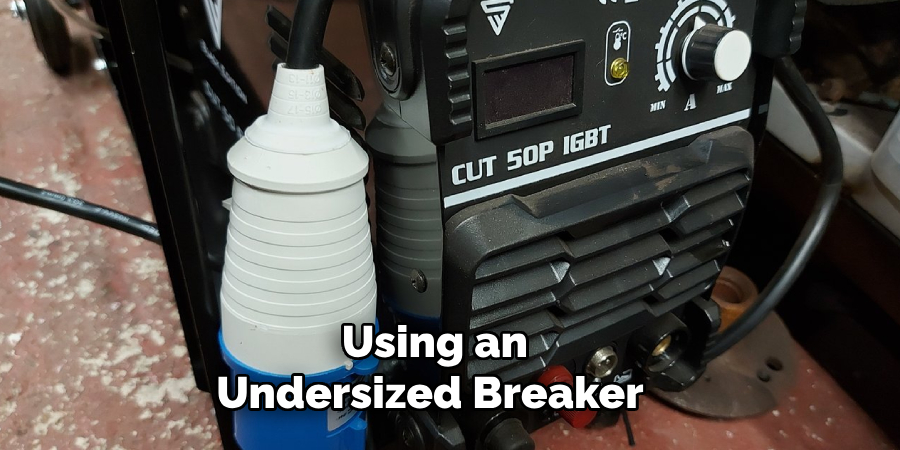
Before wiring your Lincoln 225 Welder, it is crucial to understand its electrical requirements to ensure proper functionality and safety. The Lincoln 225 Welder typically operates on a 220-240V power supply and requires a dedicated circuit to handle its power needs without overloading your electrical system. The welder’s amperage requirement, often stated in the user manual, generally necessitates a 50-amp circuit breaker. Using an undersized breaker or incompatible wiring can lead to overheating, tripped circuits, or even fire hazards.
Furthermore, the power outlet must match the prong configuration of the welder’s plug. For maximum safety and efficiency, use heavy-gauge wiring suitable for handling the current load, such as 6-gauge wire. Consult the welder’s specifications or hire a licensed electrician for proper guidance if you’re uncertain about your electrical setup. A clear understanding of these requirements will not only help you achieve optimal welder performance but also prevent potential electrical hazards during operation.
10 Methods How to Wire a Lincoln 225 Welder
1. Understand the Electrical Requirements
Before wiring your Lincoln 225 welder, familiarize yourself with its electrical specifications. This welder typically requires a 240-volt power supply, making it unsuitable for standard 120-volt outlets found in most homes. Additionally, the welder may draw up to 50 amps, so your electrical circuit must be capable of handling this load. Ensure that your circuit breaker, wiring, and outlet are rated for 240 volts and 50 amps to prevent overheating, short circuits, or damage to the welder.
2. Check Local Electrical Codes
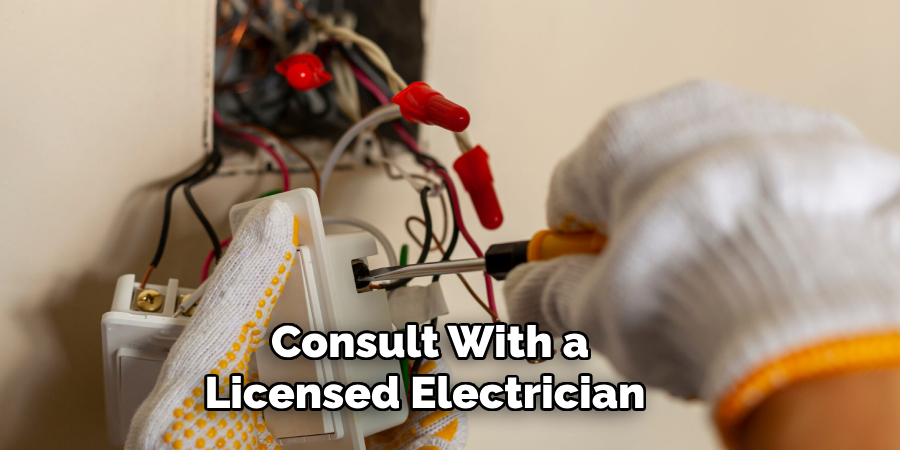
Compliance with local electrical codes is crucial for safety and legality. Wiring a Lincoln 225 welder involves high voltage and amperage, so adhering to electrical standards minimizes the risk of accidents. Check with your local authority or a licensed electrician to understand any specific requirements for installing a 240-volt outlet or running new wiring. In some regions, a permit may be required to perform this type of electrical work.
3. Use the Correct Outlet Type
The Lincoln 225 welder requires a dedicated 240-volt outlet, commonly known as a NEMA 6-50R receptacle. This outlet is designed to handle the high amperage required by welding machines. Ensure that the outlet matches the welder’s plug configuration. If your workshop doesn’t already have a compatible outlet, you’ll need to install one or have a licensed electrician do it for you.
4. Install the Appropriate Circuit Breaker
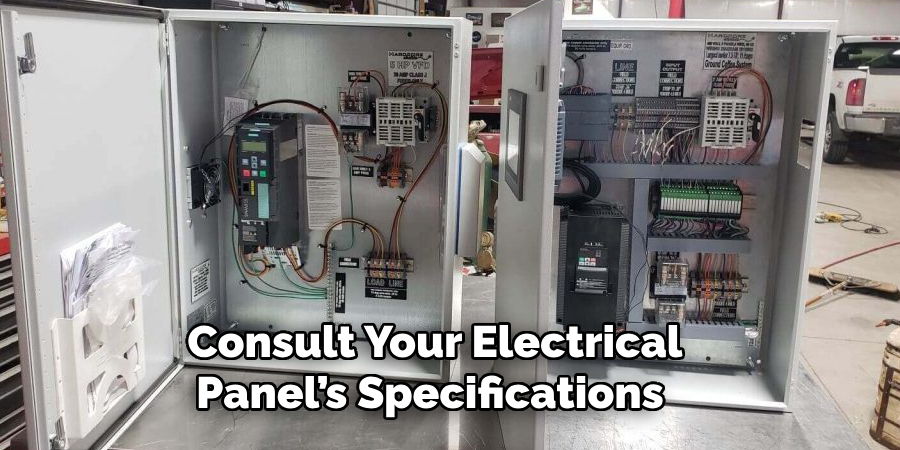
A dedicated circuit breaker is essential for safely operating your Lincoln 225 welder. The breaker should be rated for 50 amps to match the welder’s maximum current draw. Installing a breaker that is too small will cause frequent tripping, while one that is too large may fail to protect the circuit in case of a fault. Consult your electrical panel’s specifications to determine compatibility and ensure proper installation.
5. Select the Correct Wire Gauge
The wire gauge plays a critical role in safely delivering power to your welder. For a 240-volt circuit at 50 amps, you’ll typically need 6-gauge copper wire or 4-gauge aluminum wire. Using undersized wires can lead to overheating, fire hazards, or voltage drops, which may damage your welder. Ensure that the wires are rated for the intended amperage and are suitable for the type of installation, whether it’s in-wall, conduit, or direct burial.
6. Run the Wiring Safely
Proper wire routing is essential for safety and compliance. Begin by turning off the power at the main electrical panel. Run the wires from the panel to the location of your 240-volt outlet, securing them with conduit or cable clamps as needed. If the wiring passes through walls, floors, or ceilings, ensure it is adequately protected with conduit or armored cable to prevent accidental damage. Avoid sharp bends in the wires, as these can weaken the conductors over time.
7. Connect the Wires to the Circuit Breaker
At the electrical panel, connect the hot wires (usually red and black) to the terminals on the 50-amp circuit breaker. Connect the neutral wire (white) to the neutral bus bar and the ground wire (green or bare copper) to the ground bus bar. Double-check that all connections are secure and that there is no exposed wire that could create a short circuit. Use a torque screwdriver to ensure connections are tightened to the manufacturer’s specifications.
8. Wire the Outlet
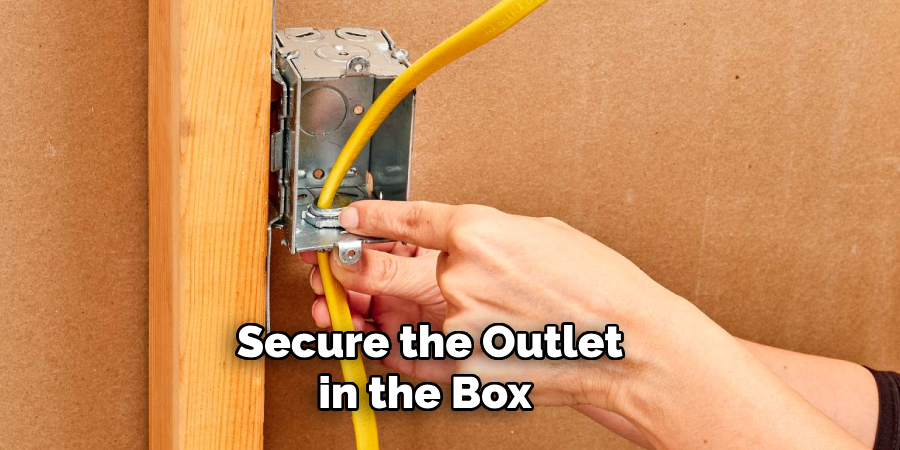
At the outlet box, connect the wires to the NEMA 6-50R receptacle. Attach the two hot wires to the designated terminals, which are usually brass or labeled “X” and “Y.” Connect the ground wire to the green terminal and, if required, connect the neutral wire to its designated terminal. Secure the outlet in the box and attach the cover plate. Ensure that the wiring follows the outlet manufacturer’s instructions and local electrical codes.
9. Test the Circuit and Welder
After completing the wiring, turn the power back on at the main electrical panel and test the circuit. Use a multimeter to verify that the outlet provides 240 volts across the hot terminals and the appropriate voltage between hot and ground. Once the circuit is verified, plug in your Lincoln 225 welder and perform a test weld to ensure it operates correctly. Pay attention to any irregularities, such as tripped breakers or unusual noises, which may indicate wiring issues.
10. Perform Regular Maintenance and Inspections
Maintaining your welder’s electrical connections is just as important as the initial installation. Periodically inspect the outlet, circuit breaker, and wiring for signs of wear, corrosion, or damage. Tighten any loose connections and replace components as needed. Regular maintenance ensures the welder operates safely and reliably, minimizing downtime and preventing accidents caused by faulty wiring.
Common Mistakes to Avoid
When wiring a Lincoln 225 welder, avoiding common mistakes is essential for ensuring safety, performance, and compliance. Here are some of the most frequent errors to watch out for:
- Using Incorrect Wire Gauge
One of the most common mistakes is using wires that are too small to handle the amperage required by the welder. This can lead to overheating, voltage drops, or even fire hazards. Always use the recommended 6-gauge copper wire or 4-gauge aluminum wire for a 240-volt, 50-amp circuit.
- Ignoring Local Electrical Codes
Failing to adhere to local electrical codes can result in unsafe installations and legal issues. Electrical standards exist to protect you and your property, so always review the codes or consult with a licensed electrician before beginning the installation.
- Skipping Safety Precautions
Working on electrical systems without turning off the power at the main panel is a serious safety risk. Always disconnect power before starting work, and use insulated tools and safety gear to reduce the chances of electrical shocks.
Conclusion
Properly wiring a Lincoln 225 welder is essential for ensuring safety, functionality, and compliance with local electrical codes. By following the outlined steps—selecting the correct outlet type, circuit breaker, and wire gauge, and adhering to proper installation practices—you can create a safe and reliable electrical setup for your welder. Always prioritize safety by turning off power during installation, using appropriate tools, and consulting a licensed electrician if needed. So, there you have it – a quick and easy guide on how to wire a lincoln 225 welder.
Edmund Sumlin is a skilled author for Metal Fixes, bringing 6 years of expertise in crafting a wide range of metal fixtures. With a strong background in metalwork, Edmund’s knowledge spans various types of fixtures, from decorative pieces to functional hardware, blending precision with creativity. His passion for metalworking and design has made him a trusted resource in the industry.
Professional Focus:
- Expert in Metal Fixtures : Edmund aesthetic specializes in creating durable and innovative metal fixtures, offering both appeal and functionality. His work reflects a deep understanding of metalworking techniques and materials.
- Sustainability Advocate : He is dedicated to using sustainable practices, ensuring that every fixture is crafted with eco-friendly methods while maintaining high-quality standards.
In his writing for Metal Fixes, Edmund provides valuable insights into the latest trends, techniques, and practical advice for those passionate about metal fixtures, whether they are professionals or DIY enthusiasts. His focus on combining artistry with engineering helps others discover the true potential of metal in design.