

Are you looking for a way to strengthen your aluminum parts and components? If so, then annealing could be the perfect solution! Annealing is a heat treatment process that can toughen up the structural integrity of any metal and allow it to work better than ever before. In this blog post, we’ll teach you how to anneal aluminum correctly so that you can get the maximum performance out of your materials while also ensuring their long-term durability.
Read on how to anneal aluminium to learn more about this incredible process and why it’s essential for any serious manufacturer or engineer working with metals.
11 Step-by-step Guidelines on How to Anneal Aluminium
Step 1: Begin by Cleaning the Metal Surface
Make sure to remove all oil, grease, dirt and oxide layers from the aluminum to get a good annealing effect. Otherwise, it may lead to inconsistent results. It’s essential to use a degreaser and brush or sandpaper for this step. But be careful not to use any wire brushes that could scratch the metal surface.
Step 2: Prepare Your Tools and Equipment
Before starting, make sure you have all the necessary equipment on hand. This includes a gas torch with a large flame nozzle, fireproof tongs for handling hot parts, heat-resistant gloves, and safety glasses. You may also need a fireproof container for quenching the parts after annealing. It’s essential to have everything ready before you start heating the aluminum.

Step 3: Set Up Your Workspace
Ensure that your work area is well-ventilated and free of any flammable materials. Ideally, you should work outside or in a well-ventilated workshop with a concrete or fireproof floor. Make sure to keep a fire extinguisher nearby, just in case. You should also have a clean and flat surface to work on. Otherwise, the aluminum may warp during heating.
Step 4: Put On Your Safety Gear
Safety should be your top priority, so make sure you are wearing all necessary safety gear. This includes heat-resistant gloves, eye protection, and thick clothing that covers your arms and legs. If possible, wear fire-resistant overalls or an apron for added protection. You should also tie your hair back and avoid loose-fitting clothing that could catch fire. But most importantly, never anneal alone, and always have someone nearby who can help in case of an emergency.
Step 5: Heat the Aluminum Slowly and Evenly
Using your gas torch, heat the aluminum evenly and slowly. The goal is to raise the temperature of the aluminum above its recrystallization temperature, which is typically between 350-500°C (662-932°F) for most alloys. It’s crucial to move the flame around continuously and avoid focusing on one spot for too long, as this can cause warping or melting.
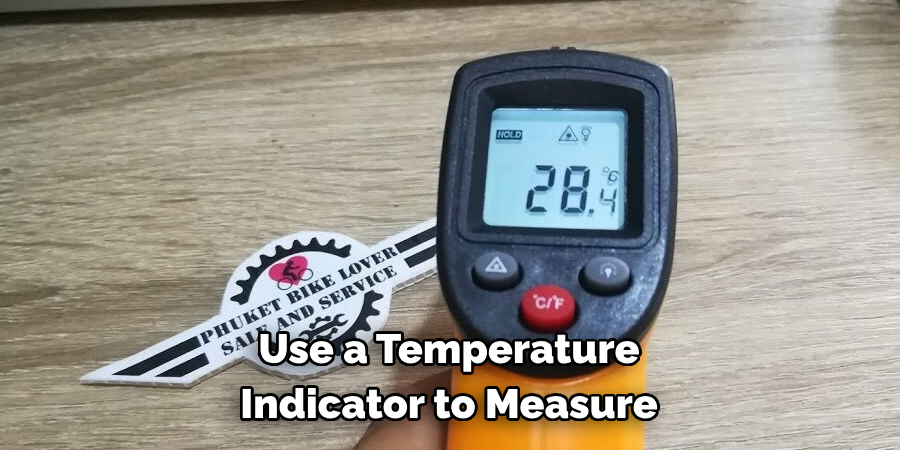
Step 6: Use a Temperature Indicator
If possible, use a temperature indicator to measure the aluminum’s temperature. This will help you determine when it has reached the desired temperature range for annealing. If you don’t have a temperature indicator, you can follow this simple rule of thumb: when the aluminum starts glowing red, it’s at or near its recrystallization temperature. But be careful not to exceed the temperature range, as this can cause the aluminum to melt.
Step 7: Let it Soak
Once the aluminum reaches its recrystallization temperature, let it soak for about 10-15 minutes. This will ensure that the entire part is annealed thoroughly and evenly. If you are annealing a larger piece of aluminum, you may need to increase the soaking time. You can use the temperature indicator to monitor the part’s temperature and ensure it stays within the desired range.
Step 8: Quench in Water or Let Cool Naturally
After soaking, you need to quickly cool down the aluminum. You have two options for this step: quenching in water or letting it cool naturally. The best method depends on your specific alloy and its thickness.
Quenching in water can harden some alloys, making them more difficult to work with. On the other hand, letting aluminum cool naturally may not be fast enough for thicker parts and could lead to warping. Be sure to research the best method for your specific alloy before proceeding.
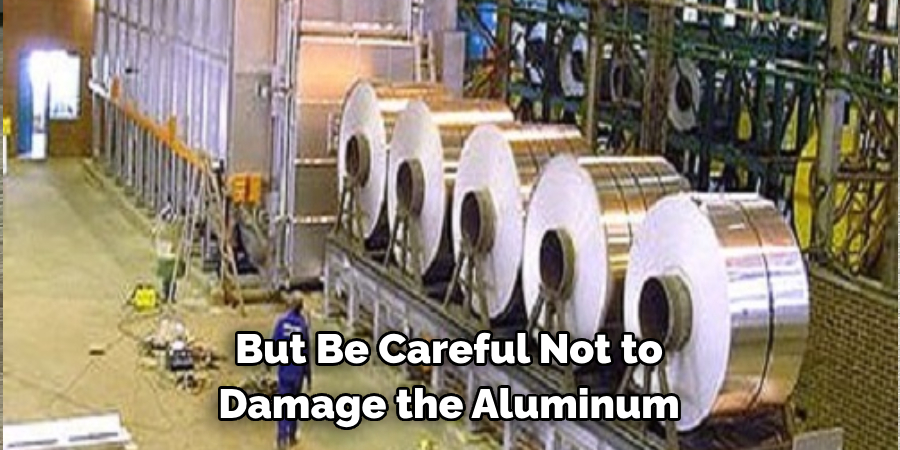
Step 9: Clean the Surface Once Again
After quenching or letting it cool, make sure to clean the aluminum surface once again. This will remove any remaining oxide layers or debris that may have formed during annealing. But be careful not to damage the aluminum during cleaning, as it will be softer and more susceptible to scratches at this stage. Although it’s essential to clean the surface, you can always sand or polish the part later on if needed.
Step 10: Age Harden (Optional)
If you want to harden your aluminum even further, you can perform an aging process after annealing. This involves heating the aluminum again to a specific temperature and then letting it cool slowly. The exact temperature and duration will depend on your alloy, so be sure to research thoroughly before attempting this step.
Step 11: Use Your Annealed Aluminum for Maximum Performance
Congratulations! You have successfully annealed your aluminum parts. Now you can use them for your desired application with improved strength and toughness. Remember to always handle annealed aluminum with care, as it will be softer than before annealing. But don’t worry, your parts will still be just as durable and long-lasting. With these step-by-step guidelines on how to anneal aluminium, you can confidently anneal aluminum for any project or application with ease. So go ahead and put your newly acquired knowledge to use, and create high-quality aluminum parts that will exceed expectations. Happy annealing!
Things to Consider
- Annealing is Commonly Used in the Metalworking Industry to Improve the Durability and Formability of Metals, Including Aluminum.
- Annealing Aluminum Can Also Help Reduce Internal Stress and Improve Machinability.
- It’s Important to Research and Understand Your Specific Alloy Before Annealing, as Different Alloys May Require Different Temperatures or Methods.
- Always Prioritize Safety When Annealing Aluminum. Make Sure to Have Proper Safety Gear and Equipment, and Never Anneal Alone.
- Annealing Can Significantly Improve the Performance of Aluminum Parts, Making Them More Suitable for Various Applications. So Don’t Hesitate to Use This Technique Whenever Needed. Happy Annealing!
- The Next Section Could Be About Common Mistakes or Troubleshooting Tips When Annealing Aluminum, Such as Overheating or Quenching Too Quickly.
- Another Possible Section Could Be the Uses and Applications of Annealed Aluminum, Such as in Automotive or Aerospace Industries.
- Additional Information on the History and Development of Annealing Techniques for Different Types of Metals Could Also Be Included. However, This May Not Be Relevant for a Basic Guide on How to Anneal Aluminium.
- Lastly, It’s Always Important to Seek Professional Advice or Assistance if You Are Unsure About How to Anneal a Specific Alloy. Safety Should Always Come First When Working With Heat and Metals. So, Never Hesitate to Ask for Help From an Expert if Needed.

Frequently Asked Questions
Q: Can I Anneal Aluminum With a Propane Torch?
A: Yes, you can use a propane torch for annealing aluminum. However, it is recommended to use a gas torch with a larger flame nozzle for more even heating. It’s essential to heat the aluminum slowly and evenly to avoid warping or melting.
Q: What is the Recommended Temperature Range for Annealing Aluminum?
A: The recommended temperature range for annealing aluminum is between 350-500°C (662-932°F). This range can vary depending on the specific alloy being used. It’s important to research the appropriate temperature range for your particular alloy before beginning the annealing process.
Q: Do I Need to Quench the Aluminum After Annealing?
A: The need for quenching after annealing depends on the specific alloy and its thickness. Some alloys will harden when quenched, making them more difficult to work with. On the other hand, letting aluminum cool naturally may not be fast enough for thicker parts and could lead to warping. It’s best to research the recommended quenching method for your particular alloy before proceeding.
Q: Can I Anneal Aluminum Multiple Times?
A: Yes, you can anneal aluminum multiple times if needed. However, keep in mind that each annealing process will soften the aluminum further and may make it more susceptible to scratches or damage. It’s important to handle annealed aluminum with care. Overall, it’s best to try and anneal aluminum only when necessary to avoid excessive softening.
Conclusion
In conclusion, annealing aluminum is a simple yet effective heat treatment process that can improve the workability of the metal. It can increase the material ductility and help reduce stress, making it an ideal solution for many projects. Whether you’re looking to soften a strong material or make something easier to shape, understanding how to anneal aluminum is key.
This guide on how to anneal aluminium has provided all the necessary information for you to feel more confident when taking on any aluminum-related metalworking project. Now that you know how to properly strategize and control your heat treatments, get out there and start creating!
You can check it out to Write on Metal Permanently
Edmund Sumlin is a skilled author for Metal Fixes, bringing 6 years of expertise in crafting a wide range of metal fixtures. With a strong background in metalwork, Edmund’s knowledge spans various types of fixtures, from decorative pieces to functional hardware, blending precision with creativity. His passion for metalworking and design has made him a trusted resource in the industry.
Professional Focus:
- Expert in Metal Fixtures : Edmund aesthetic specializes in creating durable and innovative metal fixtures, offering both appeal and functionality. His work reflects a deep understanding of metalworking techniques and materials.
- Sustainability Advocate : He is dedicated to using sustainable practices, ensuring that every fixture is crafted with eco-friendly methods while maintaining high-quality standards.
In his writing for Metal Fixes, Edmund provides valuable insights into the latest trends, techniques, and practical advice for those passionate about metal fixtures, whether they are professionals or DIY enthusiasts. His focus on combining artistry with engineering helps others discover the true potential of metal in design.